This site is supported by our readers. We may earn a commission, at no cost to you, if you purchase through links.
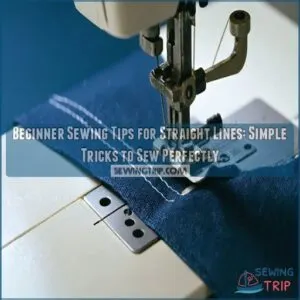
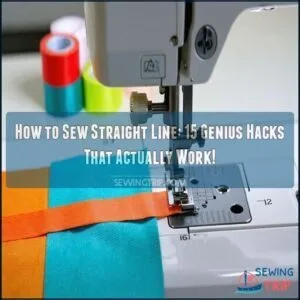 To sew a straight line, you’ll need to use your machine’s built-in guides.
Start by aligning your fabric’s edge with the seam guide on the needle plate (those handy little markings). Keep your eyes on this guide, not the needle, as you sew.
You can also stick a strip of masking tape on your machine as a reference line. Don’t push or pull the fabric—let the feed dogs do their job while you gently guide.
Like riding a bike, sewing straight gets easier with practice. Sometimes the secret isn’t fancy techniques but simple tricks like using the right presser foot for your project.
Table Of Contents
Key Takeaways
- Use the seam guide on your needle plate or apply tape as a custom guide to keep your fabric aligned and stitches straight.
- Focus on watching the seam guide, not the needle, and maintain a steady speed for better control and accuracy.
- Let the feed dogs pull the fabric while you gently guide it with consistent hand pressure to avoid pushing or pulling.
- Practice on stable fabrics and use the right tools like presser feet or magnetic guides to build skill and precision.
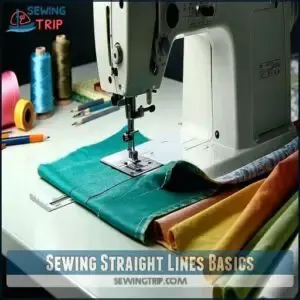
Sewing Straight Lines Basics
You’ll master straight-line sewing faster when you focus on the right tools and proper technique, not the bobbing needle that hypnotizes so many beginners.
Your fabric will thank you as you learn to use presser feet guides, create seam allowances with simple household items, and support your material properly on both sides of your machine, which will help you achieve better results with proper technique.
Presser Feet and Accessories
With the right presser feet and accessories, your sewing machine transforms from basic to brilliant for straight-line sewing.
These tools are game-changers for precision work.
- Adjustable guide feet feature rulers and sliding guides for perfect seam allowances
- Quarter-inch feet provide exactly 6mm seams – a quilter’s best friend
- Stitch-in-ditch feet include blade-like guides for precise topstitching
- Standard feet offer 8mm width between needle and edge
Always check generic compatibility with your sewing machine before purchasing, as these feet can be found at adjustable guide feet retailers, which can be very helpful for finding the right accessories.
Seam Allowance Guides and Marking Techniques
Your sewing machine’s needle plate offers built-in seam allowance markings that work wonders for consistent stitching.
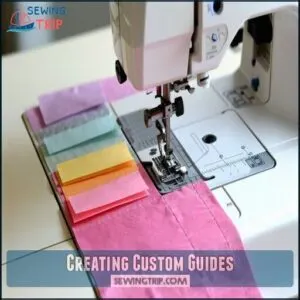
Can’t find them? Create DIY seam guides using painter’s tape, washi tape, or even stacked Post-It notes!
Temporary fabric markers let you draw directly on fabric, while magnetic seam guides provide a physical barrier for perfect alignment.
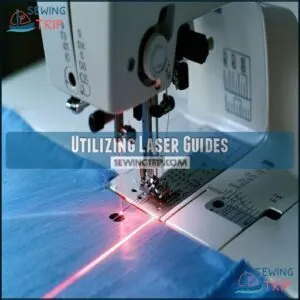
For tech-savvy sewers, laser guide accuracy takes the guesswork out of sewing straight lines.
Mastering this also involves understanding straight stitch techniques for best results, which is crucial for achieving straight stitch mastery.
Fabric Preparation and Support
While guides keep you on track, proper fabric preparation creates the foundation for success.
Start by trimming jagged edges with sharp scissors for clean, straight cuts. Then, make certain your fabric stays level by supporting it on both sides of your sewing machine.
An extension table works wonders for larger projects, preventing gravity effects that pull fabric downward. When fabric remains stable and flat, your stitches naturally follow suit, and this leads to a successful sewing experience with clean, straight cuts.
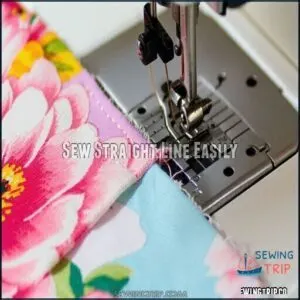
Sew Straight Line Easily
You’ll never struggle with crooked stitches again when you focus on the right techniques and tools for straight-line sewing.
Watch your seam guide instead of the needle, keep your fabric supported on both sides of the machine, and use handy aids like specialty presser feet or simple tape guides to transform your sewing precision.
Using Guides and Techniques
With the right guides in place, your straight stitch journey becomes a breeze.
Try using your machine’s seam guide for perfect fabric alignment, or create your own using painter’s tape.
Slow stitching is key – rushing leads to wobbly lines.
Keep hands positioned on both sides for fabric hand-guiding, adding backstitch security at beginning and end.
Practice on stable fabrics to build sewing accuracy.
Choosing Reference Points
The three perfect reference points for maintaining a straight stitch aren’t where most beginners look.
Focus your peripheral vision on the fabric edge against your guide alignment, not the needle.
Keep consistent focus about 2-3 inches ahead of where you’re sewing, which helps your brain anticipate turns while minimizing distractions.
This technique gives you better sewing machine control and improved sewing alignment.
Avoiding Common Mistakes
Now that you’ve chosen your reference points, let’s tackle what trips up most sewers. Even pros sometimes end up with crooked lines!
Here are five common mistakes to avoid:
- Fabric Bunching – Keep fabric taut but not stretched
- Uneven Seams – Maintain consistent pressure on both sides
- Tension Problems – Check settings before each project
- Watching the Needle – Focus on your guide instead
- Rushing – Sewing straight requires patience for even seams.
Regular cleaning prevents common machine issues and guarantees longevity.
Mastering Seam Guides
You’ll transform your sewing projects when you start using seam guides instead of watching that bouncing needle.
Your machine already has built-in markings and tools that can work like bumpers at a bowling alley, keeping your fabric right on track for perfectly straight stitches.
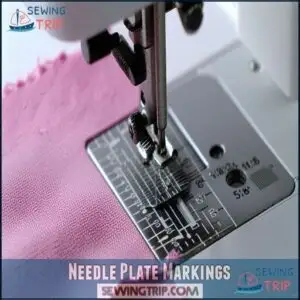
Needle Plate Markings
Your sewing machine has built-in helpers hiding in plain sight.
Look down at your needle plate—those engraved lines aren’t just for show.
They mark common seam widths like ⅜", ½", and ⅝" from the needle.
Simply align your fabric edge with these markings for perfect measurement precision.
Check your sewing machine needle plate compatibility before relying on these guides, as some machines offer different marking patterns or alternative guide systems.
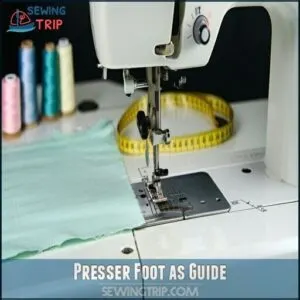
Presser Foot as Guide
Beyond needle plate markings, your presser foot itself can be an excellent built-in guide for straight lines. Simply align your fabric’s edge with the side of your standard foot for a consistent 3/8-inch seam allowance.
For quilting, a quarter-inch foot gives perfect results every time. The ditch foot‘s center blade makes stitching in seams a breeze.
Always check foot compatibility with your specific sewing machine before purchasing specialty options.
Creating Custom Guides
While presser feet offer built-in guidance, you can create your own custom guides that work perfectly for your specific projects.
Here are some DIY options that will transform your straight line sewing:
- Stick painter’s tape or washi tape on your needle plate as a highly visible guide
- Stack sticky notes to create a physical barrier that keeps fabric aligned
- Wrap an elastic band around your sewing arm for an adjustable straight line reference
These simple tape guides, magnetic guides, and other creative solutions help maintain perfect alignment without purchasing expensive accessories. Experimenting with stitch length adjustments can also improve your straight line sewing.
Utilizing Laser Guides
Laser guides shine a bright red line onto your fabric, offering laser accuracy that’s hard to beat.
They attach to your sewing machine and project a perfectly straight reference line for stitching. You’ll need to adjust the guide calibration based on ambient lighting and fabric reflection.
If your machine doesn’t accept attachments, consider guide alternatives like LED lights or reflective tape. Many sewers find a laser sewing guide helpful for precise seams.
They’re worth every penny for precision work, and the investment can lead to more professional-looking results with accurate stitching.
Improving Sewing Techniques
You’ll get straighter stitches when you focus on the seam guide instead of watching the needle jump up and down, just like driving straight requires looking ahead rather than at your hood ornament.
Keep your hands steady and move at a comfortable pace, allowing the feed dogs to do their job while you gently guide the fabric without pulling or pushing it through the machine, maintaining a smooth and steady workflow with your hands and the machine in harmony, utilizing the feed dogs to assist in the process.
Focus Strategies for Straight Lines
Now that you’ve mastered using seam guides, let’s focus on where your eyes should actually be looking while sewing.
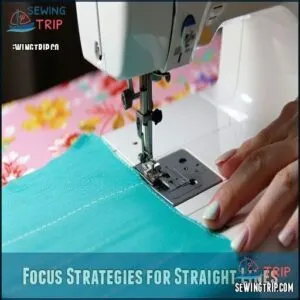
The secret? Watch your guide, not your needle! Your eyes naturally follow where you look, so fixing your gaze 1-2 inches ahead of the presser foot helps maintain consistent stitching.
Your hands will guide the fabric more effectively when your eyes aren’t fixated on the dancing needle, allowing for a smoother sewing experience with consistent stitching.
Sewing Slowly and Accurately
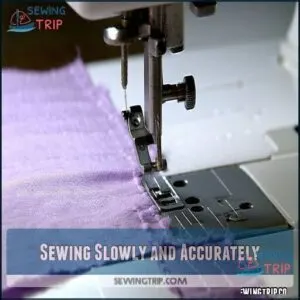
Now that you know where to focus your eyes, let’s talk about speed. Slow and steady truly wins the race when sewing straight lines.
Your machine isn’t in a NASCAR competition! Maintain a consistent speed for controlled stitching and accuracy.
When you rush, stitches often zigzag wildly. Take your time, especially at corners where precise adjustments matter most.
Deliberate practice at slower speeds builds muscle memory for beautiful, consistent stitching.
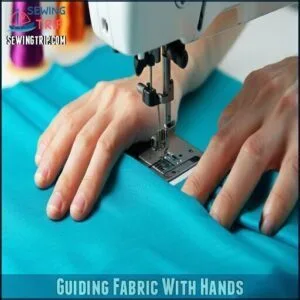
Guiding Fabric With Hands
Now that you’ve got your speed under control, let’s talk about your hands—they’re your steering wheel for perfect straight lines.
Proper hand placement makes all the difference in fabric control while machine sewing.
- Position both hands flat on the fabric, creating gentle but consistent pressure
- Keep your fingers spread to maintain even fabric tension
- Guide (don’t push!) the fabric with light steering technique
- Move your hands frequently to avoid distortion in longer seams, using a technique that requires gentle but consistent pressure.
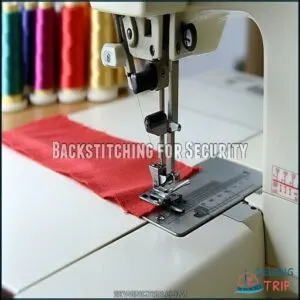
Backstitching for Security
While guiding the fabric properly keeps your line straight, don’t forget to secure those ends.
Backstitching prevents your hard work from unraveling later.
Simply reverse-stitch at the beginning and end of each seam by pressing your machine’s reverse button for 3-4 stitches before continuing forward.
| Backstitch Technique | Benefits | When to Use | Stitch Length | Alternatives |
|---|---|---|---|---|
| Standard Backstitch | Prevents unraveling | Start/end of seams | 2.0-2.5mm | Lock stitch |
| Multiple Backstitches | Extra reinforcement | Heavy fabrics | 2.5-3.0mm | Knot tying |
| Partial Backstitch | Less bulk | Delicate fabrics | 1.5-2.0mm | Shorter stitches |
| Angled Backstitch | Decorative finish | Visible seams | 2.0-3.0mm | Bartack |
| Mini Backstitch | Nearly invisible | Fine fabrics | 1.0-1.5mm | Thread burying |
Achieving Precision Sewing
You’ll master precise sewing faster with the right tools and techniques at your fingertips, just like having a GPS for your fabric journey.
With magnetic seam guides, custom tape markers, proper positioning, and practice on stable fabrics, your wobbly stitch days will soon be history.
Your journey to mastering precise sewing involves combining these elements to achieve professional-looking results.
Verifying Seam Guide Position
Accuracy begins with proper guide alignment. Before you start sewing, double-check your seam guide position relative to needle position.
Place your fabric and measure from needle to guide edge to confirm it matches your desired seam allowance. If you notice fabric drift during sewing, stop and verify your measurement accuracy.
Consistent sewing also relies on effective use of pins to keep fabric aligned. This simple check prevents crooked seams and maintains seam consistency throughout your project, ensuring a professional finish with accurate results.
Using Magnetic Seam Guides
Now that you’ve correctly positioned your seam guide, let’s explore a game-changer for your sewing machine: magnetic seam guides. These handy tools stick right to your metal needle plate, creating a physical boundary for perfect seams.
Simply place the guide along your desired measurement and let it do the work! Many sewers find magnetic guides invaluable for precise seams.
They’re especially helpful for beginners struggling with straight lines, and with practice, you’ll be stitching professionally in no time.
Applying Tape for Custom Guides
While magnetic guides stick to metal surfaces, tape offers a flexible alternative for any machine.
Create your own custom guides by:
- Secure duct tape patterns with straight pins, just like regular sewing patterns
- Add a cling wrap layer to protect your fabric from residue
- Pin tape to the fabric’s right side, aligning raw edges
- Use the shallower side when folding tape (one side is wider)
- Sew along the fold closest to the raw edge
You’ll find washi tape leaves minimal residue compared to other tape types. Guide placement is essential – mark exactly where you need that perfect seam!
Practicing With Stable Fabrics
Now that your tape guide is in place, let’s set you up for success with the right practice materials.
Start with stable fabrics like muslin, calico, or mediumweight woven cotton. These fabrics won’t slip or stretch while you’re learning, making them perfect for sewing practice.
Try drawing practice lines on your fabric with washable marker before feeding it through your sewing machine. The fabric stability will build your confidence before tackling trickier materials.
Frequently Asked Questions (FAQs)
How do you sew a straight line on a sewing machine?
Focus on the presser foot edge, not the needle.
Use machine markings or add tape as a guide.
Keep fabric supported, sew slowly, and don’t push or pull.
Let the feed dogs do their job.
How to ensure straight lines while sewing?
Imagine a small steering wheel guiding your fabric—always watch the seam guide, not the needle.
Slow your speed, let the feed dogs do the work, use tape or a presser foot for alignment.
Is it hard to sew a straight line?
Sewing a straight line seems tricky at first, but with practice, patience, and guides like tape or presser feet, it’s manageable.
Slow down, trust the feed dogs, and let muscle memory kick in!
Can you sew a straight line of stitching?
Think of stitching as driving on a calm road.
Yes, you can sew a straight line—just use a seam guide, steady your hands, and let the machine’s feed dogs pull the fabric evenly.
How do I sew curved seams straight?
Guide the fabric gently, pivot the needle at tight curves, and use short stitches for control.
Watch the seam guide, not the needle.
Practice on scraps first—it’s all about smooth, steady hands!
Can thread tension affect straight-line sewing?
If thread tension’s too tight or loose, your fabric puckers or gaps faster than a bad movie plot.
Balance tension to keep seams smooth, straight, and frustration-free.
Test first—your stitches deserve harmony, not chaos.
Does stitch length impact seam straightness?
Yes, stitch length matters! Longer stitches can drift or look uneven on tricky fabrics, while shorter ones offer more control and accuracy.
For straight seams, use medium lengths around 5-3mm for balance.
How to stitch straight on stretchy fabrics?
Stretchy fabrics are tricky, but start with a walking foot to reduce shifting.
Use ballpoint needles, slow down, and don’t pull the fabric; let the machine feed it.
Practice helps smooth out wrinkles—literally!
Do automatic thread cutters improve line precision?
Automatic thread cutters don’t directly affect line precision, but they save time and help keep your workspace neat.
Neatly trimmed threads reduce tangling, so you focus fully on guiding fabric and sewing straighter lines.
Conclusion
Sewing a straight line isn’t rocket science—it’s more like learning to drive stick shift: tricky at first, but smoother with practice.
Use your machine’s seam guides, pick the right presser foot, and let the feed dogs pull the fabric without pushing.
Small tweaks, like adding tape or using a magnetic seam guide, can make a big difference.
Keep your focus steady, practice regularly, and soon, sewing straight lines will feel natural.
Ready? Let’s stitch!

