This site is supported by our readers. We may earn a commission, at no cost to you, if you purchase through links.
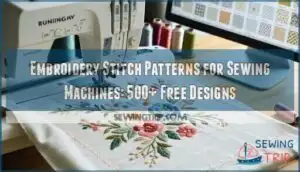
Digital pattern libraries offer thousands of designs from delicate florals to bold geometric shapes. You can download patterns in DST, PES, or JEF formats depending on your machine. The real magic happens when you master thread tension settings and stabilizer selection.
Smart digitizing software even lets you create custom patterns from your own artwork, giving you complete control over every stitch.
Table Of Contents
Key Takeaways
- You’ll master three essential stitch types – running stitches for crisp outlines, satin stitches for smooth professional borders, and fill stitches for rich texture coverage that transforms ordinary fabric into stunning artwork.
- You can access thousands of digital patterns through online libraries in DST, PES, or JEF formats, plus create custom designs using digitizing software that converts your artwork into precise stitch commands.
- You’ll achieve professional results by mastering thread tension settings and selecting the right stabilizer for your fabric type, preventing common issues like puckering and thread breaks.
- You can troubleshoot stitch problems by adjusting tension gradually, testing on scrap fabric first, and matching pattern density to your fabric weight for consistently beautiful embroidery.
Essential Machine Embroidery Stitch Types
You’ll master three core stitch types that form the backbone of machine embroidery: running stitches, satin stitches, and fill stitches. Running stitches create crisp outlines, satin stitches produce smooth borders, and fill stitches cover large areas with texture.
These fundamental techniques open up endless creative possibilities once you understand their tension settings and density requirements.
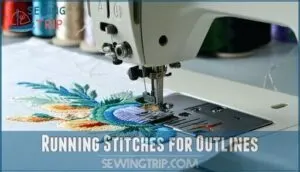
Running Stitches for Outlines
Running stitches form the backbone of your machine embroidery designs. These simple straight stitches create clean outlines and define shape boundaries perfectly. You’ll find them essential for lettering, appliqué edges, and detail work.
- Adjust stitch length between 1.5-3mm for ideal outline definition
- Use contrasting thread colors to make design elements pop dramatically
- Choose stable fabric choices like cotton or denim for crisp lines
- Keep stitch density low to prevent fabric puckering issues
- Perfect for custom embroidery fonts and delicate embroidery designs
Your embroidery machines handle running stitches effortlessly. They’re your go-to outline techniques for professional-looking results every time.
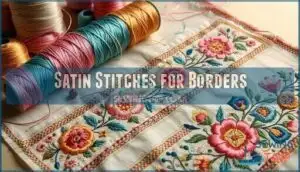
Satin Stitches for Borders
Satin stitches create those gorgeous, glossy borders that make your custom embroidery pop. **You’ll love how these dense, closely-spaced stitches produce smooth satin effects along design edges.
**
Set your stitch length between 0.4-0.8mm for crisp edge finishing. Corner details require careful pivoting – slow down your embroidery machines here.
**These border designs transform basic patterns into professional-looking embroidery fonts and motifs.
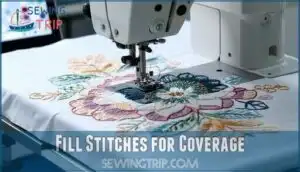
Fill Stitches for Coverage
Fill stitch techniques transform solid areas into beautiful fabric coverage. You’ll control density settings to prevent thread bunching while maintaining smooth stitch overlap.
Custom embroidery designs rely on proper fill patterns for professional results. Machine embroidery software calculates thread consumption automatically.
Adjust your embroidery machines’ tension for consistent coverage. Popular embroidery design packs showcase various fill methods. Watch embroidery tutorial videos to master density control techniques.
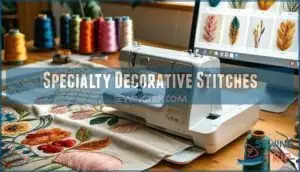
Specialty Decorative Stitches
Beyond basic stitches lies a treasure trove of specialty decorative options that’ll transform your embroidery from plain to extraordinary. Cross-hatching creates stunning texture options, while French knots add dimensional thread effects.
Your machine’s stitch variations include scallops, blanket stitches, and feather patterns perfect for decorative borders. These embellishment techniques shine in custom embroidery services, turning simple designs into masterpieces.
Check embroidery tutorial videos for sophisticated settings—your creative freedom awaits! Understanding machine embroidery stitch types is essential for creating professional-looking results.
Popular Embroidery Pattern Categories
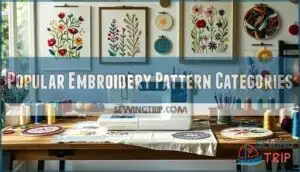
You’ll find four main pattern categories that’ll transform your embroidery projects from basic to exceptional.
Whether you’re stitching delicate florals with 40-weight thread or bold geometric designs that need precise tension settings, these popular categories offer endless creative possibilities for every skill level.
Floral and Nature Designs
Nature’s beauty translates perfectly into machine embroidery designs. Floral motifs and leaf patterns bring gardens indoors with stunning botanical art.
You’ll find roses, daisies, and wildflowers work beautifully on quilts and garments. Garden designs featuring vines and branches create elegant borders.
Custom embroidery services often showcase nature scenes as bestsellers. Machine embroidery transforms simple fabrics into breathtaking botanical masterpieces.
Geometric and Abstract Patterns
Exploring geometric shapes and abstract designs opens up endless creative possibilities for your machine embroidery projects. These modern patterns bring contemporary flair to any garment or textile.
Consider these popular geometric embroidery options:
- Bold triangular arrays – Perfect for accent pieces using satin stitches
- Interlocking circles – Create stunning visual depth with fill stitch variations
- Chevron patterns – Ideal for borders using running stitches
- Color blocking squares – Mix contrasting thread colors for maximum impact
Pattern mixing works beautifully with geometric designs. You’ll find these abstract motifs complement traditional embroidery supplies while showcasing your machine’s stitch texture capabilities.
Vintage and Traditional Motifs
While geometric patterns offer sharp precision, vintage and traditional motifs bring timeless elegance to your projects. These Heirloom Designs and Classic Florals never go out of style.
Heritage Patterns like damask scrollwork and Antique Motifs from the Victorian era showcase intricate satin stitch borders. Traditional Quilting blocks translate beautifully to Machine Embroidery using dense fill stitches for authentic texture.
Understanding embroidery design formats, such as common file formats, is essential for achieving professional-looking results.
Personalized Monograms and Lettering
Custom monogramming transforms ordinary items into treasured keepsakes. You’ll find endless creative freedom with custom lettering options that make each project uniquely yours. Modern embroidery machines offer refined font libraries and lettering wizards that simplify the monogramming process.
- Standard Monograms – Classic three-letter combinations using traditional serif or sans-serif fonts
- Script Lettering – Elegant cursive styles perfect for wedding gifts and formal occasions
- Block Typography – Bold, contemporary fonts ideal for sports jerseys and casual wear
Digital Pattern Sources and Downloads
You’ll find thousands of embroidery designs waiting in digital libraries like Machine Embroidery Library and premium collections that’ll make your creative heart skip a beat.
These downloadable patterns come in multiple file formats (.dst, .pes, .jef) so you won’t waste time dealing with compatibility headaches on your machine.
Machine Embroidery Libraries
Finding quality Machine Embroidery Library resources transforms your creative projects. These digital repositories offer thousands of designs with sophisticated Pattern Filtering and Stitch Organization systems. Smart Download Management keeps your collection tidy. Utilizing machine embroidery designs can substantially improve the overall quality of embroidery work.
| Library Feature | Benefits | Best For |
|---|---|---|
| Design Access | Instant downloads | Quick projects |
| Library Navigation | Easy browsing | Large collections |
| Pattern Filtering | Find specific styles | Targeted searches |
| Stitch Organization | Sorted by type | Efficient workflow |
| Download Management | Track purchases | Budget control |
Premium Design Collections
You’ll find luxury fabrics and exclusive designs in premium collections that enhance your machine embroidery projects. These high-end threads create stunning custom logos and sophisticated embroidery work that stands out.
Premium collections from Machine Embroidery Library feature professionally digitized patterns perfect for embroidered items requiring high quality. Consider investing in these collections for embroidery and screen printing business applications.
The quality of embroidery designs can be enhanced by using best embroidery resources.
File Formats and Compatibility
Think of file formats as different languages your embroidery machine speaks. DST works with most machines but loses color info during data conversion. PES files shine on Brother systems while JEF targets Janome models.
Your embroidery software manages format conversion between these stitch formats, though compatibility issues pop up when switching brands. Always check your machine embroidery library requirements before downloading digital patterns.
Understanding the role of file format standards is vital for smooth embroidery design implementation.
Creating Custom Embroidery Patterns
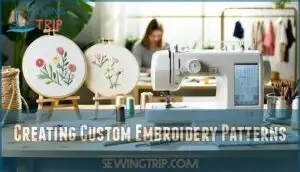
You’ll transform your creative vision into professional embroidery files using digitizing software that converts artwork into precise stitch commands.
Master the balance between design complexity and your machine’s 4×4 or 5×7 hoop limits while planning thread changes that won’t leave you cursing at 2 AM when you realize you picked five nearly identical blues.
Digitizing Software Options
You’ll need digitizing software to transform your ideas into machine embroidery files. Wilcom Embroidery Studio ($3,499+) offers professional-grade stitch editing and design optimization for commercial work.
Hatch Embroidery ($800-$1,450) balances features with affordability, including auto-digitizing tools. Embrilliance Essentials ($300-$800) provides budget-friendly digitizing tools with cross-platform compatibility.
Free option Ink/Stitch manages basic file conversion needs perfectly. To achieve perfect embroidery results, understanding embroidery software is essential for selecting the right tools.
Converting Images to Stitch Files
Beyond basic image conversion, you’ll transform photos into embroidery gold using digital software that processes raster conversion and vector graphics seamlessly. Most programs auto-trace your images, but you’ll need stitch editing to perfect density and thread paths.
File optimization ensures your designs won’t crash mid-project. Professional graphic design services often use format conversion credits for complex artwork, while PDF sewing patterns require special handling for clean digitization.
Design Size and Hoop Considerations
Your design’s success hinges on matching pattern size to hoop dimensions. Most home machines handle 4×4 or 5×7 inch hoops perfectly.
Larger designs need scaling down or splitting into sections. Check your stitch density—too many stitches create puckering, while sparse patterns look incomplete.
Fabric choice affects everything. Heavy materials like denim handle dense designs better than delicate silk. Machine embroidery works best when you refine each element together, considering the fabric choice.
Color Planning and Thread Selection
How do you transform thread colors into visual masterpieces? Color theory guides your fabric choice decisions perfectly. Thread weight affects how hues appear on different materials.
Light fabrics showcase vibrant tints while dark ones need contrasting shades. Proper hue matching prevents muddy results. Test thread combinations first!
Understanding the right embroidery thread sets is essential for achieving desired color effects, which involves selecting the perfect thread color options. Sew What Threads offers extensive color palettes for machine embroidery fonts, designs, and monograms.
Troubleshooting Common Stitch Issues
When your embroidery machine starts acting like a rebellious teenager, you’ll need these troubleshooting skills to get back on track.
We’ll cover thread tension fixes, registration problems, fabric puckering solutions, and density adjustments that’ll turn your stitching disasters into masterpieces.
Thread Tension Problems
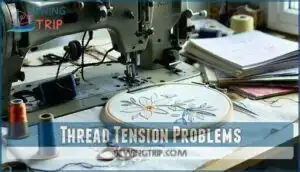
After crafting your custom patterns, tension adjustment becomes your best friend. Machine embroidery success depends on balanced thread tension – too tight causes thread breakage, too loose creates messy stitch quality.
- Check bobbin issues first – loose or uneven winding affects everything
- Adjust upper tension dial gradually in quarter-turn increments
- Test machine calibration with sample fabric before starting projects
- Monitor thread path for snags or rough spots causing resistance
- Keep tension settings documented for different thread types and weights
Sew What Threads recommends testing on scrap fabric first. Their screen printing services complement embroidery showcase work perfectly when tension’s dialed in right. They also highlight the importance of machine embroidery success and having the right thread tension for a good outcome, which is achieved through proper upper tension dial adjustment.
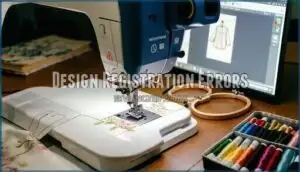
Design Registration Errors
When designs don’t line up properly, you’re dealing with Registration Issues – a real showstopper! These problems happen when Stitch Alignment goes off track during stitching.
Check your File Compatibility first, ensuring your digital design matches your machine’s format. Poor hoop placement is often the culprit behind Error Correction nightmares.
Sew What Threads offers Design Packs specifically tested for smooth registration. Use quality Sewing Patterns from trusted sources like their Digital Downloads section for better Design Optimization success.
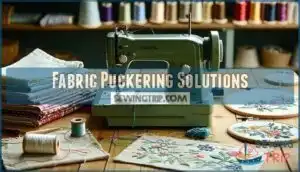
Fabric Puckering Solutions
Puckering happens when your fabric bunches up during embroidery. Start with proper tension adjustment – loosen bobbin tension slightly. Choose stable fabrics like cotton twill over stretchy materials. Use quality stabilizer options underneath your fabric.
Select the right hoop selection size without over-stretching material. Invest in good thread quality from companies like Sew What Threads. Match your sewing patterns to appropriate fabrics for DIY projects and screen printing success. Proper thread tension settings are vital to prevent fabric puckering and guarantee smooth embroidery.
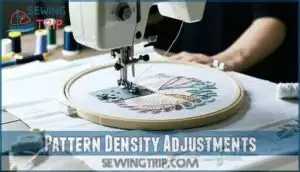
Pattern Density Adjustments
When your custom designs look too dense or loose on different fabrics, you’ll need smart Stitch Optimization and Density Settings. The machine recalculates the stitch density automatically, and the perfect combination covers fabric adequately without creating a "bullet-proof patch."
Adjust Thread Management by testing these four Stitch Balance fixes:
- Reduce density by 15-25% for thick fabrics
- Increase density for lightweight materials
- Adjust stitch length instead of just density
- Test Sewing Patterns on scrap fabric first
Proper Fabric Selection paired with smart density control prevents heavy, stiff embroidery that customers notice immediately.
Frequently Asked Questions (FAQs)
How much does professional embroidery software cost?
Professional embroidery software costs vary widely. Starting at around $3,499 for high-end options, while basic packages start at $139 for home users. You’ll find mid-range options between $300-$
What stabilizer works best for stretchy fabrics?
Like finding the perfect dance partner for your fabric, you’ll want cutaway stabilizer for stretchy materials.
It provides excellent support during stitching then tears away cleanly, preventing puckering and distortion on knits.
Can vintage sewing machines handle modern patterns?
Most vintage sewing machines can’t handle modern digital patterns directly. You’ll need to simplify designs, reduce stitch density, and manually adjust tension settings for successful results.
How do you backup embroidery design files?
Ever wondered what happens when your precious designs vanish? You’ll want to save files to multiple locations – your computer’s hard drive, external USB drives, and cloud storage like Google Drive.
Create folders by project date for easy organization, and consider saving to multiple locations.
Whats the maximum embroidery speed for quality?
You’ll get the best quality at 600-700 stitches per minute. Going faster can cause thread breaks and sloppy stitching. Slow it down for delicate fabrics or intricate designs.
Conclusion
Gone are the days of settling for plain fabric when vibrant embroidery stitch patterns for sewing machines await your creative touch. You’ve now got the knowledge to transform any project from basic to breathtaking.
Master those running stitches for crisp outlines, leverage satin stitches for professional borders, and don’t forget fill stitches for rich coverage. Download hundreds of free patterns, experiment with digitizing software, and troubleshoot like a pro. Your machine’s ready—time to stitch your masterpiece!
- https://www.magnetichoop.com/blogs/news/machine-embroidery-stitch-types-selection-guide-for-flawless-results
- https://so-sew-easy.com/what-basic-sewing-machine-embroidery-stitches-can-you-find-on-your-machine/
- https://bomcrewmall.com/blogs/news/types-of-sewing-stitches
- https://crazylittleprojects.com/understanding-sewing-machine-stitches/
- https://www.quiltingboard.com/main-f1/555-000-stitches-floor-model-sewing-only-machine-lot-stitches-t251220-2.html

