This site is supported by our readers. We may earn a commission, at no cost to you, if you purchase through links.
In this class, you will be taught how to guesstimate floss needs, considering things such as fabric count, type of stitch, and the size of your project. You will learn how to make good estimates by working out thread consumption per stitch and adjusting to different choices of fabric. This eliminates waste in your work.
Jump into the world of precise thread estimation—from determining stitch count to managing thread preparation. Be prepared to take control of your embroidery projects with confidence and ingenuity at your command.
Table Of Contents
- Key Takeaways
- Understanding Thread Count on Fabric
- Calculating Thread Consumption Per Stitch
- Estimating Embroidery Floss Needs
- Determining Stitch Count for Accuracy
- Enhancing Efficiency With Stitching Styles
- Adapting to Different Fabric Choices
- Considering Various Thread Strands
- Estimating Total Thread Usage for Projects
- Managing Thread Preparation and Storage
- Frequently Asked Questions (FAQs)
- Conclusion
Key Takeaways
- Fabric count isn’t just a number game – it’s your secret weapon for stunning embroidery. Knowing your threads per square inch is like having X-ray vision for your canvas!
- Stitch smart, not hard. Different stitches gobble up thread at varying rates, so choose wisely. It’s like picking the right tool for the job – a bulldozer when a shovel will do is just overkill!
- Thread thickness matters more than you’d think. It’s not just about looks; it’s about coverage and efficiency. Think of it as choosing between a fine-tipped pen or a chunky marker for your masterpiece.
- Don’t let running out of thread be the villain in your embroidery story. Estimate like a pro by considering project size, stitch count, and your personal stitching style. It’s like meal prepping, but for your craft!
Understanding Thread Count on Fabric
You will find it quite necessary to understand thread count on the fabric for your embroidery. It’s all about the weave of the fabric, which is determined by a certain number of threads per square inch to make out this canvas for your artistry. Higher counts have tighter weaves that make a big difference in both thread quality and usage estimates. Noting the thickness of the fabric will be important.
Make sure you choose your threads’ colors and brands in consideration with your fabric choice. That thread sheen can dramatically vary on different counts, directly impacting your final design. In counted-thread embroidery, this knowledge is your ace up the sleeve.
You’ll master a world of embroidery techniques by properly pairing threads with your fabric count. After all, it’s not just aesthetics; thread usage will be directly influenced by count.
Calculating Thread Consumption Per Stitch
Now that you understand thread count, as they say, let’s get into the threads consumed per stitch calculations. This is an essential step in making sure you have enough floss for your project. How fast you stitch will greatly determine how much thread you’ll consume, along with the type of stitch that you’re doing. For instance, satin fill stitches usually take less thread compared to step fill or fantasy fills.
To accurately estimate thread consumption, consider these factors:
- Fabric preparation and thickness of the stabilizer
- Stitch type and density
- Underlay Requirements
- Number of thread ends
Estimating Embroidery Floss Needs
You have to take several elements into consideration to arrive at a correct estimate of the amount of embroidery floss you’ll need. First, establish your fabric count and stitch count because these have maximum impact on skein usage. Now, keep in mind that increased fabric counts generally require less thread per stitching.
The stitching efficiency comes into play here, as more experienced stitchers tend to use less thread. For single color designs, you may want to extrapolate from there, as it’s easier to work out the top thread usage, which will be about two-thirds of that amount.
Some embroidery kits will have estimates of the thread required, but the best way is making your own calculations. By learning these basic embroidery thread calculations, you’ll avoid running short or overbuying. Otherwise, you can also make use of online calculators for accurate estimates, and always round up when purchasing skeins.
You’ll get a sense of approximately how much floss you need with practice, and these skills will transfer to other areas of your embroidery skills and project planning.
Determining Stitch Count for Accuracy
Now that you have estimated your floss needs, you must come up with the proper and exact count of stitches. This will allow you to source enough thread for the project in question without making overrun purchases. Counting stitches is more than just counting numbers—it involves knowing the ins and outs of your design. Here are the factors to consider:
- Types of stitches: step fill, satin fill, and fantasy fills impact threads consumption
- Miniature embroidery: Such a technique consists of more stitches in a tiny area.
- Ready-made embroidery designs: Usually come with stitch numbers
- Bernina Embroidery Software V8: It provides accurate stitch totals
For more complex patterns, subdivide your design into sections and count each section separately. Also, include counts for backstitch and French knots. This can literally be a large number of stitches, affecting your overall number greatly. If the designs you use were prepared by others, check and see if the stitch count is included. As you can easily see, proper counting is through more timesaving stitching and accomplished detail in the piece.
Enhancing Efficiency With Stitching Styles
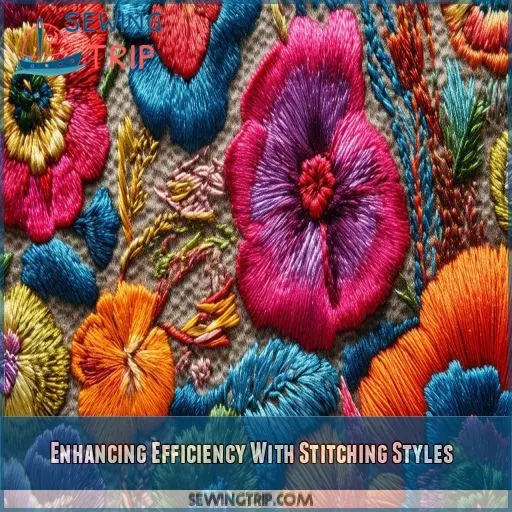
Now that you’ve nailed down your stitch count, let’s get into increasing your stitching efficiency. Your stitching style is going to impact how much thread is used and how you plan out your projects. Following is a breakdown of various techniques that are going to affect your embroidery:
| Stitching Style | Thread Consumption | Efficiency Level |
|---|---|---|
| Step Fill | High | Low |
| Satin Fill | Medium | Medium |
| Candlewicking | Very High | Low |
The step fills bump up the needle penetration count, and as such, use more thread. Satin fills are relatively modest users of thread; candlewicking was notorious for being a thread-hungry animal. Therefore, to arrive at an accurate estimate, one has to be honest with oneself about their position on the spectrum in both respects: complexity of project and style. If you’re a lean stitcher, you might actually get by using 20-30% less thread overall.
Don’t forget about your bobbin thread! It’s normally 1/3 of your top thread usage. Prewounds can be a big deal, meaning a lot more thread than you get under regular circumstances in spools. With these thread-saving efficiency tricks, you’ll save thread while optimizing the way you work with embroidery. Ready to change ways for optimum results?
Adapting to Different Fabric Choices
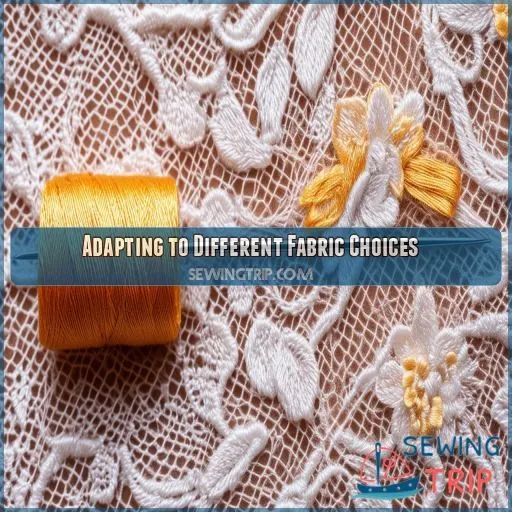
With this adaptation of your embroidery project onto different kinds of fabrics, you need to vary your calculations for the thread. If weight is a major consideration, you’d find less floss used on bright fabrics such as silk. This is because stitches sit more superficially on the fabric. On heavier ones, however, you’ll require more thread to have the same effect.
Another factor that could affect your calculations is the type of fabric. With fewer strands per stitch, this may be possible in tight weaves, whereas with more, it may fill in the space in looser weaves.
Keep in mind that silk fabric is a very specific material. Because it’s so delicate, you’ll want to use a finer thread and adjust your tension accordingly.
Now, with all these factors considered, you can ensure that whatever project you’re going to work on looks beautiful on any fabric. Don’t be afraid to experiment. The different types of fabric open real possibilities for your embroidery adventure.
Considering Various Thread Strands
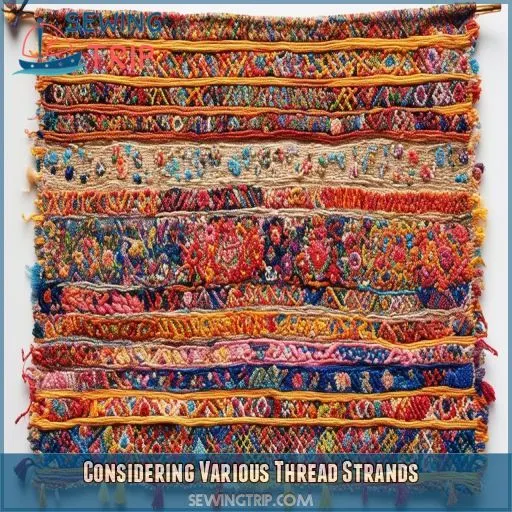
Consider the thread strands you’d want to use for your embroidery project.
You’ll need to know just how much impact thread count, strand thickness, and overall size of the project would make. This is going to change not only how your stitches look but also exactly how much floss you’re going to use.
Thread Count Impact
Expanding on fabric choices, we should consider thread count impact. Your count has a very significant impact on how much floss you’re going to be needing. The higher the count, the smaller stitches are, which translates to less floss being used in a space. It also translates to your general stitching efficiency.
Note how the thickness of a fabric interacts with thread count; thicker fabrics might require more strands for adequate coverage.
Juggling these factors, you’ll get quite precise in mastering the needs of floss for your project.
Strand Thickness Effects
You’ll notice significant multi-strand effects when adjusting thread thickness. Thicker strands create bolder stitches, while thinner ones offer delicate details.
Experiment with thickness variations to achieve desired coverage disparities. Remember, stitch density changes with strand count.
For vibrant color combinations, try blending different strand thicknesses.
It’s like painting with thread – each stroke’s thickness impacts your embroidery masterpiece’s overall look and feel.
Project Size Considerations
The larger your project size, the more you’ll need to adjust your thread calculations. Logically, larger sizes of fabrics and higher stitch counts require more floss.
Consider the number of your fabric count and the threads of strands you’re using. Other stitch types will also bear on the overall amount of thread required for your work.
With careful consideration of these elements, you can ensure that you have enough floss to complete your masterpiece without running short.
Estimating Total Thread Usage for Projects
Now that you’ve thought about thread strands, let’s tackle the hairy problem: figuring your total thread use for your projects. It’s not going to make or break your embroidery project, but it’s important.
You’ll need to allow for your stitching efficiency, as it affects how much thread is taken up by your stitching. The more efficient the stitcher, the less thread on a per stitch basis—that means time and material saved for you.
To determine how many threads you need for your project: Multiply your stitch count by the average threads used for your count and strand thickness of fabrics chosen. Keep in mind to permit for any more complicated stitches or design elements that you believe will take extra threads.
You’ll master this estimation process well enough to keep the frustration of the floss running out in the middle of the project away or keep from over-buying supplies.
As you work with the threads, you’ll become very intuitive with the amount needed, thus growing your skills not only in embroidering but also in planning projects.
Managing Thread Preparation and Storage
Now that you’ve estimated your thread needs, it’s time to tackle thread preparation and storage. Efficient thread management can save you time and frustration during your embroidery projects.
Start by creating a simple thread inventory system. Use clear plastic containers or thread organizers to keep your floss neat and easily accessible. Label each compartment with the thread color and code for quick identification.
As you work, keep track of your remaining thread on each spool. Small bags or boxes can be handy for storing partially used spools with notes on the remaining length.
When it’s time to dispose of thread scraps, consider eco-friendly options like composting natural fibers.
Frequently Asked Questions (FAQs)
How do I calculate how much thread I need for embroidery?
To calculate thread needs, consider your design’s stitch count, fabric type, and stitching style. Multiply stitch count by thread length per stitch (varies by fabric). Add 10-20% for safety. Don’t forget bobbin thread – it’s about half of top thread usage.
How to calculate embroidery thread consumption?
You might think it’s complex, but calculating thread consumption is straightforward. Estimate usage by multiplying stitch count by thread length per stitch. Factor in design size, fabric thickness, and stitch type. For precision, use specialized software or online calculators.
How do I know how much embroidery floss I need?
You’ll need to calculate your project’s stitch count, fabric size, and stitching style. Use a skein calculator or formula that factors in these variables. Consider your efficiency level and round up for safety. Don’t forget to account for existing skeins.
How do you estimate stitch count for embroidery?
To estimate stitch count for embroidery, you’ll need to analyze your design carefully. Count the number of stitches in a small section, then multiply by the total area. For complex designs, use specialized software or chart-counting techniques for accuracy.
How does thread tension affect overall thread usage?
Ever wonder how thread tension impacts your project’s thread usage? You’ll find that tighter tension increases friction, leading to more thread consumption. Conversely, looser tension allows for smoother movement, potentially reducing overall thread usage in your embroidery work.
Can thread weight impact embroidery machine performance?
Yes, thread weight does matter for your sewing machine. The heavy ones can cause tension issues, while lighter ones can break easily. You need to adjust the setting for the sewing machine according to different weights so that you get the best result.
Are there regional differences in thread measurement standards?
You’ll find subtle variations in thread measurement across regions. While some countries embrace the metric system, others cling to traditional units. It’s essential you’re aware of these differences when sourcing materials for your stitching projects.
How do metallic threads compare in usage to standard threads?
You’ll find metallic threads consume more than standard ones. They’re finicky, causing increased friction and breakage. You’ll need about 20-30% extra for the same project. Consider using a larger needle and slower stitching speed for best results.
Whats the environmental impact of different embroidery thread types?
Environmental tolerance is more in threads formed by natural fibers like cotton and silk. Synthetic fibers are stable and naturally contribute microplastic pollution. Eco-friendly options include recycled polyester and lyocell. Consider the modes of production, durability of threads, and their methods of disposal while judging the sustainability aspect of threads.
Conclusion
Armed with the knowledge of embroidery thread calculations, you’re now ready to tackle any project with precision. Like a skilled architect planning a masterpiece, you can estimate your floss needs accurately, considering fabric count, stitch types, and project size.
You’ve learned to calculate thread consumption per stitch and adapt to different fabrics. By mastering these techniques, you’ll minimize waste and maximize efficiency in your embroidery projects.

