This site is supported by our readers. We may earn a commission, at no cost to you, if you purchase through links.
When it’s time to sew, take it slow and steady, using short stitches for tight curves and longer ones for gentle bends. Remember to ease the fabric as you go to prevent puckering.
Pressing is your secret weapon for that polished finish.
And if things go wonky, no worries! We’ve got troubleshooting tips up our sleeve that’ll have you curving with confidence.
Table Of Contents
- Key Takeaways
- Essential Tools for Hand Sewing Curved Seams
- Preparing Fabric for Curved Seam Sewing
- Marking and Cutting Curved Seam Patterns
- Pinning and Basting Curved Seams
- Hand Stitching Techniques for Smooth Curves
- Navigating Tight Curves and Corners
- Pressing and Shaping Curved Seams
- Finishing Curved Seams by Hand
- Troubleshooting Common Curved Seam Issues
- Frequently Asked Questions (FAQs)
- Conclusion
Key Takeaways
- You’ll need the right tools for the job: Choose needles and thread that match your fabric, grab some fabric marking tools (your new best friends), and don’t forget those trusty pins and clips. Think of it like assembling your sewing superhero utility belt!
- Prep is key: Take time to transfer your pattern markings carefully and cut those curves with precision. It’s like setting up dominoes — get it right from the start, and everything else will fall into place smoothly.
- Embrace the curve: When stitching, use shorter stitches for tight turns and longer ones for gentle bends. Think of it like driving — you’ll slow down for those hairpin turns and cruise on the straightaways.
- Press for success: Your iron is your secret weapon for that polished finish. Use a tailor’s ham for curved surfaces (no, not the lunch meat kind!) and steam press like you’re ironing out life’s wrinkles. Your curves will be smoother than a sweet-talker at a singles’ bar!
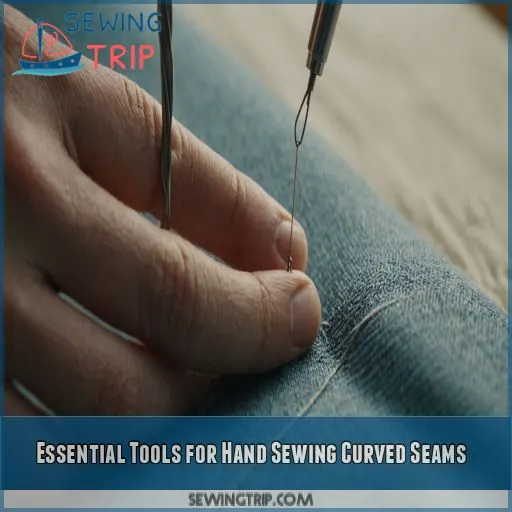
Essential Tools for Hand Sewing Curved Seams
You’re about to begin a journey to master the art of hand sewing curved seams, and having the right tools is your first step to success. Let’s explore the essential tools you’ll need to create smooth, professional-looking curves that’ll make your sewing projects shine.
Needles and Thread Selection
When tackling curved seams, your needle and thread are your trusty sidekicks. Choose wisely:
- Fine needles for delicate fabrics
- Medium needles for everyday projects
- Sturdy needles for heavy-duty curves
Thread weight should match your fabric.
Fabric Marking Tools
Precision’s the name of the game! You’ll need fabric marking tools to conquer those curves. Grab your chalk, tailor’s wheel, or fabric pen—they’re your trusty sidekicks for tracing flawless lines.
Scissors and Seam Rippers
You’ve got your fabric marked, now let’s cut to the chase! Scissors and seam rippers are your dynamic duo for curved seam success. Here’s what you need to know:
- Sharp scissors are your best friend – they’ll glide through curves like a hot knife through butter.
- Invest in quality seam rippers – they’re lifesavers when you need a do-over.
- Keep ’em clean and oiled – well-maintained tools make for happy hands and flawless curves.
Pins and Clips for Securing Curves
For curved seams, you’ll need the right tools to secure your fabric. Let’s explore pins and clips:
| Tool Type | Best For | Placement Tip |
|---|---|---|
| Glass-head Pins | Delicate Fabrics | Every 1-2 inches |
| Wonder Clips | Thick Materials | Curves and corners |
| Basting Tape | Slippery Fabrics | Along entire seam |
These handy helpers will keep your curves in check, making your sewing journey smoother than a freshly pressed seam!
Preparing Fabric for Curved Seam Sewing
Before getting into curved seams, you’ll need to prep your fabric like a pro.
First things first, choose your fabric wisely – it can make or break your project!
Once you’ve got your perfect match, align the grain like you’re setting up dominoes. Trust me, it’s a game-changer.
Next up, give your fabric a spa day with a pre-wash treatment. It’ll thank you later by behaving better under the needle.
Now, channel your inner superhero and zap those wrinkles into submission with your trusty iron. Your fabric should be smoother than a sweet-talker at a singles’ bar.
Marking and Cutting Curved Seam Patterns
You’ve got your pattern and fabric ready, now it’s time for the fun part: marking and cutting those curvy masterpieces! In this section, we’ll show you how to transfer your pattern markings with precision and cut your curved pieces like a pro, so you’ll be ready to create seams smoother than a freshly ironed shirt.
Transferring Pattern Markings to Fabric
With your fabric prepped, it’s time for some artistic flair! Grab your favorite marking tools—chalk, washable pens, or transfer paper—and carefully trace those curvy pattern lines onto your fabric. It’s like connect-the-dots for grown-ups!
Techniques for Cutting Curved Pieces Accurately
- Align with the fabric grain
- Wield your rotary cutter confidently
- Follow cutting guides religiously
- Embrace bias cutting for flexibility
Notching Convex Curves and Clipping Concave Curves
Now that you’ve cut your pieces, it’s time for some fabric surgery! Notch those convex curves and clip the concave ones. This’ll help your seams lay flat when you sew. Think of it as giving your fabric room to breathe.
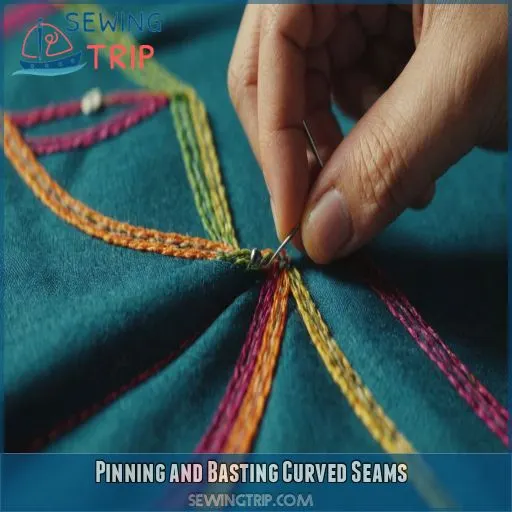
Pinning and Basting Curved Seams
You’re about to learn the important art of pinning and basting curved seams, a skill that’ll take your hand sewing to the next level. Get ready to master techniques for matching curved edges, easing fabric to prevent puckering, and using temporary stitches for stability your curves will never look better!
Techniques for Matching Curved Edges
To match curved edges like a pro, start by aligning notches. Pin at these points, then work your way around, gently stretching fabric as needed. For tricky curves, hand baste with long stitches before diving into your final seam.
Easing Fabric to Prevent Puckering
To ease fabric and prevent puckering, work with the grain. Gently stretch the inner curve to fit the outer one, pinning as you go. Control tension by adjusting your grip, ensuring a smooth seam allowance. It’s like giving your fabric a gentle hug!
Temporary Stitching for Stability
Now that you’ve eased your fabric, let’s secure those curves! Temporary stitching is your secret weapon for stable seams. Here’s how to baste like a pro:
- Use long, loose stitches
- Choose contrasting thread for easy removal
- Stitch just inside the seam allowance
- Work in sections for better control
- Remove basting after final stitching
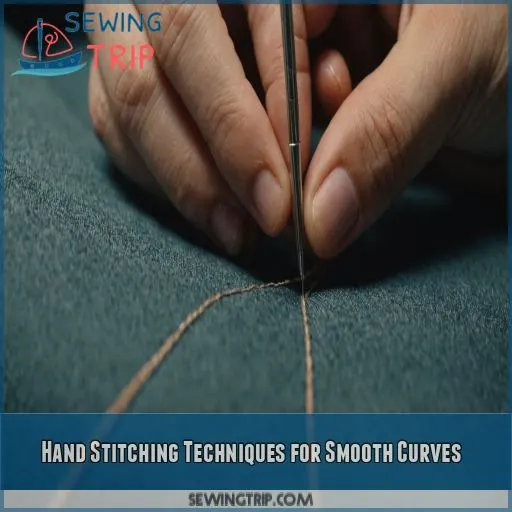
Hand Stitching Techniques for Smooth Curves
You’ve pinned and basted your curved seams, now it’s time for the main event: hand stitching those smooth curves. In this section, we’ll explore three essential hand stitching techniques that’ll have you curving like a pro in no time.
Running Stitch for Gentle Curves
Ready to tackle those gentle curves? The running stitch is your go-to buddy here. Keep your stitches short and sweet, about 1/8 inch apart. As you curve, ease the fabric gently, letting it guide your needle’s path.
Backstitch for Stronger Seams
While running stitches are great for gentle curves, you’ll want to break out the backstitch for stronger seams. This powerhouse stitch is your best friend when durability matters. Let’s learn how to master it on those tricky curves!
Whipstitch for Curved Edges
- Thread your needle
- Start from the wrong side
- Wrap thread over the edge
- Pull tight and repeat
Navigating Tight Curves and Corners
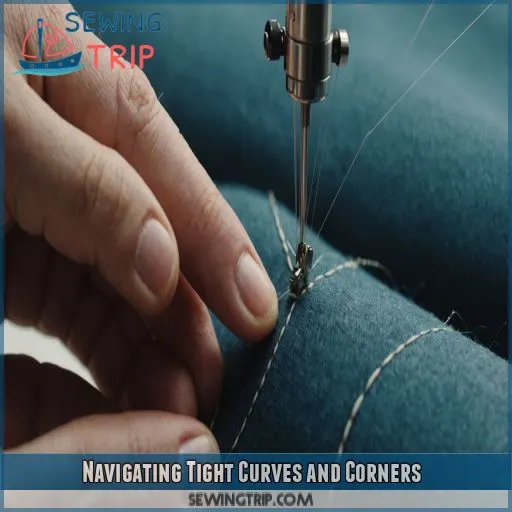
You’re cruising along with your hand sewing, but suddenly you hit a sharp turn – yikes! Don’t panic: mastering tight curves and corners is like learning to parallel park, and we’ll show you how to nail it every time.
Adjusting Stitch Length for Sharp Turns
When tackling sharp turns, adjust your stitch length to maintain control. Here’s a quick guide:
| Turn Sharpness | Stitch Length | Needle Tension | Thread Thickness |
|---|---|---|---|
| Gentle | Longer | Normal | Regular |
| Moderate | Medium | Slightly tight | Regular |
| Sharp | Shorter | Tight | Thinner |
| Extreme | Tiny | Very tight | Finest |
Pivot Stitching for Precise Curves
Frequently, tight curves demand a special touch. To pivot stitch, pause with the needle down, lift the presser foot, and rotate your fabric. This nifty trick gives you ultimate curve control, making even the trickiest turns a breeze.
Handling Inside and Outside Corners
- Slow down as you approach
- Pivot at the exact corner point
- Adjust tension for smooth changes
No more corner conundrums!
Pressing and Shaping Curved Seams
You’ve stitched your curved seams, but the real magic happens during pressing. With the right techniques and tools, you’ll transform those wonky curves into smooth, professional-looking seams that’ll make you wonder if you’ve secretly become a couture designer overnight.
Using a Tailor’s Ham for Curved Surfaces
Now that you’ve conquered tight curves, let’s tackle shaping. A tailor’s ham is your secret weapon for pressing curved seams. This dense, curved cushion mimics body contours, letting you smooth out those tricky shapes with ease. No ham? No worries!
Steam Pressing Techniques for Smooth Results
Now that you’ve shaped your curves, let’s turn up the heat! Steam pressing is your secret weapon for silky-smooth seams. Grab your iron and get ready to tame those waves – we’ll have your curves looking runway-ready in no time!
Clipping and Notching for Flat Seams
With scissors poised, you’re ready to tame those unruly curves. Clipping and notching are your secret weapons for flat seams. Here’s why they’re essential:
- Banish bulky bunching
- Give your fabric more flexibility
- Achieve that oh-so-satisfying smooth finish
Finishing Curved Seams by Hand
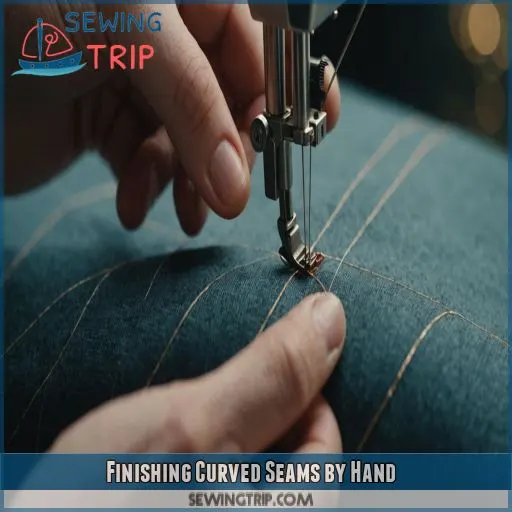
You’ve mastered the basics of hand sewing curved seams, but now it’s time to give them that professional finish. In this section, we’ll explore three techniques to beautifully complete your curved seams by hand, ensuring your project looks as good on the inside as it does on the outside.
French Seams for Delicate Fabrics
French seams are your delicate fabric‘s best friend. Start by sewing wrong sides together, trim, then flip and stitch right sides facing. You’ll create a clean, encased seam that’s both strong and beautiful. Perfect for those gossamer-thin materials!
Flat-felled Seams for Sturdy Finishes
After mastering delicate seams, it’s time to tackle the tough stuff! Flat-felled seams are your go-to for durability. Start by joining fabric right sides together, then trim one side shorter. Fold and press the longer side over, encasing the raw edge.
Binding Curved Edges
With curved edges calling for a polished finish, binding’s your go-to technique. Here’s how to nail it:
- Choose bias tape that complements your fabric
- Pin it along the curve, easing as you go
- Hand-stitch with care, embracing each bend
Troubleshooting Common Curved Seam Issues
Even the most experienced sewers encounter hiccups with curved seams, but don’t worry – we’ve got solutions for you! In this section, we’ll tackle common issues like puckered fabric, uneven curves, and frayed edges, giving you the know-how to rescue your curved seams and achieve that polished, professional look.
Fixing Puckered or Wavy Seams
Now that you’ve finished your seams, let’s tackle those pesky puckers. Wavy edges got you down? Don’t fret! We’ll smooth things out with a few tricks up our sleeve. First, check your seam allowance—it might be the culprit.
Adjusting Uneven Curves
- Unpick stitches carefully
- Re-pin, easing fabric gently
- Baste to check fit
- Restitch with confidence, embracing the curve’s natural flow
Repairing Torn or Frayed Curved Edges
Uh-oh! Did your curved edge decide to unravel? Don’t fret! Try darning techniques for small tears or apply a patch for larger issues. Use fabric stabilizers to prevent future fraying, and consider invisible mending for a seamless fix. Edge reinforcement is your new best friend!
Frequently Asked Questions (FAQs)
How to stitch curved seams?
Ready to conquer those curvy seams? You’ll feel like a sewing virtuoso! Use small stitches, guide fabric gently, and take it slow. Clip convex curves, slit concave ones. Practice makes perfect, so don’t be afraid to experiment.
What is the best seam finish for curved seams?
For curved seams, you’ll want to use a French seam finish. It’s your best bet! First, sew wrong sides together, trim, then flip and sew right sides together. It’ll give you a clean, professional look.
How to make a curved seam lay flat?
Don’t let your curves get you down! To flatten those stubborn seams, clip convex curves, snip concave ones, and press like you’re ironing out life’s wrinkles. You’ll have smooth sailing in no time!
How do you sew curved pieces of fabric together?
To sew curved pieces together, pin at key points, use short stitches, and guide the fabric gently. Snip convex curves and slit concave ones. Take your time, an
How to hand sew curved seams on stretchy fabrics?
Don’t fret about stretchy fabric! You’ll nail curved seams by hand. Use small, flexible stitches and pins to control stretch. Gently ease fabric as you go, taking your time. A ballpoint needle helps prevent snags. You’ve got this!
Can I use decorative stitches for hand-sewn curved seams?
You can jazz up your curved seams with decorative stitches. Start with simple patterns like running or herringbone stitches. As you gain confidence, try more intricate designs. Just remember to keep your stitches even for a polished look.
Whats the best thread tension for hand-sewn curves?
Thread tension‘s a tightrope walk for hand-sewn curves! You’ll want it just right – not too tight, not too loose. Aim for a balanced tension that allows the fabric to move smoothly without puckering. Test on scrap fabric first.
How to maintain consistent stitch length on curved seams?
To keep your stitches even on curves, practice makes perfect! Mark guidelines, use a thimble for control, and take it slow. Remember, it’s not a race. Imagine you’re tracing a delicate flower petal with each stitch.
Are there special needles for hand sewing curved seams?
You don’t need special needles for curved seams. Regular hand-sewing needles work just fine. The key’s in your technique: use smaller stitches, take your time, and guide the fabric gently. It’s all in the wrist, not the needle!
Conclusion
Mastering hand sewing curved seams might seem tricky, but you’ve got this!
With practice, you’ll be stitching curves like a pro.
Take your time, use the right tools, and don’t be afraid to unpick and try again.
Soon, you’ll be confidently creating beautiful, smooth curves in all your sewing projects.
So grab your needle and thread, and let your creativity curve its way to stunning garments and home decor pieces.
Happy sewing!

