This site is supported by our readers. We may earn a commission, at no cost to you, if you purchase through links.
When operating, dictate speed by changing pedal pressure – applying more accelerates stitching rate.
The commence/halt feature enables accurate control.
The pivot function assists turns and positioning.
Alter presser foot height contingent on fabric thickness, elevating for bulky materials.
In a similar manner, augment foot pressure for thicker fabrics to boost stitch quality.
Presser foot tension refines this further.
Command these pedal adjustments for utmost speed and accuracy, unleashing the machine’s full potential.
Table Of Contents
Key Takeaways
- Properly connecting and adjusting the sensitivity of the foot pedal is essential for precise speed control and smooth stitching.
- The foot pedal allows for start/stop operation, a pivot function, and adjustments to presser foot height and pressure based on fabric thickness.
- Adjusting the presser foot height and pressure is crucial for achieving the best stitch quality on different fabric types.
- Regularly maintaining the foot pedal by cleaning and lubricating it ensures consistent performance.
How to Adjust Sewing Machine Foot Pedal?
To adjust your sewing machine’s foot pedal, first set the pedal sensitivity by turning the adjustment screw to control the speed. Then, position the pedal for comfortable foot placement and use it to control the machine’s start/stop and pivot functions.
What is a Foot Pedal?
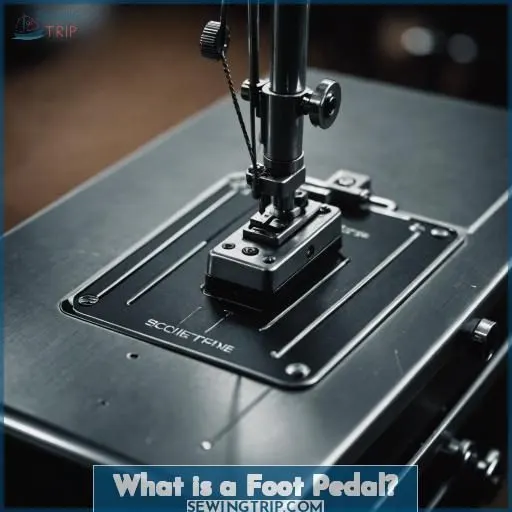
The foot pedal is the primary control for adjusting the speed of your sewing machine.
It’s a small, floor-mounted device that you operate with your foot, allowing you to start, stop, and control the speed of your stitching.
The sensitivity and responsiveness of the foot pedal can greatly affect your sewing experience.
It’s important to make sure it’s properly adjusted.
By finding the right balance of pedal sensitivity and foot pressure, you can achieve precise speed control and smooth stitching.
Whether you’re a beginner or an experienced sewer, mastering the foot pedal is essential to maximizing the capabilities of your sewing machine.
Setting Up the Foot Pedal
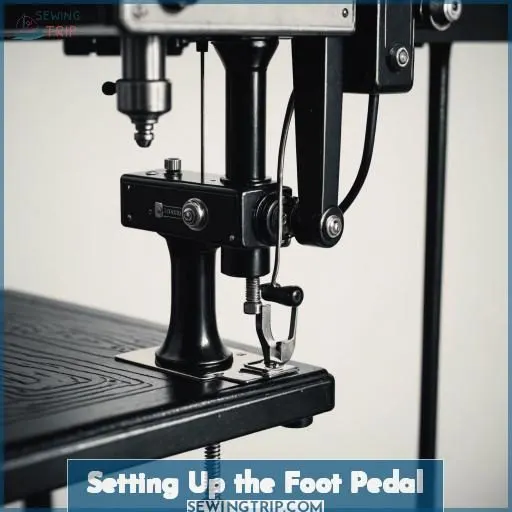
To begin setting up your sewing machine’s foot pedal, start by securely connecting the pedal cord to the designated port on the machine; this allows the pedal to communicate with and control the sewing functions.
Next, locate the sensitivity adjustment, often a knob or dial.
Fine-tune it to achieve your desired pedal responsiveness, adapting it to your preferred level of control over the machine’s speed.
Connecting the Pedal
Connecting the foot pedal to your sewing machine is straightforward.
First, locate the pedal port on your machine.
Next, insert the pedal’s cord into the port, ensuring a secure connection.
Manage the cord neatly to avoid tripping hazards.
Finally, plug the pedal into a power outlet and turn on your machine.
With the pedal connected, you’re ready to adjust its sensitivity.
Adjusting Pedal Sensitivity
Adjusting the pedal’s sensitivity range allows you to customize the response time to your liking. Start by testing the sensitivity at different settings to find your sweet spot. Consider ergonomic factors like foot size and position for proficient control. Regularly maintain the pedal by cleaning and lubricating it to guarantee smooth, consistent performance.
Pedal Placement
Proper pedal placement is key for comfort and control. Position the pedal where your foot naturally rests, with your leg at a 90-degree angle. Keep your body upright and relaxed, not hunched over. Adjust the pedal height so your knee is slightly bent. Experiment to find the most ergonomic setup for your body and sewing style.
- Keep your foot and leg in a neutral, relaxed position
- Position the pedal where your foot naturally rests
- Adjust the height so your knee is slightly bent
- Find the most comfortable and ergonomic setup for you
Using the Foot Pedal
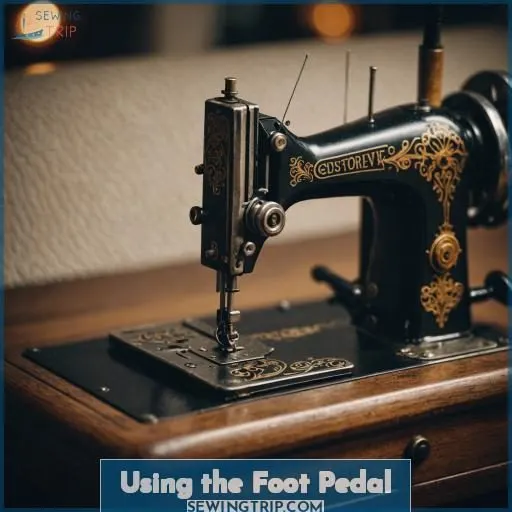
With the foot pedal connected and properly adjusted, you can now utilize its capabilities to control the sewing machine’s speed and access key functions. The pedal allows you to regulate stitch formation by varying pressure, enabling a start/stop operation and a pivot function for precise turns and positioning.
Controlling Speed
Once you’ve properly set up your foot pedal, you can use it to precisely control your sewing speed.
Gently press down on the pedal to start sewing.
Adjust the pressure to control your speed – just like the gas pedal in your car.
The more you press, the faster the machine will run.
This gives you the precision of a cruise control for your stitches.
Start/Stop Function
The start/stop function on your sewing machine’s foot pedal gives you precise control over when your machine begins and stops stitching. Simply press down on the pedal to start sewing, and release it to pause or stop. This allows you to start and stop stitching with ease, helping you maintain speed and precision throughout your project.
Pivot Function
The pivot function on your sewing machine foot pedal grants you meticulous command over rotating and turning your fabric.
Alter the pivot span, responsiveness, and angles to determine the optimal setting for your sewing requirements.
Utilize the designated pivot button to smoothly switch between straight stitching and pivoting with celerity and accuracy.
Enhance the ergonomics of the pivot function for utmost control and ease.
Adjusting Foot Height
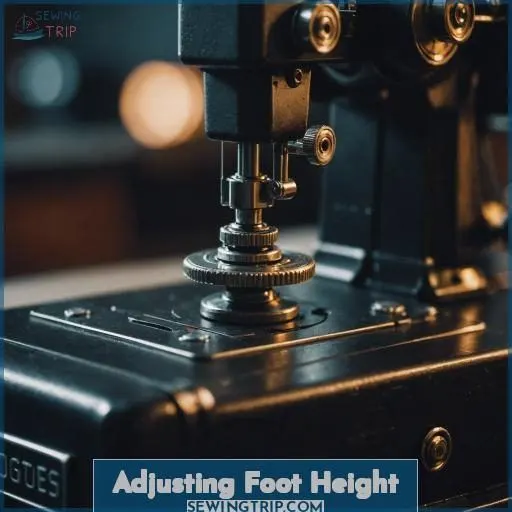
Adjusting the presser foot height is essential for obtaining the best stitch quality and handling different fabric thicknesses. Consider raising the presser foot higher when sewing thick materials such as denim or multiple layers, while lowering it closer to the feed dogs provides greater control when sewing lightweight fabrics.
Presser Foot Height
Adjusting the presser foot height is essential for achieving the perfect stitch.
Start by checking your presser foot type and needle height.
Then, use the tension adjustment knob to fine-tune the pressure based on your fabric thickness and desired stitch length.
Finding the right presser foot height will enhance your comfort level and sewing precision, even on a novice machine.
Consider enrolling in an in-person class to master this technique.
Zipper Foot Height
Adjusting the zipper foot height is essential for accurate control when sewing zippers.
Begin by choosing the appropriate zipper foot size and type for your project.
Make sure the foot is correctly attached and lubricated for effortless movement.
Try out different heights to find the ideal setting that strikes a balance between speed and precision.
Maintain your zipper foot regularly for consistent performance.
Adjusting Foot Pressure
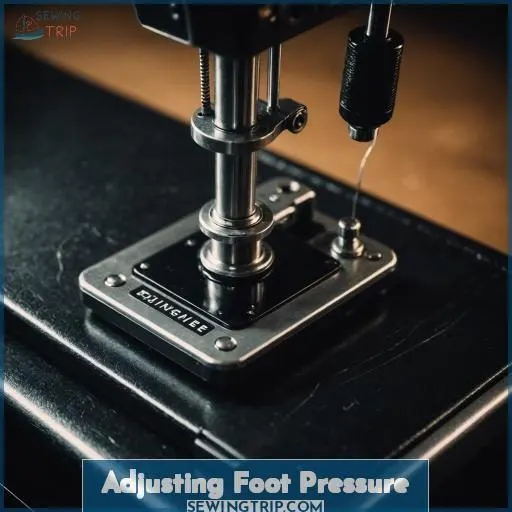
You’ll need to adjust the foot pressure based on the fabric thickness to guarantee consistent stitch quality. The presser foot tension should be amplified for thicker fabrics and diminished for thinner materials to avert puckering or skipped stitches.
Fabric Thickness
Adjusting the foot pressure on your sewing machine is essential for managing different fabric thicknesses. For sturdy fabrics such as denim, increase the pressure to preserve control. For delicate transparent fabrics, reduce the pressure to avert puckering. Use this table as a guide:
| Fabric Type | Pressure Setting |
|---|---|
| Sturdy (Denim, Leather) | High |
| Medium (Cotton, Linen) | Medium |
| Delicate (Silk, Chiffon) | Low |
Stitch Quality
Adjusting the foot pressure is vital for achieving excellent stitch quality. Begin by assessing the fabric thickness – thicker fabrics necessitate greater pressure to feed uniformly. Subsequently, experiment with stitch length and width to determine the ideal settings for your project, be it seams, ornamental stitching, or free motion quilting on bias edges.
Presser Foot Tension
Setting the presser foot tension is essential for achieving the best stitch quality.
Begin by checking the tension on spare fabric – it should feed smoothly without gathering or skipping stitches.
If necessary, adjust the tension dial to increase or decrease the pressure.
This guarantees that your fabric layers feed evenly for professional-looking results, whether you’re piecing, sewing a patchwork quilt, or working with delicate fabrics.
Frequently Asked Questions (FAQs)
How to set up a sewing machine foot pedal?
Remember when you first learned to drive? Setting up your sewing pedal is just as simple. Connect it securely, adjust the sensitivity for smooth control – you’re now the master of your machine’s speed. Liberate your creativity with precision!
How to adjust the height of a sewing machine foot?
To raise or lower your machine’s foot height, you’ll find a lever or knob near the needle bar. Tweak it until the foot is positioned perfectly—not too high that it jams the fabric, but just high enough for smooth stitching. Mastering this simple adjustment grants you creative flexibility in your sewing.
How to adjust foot pressure on sewing machine?
Did you know 90% of sewists struggle with foot pressure? To achieve mastery, adjust the presser foot dial clockwise for more pressure or counterclockwise for less. Experiment until the fabric glides smoothly yet securely.
How to control foot pedal?
You control speed with foot pressure—light for slow, heavy for fast. Master the pedal’s responsiveness through practice runs on scraps. With time, stitching at your desired pace becomes second nature, giving you total command.
How do I clean and maintain my foot pedal?
Ever wondered what keeps that foot pedal going? Dust and lint can slow it down over time. To keep it in top shape, unplug it, use a soft cloth to gently wipe away dirt and debris—that’s the key to smooth pedal action.
Can I use a different foot pedal with my machine?
You can indeed swap out the foot pedal as long as it’s compatible with your machine. Check your manual or contact the manufacturer to make certain you get the right model and connection type. A mismatched pedal could potentially damage the circuitry.
What should I do if my foot pedal stops working?
Did you know 1 in 5 sewers faces foot pedal failure? Troubleshoot it first – check cables, replace batteries. If it’s faulty, order a compatible replacement. Don’t tinker; precision parts require expertise.
How do I troubleshoot issues with my foot pedal?
Examine the pedal’s cord for damage, test with another device, clean contacts, check for obstructions, and adjust tension. If issues persist, consult your manual or seek professional repair – regaining control requires diligent troubleshooting.
Can I adjust the foot pedals sensitivity or responsiveness?
Like fine-tuning a musical instrument, yes – foot pedal sensitivity is often adjustable via tension screws or springs, providing precise control over your sewing machine’s tempo.
Conclusion
Mastering how to adjust sewing machine foot pedal sensitivity, height, and pressure enables seamless speed and precision. Correctly linking the pedal, specifying your desired response, and refining foot settings empowers you to harness the machine’s full potential. From delicate fabrics to bulky materials, modifying these adjustments allows effortless fabric feeding and flawless stitch quality on every project.

