This site is supported by our readers. We may earn a commission, at no cost to you, if you purchase through links.
Dyeing cashmere can be daunting, but with the right tools and techniques it’s possible. Over 50k people have already tried it! Whether you’re looking for an all-natural solution like coffee dyeing, or using dyes from brands like Rit and Dylon, or even food coloring dyes, there are many options. In this article we’ll discuss how to use Dylon safely to get vibrant colors that won’t fade away. Let’s learn how easy it can be when you know the precautions.
Ready? Let’s go!
Table Of Contents
- Step 1: Start With a Clean Cashmere Item
- Step 2: Prepare the Dye Bath
- Step 3: Add the Cashmere Item to the Dye Bath
- Step 4: Stir the Cashmere Item in the Dye Bath
- Step 5: Rinse the Cashmere Item
- Step 6: Wash the Cashmere Item
- Step 7: Enjoy Your Newly Dyed Cashmere Item
- Tips for Dyeing Cashmere With Dylon
- Dyeing Cashmere With Food Coloring Dyes
- Dyeing Cashmere Coat and Scarf
- Dyeing Cashmere Yarn
- Dyeing Cashmere Blend Fabrics
- Frequently Asked Questions (FAQs)
- Conclusion
Step 1: Start With a Clean Cashmere Item
Before you begin your dyeing project, make sure to give the cashmere item a proper wash with soap and water. Use baby shampoo or follow instructions on the care tag for best results.
It is also important to choose a color of dye that complements your current shade of cashmere if desired, as some colors may be darker and stronger than others; using two dyes can produce more vibrant results but it is always wise to use commercial color removers first if wanting lighter shades.
Once you’ve prepared your store-bought Dylon dye, set up an area in which you can protect surrounding surfaces from potential staining – old towels are perfect for this task!
Fill a sink or container large enough for submerging the cashmere item with cold water (if possible). Dissolve one packet of Dylon in this bath alongside rubber bands used later during drying process – these will create ‘tie-dye’ patterns when removed!
Immerse garment into solution and stir every so often over 30 minutes until desired hue achieved then rinse thoroughly under cool running water until all traces have gone. Hang up out of direct sunlight where air can circulate freely around fabric without heat influence causing shrinkage.
Store away after 24 hours dry time using dust bags/boxes specifically designed for textile garments like Cashmeres’.
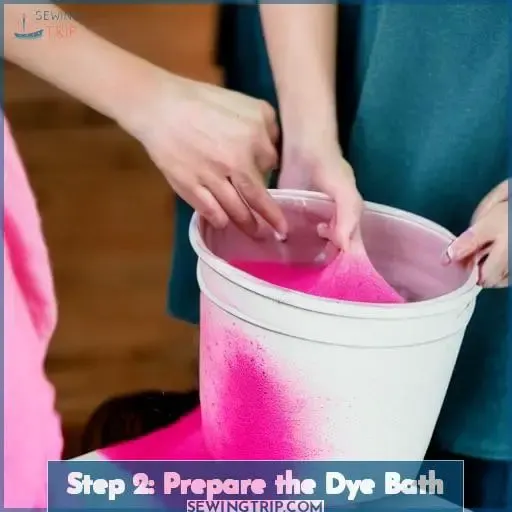
Step 2: Prepare the Dye Bath
To ensure a vibrant cashmere hue, prepare the dye bath with care – because as they say, ‘measure twice and cut once’! Before beginning the dyeing process, select an appropriate fabric dye for cashmere. Popular brands include RIT DYLON and Procion MX dyes; acid dyes also work well.
Wash in soapy water to remove dirt or stains before preparing for the dye bath. Follow manufacturer’s instructions when using baby shampoo if necessary.
Prepare safety measures before proceeding: wear gloves and old clothes while handling commercial color removers; cover workspace with old towels in case of accidental spills/splashes; conduct a quick test on small swatch piece from garment before immersing entire article into solution. This’ll help you determine how long you need to leave item submerged, depending on desired shade of color result (10-30 minutes).
Dissolve desired amount of powdery fabric dyestuff into warm water until fully mixed, creating even concentration throughout. Submerge clean, dry woolen material into container filled with either cold or lukewarm temperature, according to package instructions. Don’t agitate fibers too much while stirring gently every few minutes until final hue achieved.
Rinse immediately under cool tap water setting till runs clear, without any trace left behind from chemical residue after removing rubber bands used earlier during preparation step.
Hang up wet knitwear, making sure no direct sunlight exposure. Allow drying time to take place naturally indoors, away from outside elements which can cause damage over prolonged periods through constant UV radiation exposure, leading to discoloration and fading occurring prematurely.
Reminder: checkup/review/maintenance/upkeep at regular, periodic intervals to maintain optimal results. Achieve the stated goal/intended outcome/desire/wish fulfilled/expectations met/exceeded/surpassed/success criteria/criterion/standards/quality control assurance/measure/metrics/guidelines/checklist/protocols/performance standard/benchmarks/key performance indicators/KPI/achievement/awards/recognition/rewarded/acknowledged/acknowledgements/public announcement/shared/broadcasted/announced/news/headline/headlines/trending topics/popular hashtags/hashtag/clickbait culture/microblogging/blogging/social media/influencers/opinion leaders/tastemakers/role models/trendsetters/fashionistas/style mavens/catwalks/runways/luxury/designer/branded labels/exclusive/limited edition collections/capsule wardrobe/curated picks/eye catch/eyeballs/attention/captivate/mesmerize/magnetize/draw/attraction/enticement/entrancement/enrapture/charm/dazzle/impress/wow factor/amaze/astonish/astound/stupefy/stun/flabbergast/dumbfound/overwhelm/surprise/shock/bewilder/befuddle/bamboozle/perplex/mystify/confound/bedazzled/bedazzlement/bedeviled/beguile/ensnarl/fascinate/grip/hold sway/enchantment/fascination/fixation/obsession/compulsion/infatuation/rapture/transcendence/blissful/joy/happiness/contentment/smile/grins/grinner/laughter/glee/merriment/cheerfulness/delightedness/elation/exhilaration/euphoria/enthusiasm/exaltation/jubilation/admiration/wonder/awe/marvel/amazement/admiration/grandeur/magnificence/splendor/spectacle/beauty/gorgeous/stunning/ravishing/glamorous/majestic/fabulous/winsome/comely/lovely/pulchritude/angelic/beatific/divine/perfection/impeccable/majesty/estimable/excellence/elegance/grace/loveliness/splendiferous/resplendent/radiance/charisma/celebrity/popularity/likability/appeal/charming/endearing/admirable/attractive/winning/fetching/delightful/loveable/cuddlesome/pretty/darling/winsomeness/exquisite/delicate/refined/subtle/stylish/chic/debonair/rakish/modish/voguish/chichi/spiffy/snazzy/natty/ritz
Step 3: Add the Cashmere Item to the Dye Bath
Now it’s time to add your item to the dye bath! Wear gloves and old clothes, then carefully place the cashmere in the mixture. Pay attention to temperature when dyeing – too hot or cold can be damaging. Follow any instructions provided by fabric manufacturers for best results.
When selecting a color, think about what will work well with your current cashmere coat and go from there – some colors are more vibrant than others, so double up on dyes if needed for a saturated result. Adjust the concentration of the dye solution according to instructions; this affects how long items should stay in the bath before being removed, as well as overall vibrancy of color once dry.
Soaking time shouldn’t exceed 30 minutes, but don’t agitate the fabric too much while submerged – this could damage fibers and lead to an uneven finish after drying.
Step 4: Stir the Cashmere Item in the Dye Bath
Carefully stir the fabric in the dye bath, as if you were stirring a pot of paint – gradual temperature changes will help ensure that your cashmere item comes out vibrant and undamaged. Keep an eye on the dye’s temperature to prevent any damage to natural fibers or synthetic fabrics. When selecting colors for immersion dying, keep in mind that some colors may be darker and stronger than others; use two dyes when needed. Make sure to choose commercial brands like RIT, DYLON, or Procion MX for best results; these are specifically designed for protein fibres because they provide colorfastness after washing instructions have been followed carefully.
When stirring your cashmere item, make sure not to agitate it too much so its shape is kept intact. Dip it into a prepared vat with lukewarm liquid which has already been saturated with pigments from either acid dyes or food coloring. Wear gloves and old clothes in case any stains occur, then rinse afterwards until all visible residue has disappeared completely.
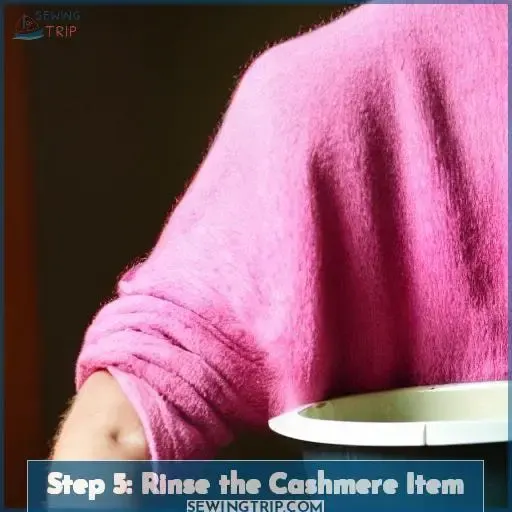
Step 5: Rinse the Cashmere Item
Carefully remove your cashmere item from the dye bath and rinse it thoroughly under cold water until the water runs clear. This process will help to remove any excess dye that may have remained on the fabric, ensuring a more even color distribution. Be sure to use cool water during this step as hot or warm temperatures can cause shrinkage and damage to your precious cashmere.
After rinsing, gently squeeze out any excess water without wringing or twisting your cashmere item. It’s important not to leave too much moisture in the fabric as this can lead to mildew growth and damage over time. Once you’ve removed most of the excess water, lay it flat on a clean towel and roll up tightly with gentle pressure applied throughout for several minutes until all remaining moisture has been absorbed by the towel.
Remember to always wear protective gear like gloves while handling dyes and face masks if necessary, especially when working with powdered dyes which could be dangerous when inhaled.
Post-rinse care is crucial for maintaining both color vibrancy and overall quality of your newly dyed cashmere garment. To protect its delicate fibers, we recommend avoiding exposure to long term sunlight or heat sources. It’s best practice to store them away from direct light, moisture, and possible friction caused by other garments. Store them after drying completely wrapped inside dust bags, tissue paper, or acid-free papers. Air dry properly before storing so they are free from dampness.
The table above provides some general guidelines regarding how much dye quantity should be used, based on manufacturer instructions, factors such as size of garment, etc., dye temperature (cool), and duration (10-30 mins).
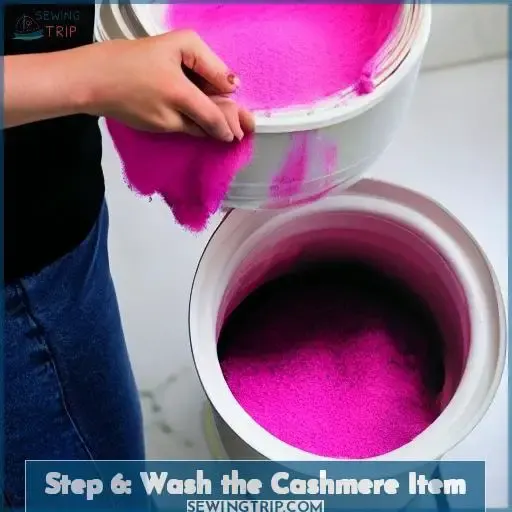
Step 6: Wash the Cashmere Item
After you have rinsed the item, it’s time to give it a gentle wash to bring out its true colors and luster. Add a small amount of detergent to the dye bath or washing machine to remove any excess dye. Wear rubber gloves and take care when disposing of the dye bath. Don’t use too much detergent, as this can cause stains on the fabric. Follow packet instructions about heat setting, adjusting the temperature for cashmere fabric (around 110°F). Rinse again until the water runs clear, then dry flat in a cool place away from direct sunlight and heat sources.
To ensure successful results while dying cashmere:
- Add detergent carefully during washing process
- Observe safety precautions with dyes
- Follow instructions about heat setting
- Check for staining before final rinse
- Avoid overheating – keep items away from direct sunlight/heat source
Follow these steps for beautiful colorfast results every time!
Step 7: Enjoy Your Newly Dyed Cashmere Item
Now that you’ve finished dyeing your cashmere item, it’s time to enjoy the results of your hard work! But before you do, make sure to follow some important safety precautions. Always use rubber gloves when handling fabric dye to avoid staining or harming your skin. Additionally, be mindful of any equipment used in the dyeing process such as containers or utensils. Thoroughly clean them with bleach or cleaning products to prevent unwanted residue from contaminating future projects.
When choosing a color for your cashmere item, consider its current color and potential outcomes based on different dyes. DYLON is a popular choice for cold water dyeing due to its easy-to-use nature and variety of colors. If using acid dyes (more suitable for protein fibers like cashmere), pay close attention during the gradual temperature changes to avoid damaging the fabric. No matter which type of fabric dye you choose, follow proper preparation techniques including washing beforehand. This will ensure optimal results in terms of vibrancy and longevity. After drying on a flat surface away from heat sources like sunlight, coax back into shape without tugging too forcefully.
Enjoy your newly dyed cashmere item!
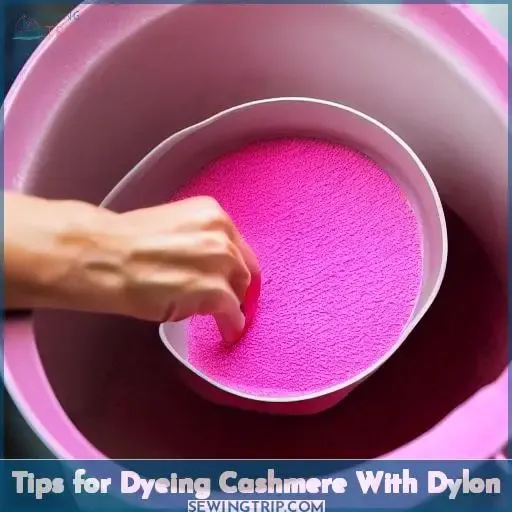
Tips for Dyeing Cashmere With Dylon
Give your cashmere a vibrant makeover with Dylon-dyeing, like giving a fresh coat of paint to an old masterpiece!
Always wear gloves and work in an area that can handle any potential fabric dye stains. Choose the right color for the job – acidic dyes provide dark colors while food coloring offers more muted tones.
To ensure even coverage when using natural fabrics such as cashmere, mix two different shades together or blend multiple hues into one single solution for the perfect shade every time! Also remember to always conduct a small fabric test before you begin – this will allow you check how much color depth your yarn can absorb without becoming damaged by sudden temperature changes during dyebaths.
To get started:
- Wear gloves and old clothes when working with dyes
- Test out different colors beforehand
- Create separate dye mixtures for each hue if needed
- Wrap up the finished product in plastic overnight
- Rinse gently until water runs clear.
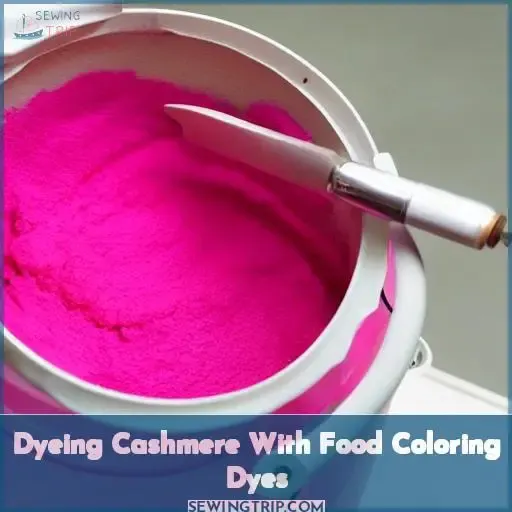
Dyeing Cashmere With Food Coloring Dyes
You can give your cashmere a vibrant, all-natural makeover by using food coloring dyes. It’s non-toxic and easy to use, but take care not to get any of the different dyes on other clothing or dry cleaning items in the vicinity. Temperature is important too: warm temps will cause colors to blend, while cold water preserves contrast but takes longer for deeper shades. Colorfabricdye has great instructions on how to apply these methods. Give yourself enough room to make projects easier!
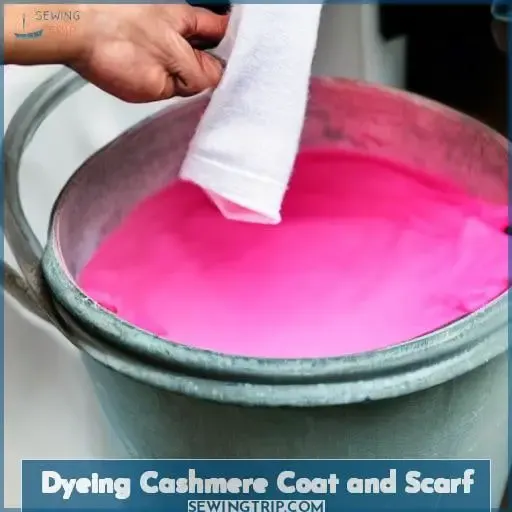
Dyeing Cashmere Coat and Scarf
You can give your cashmere coat or scarf a makeover with a dyeing technique! Try out Dylon to transform an old black coat into something more colorful and unique.
Mix the dyes correctly and use color combinations that work best together. Wear gloves and protect your working area to prevent permanent staining due to the fabric’s delicate nature. Temperature control during the process is key to achieving a vibrant shade that won’t fade quickly.
Choose colors carefully so they remain true once applied. Cashmere tends not to retain colors well if too much is added in one go. Mixing multiple dyes may help achieve desired effects while maintaining decent color retention levels.
Follow these steps for successful results when dyeing with Dylon on any type of cashmere garment.
Dyeing Cashmere Yarn
You can add a unique touch to your knitting projects by dyeing cashmere yarn with Dylon. Make sure to follow the steps for proper handling and temperature control.
Take necessary precautions like wearing rubber gloves and protecting your work area from any potential dye stains.
Prepare the cashmere yarn for dyeing using baby shampoo or following manufacturer’s instructions. Conduct fabric tests using a small piece of cloth to determine how it’ll react when immersed in dyebaths made up of various dyes such as RIT or Procion MX.
Prepare separate mixtures if using more than one color. Ensure all ingredients are fully dissolved before immersing the yarn – be careful not to agitate too much!
Once done, wrap up the knitted item in plastic overnight before rinsing under cool water until clear; then hang dry away from sunlight or heat sources.
Dyeing Cashmere Blend Fabrics
As you embark on your journey into the world of coloring cashmere blend fabrics, imagine yourself as a master painter – delicately and carefully dabbling colors onto the fabric with each brushstroke. Preparing these delicate fibers for dyeing requires special attention to ensure they won’t be damaged. Before beginning, it’s important to prepare both the fabric and dye bath correctly by paying close attention to temperature consistency when dyeing with Dylon or other synthetic fibres.
Choosing an appropriate color is key; some will appear darker than others, so if needed use two different dyes for a more saturated result. When creating your own custom-mixed shade, color remover can help lighten up any dark tones before applying new hues overtop them afterwards.
The actual dye bath should consist of cold water mixed according to manufacturer’s instructions. Gradually bring it up in temperature while stirring occasionally until evenly distributed throughout – this helps prevent uneven patches forming due to sudden changes in heat affecting certain areas more than others.
Here are five tips for successful results:
- Wear gloves and old clothes when preparing materials
- Conduct a small test patch first
- Check care tag directions
- Use separate mixtures if using multiple colors
- Monitor temperatures closely during application
Frequently Asked Questions (FAQs)
What type of dye is best for dyeing cashmere?
When choosing dye for cashmere, acid dyes are best. They provide a single-color effect. Lanaset dyes give a wash-fast, permanent colour. For a non-toxic option, food coloring can be used. Dylon works well with cold water dyeing. Rit should be handled carefully due to its tendency towards sudden temperature changes.
Remember some colours will appear darker than others. So consider your current hue before mixing solutions. Wear gloves in the vicinity of your container. Prepare fabric beforehand by washing with soap or baby shampoo according to care tags. This will ensure even coverage during dyeing.
Is it safe to dye cashmere with food coloring?
Dyeing your beloved cashmere garment doesn’t have to be difficult. Food coloring is a great, non-toxic option for creating colour variations on natural dyes – without the hassle of a dye bath. Plus, you can create unique, beautiful combinations of colours with just a little water and your desired shade!
To achieve the best results when dyeing cashmere with food coloring, gradually change temperatures to avoid damaging the fabric. Nothing compares to the feeling you get from wearing or gifting someone special their own one-of-a-kind purple sweater. It’s true: you’re only as good as what you put into it, so follow these tips for success:
Use separate mixtures if using more than one color;
Soak fabric in dye for 10-30 minutes, depending on vibrancy desired;
Wrap item in plastic bag overnight before rinsing under cool water until clear;
Hang up item until air dry completely – et voila!
Can I dye a cashmere coat or scarf?
Yes, you can dye a cashmere coat or scarf! Dylon is the best choice for cold water dyeing. It produces wash-fast results that won’t fade. Wear rubber gloves to protect your hands when adding color. Use a thermometer so you don’t damage the fabric with sudden temperature changes. Apply the dye using a squirt bottle for an even finish. This helps avoid uneven patches of color. Following these steps will keep your cashmere looking vibrant and protect it from fading or damage.
Is there a special technique for dyeing cashmere yarn?
Dyeing cashmere yarn requires special techniques for a light, even finish. Select the right dye for your project based on the fabric type and desired color. Acid dyes are best for an even, single-color effect, and lanaset dyes provide a wash-fast label that lasts. Avoid damaging the delicate fabric: use gradual temperature changes and avoid agitating the yarn in dye baths. You can also use food coloring or commercial brands like RIT or Dylon; follow safety instructions on their labels to create unique projects without sacrificing durability.
What is the best way to store dyed cashmere?
When washing your garment, use a ‘wash-fast’ label and dry on a flat surface away from direct heat or sunlight.
To keep humidity levels in check, use an air circulation system such as fans. This will help reduce condensation and damage caused by moisture build up.
Garment bags are useful for protecting against moths and providing enough space for fabrics to breathe without becoming crushed.
When covering your garment, be gentle. Stir the water gently at room temperature, then leave it overnight in its bagged state until dry.
Conclusion
You’ve done it! You’ve successfully dyed your cashmere item with Dylon and you’re ready to enjoy your beautiful new piece. Whether it’s a coat, scarf, yarn, or blend fabric, you’re now an expert. Your hard work and patience have paid off – show off your uniquely dyed cashmere!
Dyeing cashmere is a delicate process. With a careful hand and attention to detail, you can create amazing results. So go ahead and enjoy your new and improved cashmere item!


