This site is supported by our readers. We may earn a commission, at no cost to you, if you purchase through links.
 Hand sewing a button is simple with the right steps. Start by gathering a sharp needle, strong matching thread, a button, and sharp scissors.
Remove the garment if possible, and align the button with the buttonhole. Cut a 12-24 inch piece of thread, fold it in half, thread it through the needle, and tie a knot at the end.
Position the button, pull the thread through the first buttonhole, and repeat through the second. Create a shank by wrapping the thread around the button’s base and push the needle back through.
Tie a knot to finish, and your button is secure.
Want to know more details?
Table Of Contents
Key Takeaways
- Hand sewing a button is a simple task with the right steps. It’s like having a superpower in your mending arsenal!
- Create a sturdy shank by wrapping the thread around the button’s base. It’s like giving your button a little boost to stand tall and proud.
- Remember, a loose button doesn’t always mean weight gain. It’s more like a sign that your button needs some TLC.
- Double-knotting the thread adds extra security to your button repair. It’s like putting a lock on your button to keep it from escaping.
How to Hand Sew a Button?
To hand sew a button, thread a needle, position the button, and pull the needle through the fabric and buttonholes until secure (Source). Wrap the thread around the button base to create a shank and tie a knot to finish .
Gather the Necessary Materials
To sew a button by hand, you’ll need a few essential items: a needle, thread, the button itself, and scissors. A straight pin is optional but can be helpful for positioning the button and ensuring it’s not sewn too tightly to the fabric.
Needle
You’ll need a sharp, sturdy needle to sew your button. Choose one that’s appropriate for your fabric’s thickness. Store it safely and keep it clean for future use.
Thread
After selecting your needle, choose a strong thread that matches your garment’s color. For hand-sewing buttons, opt for a thicker thread type to create a durable anchor point.
Button
You’ve got your thread, now let’s focus on the button. Choose one that matches the garment’s style and size. Consider button material and placement for satisfactory sewing and functionality.
Scissors
You’ll need sharp scissors to cut thread precisely. When sewing buttons by hand, they’re essential for:
- Trimming excess thread
- Cutting the initial thread length
- Snipping any loose ends
Keep them handy!
Straight Pin (optional)
You’ll find a straight pin handy for button placement and creating the perfect shank. It’s optional but can elevate your sewing game, especially with tricky fabrics or buttonhole sizes.
Prepare the Fabric
Before you start sewing, it’s best to remove the garment if possible for easier handling. Next, align the button with the buttonhole and close the opposite flap or panel to guarantee proper placement.
Remove the Garment if Possible
Before diving in, remove the garment if possible. This step makes button sewing a breeze. If removal isn’t an option, don’t fret! You can still master this skill. Here’s why it’s helpful:
- Easier access to the fabric
- Better visibility of the work area
- Less strain on your hands
- Reduced risk of pricking yourself
Align the Button With the Buttonhole
To guarantee proper button alignment, position your button directly over the existing thread marks or where the old button was. If it’s a new placement, line it up with other buttons on the garment. Check that the button’s size and orientation match the buttonhole for a perfect fit.
Close the Opposite Flap or Panel
Once you’ve aligned the button, close the opposite flap or panel. This step is necessary for:
- Ensuring proper button placement
- Verifying buttonhole alignment
- Determining ideal thread tension
Consider fabric type and needle size as you proceed. This approach guarantees a snug fit and professional finish for your newly sewn button.
Thread the Needle
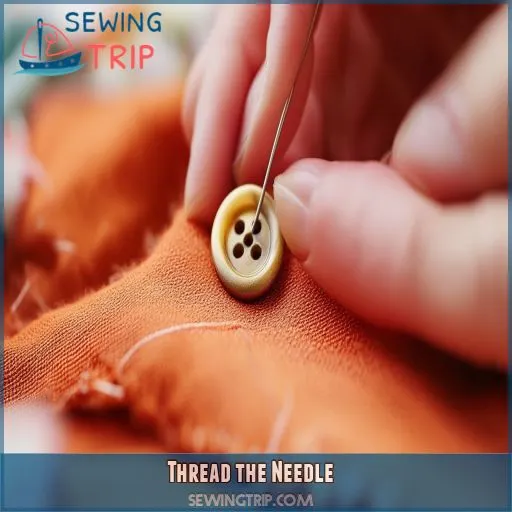
To thread your needle, start by cutting a 12-24 inch piece of thread and folding it in half. Next, guide the doubled thread through the needle’s eye and tie a secure knot at the end to prepare for sewing your button.
Cut a 12-24 Inch Piece of Thread
Now that you’ve prepared your fabric, it’s time to focus on the thread. Cut a 12-24 inch piece, considering the button size and fabric thickness. Choose a sturdy thread type that matches your garment’s color for ideal tension and knot security.
Fold the Thread in Half
Take your thread and fold it precisely in half. This doubles its thickness, enhancing knot strength for various button materials. Match thread color to your garment. Consider needle size when working with thicker threads for best results.
Thread the Needle With the Doubled Thread
Now that you’ve folded the thread, it’s time to thread the needle. Take the doubled thread and guide it through the eye. Choose a thread thickness, color, and quality that matches your garment for durability and a polished look.
Tie a Knot at the End
Now, tie a secure knot at the thread’s end. This vital step guarantees button strength and proper thread tension. Place the knot strategically, considering the thread material. In emergency situations, a well-tied knot can make all the difference.
Position the Button
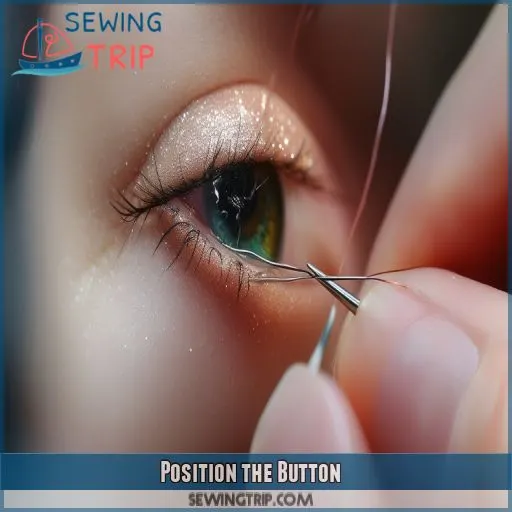
Now that you’ve threaded your needle, it’s time to position the button. This step is essential for a polished look and proper functionality. First, align your button with the others on your garment, ensuring it lines up perfectly with the buttonhole. Close the opposite flap or panel to double-check the alignment. Remember, different fabric types** may require adjustments in positioning. For heavier fabrics, you might want to place the button slightly closer to the edge.
Consider the button shape and size when positioning. Round buttons are forgiving, while square or novelty shapes need precise placement. If you’re using a straight pin, place it under the button to prevent tight stitching. This creates a little "shank" that allows the button to move freely.
Match your thread color to your fabric or button for a seamless look. The thread thickness and needle size should complement your fabric type for ideal results.
Secure the Button
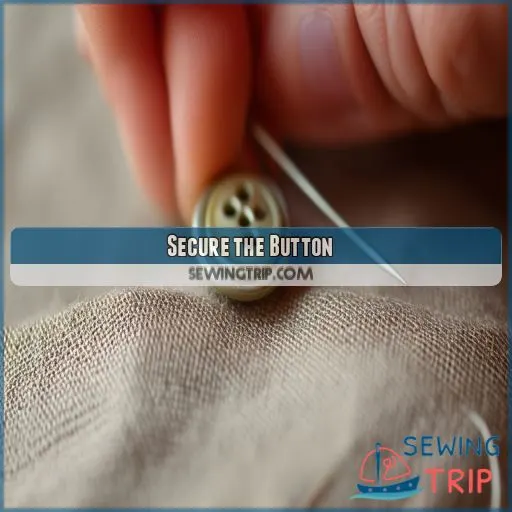
Begin by pulling the thread all the way through the first buttonhole and fabric, ensuring it’s taut. Repeat this process through the second buttonhole, maintaining consistent tension to secure the button firmly in place.
Pull the Thread All the Way Through
Now that you’ve positioned your button, it’s time to secure it. Push the needle up through the fabric and one of the button holes. Pull the thread all the way through, ensuring proper thread tension. This step is essential for button placement stability.
Choose a needle size that matches your fabric and button weight. Consider thread color to match or contrast with your garment.
Don’t worry about shank thickness yet; we’ll address that later.
Ready for the next hole?
Repeat This Process Through the Second Buttonhole
Now, let’s repeat the process through the second buttonhole to secure the button.
- Positioning needle: Align your needle through the next hole.
- Thread wrapping: Pull the thread all the way through.
- Knot strength: Make sure knots are tight for durability.
- Hole alignment: Verify the button’s position is correct before continuing.
This makes sure consistent shank thickness and a firm attachment.
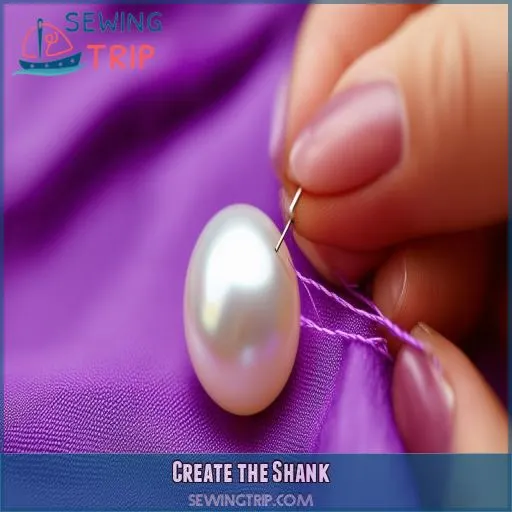
Create the Shank
To create a secure shank for your button, wrap the thread around the button’s stem six times, then push the needle back through the fabric for added reinforcement. This technique guarantees durability for your button attachment, completing the final steps for a well-sewn button.
Wrap the Thread Around the Thread Shaft Six Times
Now, wrap the thread around the thread shaft six times to create a sturdy shank.
This step guarantees the button sits slightly above the fabric, making it easier to button and unbutton.
Maintaining proper thread tension is essential for shank strength.
Consider needle size and fabric thickness; a thicker needle may be needed for dense fabrics, while a thinner one suits delicate materials.
Push the Needle Back Through the Fabric
Next, push the needle back through the fabric, adjusting for fabric thickness.
Maintain consistent thread tension to avoid puckering. This step will create the button shank, ensuring the button sits properly.
Consider the button’s material when determining needle length and knot security. A sturdy anchor is vital, so guarantee your knot is tight and the thread wraps securely around the shank.
Finish the Stitching
To finish the stitching, tie a knot with the remaining thread to secure the button in place. Cut off the excess thread close to the knot for a clean finish.
Tie a Knot With the Remaining Thread
To finish your button sewing, tie a secure knot with the remaining thread to confirm thread durability:
- Create an overhand knot by looping the thread around itself, then pull tight.
- If using thicker thread, confirm the knot is snug against the fabric for stability.
- Choose a knot position close to the fabric’s reverse side to keep the knot discreet and maintain uniformity in button shapes and materials.
Cut Off the Excess Thread
After tying the knot, trim off the excess thread to complete your work. Maintain consistent thread tension throughout for a neat finish. Here’s a quick reference table:
| Term | Meaning | Importance |
|---|---|---|
| Thread Tension | Tightness of the thread | Strengthens durability |
| Shank Length | Thread loops under the button | Provides flexibility |
| Button Placement | Position on the fabric | Ensures proper alignment and closure |
This guarantees your button remains secure and professionally attached.
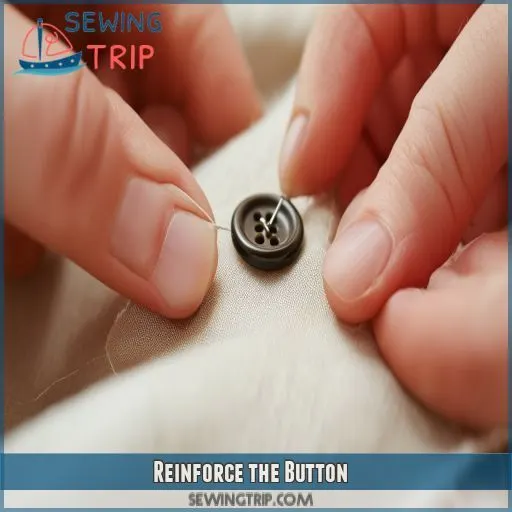
Reinforce the Button
To reinforce the button, make several stitches below the button to secure it tightly. Then, wrap the thread around the threads holding the button in place for added durability.
Make Several Stitches Below the Button
To make several stitches below the button, start by piercing the fabric just below it, ensuring it’s firm. Repeat this process a few times to create a secure hold.
Use a thread spacer if you have one to maintain consistency. This step helps to reinforce the strength, giving the button a strong shank and ensuring it stays firmly attached under wear and tear.
Wrap the Thread Around the Threads Holding the Button
To guarantee your button stays secure, wrap the thread around the threads holding the button. This reinforcement provides extra durability and maintains proper thread tension while guaranteeing consistent shank length.
- Increased button alignment: Keeps buttons perfectly placed.
- Boosted thread thickness: Adds strength for heavy use.
- Enhanced knot strength: Solidifies your work.
Once you’ve wrapped it six times, tie a strong knot to finish.
Use a Button Backing (Optional)
To further enhance the durability of your sewn button, consider using a button backing. This option is particularly beneficial for garments subject to heavy use. Button backings serve as a reinforcement layer, providing extra thread strength and improving shank stability by distributing the tension evenly across the fabric and button.
First, select a small button or a piece of fabric as the backing material. Position it on the inside of the garment, directly behind the main button. As you sew, pass the needle through both the main button and the backing material simultaneously. This dual-layer approach greatly boosts the button’s overall durability.
Incorporating a button backing guarantees your button remains securely in place, ready to withstand regular wear and tear while maintaining its functionality and appearance.
Enjoy Your Newly Sewn Button!
You’re all set to wear your garment again with a securely sewn button. Remember, a loose button doesn’t mean weight gain, and double-knotting the thread adds extra security for long-lasting use.
A Loose Button Does Not Indicate Weight Gain
As you admire your newly sewn button, remember a loose button doesn’t always signal weight changes. It could result from regular wear and tear or fluctuations in body composition.
Lifestyle changes, such as increased physical activity, can also influence your clothing fit. So, don’t fret; this simple maintenance guarantees your garments remain functional and fitting, regardless of any weight loss or gain.
Double-knot the Thread for Extra Security
Double-knotting the thread adds extra security to your repair, ensuring your button stays put. This technique increases thread strength and knot durability, which are essential for handling various fabric thicknesses and shank flexibility.
- Make your first knot snug against the fabric.
- Tie a second knot right on top.
- Pull the thread tight.
- Trim excess closely.
- Check the button’s stability.
Your newly sewn button is ready for any emergency repair!
Frequently Asked Questions (FAQs)
How do you hand sew a button step by step?
You’ll feel like a DIY superhero knowing how to hand sew a button. First, thread and knot your needle, then anchor the button position, stitch through holes six times, wrap threads for a shank, and tie off.
What is the strongest way to sew a button?
To sew a button strongly, use double-thread, create an anchor "X," add a spacer, make six passes through each hole pair, and wrap the thread around the base for a shank before tying off securely.
How do you sew a shank button by hand?
To hand sew a shank button, position the button, thread your needle, sew through the shank and fabric multiple times for security, wrap the thread around the shank, tie off with a knot, and trim excess.
How do you hand sew a two hole button?
Start by threading the needle and knotting the end. Position the button, insert the needle through one hole, then through the fabric. Repeat for the second hole. Secure by wrapping and knotting the thread underneath.
How to hand sew buttons?
First, thread your needle and knot the end. Secure the button by stitching through each hole and fabric multiple times, adding a spacer for flexibility. Wrap the thread around the base, tie off, and trim excess.
How do you sew a button on a sewing machine?
Imagine a steam engine in a modern garage. To sew a button on a machine, position the button, lower the presser foot, set a zigzag stitch, align holes, and stitch repeatedly, ensuring security, then finish off.
How do you sew a flat button?
Remove the garment, align the button properly, thread the needle with doubled thread, create an anchor point, position the button, sew through each hole three times, create a shank, tie off the thread, and trim.
Can you sew a shank button by hand?
To sew a shank button by hand, position the button, sew through the shank to create anchors, wrap thread around the base for stability, and tie off securely on the backside, ensuring a sturdy attachment.
How do you sew a button through a fabric hole?
Sure, because aligning a button with the buttonhole is obviously what everyone dreams of doing, pierce the needle through the fabric hole, push through the button hole, pull the thread tight, and repeat until secure.
Can you sew on a button?
To sew on a button, thread a needle, and knot it. Position the button, insert the needle through its holes and fabric, and repeat six times. Secure with a shank and tie off the thread.
What type of thread is most durable?
Silamide thread, specifically type A, is one of the most durable options for sewing buttons. It’s known for its strength, resistance to fraying, and versatility, making it perfect for ensuring your buttons stay securely attached (Source).
How to match button size to garment?
Verify the button size complements the garment’s fabric thickness and style. For example, pair larger buttons with heavy coats for durability. Check the buttonhole alignment to avoid uneven closure, ensuring aesthetic and functional harmony.
Can I use any needle for sewing buttons?
You can use any needle to sew buttons, but a sharp, medium-sized one is ideal. Make sure it fits through the buttonholes, and use a sturdy needle for thicker fabrics to prevent bending or breaking.
How to prevent needle from damaging fabric?
To prevent the needle from damaging fabric, use a straight pin positioned under the button, acting like a shield. This maintains the fabric’s integrity, ensuring each stitch glides smoothly without harming the material.
What is the best way to store sewing tools?
Store your sewing tools in a small, sturdy container with compartments. Use a pincushion for needles, wind thread onto bobbins, and keep scissors well-protected. An organized toolkit makes sure everything’s ready when you need it.
Conclusion
Mastering how to hand sew a button is like adding a new tool to your DIY toolkit, making you more self-sufficient.
By following these steps, you’ll make certain your button stays secure and looks professional.
With just a few materials and a little patience, you’ll be able to tackle any loose button with confidence.

