This site is supported by our readers. We may earn a commission, at no cost to you, if you purchase through links.
 Mastering how to hoop fabric for embroidery is key to professional results.
Start by adjusting the tension of your embroidery hoop to make sure your fabric stays taut. Position the inner hoop with the "this side up" marking facing up and lay your fabric face-up over it. Make sure the material aligns with the hoop edges, smoothing out wrinkles.
Secure the fabric by pressing the outer hoop into place and tightening the screw until the fabric is taut but not stretched. Make necessary adjustments to avoid puckering.
Interested in perfect hooping techniques for different fabrics? You’re just a step away from becoming an embroidery pro.
Table Of Contents
Key Takeaways
- Prep your embroidery hoop to ensure the fabric stays taut throughout your stitching journey.
- Lay your fabric like a pro, smoothing out any wrinkles and aligning it perfectly with the hoop’s edges.
- Secure the fabric with the outer hoop, tightening the screw until it’s drum-tight but not stretched beyond its limits.
- Adjust the tension with finesse to avoid puckering and keep your fabric looking its best.
How to Hoop Fabric for Embroidery?
To hoop fabric for embroidery, first adjust the hoop tension and place the fabric smoothly over the inner hoop. Then, press the outer hoop down, secure the fabric, and make any necessary adjustments to guarantee it’s taut.
Preparing the Embroidery Hoop
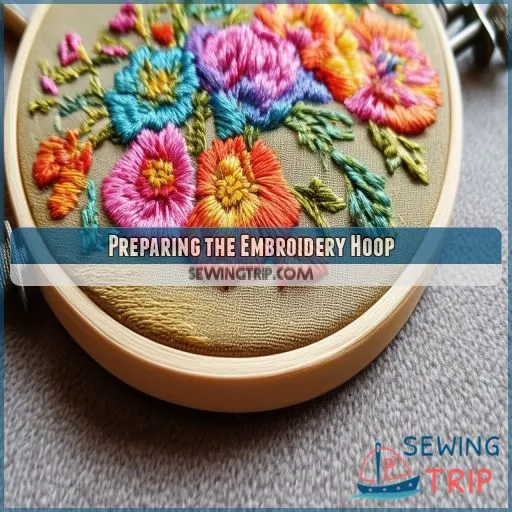
To prepare your embroidery hoop, start by adjusting the tension of the outer hoop to make certain it’s taut but not overly tight. Next, position the inner hoop on a flat surface with the "this side up" marking facing upwards, if applicable.
Adjusting the Hoop Tension
Adjusting hoop tension is essential for flawless embroidery. Begin by loosening the outer hoop’s screw, making sure it’s tight but not overtight. This balance prevents fabric distortion while upholding stability. For woven fabrics, strive for a drum-like tightness. With knits, use cut-away stabilizer and adjust tension cautiously to avoid excessive stretching.
- Fabric warping, ruining your design
- Difficulty removing the hoop later
- Permanent marks on delicate materials
- Uneven stitching and puckering
Fine-tune the tension by gradually tightening the screw. Test the fabric’s give with gentle pressure. It should be firm yet flexible. This optimal point ensures your embroidery remains crisp and professional, giving you the freedom to create stunning designs.
Positioning the Inner Hoop
Now that you’ve adjusted the tension, it’s time to position the inner hoop correctly. This step is vital for guaranteeing your embroidery project starts off on the right foot. Here’s what you need to do:
- Locate the "this side up" marking on your inner hoop
- Place the inner hoop on a flat surface, marked side facing up
- Make sure the surface is clean and free from debris
- Align the hoop’s screw with your dominant hand for easy adjustments
- Double-check that the hoop is level and stable
Placing the Fabric
Now that your hoop is prepared, it’s time to position your fabric correctly. You’ll start by laying the fabric face-up over the inner hoop, making sure it’s squared up and evenly distributed.
Laying the Fabric
When laying fabric for embroidery, proper placement is critical for successful stitching. Here’s how to master this step:
- Position the fabric face-up over the inner hoop
- Make sure the material is squared up with the hoop’s edges
- Consider pattern placement for ideal design alignment
- Use appropriate layering techniques for different fabric types
For bulky fabrics, gently smooth out any wrinkles before placing them on the stabilizer. With delicate fabrics, handle with extra care to avoid stretching or distorting. Pay attention to fabric orientation, especially for directional patterns. If using water-soluble stabilizer for intricate designs, place it on top of your fabric before hooping. Remember, proper fabric placement sets the foundation for your embroidery project, so take your time to do it correctly.
Securing the Fabric
Now that you’ve laid your fabric, it’s time to secure it firmly. Here’s how to do it like a pro:
- Use the spring tension hoop in reverse, squeezing the inner hoop into the fabric and outer hoop.
- Press the outer hoop firmly into place, ensuring even pressure all around.
- Adjust the screw to achieve the right tension – taut but not stretched.
Pressing the Outer Hoop
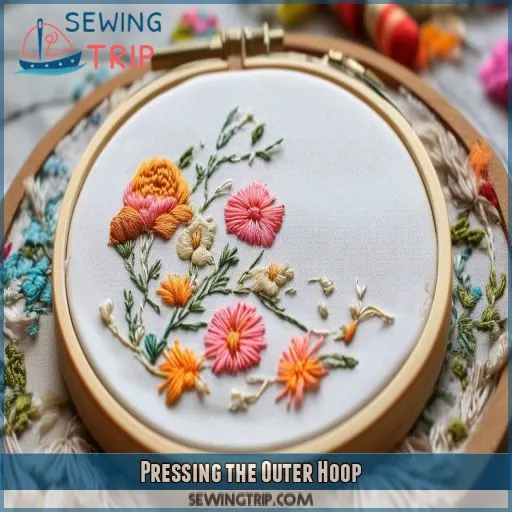
Now it’s time to set the outer hoop over the fabric and inner hoop. Press the outer hoop down evenly on all sides, ensuring the fabric remains taut and properly positioned.
Setting the Outer Hoop
To set the outer hoop properly, start by aligning it with the inner hoop. Positioning is key: make certain it sits evenly on all sides. Then, follow these steps for a perfect fit:
- Hoop positioning: Gently press down the outer hoop to align with the inner hoop.
- Hoop alignment: Check that the fabric remains squared and smooth.
- Hoop pressure: Apply even pressure, pressing the outer hoop into place without distorting the fabric.
- Hoop size selection: Make certain you’ve chosen the correct size; a mismatch can ruin your setup.
Adjusting the Fabric
Now, guarantee your fabric alignment is just right. Gently pull the fabric from all sides to eliminate any wrinkles or slack. Adjust the screw to fine-tune the tension. You want the fabric taut but not overstretched—think of a drum. If the material feels loose, tighten the screw slightly more.
- Smooth fabric: Keep your stitches even and beautiful.
- Check tension: Prevent puckering and improve design registration.
- Right hoop size: Match the hoop size to your design for favorable results.
Making Adjustments
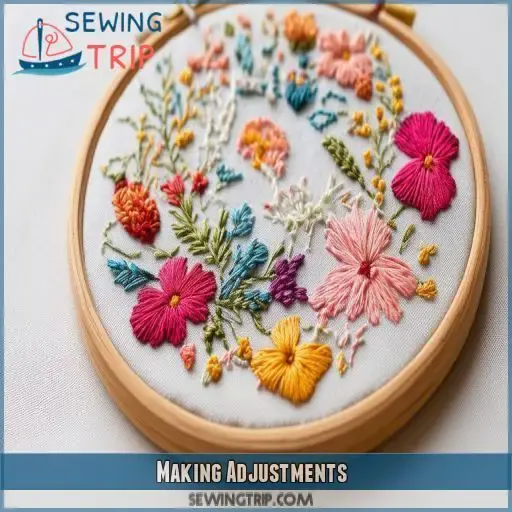
When hooping fabric for embroidery, you might need to make adjustments to guarantee everything remains secure and smooth. Reduce tension if necessary and troubleshoot by loosening or tightening the screw to achieve satisfactory results.
Reducing Tension
To reduce tension and keep the fabric in place properly, follow these steps:
- Loosen the Screw: Gently turn the screw counterclockwise to release some tension.
- Check Fabric Tightness: Make sure the fabric is taut but not overstretched to reduce fabric distortion and prevent hoop marks.
- Avoid Puckering: Make adjustments evenly on all sides to avoid fabric puckering. Your goal is a smooth surface.
- Preserve Delicate Fabrics: For more delicate materials, use a lighter touch, and remember, less tension maintains fabric integrity.
These actions help you keep control and maintain high-quality embroidery results.
Troubleshooting
When you’re making adjustments, start by checking for hoop stress and fabric markings. If the hoop feels too tight, loosen the screw a bit to avoid over-tightening. Conversely, if the fabric feels loose, tighten the screw carefully. Make sure even tension by adjusting the screw and fabric evenly on all sides. Here are three tips to troubleshoot common issues:
- Uneven tension: Adjust the screw incrementally.
- Loose fabric: Tighten the screw, making sure the fabric is snug.
- Over-tightening: Loosen the screw to prevent stress and fabric waves.
Hooping Techniques
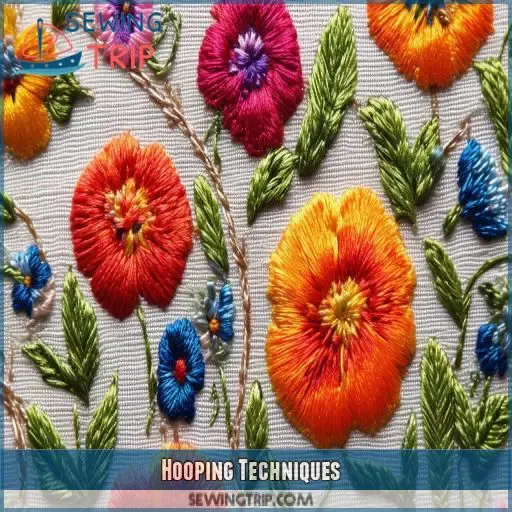
Mastering hooping techniques is essential for achieving professional embroidery results. You’ll learn how to properly hoop woven and knit fabrics, use a topper, and float your embroidery for those tricky projects.
Hooping Woven Fabric
Hooping woven fabric involves key fabric preparation techniques.
- Stabilizer Selection: Use a tear-away stabilizer, slightly larger than the hoop.
- Hooping Delicate Fabrics: Smooth the fabric over the stabilizer.
- Alternative Hooping Methods: Place the inner ring, starting from the top. Adjust the screw for tautness and tap for a drum effect.
Hooping Knit Fabric
When hooping knit fabric, use a cut-away stabilizer, slightly larger than the hoop. Smooth the knit over the stabilizer and place the inner ring from the top.
- Adjust screw tension lightly.
- Achieve a taut but gentle hold.
- Consider stabilizer options.
- Respect the fabric texture.
Using a Topper
For fluffy or plush fabric embroidery, using a water-soluble foundation stabilizer is critical. Place the stabilizer over your fabric and hoop it. Next, lay another water-soluble stabilizer on top, then attach the inner hoop and stitch.
- Protects fabric
- Enhances design clarity
- Easily removable with water
Floating
Floating is a fantastic solution when hooping isn’t possible, especially for small items or delicate fabrics like leather and vinyl. Just hoop the stabilizer, attach the fabric with adhesive spray, pins, or basting, and make sure it’s secure.
- Perfect for small items
- Ideal for delicate materials
- Quick and easy setup
Frequently Asked Questions (FAQs)
How to hoop material to embroidery?
Did you know 85% of embroidery issues stem from improper hooping? Lay your fabric face up on the inner hoop, press the outer hoop on evenly, and tighten the screw. Make certain the material is taut but not stretched.
How to use an embroidery hoop for beginners?
Start by placing the inner hoop on a flat surface. Lay your fabric over it, then press the outer hoop on top. Adjust the screw for tension, pulling the fabric taut but not stretched.
How do you get fabric taut in an embroidery hoop?
Eighty percent of embroidery issues stem from improper hooping. To get fabric taut, lay it over the inner hoop, press the outer hoop evenly, then tighten the screw while gently pulling the fabric to achieve a drum-like tension.
How do you keep fabric tight in an embroidery hoop?
To keep fabric tight in an embroidery hoop, verify the outer hoop is snug, press evenly on all sides while tightening the screw, and straighten the fabric. Adjust the tension if needed to avoid wrinkles.
What is an embroidery hoop?
An embroidery hoop is a circular or rectangular tool that holds fabric taut, allowing for precise stitching. It’s composed of an inner and outer ring, essential for maintaining consistent tension while you work your magic.
How to put fabric in embroidery hoop?
Lay fabric face-up over the inner hoop. Place the outer hoop on top. Press evenly on all sides to secure. Adjust the screw for tension. Verify that fabric is taut but not stretched to avoid distortion.
How do you put Fabric in a hoop?
You place fabric in a hoop by laying it face up over the inner hoop, keeping it squared up, and using spring tension to squeeze the inner hoop into the fabric and outer hoop.
What to watch out for when hooping fabric?
When hooping fabric, be cautious of overtightening, which can cause fabric distortion. Maintain uniform tension to prevent wrinkles. Utilize the appropriate stabilizer for the fabric type and size. Keep fabric taut but not stretched.
Can machine embroidery hoops be used by hand?
Yes, you can use machine embroidery hoops by hand, but it’s challenging to achieve perfect tension. They’re designed for machines, so securing fabric evenly and maintaining stability might require extra effort and adjustments.
What are magnetic hoops used for?
Magnetic hoops are an absolute game-changer, holding your fabric with consistent, even pressure without the need for tight tension adjustments. They’re ideal for delicate fabrics, non-standard shapes, and quick rehooping during embroidery projects.
How do I clean my embroidery hoop?
To clean your embroidery hoop, simply wipe it with a damp cloth to remove dust and dirt. For stubborn stains, use mild soap and water. Dry it thoroughly to prevent any warping or damage.
Are wooden or plastic hoops better?
You’ll find wooden hoops are your go-to for grip and stability, while plastic hoops can feel like flimsy toys. Wooden hoops offer a firm hold, essential for maintaining fabric tension, ideal for intricate embroidery projects.
How do square hoops compare to circular hoops?
You’ll find that square hoops, like home hoops, have weaker corners and less secure tension compared to circular commercial hoops, which provide even pressure and ideal tension, making them a better choice for most embroidery projects.
Conclusion
Embroidery is akin to painting with thread, and mastering the art of hooping fabric for embroidery guarantees that your canvas is flawless.
You now have the steps to adjust tension, position the inner hoop, and secure the fabric seamlessly.
With these techniques, you can prevent puckering and attain professional results on any fabric.
Practice makes perfect, so continue honing your skills. Your path to becoming an embroidery expert begins here, one stitch at a time.


