This site is supported by our readers. We may earn a commission, at no cost to you, if you purchase through links.
 Think of yourself as a surgeon for your skin—but you sew up some of your favorite clothing as good as can be. This guide is an aid to teach someone how to sew a hole—to really save treasured garments from the landfill.
You’ll learn about damage assessment, choosing the appropriate stitch, and concealing the repair, with a few other techniques done to different fabrics like jeans, leggings, and seam repairs.
With the right tools and know-how, you will be well on your way to mastering the art of clothing repair and, in turn, taking control over the longevity of your wardrobe.
Table Of Contents
Key Takeaways
- Think of yourself as a fashion surgeon – with the right diagnosis and stitching technique, you can save your beloved threads from the dreaded landfill fate!
- Don’t panic when you spot a hole – take a breath and assess the damage like a pro. Is it a tiny pinprick or a gaping wound? The cure depends on the ailment.
- Choose your weapons wisely – matching thread, the right needle, and proper stitch are your arsenal against wardrobe malfunctions. Remember, one size doesn’t fit all in the mending game.
- Concealment is key – channel your inner ninja and make those stitches vanish into thin air. With practice, you’ll be pulling off invisible mends that would make Houdini proud.
How to Sew a Hole?
First, evaluate the size and location of your tear. Choose a stitch appropriate for your fabric type and the intended outcome of your repair.
Holes of a very small nature can simply be whipstitched, while larger holes will require patching. If you have thin fabric, use a thin needle. Also, use thread that matches or at least closely resembles the hue you are trying to conceal.
The closer together the stitches are, the less likely it is that they will be noticeable. Bury your knots as well. In really stretchy material, like leggings, you will want to use a zigzag stitch so as to retain some of the stretch.
You always want to place additional stitches in any weak area around where you are sewing up something that was torn so that it doesn’t come right back apart within a short period of time.
In no time at all, your clothes will look new again. Ready to tackle more complex repairs?
Assessing the Hole
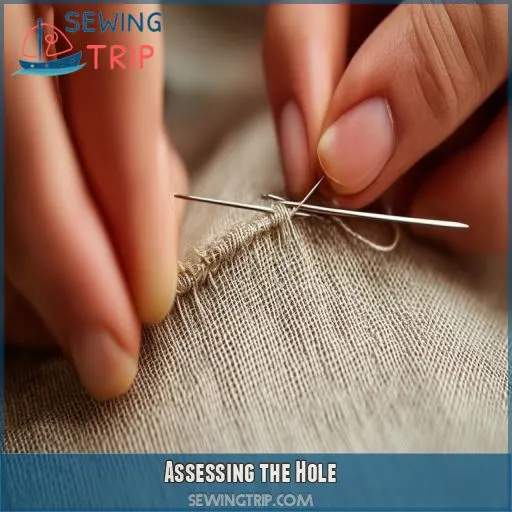
When you’re faced with a hole in your favorite garment, don’t panic! The first step in your repair journey is to assess the damage. Take a close look at the hole’s size, shape, and location. Is it a tiny pinprick or a gaping tear? Round or jagged? Near a seam or smack in the middle of the fabric?
Your repair goal will depend on these factors. For instance, a small hole in a hidden spot might need just a quick fix, while a larger tear in a visible area might require more attention. Consider the fabric type too – delicate silks demand a different approach than sturdy denim.
Choosing the Right Stitch
Choosing the appropriate stitch to repair a hole will be based on three factors: the type of fabric, strength of stitch, and visibility of repair. All these would be dependent upon things like thickness of material, how much stress is the repaired area going to be under, and just how unobtrusive you’d want the fix to be.
Fabric Type Considerations
Now that you’ve assessed the hole, let’s talk fabric. Your choice of needle, thread, and stitch can make or break your repair. For delicate materials, opt for a fine needle and lightweight thread. Stretchy fabrics? A zig-zag stitch is your best friend. Always match thread color to blend seamlessly.
Stitch Strength Evaluation
Now, considering the type of fabric, let’s look at the stitches. You’ll want to weigh the tension of a thread with its stitch distance against the weight of fabric in your garment.
For hand sewing, the first thing is the sharpness of the needles.
Consider what kind of tear has happened—like a seam rip needs totally different treatment compared to an oddly shaped hole. Adjust accordingly for a durable fix.
Visibility Of Repair
When repairing a hole, consider the visibility of your stitches. To minimize noticeable repairs:
- Choose thread that matches your fabric’s color and texture
- Place stitches close together, especially for leggings or delicate materials
- Use a thin needle for fine fabrics, and thicker ones for denim or patches
Knot placement and stitch direction also impact visibility.
Techniques for Concealing Stitches
The devil’s in the details when it comes to concealing stitches. You’ll want to choose a thread color that matches your fabric like a chameleon. On light fabrics, use one shade darker; on dark ones, one shade lighter. It all has to do with blending!
Needle size does matter, the smaller the needle, the smaller the hole your repair will be. You don’t want to go too small because you still have to match with a fabric of that particular thickness. You know, Goldilocks stuff—you’re striving for not too big and not too small but just right.
Your worst enemy here is stitch visibility. Keep your stitches close and of a consistent size. It’s like playing hide and seek with your repair work. The tighter and neater your stitches, the better they’ll blend.
Siting of knots is important. Bury those knots between the fabric layers or on the wrong side. It’s your secret – no one needs to know there’s a repair!
Seam Repair Methods
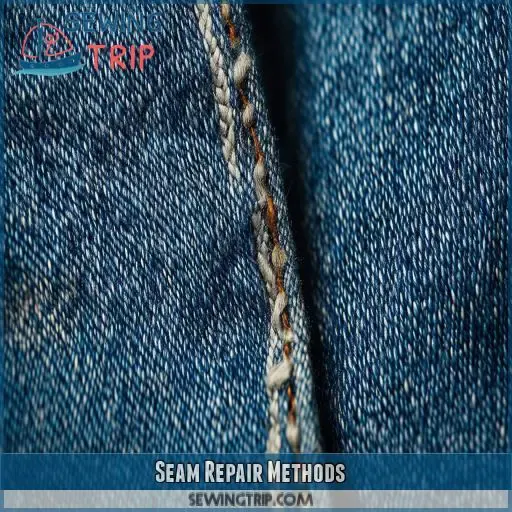
In seam repair, you’ll develop your skills in concealed stitching. Since seams are essentially the skeleton of your garment, restoring them properly will make all the difference for longevity. First, to ensure seam strength, estimate the extent of damage and choose the right thickness of thread. Remember, invisible mend—this will ensure a professional look.
Below are some seam repair methods you can master:
*Overcast stitch: This is very good for reinforcing frayed edges.
- Ladder stitch: This is the best for closing up gaps in side seams.
- Flat felled seam: This would be very appropriate for heavy-duty repair work on jeans.
• French seam: Great for thin fabrics
• Darning: Best for little holes in knits
Consider the fabric reinforcement techniques for avoiding future tears. As much as hand sewing gives you precision, machine sewing can add poundage or much-needed strength in high-tear spots. Don’t be scared to mix methods; sometimes a combination will yield the best results. With practice, you’ll just make magic happen for your clothes—restoring them to a second life.
Necessary Tools for Sewing
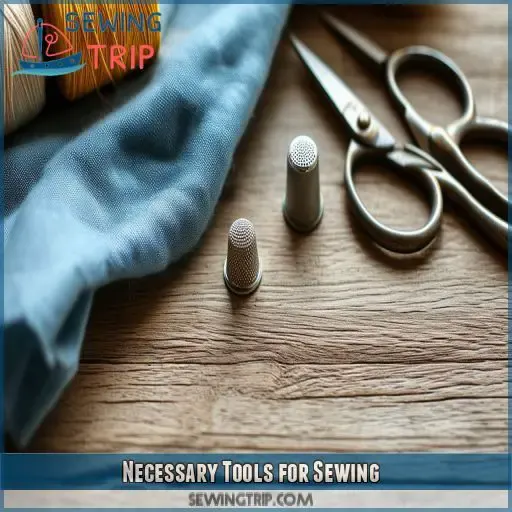
Since you now know how to repair seams, let’s get the best tools to be your companion on all your sewing quests. Choose your sewing kit wisely since it will be your trusty sidekick for just about any job out there.
Now, getting back to needles: it’s not a case of one size fits all. Thin needles go with thin fabrics, and thicker ones are for thicker material. Common hand-sewing needle sizes vary from 1 to 10, with 1 being the thickest and 10 the finest.
Don’t forget thread preparation—it can make or break your repair. Color-coordinate the thread with the fabric and double-thread it for additional strength.
When you finally do so, proper storage of the needle is important. A pincushion or magnetic holder will keep your needles from getting crushed or rusting. In other words, a space-optimized sewing kit translates into winning half the battle.
Once you have these tools, you’ll be well-prepared to battle through any hole that presents itself in your favorite clothes.
Now, let’s see some particular techniques to repair those pesky leggings.
Specifics for Leggings Repair
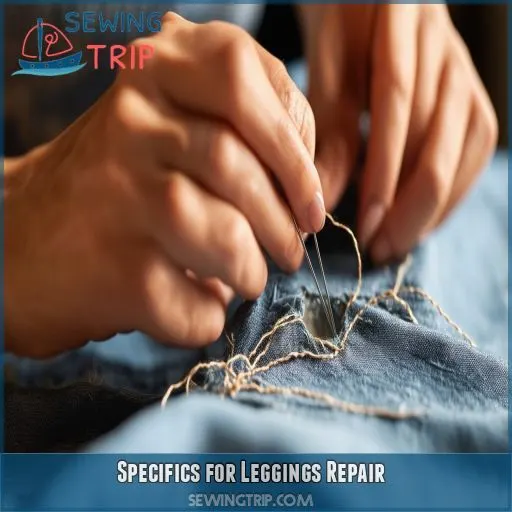
Leggings require a bit of special handling when it comes to mending. The kind of process that goes with mending would be very different from fixing of a jean or a t-shirt because of the stretchy nature of the legging material. First, painstakingly pick out your thread weight, taking into consideration the elasticity of the leggings. Use a light thread; it shouldn’t be stiff enough to obstruct the stretching. The needle should be suited for the knit fabrics, for instance, ballpoint or stretch needles that prevent damage to fibers.
Patch Matching If you’re working on a larger hole you should make the effort to patch-match; find a fabric color and stretch as near to your legging as possible Remember…
- It sews to maintain the elasticity using the zigzag stitch
• Sew with the fabric relaxed, not straining
- Test your repair by stretching it gently
- Consider reinforcing weak areas preventively
Fun Sewing Projects
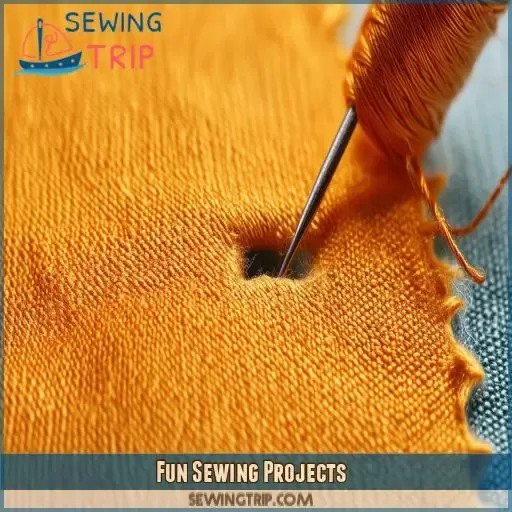
Once you have some experience with hole mending, why don’t you turn those into creative projects? Embroidered patches will both hide worn spots and increase the character features of clothes. Do decorative mending—turning the tears into stunning designs.
Bring out all those old garments for revival in the form of fabric collage to express your creativity. Appliqué embellishments can do anything from quirky shapes to meaningful symbols, providing you with options for individualizing your wardrobe in various ways. For a little shine, try beading accents that turn simple repairs into glittering features.
Not only will these light-hearted sewing jobs mend the holes, but you’ll also take the reins in your style. You’ll save money, reduce landfill waste, and come out with one-of-a-kind pieces reflecting your personality.
Frequently Asked Questions (FAQs)
How do you sew a hole?
You’ll need a needle and thread matching your fabric. Turn the garment inside out, knot the thread, and start stitching close to the hole’s edge. Work your way around, keeping stitches tight and even until it’s closed.
What is the best stitch for sewing a hole?
Like a skilled surgeon mending a wound, you’ll want to use the backstitch. It’s your go-to for hole repair. You’ll create a strong, nearly invisible seam by stitching backward, then forward, creating overlapping stitches that won’t unravel.
How do you sew a hole without it showing?
To conceal your stitches, use a fine needle and matching thread. Start from the inside, making tiny, close-together stitches along the hole’s edge. Pull gently to avoid puckering. You’ll create an invisible mend that’s barely noticeable.
How to sew up a ripped seam?
Did you know 60% of clothing repairs involve seams? To fix a ripped seam, turn the garment inside out, align the edges, and use a backstitch. Start 1/4 inch before the rip, sew through it, and end 1/4 inch after.
How do I sew a hole in stretchy fabric?
You’ll need a stretch needle and elastic thread. Pin the hole closed, then use a zigzag stitch to sew it shut. Work slowly, stretching the fabric slightly as you go. Don’t pull too tight, or you’ll pucker the material.
Can I use dental floss instead of thread?
While you can use dental floss in a pinch, it’s not ideal for sewing holes. It’s thick, waxed, and may damage delicate fabrics. Stick to regular thread for better results and longevity in your repairs.
Whats the best way to sew leather holes?
Did you know 90% of leather repairs fail due to improper technique? For best results, you’ll need a leather needle and waxed thread. Punch holes first, then use a saddle stitch. It’s tougher than you’d think, but you’ve got this!
How long should it take to sew a hole?
You’ll usually spend 5-15 minutes sewing a hole, depending on its size and complexity. You’ll get faster as you do more of them. Don’t hurry up too much, though; precision comes above speed. Take your time to be neat and solid about the repair.
Is hand-sewing or machine-sewing better for hole repair?
You might think machine-sewing’s faster, but hand-sewing’s often better for hole repair. It’s more precise, allowing you to control tension and stitch placement. You’ll achieve neater results, especially on small holes or delicate fabrics. Plus, you’ll gain a valuable skill.
Conclusion
Just as a skilled surgeon mends wounds, you can now expertly sew a hole in your cherished clothes. Armed with the knowledge of damage assessment, stitch selection, and concealment techniques, you’re ready to breathe new life into your wardrobe.
Whether it’s jeans, leggings, or seam repairs, you’ve got the tools and skills to tackle any challenge. By mastering how to sew a hole, you’re not just fixing clothes—you’re extending their lifespan, reducing waste, and taking control of your fashion destiny.
Your mending journey starts now.

