This site is supported by our readers. We may earn a commission, at no cost to you, if you purchase through links.
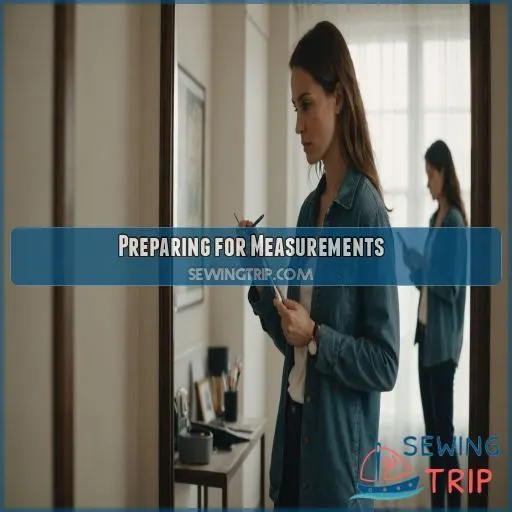
First, prep for measurements by stripping down to your undies and standing tall in front of a full-length mirror. Then, take essential measurements like bust, waist, and hips, making sure the tape is straight and parallel to the floor.
But there’s more to it than that. Keep reading to master the art of measuring for perfect-fit sewing projects.
Table Of Contents
Key Takeaways
- Stand tall and relaxed in front of a full-length mirror to check your posture and body alignment before taking measurements.
- Wear everyday underwear and a well-fitting bra to ensure accurate measurements, especially for the bust area.
- Take essential measurements like bust, waist, hips, and upper bust, but also don’t skip additional measurements like neck, shoulder, and wrist for a perfect sleeve fit.
- Record your measurements with dates to track changes in your body shape over time and for future reference when sewing garments.
Preparing for Measurements
Before taking your measurements, there are a few key steps to follow. First, remove any bulky clothing that might get in the way or affect the accuracy of your measurements. Then, put on your everyday underwear and bra—this helps with getting a precise bust measurement.
Removing Bulky Clothing
Getting rid of bulky clothes is a big deal to get accurate measurements that show your real body shape. Here are some tips to help you get ready:
- Strip down to your underwear. This might feel a bit awkward, but it’s needed to get precise measurements.
- Choose comfy undies. Go for something that makes you feel good and relaxed.
- Skip the padded bra. A simple, everyday bra is best for accurate bust measurements.
- Avoid baggy sweats or loose clothing. They’ll mess up your hip and waist measurements.
Wearing Everyday Undergarments
When preparing for body measurements, it’s important to wear your everyday underwear and bra. This might seem like a no-brainer, but the right undergarments can make all the difference when it comes to getting accurate measurements.
Make sure your bra fits well and provides the support you need. This is super important for getting the right bust measurement, which is essential for choosing the right pattern size and making sure your clothes fit comfortably.
Standing in Front of a Full-Length Mirror
Stand tall in front of a full-length mirror to check your posture and body alignment. Visualize how you want the finished garment to fit. Make sure the tape is straight and level at key points like your bust, waist, hips, and shoulders.
Relaxing the Body Before Measuring
You don’t want to be all tensed up like a knot when taking measurements.
Why? Because that body tension can throw off your numbers and mess with your final garment fitting.
So, take a chill pill, or rather, a few deep breaths, and wiggle around to loosen up.
You want your body to be in its natural, relaxed state when you measure.
This makes sure your posture is on point and your measurements are on fleek.
Essential Body Measurements
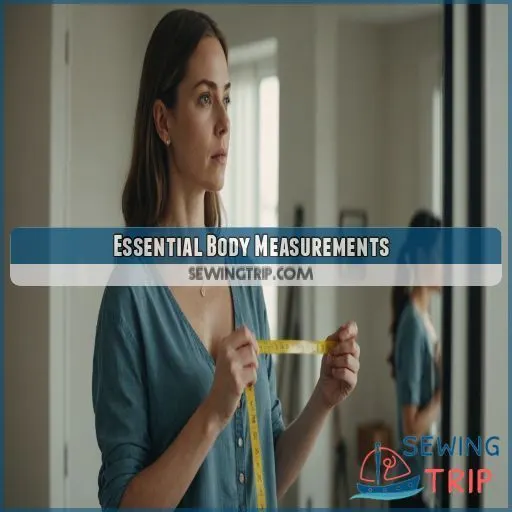
Whether you’re a seasoned sewist or a newbie, taking accurate body measurements is key to sewing success. This section covers the essential body measurements you need to nail that perfect fit.
Bust Measurement
Let’s talk about getting that perfect bust measurement.
- High Bust: Wrap the measuring tape around the upper part of your bust, just under your armpits, with your arms relaxed at your sides.
- Full Bust: Now, measure around the fullest part of your bust, ensuring you’re wearing a bra. This is usually at nipple level.
- These measurements are key to finding your bra fit and cup size. Patterns typically offer three cup sizes: C/D, E/F, and G/H.
Waist Measurement
Now, let’s talk about waist measurements. This is all about finding that narrowest part of your torso. Your natural waistline. If you’re unsure, just lean to one side and let gravity do its thing.
There are a few types of waist measurements you should know:
- Natural waist: This is the one we just talked about, your body’s natural indent.
- High waist: This is, yep, you guessed it, higher up than your natural waist. Think just under your rib cage.
- Low waist: Opposite of the high waist, this one’s lower down, closer to your hips.
Hip Measurement
Now, let’s move on to hip measurements. Measure around the fullest point of your hips and bum. This is usually lower than you think.
Upper Bust Measurement
For bra fit and pattern adjustments, your upper bust measurement is key. Measure just under your armpits, keeping the tape straight and snug, but not too tight. This is your upper bust size.
Upper Hip Measurement
For garments that finish above the hip, like a cute peplum top, you’ll need to take an upper hip measurement. Measure 2-3 inches below your natural waistline.
Additional Helpful Measurements
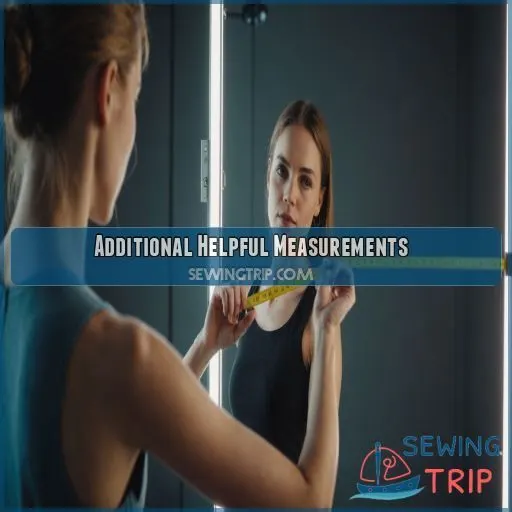
Now that you’ve nailed the essential measurements, let’s check out some additional ones that can take your sewing skills to the next level. These extra measurements will come in handy when crafting garments with unique features like collars, cuffs, and sleeves.
Neck Measurement
Getting the right fit for your collars and polo necks is all about nailing that neck measurement. Measure your neck circumference just above your collarbone.
Shoulder Measurement
Now let’s talk about the shoulder measurement.
This is super important for getting the right fit for your sleeves and armholes.
Measure from the point where your shoulder meets your neck to the top edge of your shoulder.
It’s like drawing an imaginary line from your neck to your shoulder tip.
This measurement will help you adjust patterns for the perfect shoulder slope and width.
Arm Measurement
You’ve nailed the shoulder measurement, now it’s time to measure your arm length. This is super helpful for sleeve and cuff adjustments in your sewing projects.
Wrist Measurement
For a perfect sleeve fit, you need to measure your wrist circumference. Here’s how:
- Wrap the tape measure just above your wrist bone.
- Make sure the tape is straight and snug, but not too tight.
- Check the measurement in inches or centimeters.
This wrist measurement comes in handy when sewing sleeve hems and cuffs, making sure your garments fit comfortably.
Front Bodice Measurement
This is the distance from your clavicle to your waist, down the center front of your body, avoiding the bust. It’s key for bodice length adjustments and getting that perfect fit.
| Bodice Area | Key Measurements |
|---|---|
| Clavicle to Waist | Center Front of Body |
| Dart Placement | Avoiding the Bust |
| Neckline Fit | Clavicle |
Recording Your Measurements
Now that you’ve taken your measurements, it’s time to record them. You’ll want to use a notebook or a body illustration to keep things organised. Clearly label each measurement and include the date—this way, you can track any changes in your body over time.
Using a Notebook or Dedicated Body Illustration
Now that you’ve taken all these measurements, it’s time to record them! You can use a notebook or a dedicated body illustration to keep things organised. Having a visual reference of your body measurements is super helpful, especially when you’re choosing patterns or making adjustments.
Here are some tips for recording your measurements:
- Use a dedicated notebook or illustration: This way, you can easily refer back to your measurements and track any changes over time.
- Include dates: This helps you see how your body has changed, especially if you’ve been working out or had any life changes.
- Make it visual: If you’re using a notebook, consider drawing a simple body outline to visualise the measurements.
Labeling Each Measurement
Now that you’ve got your measurements down, it’s time to label them clearly. This might seem obvious, but it’s easy to mix up numbers, especially if you’re measuring multiple people or tracking changes over time. So, be sure to jot down clear labels like "bust," "waist," and "hips.
Including a Date on Measurements
Including a date with your measurements is a sneaky-smart move. It helps you track body changes over time and spot weight fluctuations. This is especially handy if you’re tracking progress with fitness goals or simply want measurement consistency for size comparisons.
Consider Using a Measuring Suit
If you sew often, consider investing in a measuring suit. It’s a suit with built-in measuring tape lines, so you can quickly get accurate measurements without assistance. They’re convenient, but cost more than traditional methods.
Choosing the Right Size
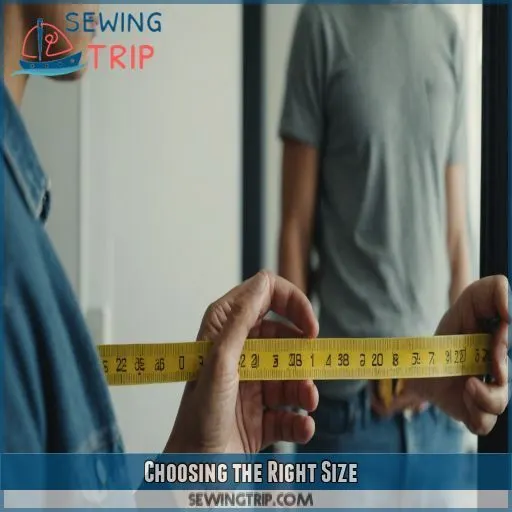
Choosing the right size is key to achieving a flattering fit for your sewing projects. You’ll want to refer to the pattern size chart, consider ease and negative ease, and don’t be afraid to adjust the pattern to tailor it to your body.
Referring to the Pattern Size Chart
Now that you’ve taken your measurements, it’s time to choose the right size for your sewing project. Checking the pattern size chart is really important for picking the best size based on your unique body measurements. Here’s what you need to keep in mind:
- Size chart accuracy: Trust the pattern size chart as your guide. It will help you match your measurements to the corresponding pattern size.
- Pattern size vs. clothing size: Remember, pattern sizes might differ from the clothing sizes you’re used to seeing in stores. Don’t be surprised if you need to adjust your size selection.
- Graded sizing: Patterns are often sold in bundles of four sizes (Small, Medium, Large, and X-Large), allowing for grading between sizes if needed.
- Finding the right bundle: Choose the bundle that best aligns with your measurements. You might find yourself in between sizes, so be prepared to make adjustments as needed.
- Don’t be afraid to customize: Sewing is all about creativity and customization. If you need to adjust the pattern to achieve that perfect fit, go for it!
Your measurements and the pattern size chart are your roadmap to sewing success. Embrace the process, and don’t be afraid to make adjustments—it’s all part of the fun!
Key Takeaways:
- Refer to the pattern size chart to determine the best size for your measurements.
- Pattern sizes might differ from clothing sizes, so be open to adjustments.
- Patterns often come in graded sizing bundles, allowing for customization.
- Choose the bundle that suits your measurements, and don’t be afraid to grade between sizes.
- Adjusting the pattern is part of the sewing journey—embrace the customization!
Considering Ease and Negative Ease
Now, let’s talk about ease and negative ease. This refers to the wiggle room, or extra fabric, built into a pattern. Patterns with more ease offer a comfy, relaxed fit, while negative ease creates a body-hugging look.
Adjusting the Pattern for a Perfect Fit
- Bust adjustments
- Waist alterations
- Hip modifications
- Sleeve tweaks
Practice Makes Perfect
Sewing your own clothes is a skill that takes time to master. Don’t get discouraged if your first attempts don’t fit perfectly. Keep practicing, and you’ll soon be a pro at choosing the right size and achieving that perfect fit.
Understanding Size Bundles
So you’ve picked your pattern and you’re raring to go, but wait – how do you know which size bundle to choose? Most patterns come in a set of four sizes, but what if your measurements don’t fit neatly into one of these bundles? Don’t panic, we’ve got a solution.
Grading Between Sizes
Grading between sizes is a breeze using the Adobe layers feature. Simply trace off the desired size for your top half and bottom half separately. Then, create a smooth line from the top waist to the bottom hip. Don’t forget to transfer notches for pockets and other important details.
Dealing With in Between Sizes
- Consult the Finished Garment Measurement chart for your chosen pattern.
- Assess the "ease" or extra room in the garment.
- Check your measurements against the chart to decide if you should size up or down.
Addressing Size Variations
Most people don’t fit perfectly into a standard size, and that’s okay. Grading between sizes is a breeze using the Adobe layers feature. Simply trace off the desired size for the top and bottom, then create a smooth line from the top waist to the bottom hip. Easy peasy!
Measuring for Specific Garments
Whether you’re crafting a trendy blouse or a cozy pair of pants, precise measurements are key to a flawless fit. Let’s get into the specifics of measuring for different garments, ensuring your creations flatter and complement your unique shape.
Measuring for Tops and Blouses
For tops and blouses to fit like a glove, there are a few key measurements you need to get right:
- Bust
- Sleeves
- Neckline
- Shoulders
Let’s break down each of these so you can sew like a pro!
Measuring for Pants and Skirts
Now, let’s get into the specifics of measuring for pants and skirts.
For pants, you’ll want to focus on measurements like inseam, rise, thigh, seat, and leg opening. These make sure your pants fit snugly in all the right places.
Skirts often require similar measurements, with an emphasis on waist, hip, and length.
Measuring for Dresses and Jackets
Dresses and jackets need a few extra measurements for a perfect fit.
Bust Fitting
Make sure your bust measurement is on point, especially if you’re working with a dress or jacket that has a structured bodice.
Sleeve Length
Measure your arm length from shoulder to wrist if you’re adding sleeves to your dress or jacket.
Fabric Stretch
Keep in mind the stretch of the fabric. Knit fabrics with stretch will fit differently than woven fabrics without stretch.
Alterations Needed
You might need to adjust the pattern for a perfect fit. Don’t be shy about grading between sizes or making length adjustments.
Jacket Fit
For jackets, think about a sitting shoulder measurement to account for your back and shoulders when you sit. Also, measure your torso length from shoulder to hip for the perfect jacket length.
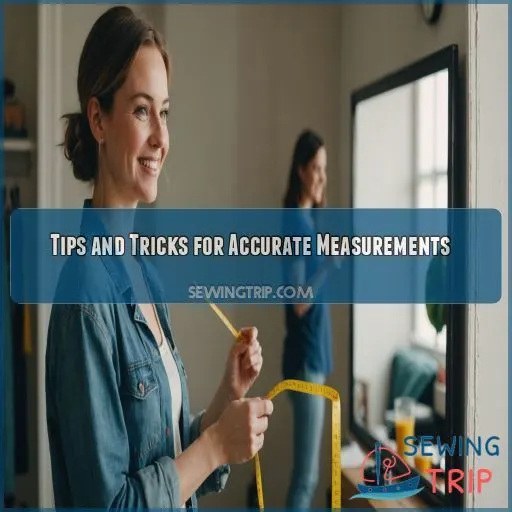
Tips and Tricks for Accurate Measurements
You’ve gathered your tools and are ready to measure up a storm, but wait – there are a few tricks to make sure your measurements are spot on. These tips will have you measuring like a pro and sewing garments that fit like a dream.
Measuring in Front of a Mirror
Standing in front of a mirror is a simple yet powerful trick. It lets you check your posture, ensuring you’re standing straight and tall. You can also see if the measuring tape is placed correctly and symmetrically. This visual feedback is key to getting accurate measurements that reflect your unique body shape.
Using a Friend’s Assistance
- Trust factor: Choose a friend you trust to give you honest measurements. No need to sugarcoat it – accurate measurements are key to your sewing success.
- Measuring woes: Communicate any specific areas of concern. Maybe you’ve had issues with waist measurements in the past or want to make sure you get a perfect bust fit. Their assistance can make all the difference.
Taking Multiple Measurements
Taking multiple measurements is key to achieving that coveted custom fit. Measure twice, sew once, right? If you’re flying solo, multiple measurements help you get it right. Compare ’em to get an average, and you’re golden.
Frequently Asked Questions (FAQs)
How to take accurate body measurements for sewing?
How do you take accurate body measurements for sewing? Start by removing bulky clothing. Wear your everyday bra and undies. Relax, wiggle, and breathe normally. Measure bust, waist, hips, and more. Record and review regularly.
How to calculate measurements for sewing?
You’ve taken your measurements and now you’re ready to calculate your size for sewing.
Patterns are sold in size bundles, so you’ll need to pick the bundle that matches your measurements. Compare your bust, waist, and hip measurements to the size chart and choose the bundle that corresponds to your sizes.
What is the correct way to take body measurements?
First, strip down to your underwear and bra. Stand tall and relaxed in front of a mirror. Now, take measurements: bust, waist, hips, upper bust, and upper hip.
How do you record body measurements for clothes?
You’re not a tailor’s dummy, but you can still measure up.
Jot down measurements in a notebook or use a body illustration. Label clearly and date your entries.
You’ll soon have a record of your body’s changes over time.
How do I measure my thighs?
Stand with your feet shoulder-width apart. Wrap a tape measure around the thickest part of your thigh, keeping it snug but not tight. Measure in inches or centimetres.
What if my measurements are different when I sit down?
Your body changes when you sit, so it’s smart to have two sets of measurements: seated and standing. For instance, a fitted skirt made to standing measurements will pinch when you sit.
What do I do if I dont have a full-length mirror?
No mirror? No problem. You can still get accurate measurements by enlisting a friend to help. Their fresh pair of eyes will make sure the tape’s straight and in the right spot.
What if Im in-between sizes?
If you’re between sizes, don’t stress. You’ve got options to make sure you get a perfect fit. First, check out the "Finished Garment Measurement" chart for some helpful info. Then, take a look at the comments and reviews to see how other people say the clothes fit. Finally, you can even blend sizes with Adobe layers for a custom fit.
How do I know if my tape measure is accurate?
You can double-check your tape measure‘s accuracy by stretching it out against a carpenter’s square. If it’s shorter, bend the tape outward. If it’s longer, bend it inward.
Conclusion
You might be thinking, "I can just wing it, right?"
But taking accurate body measurements for sewing is a skill worth mastering.
Whether you’re a seasoned sewist or a newbie, nailing those numbers is key to achieving that pro-level fit.
From prepping for measurements to understanding size bundles and specific garment needs, this guide has equipped you with the know-how to take on any sewing project with confidence.
So, go ahead and grab that tape measure, and let your handmade creations shine with the perfect fit.
Sewing success awaits!

