This site is supported by our readers. We may earn a commission, at no cost to you, if you purchase through links.
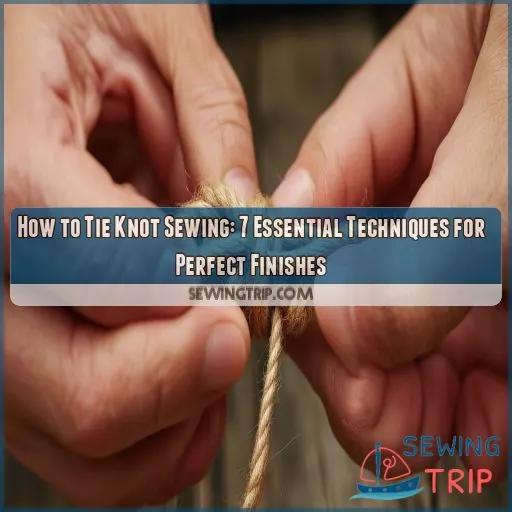
Need a better seamstress or just starting the craft—learning how to tie knots in sewing will change the way you work.
In this article, we will explain seven crucial ways to secure your stitches and achieve a perfect finish.
You will learn new practices for tying knots, from quite basic thread-end knots to more complex tailor’s knots, to give a different approach to your sewing skills.
Now, let’s dive into these game-changing skills that will get you sewing like a pro and really boost your confidence behind the needle.
Table Of Contents
Key Takeaways
- Knotting in sewing is a fundamental skill for any seamstress, regardless of experience level.
- There are various knotting techniques, each with its own purpose and application.
- Practice is crucial for mastering knot-tying skills.
- By incorporating these techniques into your sewing projects, you can enhance durability, prevent unraveling, and achieve a professional finish.
How to Tie Knot Sewing?
Tying knots in your sewing projects is a must-learn skill! Start with the simple sewing knot – wrap the thread around your finger twice, then pass the needle through the loop.
For a knot at the thread end, double the thread, loop it, and pass the needle through. When working with a single thread, choose the right needle size, maintain tension, and use a threader if needed.
The tailor’s knot is great for securing seams – double the thread, place the knot close to the fabric, form a loop, and pass the needle through twice.
Keep practicing these techniques, and you’ll be a knotting pro in no time!
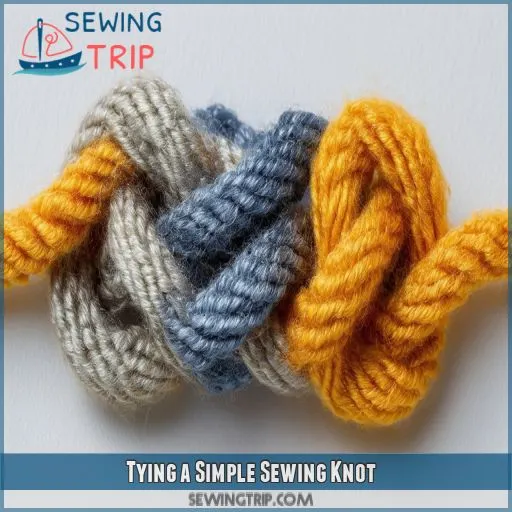
Tying a Simple Sewing Knot
To tie a simple sewing knot, start by threading your needle and leaving a tail of about 3 inches. Hold the thread taut and wrap it around your index finger twice.
Roll the loops off your finger, pinching them between your thumb and index finger. Pull the long end of the thread through the loops, creating a knot.
Slide the knot down to the fabric’s surface, ensuring it’s snug but not too tight. This technique forms a durable knot that’s barely visible.
Practice with different thread materials to perfect your knot-tying skills.
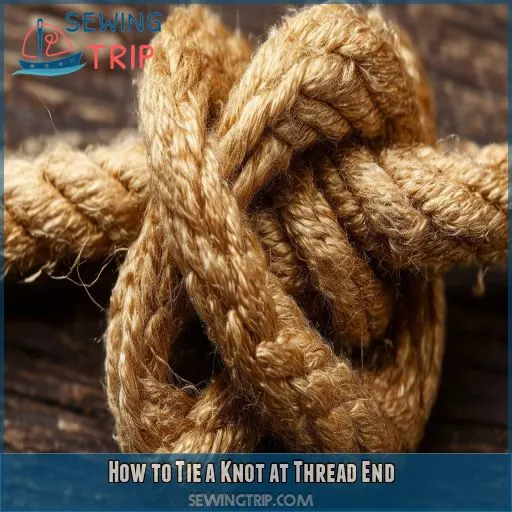
How to Tie a Knot at Thread End
Now that you have mastered the simple sewing knot, let’s do the tying of the knot at the thread end. This way, the stitches will hold firmly and your work will last longer. Here’s why it’s crucial:
• Prevents unraveling. No more frustrating repairs.
- Enhances the overall durability of your project
- Increases the professional appearance of your finished work
•Gains your confidence as a skillful sewist
To tie off, double the thread, making a small loop near the fabric. Take your needle and pass it through this loop, then pull tight to form a secure knot. You might want to repeat it for some added strength. Remember, practice makes perfect!
Tying Off With a Single Thread
Now that you know how to put a knot on the end of your threads, let’s learn how to tie off using a single thread. This is the basis behind hand stitching and making French knots.
First, select the right size of your needle, and thread it with a single strand. You can decide how thick your fabric is going to be and where you want to put the knot. Do this step by keeping the right tension in your thread. If you’re really struggling, you can even use a needle threader.
Notice that practice makes perfect! As you tie off, ensure not to have the knot too tight.
This action will help take your sewing from simple embroidery to strong seams in no time.
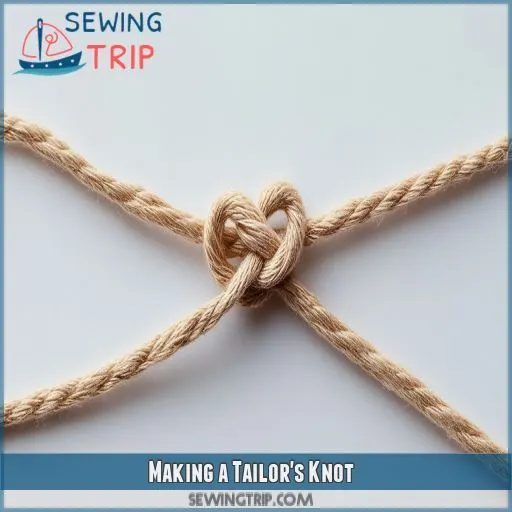
Making a Tailor’s Knot
To make a tailor’s knot, you’re going to need a sharp needle and some strong thread. First, double thread your needle** to provide double strength.
Place the knot close enough to the end of the seam so that it’s in its correct position within your tailored garment. Use consistent pressure on your thread while you’re working on this stitch.
First, form a small loop with your thread, then pass the needle through twice. Pull tight to secure.
This variation of the knot will give immense strength not only to machine stitching but also to hand-sewn creations.
Practice a little, and you’ll become adept at this basic technique that makes all the difference in sewing, hence giving professional, finished looks to your garments.
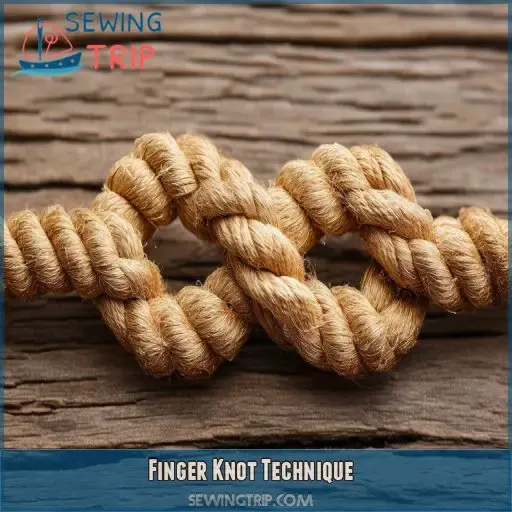
Finger Knot Technique
Moving on from the tailor’s knot, let’s explore the finger knot technique. This beginner-friendly method is perfect for quick knotting and offers ease of use. Here’s how to master this essential sewing skill:
- Hold the thread against your middle finger
- Wrap it around your finger to form a loop
- Roll the thread between your fingers to thicken it
- Pull the thread through the loop to create the knot
The finger knot is versatile for various fabric types and can be used in embroidery and felt work. It’s also great for hiding knots in decorative applications, enhancing your overall sewing skills.
Knotting With Needle and Twirls
Needle twirling—ready to take your knotting techniques to a whole new level of sew-fancy? Thread your needle, then work out a small loop close to the fabric.
Take hold of the needle firmly, then twirl it over the thread two or three times. As you twirl thoroughly, you’ll form a coil.
Gently pull the needle through the coil; this will make for a secure yet decorative knot. This advanced knotting technique not only secures your thread but also adds creative knots as embellishments.
With this skill, developed through practice, an entire world of decorative possibilities will open up for your sewing.
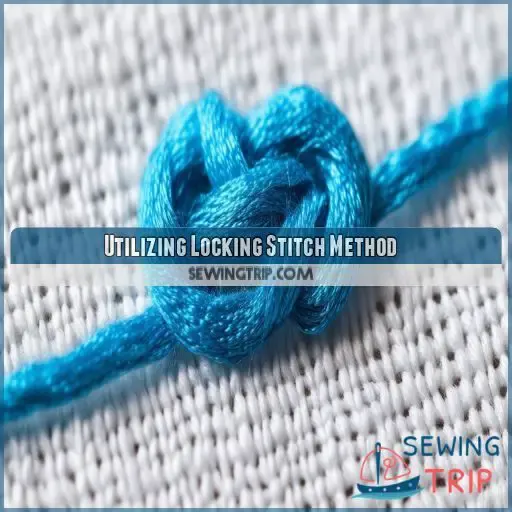
Utilizing Locking Stitch Method
Moving from needle twirls, let’s explore the locking stitch method. This technique ensures your stitches stay put, even under pressure. Here’s how to master it:
- Start with a small backstitch
- Create a tiny loop with your thread
- Pass the needle through the loop
- Pull tight to form a secure knot
The locking stitch is your secret weapon for thread management. It’s particularly useful when working with varying fabric thickness. Remember to adjust your stitch tension and needle size accordingly. With practice, you’ll lock those stitches like a pro, giving your projects a polished, professional finish.
Frequently Asked Questions (FAQs)
How do you tie a simple sewing knot?
Align thread ends, make a small loop, and pass thread ends through it. Pull tightly to secure the knot at desired location. Start gently to control placement, then tighten firmly. Snip excess thread if necessary.
How to tie the end of a thread after sewing?
To tie off the thread after sewing, stitch back through previous stitches, form a small loop, insert the needle through the loop, pull tight, and trim the excess thread close to the knot.
How to tie a knot in a single thread?
Weaving a thread through the eye of a needle is like casting a line – with a deft twist of the fingers, you can tie a knot that holds fast. Just loop, pull, and voila – a secure finish.
How to make a tailors knot?
Start by threading your needle. Then, loop the thread around your finger twice, slide the needle through the loops, and pull tight. The resulting knot is secure and perfect for tailoring.
How do you tie a secure double knot?
Start with two thread ends. Cross them like you’re tying shoelaces, form a loose first knot, then repeat but pull tightly. Repeat both steps for added security, leaving no room for the knot to unravel.
What is the best knot for quilting?
For quilting, the best knot is the locking stitch. Simply make a tiny stitch, reinsert the needle through the same spot, form a loop, and pull to flatten it. This hidden knot secures your stitches without bulk.
How to hide knots on felt projects?
To hide knots on felt projects, tie a regular knot, insert the needle next to the knot, then bring it out between felt layers. Pull the thread tight and snip it, releasing the thread to hide the end.
Which knots are suitable for machine sewing?
For machine sewing, suitable knots include the double backstitch for extra strength and a simple knot made by pulling the threads to the wrong side and tying them together securely, ensuring durability and neatness in your seams.
How to make French knots in embroidery?
To create a French knot, bring your needle up through the fabric, wrap the thread around the needle 2-3 times, then insert the needle back down near the starting point. Gently pull the thread to tighten the knot.
Conclusion
As they say, practice makes perfect in sewing, and these knotting techniques surely will help tie everything together as far as your hard work is concerned.
Now that you have learned how to tie a knot in sewing in seven ways, you now can confidently secure the stitches and have that professional finish. These are methods that bring finesse into anything a beginner or an experienced seamstress works on; it captures every stitch.
Pick up that needle and let your newfound skills shine in your next creation.

