This site is supported by our readers. We may earn a commission, at no cost to you, if you purchase through links.
Position your button over the fabric and squeeze the trigger gently but firmly. You’ll feel the fastener secure the button through fabric as easily as pie.
Remember, fabric thickness can be tricky, so align everything carefully. Voila! The button’s attached without a needle in sight.
It’s a real game-changer, making you the boss of buttoning. Stick around for tips on tackling tricky fabrics and Using a buttoneer like a pro!
Table Of Contents
Key Takeaways
- You’ve got a magic tool with the Buttoneer—it’s like a superhero for loose buttons, fastening them without any sewing drama. Just load, aim, and squeeze, and your buttons are secured in a jiffy.
- Picking the right Buttoneer is a bit like choosing the perfect wand. Consider your fabric type and button size to find your match, and you’ll avoid more misfires than a clumsy juggler.
- Loading it can feel as tricky as putting socks on a rooster, but once you master it, you’ll be fastening buttons like a pro. Make sure your fasteners are lined up to avoid any jams.
- Remember, a little maintenance goes a long way—regular cleaning and gentle lubrication will keep your Buttoneer purring like a happy kitten. Treat it well, and it will be ready for many button-attaching adventures.
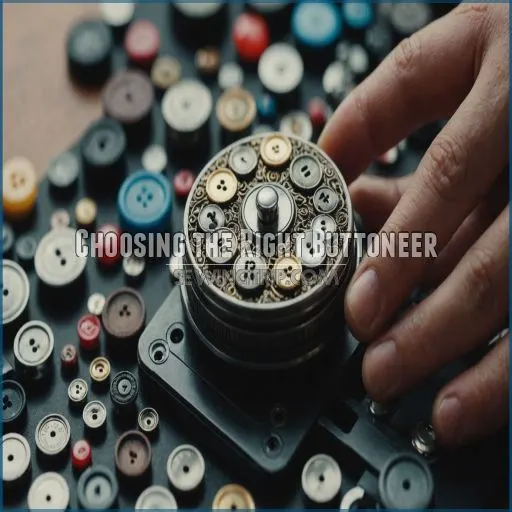
Choosing the Right Buttoneer
When you’re picking the perfect Buttoneer, it feels like choosing the right tool is as important as finding matching socks in the morning.
Consider the types and fastener options so you don’t end up with more misfires than a clumsy circus act!
How to Select a Buttoneer for Your Needs
Choosing the right buttoneer feels like finding the perfect tool for any sewing magician.
Consider your fabric type and button size—are they a delicate dance or a heavyweight bout? Think about project size too.
A vintage or modern buttoneer can match your style, much like picking a trusty wand over a price tag gun.
Find your sewing sorcery!
Factors to Consider When Buying a Buttoneer
Get comfortable with buttoning! First, consider fabric type and button size; these impact the fastener type you’ll need.
A button gun should handle one-hole, two-piece, and hand-sewn buttons effortlessly.
Check brand reputation—vintage models often outshine newer ones—and weigh costs.
Remember, a smart choice saves you time and headaches later!
Buttoneer Types and Their Uses
Picture yourself a button whisperer, taming all button types with a trusty buttoneer. Whether it’s a fancy one-hole button, a medium-sized two-hole button, or a robust four-hole button, each has its place:
- Ideal for altering shirts
- Handy for quick fixes
- Perfect for creative projects
Mastering a buttoneer transforms button chaos into harmony, opening up new crafting horizons.
Buttoneer Fastener Options
When choosing the right Buttoneer, you’ll want to think about the type of fasteners it uses.
The vintage Buttoneers have one-prong fasteners that connect in a row, while the modern versions have two-prong horseshoe-shaped fasteners.
Make sure the fasteners are durable and compatible with the fabrics you’ll be working with, especially considering the type of fasteners .
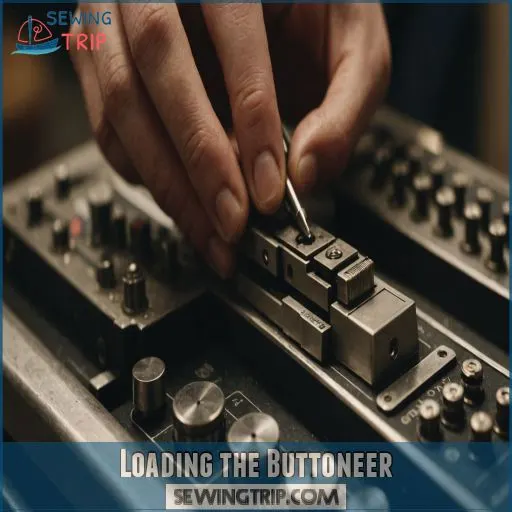
Loading the Buttoneer
Loading your Buttoneer with fasteners is easier than putting socks on a rooster, as long as you know the steps.
With a bit of practice, you’ll be fastening buttons like a pro, ready to tackle any sewing project that comes your way, and be ready to tackle any sewing project becomes "ready to tackle any sewing project" to bold "ready to tackle any sewing project that comes your way" becomes ready to tackle any sewing project that comes your way.
How to Load the Buttoneer With Fasteners
You’ve picked your Buttoneer, now let’s crack on with loading it!
Start by sliding a strip of those price-tag-style fasteners into the designated slot. Make sure the fasteners align properly to prevent jams.
Whether you’re using vintage or modern styles, keep replacement fasteners handy.
Remember, a well-loaded Buttoneer means smooth sailing. Who knew fastening buttons could be so satisfying?
Understanding Buttoneer Fastener Types
Understanding the types of Buttoneer fasteners can make or break your buttoning game.
The modern Buttoneer uses horseshoe-shaped fasteners, known for their near-invisible hold and durability.
Vintage versions offer different material options—like polyurethane—and lengths, catering to DIY enthusiasts.
Whether you’re comparing prices or opting for DIY alternatives, choosing the right fastener is key for efficient, lasting results.
Tips for Efficient Buttoneer Loading
Alright, let’s get into some tips for efficiently loading your buttoneer.
First, select the right fasteners – whether you’re working with thicker buttons or large two-hole styles, make sure the buttoneer can handle the job .
Next, carefully align the fabric and button for a secure fit every time.
And remember, proper loading is key to preventing jams and ensuring a smooth, professional-looking result.
Preparing the Fabric
Before you grab your Buttoneer, make sure your fabric’s ready for action—think of it like setting the stage for a performance!
Pick fabrics that won’t fight back, like asking a cat to pose for a selfie, and you’ll avoid frustration with setting the stage for a successful project.
How to Prepare Your Fabric for Buttoneer Use
Getting your fabric ready for a Buttoneer adventure starts with pre-washing and ironing to remove any surprises like shrinkage or pesky wrinkles.
Keep fabric tension in mind; a relaxed fit is key.
Think button placement, and if you’re quilting, consider fusible batting.
Remember, even quilters might occasionally bicker over a quilt basting gun kit! Happy buttoning!
Choosing the Right Fabric for Buttoneer Application
Choosing the right fabric for a buttonhole is like picking a dance partner. You need a good match!
Consider these:
- Fabric weight: Thicker fabrics may be trickier.
- Thread compatibility: Match thread to fabric for strength.
- Weave structure: Loose weaves can fray.
- Button type: Make sure the fastener size suits the fabric.
Pick wisely, and you’ll waltz through buttoning!
Tips for Working With Delicate Fabrics
When venturing into delicate fabrics, like a gentle breeze handling baby’s breath, make sure fabric choice aligns with your Buttoneer goals.
Stabilize your fabric with tear-away or tissue paper to avoid tension issues and fabric munching .
Place your buttons with precision and hand finish for that touch of mastery.
Who knew sewing could be as calming as arranging dusty miller?
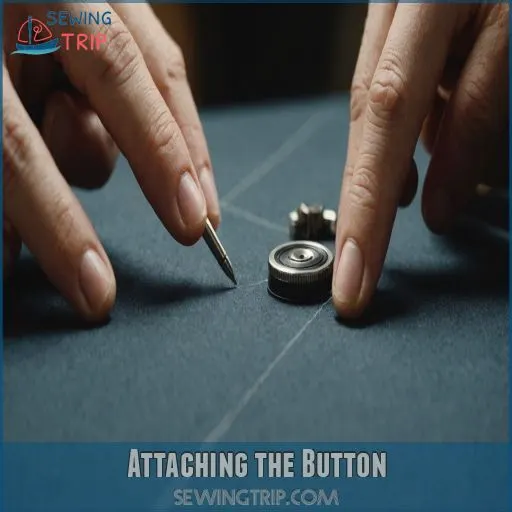
Attaching the Button
You’re about to master the art of attaching buttons with a Buttoneer, a tool that’s like a price tag gun but for sewing enthusiasts.
With a little practice, you’ll be securing buttons faster than you can say "wardrobe malfunction.
How to Use the Buttoneer to Attach a Button
To successfully attach a button using a Buttoneer, first, position the button on your fabric, ensuring it’s aligned with the buttonhole.
Insert the fastener, squeezing the trigger firmly—like pulling the handle on a pinball machine. Patience and steady hands are your allies.
Watch out for fabric thickness and keep your fingers clear—safety first!
Tips for Secure Button Attachment
You’ve got the Buttoneer loaded—fantastic!
Now, make sure fabric tension is just right. Picture the button as the ring bearer of your garment, holding things together gracefully.
Prioritize button placement and match needle size with your fabric. Use durable plastic or vintage-style fasteners to avoid mishaps.
Pick quality thread, and relax—your button won’t be going anywhere with the right quality thread.
Common Mistakes to Avoid When Attaching Buttons
Ever wondered why your buttons fall off faster than you can say "Queen Victoria"? Avoid these common blunders:
- Fabric Tension: Keep the fabric taut to prevent sagging. To make sure the process goes smoothly, having the right sewing needle, matching thread, and a thimble can also help with maintaining even fabric tension while sewing a button securely.
- Fastener Selection: Choose the right size for secure holding.
- Button Placement: Center the button, like a prince at a royal gala. This is important as misaligned buttons can lead to uneven thread tension and affect the overall look of your garment, much like when you’re trying to thread a needle with a large eye.
- Pressure Control: Apply gentle pressure to align perfectly.
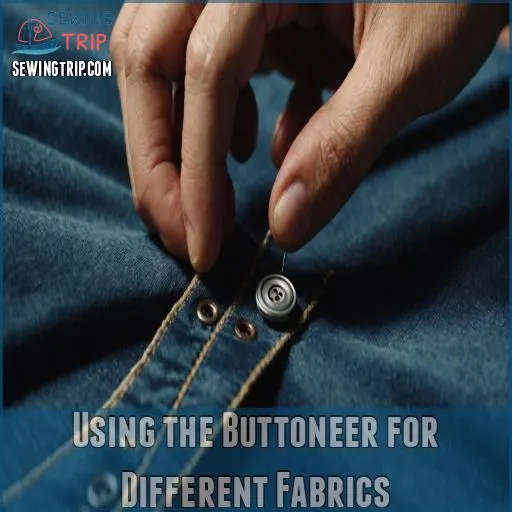
Using the Buttoneer for Different Fabrics
Using a Buttoneer on different fabrics might seem tricky, but it’s all about having the right touch.
Whether you’re tackling thick denim or delicate lace, knowing a few key tips will make you a Buttoneer pro faster than you can say "Oops, wrong button!
Working With Thick or Thin Fabrics
Working with thick or thin fabrics requires some adjustments to your buttoneer technique.
For thicker materials, use a larger button size and heavier-duty fasteners . Apply more pressure when attaching to make sure you have a secure hold.
On delicate fabrics, go slowly and test on scraps first to avoid damage (Source). The key is finding the right balance for your project.
Tips for Using the Buttoneer on Stretchy Fabrics
When tackling stretchy fabric, think of the Buttoneer as your trusty sidekick.
For perfect button placement, choose fasteners that offer flexibility.
Adjust tension to avoid puckering, and select a needle that smoothly handles the fabric’s give.
Picture fitting a puzzle piece; it takes the right moves!
Embrace the challenge with confidence, and soon, you’ll be a buttoning virtuoso.
Buttoneer Use on Sensitive or Delicate Fabrics
Now, let’s focus on delicate fabric choices when using a Buttoneer. Picture silk georgette or lace—like handling a fragile butterfly.
Carefully prepare your fabric by gently aligning button placement and choosing suitable fastener types. If the Buttoneer seems overwhelming, consider alternative methods.
Remember, it’s all about patience and precision here, and your buttons will thank you for it, with a little extra care.
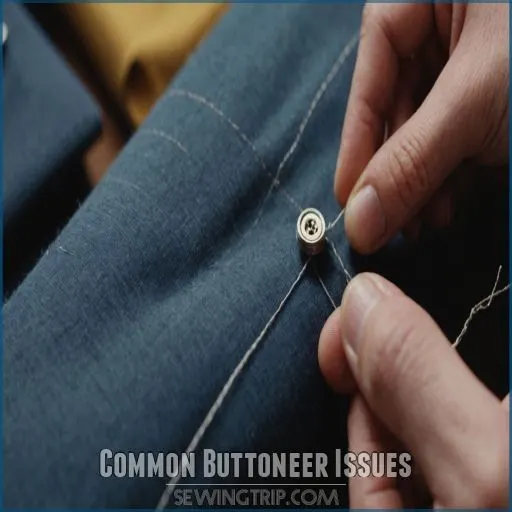
Common Buttoneer Issues
Don’t let common buttoneer glitches get you down—solving these pesky problems is simpler than you think.
We’ll guide you through fixing jams and preventing misfires, so you can get back to letting the buttons fall where they may (hopefully on your clothes!).
This allows the reader to focus on the main idea and skim the text for key information, such as buttoneer glitches and the general problem it solves, while still following the original meaning and structure.
Troubleshooting Common Buttoneer Problems
Handling different fabrics with a Buttoneer can be smooth sailing, but like any tool, it may hit a snag.
- Make sure you’re using fasteners compatible with your device.
- Regularly maintain your Buttoneer to prevent jamming.
- Choose the right Buttoneer type for your fabric needs.
How to Fix a Jammed Buttoneer
Is your buttoner misbehaving? It might be jammed! Start with cleaning and maintenance. Make sure no jammed fasteners or debris are causing trouble. Apply lubrication carefully. Remember, even the best gadgets need a little TLC!
Keep these quick fixes handy, and you’ll have your buttoner back in action before you can say "sew what?".
Check out this handy reference:
| Problem | Emotion |
|---|---|
| Jammed Button | Frustrated |
| Sticky Parts | Annoyed |
| Needs Lubrication | Hopeful |
| Working Again | Thrilled |
Tips for Preventing Buttoneer Misfires
So you’ve fixed a jammed Buttoneer and want to avoid misfires next time. Here’s the scoop:
- Firm Grip: Hold the Buttoneer steady to prevent slips. It’s like holding a delicate bird.
- Fastener Check: Use quality fasteners to make sure a snug fit.
- Fabric Matters: Choose fabrics wisely—too thick can trip you up.
- Maintenance: Regular cleaning keeps the Buttoneer running smoothly. Happy buttoning!
Buttoneer Maintenance
Maintaining your Buttoneer is important to keep it working smoothly, just like keeping your car fueled and ready for a great road trip.
Don’t forget to give it a little TLC—clean it regularly and store it properly to make sure it lasts for many button-attaching adventures!
How to Clean and Maintain Your Buttoneer
Keeping your Buttoneer in tip-top shape is a breeze. A little TLC goes a long way.
Gently clean with a damp cloth to banish dust and dirt. Remember, oiling parts now and then keeps it purring like a kitten.
Make sure you clean the fastener regularly, avoiding any pesky jams. Treat it like a vintage car, and it’ll stay reliable.
Tips for Storing Your Buttoneer
After cleaning your Buttoneer, store it in a cool, dry spot to keep it ready for action. Avoid humid environments like the bathroom; they’re no friend to this trusty gadget.
A simple desk drawer or sewing box work wonders for organization. This helps keep it safe and extends its lifespan, ensuring your Buttoneer is always at hand when your favorite shirt loses a button.
How to Extend the Life of Your Buttoneer
Just like a well-tended garden, your Buttoneer requires a little TLC to flourish.
Proper storage keeps it safe from dust and damage.
Regularly clean it to prevent residue build-up.
Treat the fasteners gently—yanking and twisting won’t win any points.
Keep it lubricated for seamless operation.
With these tips, your Buttoneer will work beautifully for years!
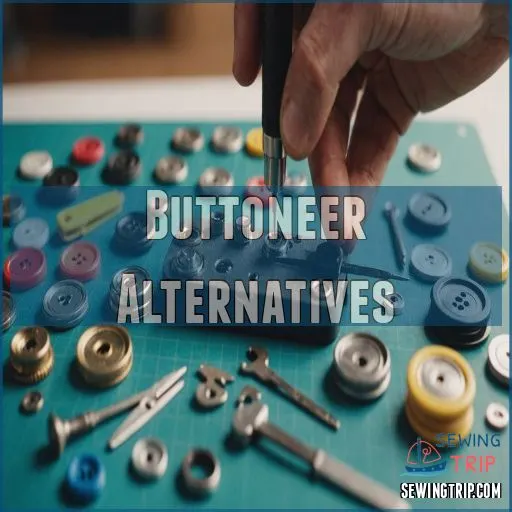
Buttoneer Alternatives
If you’re considering skipping the Buttoneer, don’t worry—there’s more than one way to skin a cat for attaching buttons.
You can always fall back on the classic methods of sewing by hand or using a trusty sewing machine to keep those buttons in their place.
Sewing on Buttons by Hand
Sewing buttons by hand is an artful skill anyone can master. You’ll need a needle, matching thread, and of course, your button.
Secure the button with buttonhole stitches, ensuring each one is snug.
| Hand-sewing Tips | Thread Selection | Needle Size |
|---|---|---|
| Use 4-hole method | Match garment | Slim needle |
| Create a stem | Double for strength | Size 8-10 |
| Finish with knots | Elastic thread for stretch | Steel |
Follow these tricks and you’ll sew like a pro in no time!
Using a Sewing Machine to Attach Buttons
Feeling buttoned down by hand sewing?
Fear not! Your sewing machine is a trusty comrade in button wars.
With a buttonhole foot, set that clever contraption to zigzag stitch—length zero—and place your button. Use the needle to adjust width between holes.
Voilà! Buttons secure, and you’re stitching like a pro in no time! (Source)
Other Methods for Attaching Buttons
If sewing on buttons by hand isn’t your thing, you can always turn to your trusty sewing machine.
Just set it up with the right button-sewing foot, and you’ll have those buttons secured in no time.
For a quick fix, fabric glue or button snaps are also handy alternatives that don’t require any stitching at all.
Buttoneer Safety
When you’re using a Buttoneer, safety should always be your top priority.
Because nobody wants to accidentally "decorate" their fingers with extra buttons.
Keep your hands clear of the needle area and always double-check your setup to avoid any unexpected "ouch" moments.
Safety Precautions When Using a Buttoneer
Switching gears from alternatives, let’s chat about Buttoneer safety. You need to keep your work area organized, just like when threading a sewing machine, to avoid accidents. Additionally, maintaining your tools and equipment, like regularly cleaning and oiling your sewing machine, can also help prevent mishaps.
Keep your fingers safe by using hand protection and maintain a proper grip to avoid mishaps. Here’s your quick guide:
- Hold with a firm yet gentle grip.
- Use hand protection when pressing.
- Handle fasteners carefully.
- Consider eye protection to shield against stray fasteners.
Stay buttoned up safely!
Tips for Avoiding Accidents and Injuries
When using a Buttoneer, don’t let a sharp needle surprise you—mind your fingers! A firm grip on the tool will help you avoid any mishaps.
A little humor never hurts. Think of your finger as a prized possession and those hands as true treasures!
Adjust fabric tension carefully to keep things smooth and, most importantly, protect them.
How to Use a Buttoneer Safely
Using a Buttoneer safely is as easy as pie with a bit of common sense.
- Use hand protection to avoid accidental pricks.
- Control pressure to make sure the needle doesn’t jam.
- Keep up with tool maintenance—it’s your trusty sewing sidekick!
Remember, maintain focus and don’t let your enthusiasm poke holes in your plans!
Buttoneer Tips and Tricks
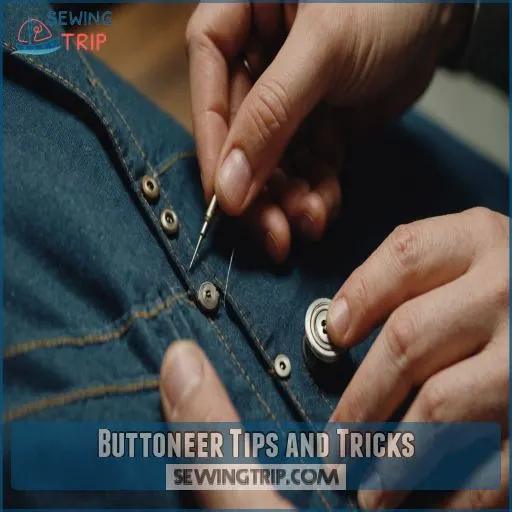
You’ll find using a Buttoneer becomes a breeze with a few expert tips and some handy tricks up your sleeve.
Explore your creativity while saving time, and soon you’ll be buttoning like a pro!
Expert Tips for Using a Buttoneer
To master the art of buttoning with a Buttoneer, consider these expert tips:
First, choose fasteners that match your fabric type, ensuring a secure hold.
Double-check your button attachment, so it doesn’t pop off unexpectedly—much like a catapulted pea!
Keep an eye on Buttoneer troubleshooting, and maintain your tool with regular cleaning for smooth operation.
Time-Saving Tricks for Buttoneer Use
Tired of slow, tedious buttoneer sessions?
Try these time-saving tricks! Load up multiple fasteners at once to streamline the process . Position your fabric just right to minimize repositioning.
These simple hacks will have you buttoning up a storm in no time with the use of the "button trick" – using ribbon to securely hold decorative shanked buttons flat.
Creative Ways to Use a Buttoneer
For a dash of creativity with your Buttoneer, consider upcycling vintage ties into fun craft ideas or DIY projects.
Imagine transforming grandpa’s old necktie into a chic boutonnière or quirky hair accessory.
Add flair by experimenting with colorful fabrics. From clothing repairs to fashioning unique accessories, your Buttoneer’s got it covered like a pro tailor (Source).
Frequently Asked Questions (FAQs)
How do you use a buttoneer tool?
Grab your Buttoneer and get ready to attach buttons in a jiffy.
Load the fasteners into the tool, line up with the button and fabric, squeeze the handle, and voilà—you’re done!
No sewing skills required.
Can a buttoneer be used on a button?
Think sewing on buttons is tricky?
Enter the Buttoneer, a tool that cleverly sidesteps needles, threading buttons onto fabric in seconds.
Fasteners are durable, washer-safe, and nearly invisible—making button attachment feel almost magical.
What are buttoneers used for?
Buttoneers are nifty tools for attaching buttons without needles.
They use a mechanism similar to a price tag gun, securing buttons quickly with plastic fasteners.
They are a perfect fuss-free option for quick fixes.
How does a buttoneer work?
A buttoneer is a handy tool that makes pinning boutonnieres a breeze.
Simply slide the stem through the buttonhole, then weave the pin in and out of the fabric.
Voila – your boutonniere is securely fastened!
How do I use the buttoneer?
Using a Buttoneer is as easy as pie. Simply load a fastener into the tool and position it over your button and fabric. Then, squeeze the handle. Voilà, your button is secured without a lick of sewing!
How to use Buttoneer by Dennison on YouTube?
To find a YouTube tutorial on using the Dennison Buttoneer, search for "Dennison Buttoneer tutorial" directly on YouTube.
You’re likely to find helpful videos demonstrating steps to attach buttons easily using this vintage tool.
What is a buttoneer?
Imagine a quick-fix superhero for loose buttons—this is your Buttoneer.
It’s a tool that fastens buttons without sewing, using tiny, almost invisible fasteners.
This makes it perfect for home, travel, or just avoiding pesky needlework.
How do you attach a button without sewing?
Need to attach a button without sewing?
Grab a twist-tie or a small paperclip.
Strip the twist-tie or shape the paperclip into a U, thread it through the button, and secure it.
Voilà, crisis averted!
How long do buttoneers typically last in use?
Picture a trusty sidekick in the sewing world;
a buttoner can delightfully reattach buttons for years with proper care.
Much like a loyal friend who sticks around,
so you won’t need to sew anytime soon.
Are buttoneers suitable for vintage clothing repairs?
Buttoneers can make quick button repairs on vintage clothing.
However, when using Buttoneers, it’s essential to find compatible fasteners.
This is because vintage Buttoneer models differ from modern ones.
Can a buttoneer apply decorative embellishments?
You bet your buttons a buttoneer can work wonders on decorative embellishments.
With their nimble fingers and keen eye for detail, they can transform any outfit into a showstopping masterpiece.
Just let your buttoneer work their magic, and prepare to be the belle of the ball!
How do buttoneers compare to sewing in cost?
Comparing the cost of sewing buttons—manually versus with a Buttoneer—presents a choice between DIY elegance and quick convenience.
Sewing is the cheaper and more traditional method.
Buttoneers save time but incur costs for the tool and fasteners.
Is a buttoneer advisable for high-fashion garments?
For high-fashion garments, opt for traditional sewing techniques instead of a Buttoneer.
Precision and attention to detail ensure top-notch quality.
Like a gourmet chef wouldn’t use instant noodles, your craftsmanship deserves the best tools and methods.
Conclusion
Remember the first time you mastered riding a bike?
That’s how empowering it feels to learn how to use a Buttoneer. You’ll fly through buttoning tasks with ease, securing buttons on thick and tricky fabrics without a hitch.
With all you’ve learned about selecting, loading, and maintaining your Buttoneer, you’re ready to tackle any button project.
So go ahead, be the boss of buttoning and enjoy the creative freedom this handy tool brings to your sewing adventures!

