This site is supported by our readers. We may earn a commission, at no cost to you, if you purchase through links.
 Mastering control of the machine pedal is the key to sewing success. As a beginner, you will understand the basics of the foot pedal, correct positioning of the foot, and how one should apply pressure on the pedal with maximum control.
It also shows you how to practice without the machine, be comfortable through perfect seating, and troubleshoot common pedal problems. Our guide gives you clear and concise tips on how to build confidence, control, and comfort with a sewing machine pedal.
Are you ready to take your sewing to the next level?
Table Of Contents
- Key Takeaways
- Foot Pedal Basics
- Finding the Right Foot Position
- Adjusting Pedal Pressure for Control
- Practice Without Machine
- Comfort and Seating for Pedal Use
- Using Foot Pedal for Slow Starts
- Experimenting With Pedal Pressure
- Foot Positioning for Optimal Control
- Troubleshooting Pedal Issues
- Regular Practice for Improved Control
- Frequently Asked Questions (FAQs)
- Conclusion
Key Takeaways
- Mastering the sewing pedal is like learning to drive a car it takes practice!
- Start slowly, experiment with pressure, and don’t be afraid to make mistakes.
- Find a comfortable seating position and foot placement to avoid fatigue and discomfort.
- Practice regularly to build confidence and control, and soon you’ll be sewing like a pro!
Foot Pedal Basics
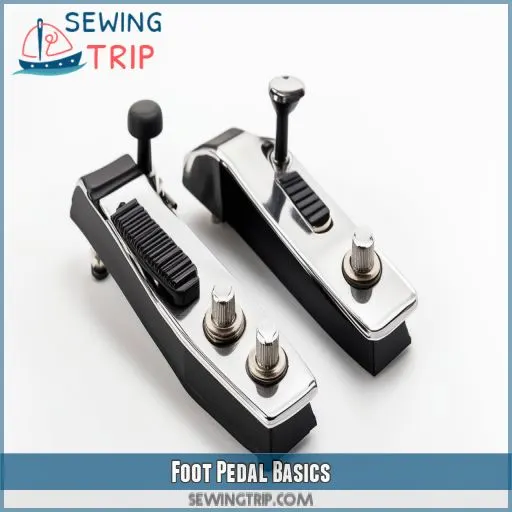
First of all, the basics of foot pedals: Check that your foot pedal is plugged in and the cord isn’t tangled. Be safe by sticking some anti-slip material under your pedal so it doesn’t slide.
Clean your pedal by dusting it off, looking for wear, and adjusting seat height so your leg and foot are comfortably positioned. Strain inhibits sewing flow. Accessories, such as pedal covers, can enhance your grip and comfort.
If you just don’t get along with regular pedals, consider substitutes like knee-operated controls. For new beginners, practice the action of pressing with the machine off to get a feel for how much pressure it takes to control the speed.
Happy sewing!
Finding the Right Foot Position
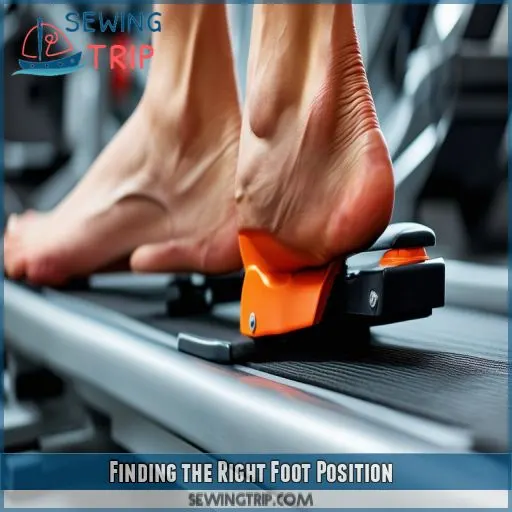
Knowing the correct placement of your feet on the sewing machine pedal can make all the difference. Start with feeling out pedal sensitivity by putting your heel on the floor, feeling stable with it as your toes apply pressure.
Flexibility through the ankle is imperative—try several angles until this feels comfortable or easy for you. Experiment with both toes up and toes down to see which way offers more control for you.
Good arch support avoids fatigue; therefore, your seating should be rightly positioned. Make sure your foot is directly over the pedal so everything runs very smoothly.
Feel like you’re guiding your needle through each stitch lightly. Smoothly adjusting your toe pressure will then affect your needle’s speed and the quality of your stitches. This practice can then seamlessly guide your fabric while your thread and bobbin are working in harmony.
Adjusting Pedal Pressure for Control
Controlling pedal pressure is a way to ensure precision and comfort when working with a sewing machine. This is how you can do it:
- Using your foot pedal, locate the pressure adjustment knob and then adjust it to your preference by turning clockwise to increase pressure and counterclockwise to decrease (Source).
- Now check the pedal sensitivity by lightly pressing it and see how it feels. Adjust until you find an ergonomically correct grip to decrease fatigue in your feet.
- Secure the pedal using a non-slippery mat so that while sewing, it doesn’t move around.
Comfortable pedal placement with adjustedpressure lets you concentrate on the fabric while maintaining a smooth, consistentcontrol over your stitches for more enjoyment in sewing.
Practice Without Machine
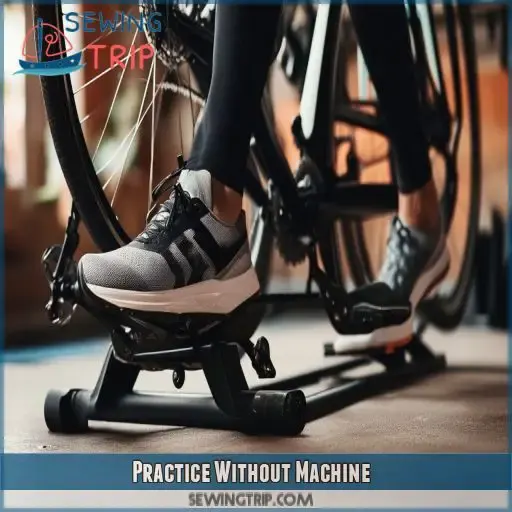
This will help you in mastering equally the foot placement and control even without the machine. You start by feeling toe pressure and ankle flexibility. Think of pedal to be like the piano pedal, lightly tapping in order to feel control and speed. Experiment with heel positions for stability through your leg positioning, which must be comfortable and natural.
This is where a piece of scrap fabric can be placed under your foot for realism. Practice tapping to get this so you can do as close to a seamless start and stop as possible. The repetition in practice creates muscle memory: the most important things for sewing seams.
This is the practice table:
| Practice Technique | Benefit |
|---|---|
| Light tapping | Control and speed regulation |
| Adjustment of heel | Stability, Comfort |
| Scrap fabric practice | Realistic feel and feedback |
Keep practicing these moves to perfect control.
Comfort and Seating for Pedal Use
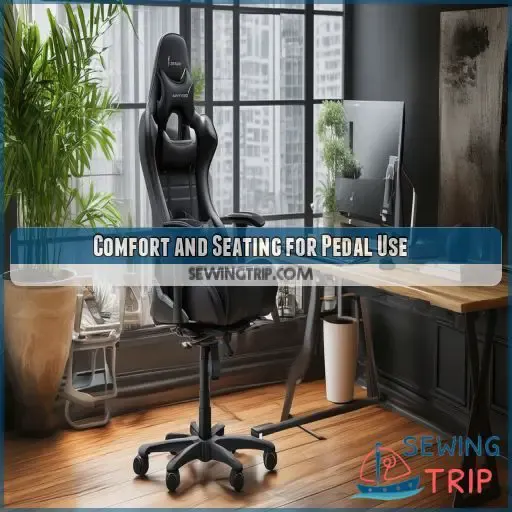
While putting up your sewing station, comfort and sitting are important factors for the pedal. The pedal should sit with your feet on the floor, knees in right angles and bent. Place the pedal handy right at its place by anti-slip material. Stand erect to avoid pains in the back by sitting straight and shoulders relaxed. So, practice patience; all that time you use in getting comfortable is well worth it.
Apply anti-slip material under pedal
- Adjust the height of your seat to align your knees
- Keep your back straight and shoulders relaxed.
– Practice operating the pedal without the machine running
Watch a video guide on proper posture and pedal use.
This will enhance your sewing experience and control, by investing the time in comfort (Source).
Using Foot Pedal for Slow Starts
Start slow, with complete control. Do this by starting to accelerate gradually. Put your foot on it easily: your toe on the pedal and your heel on the floor for added stability in the foot.
Tap the pedal gently at first—just enough to get that needle moving. Helps to judge the sensitivity of the pedal. If necessary, calibrate your machine’s pedal so that it’s responsive to light presses of the pedal.
Slow-speed maneuvering allows one to perfect stitching without rush. Take time when needed; practice makes perfect.
When you feel comfortable starting off slowly, you’ll then be more prepared to keep your speed under control in all sewing tasks that need to be done in a controlled manner.
Experimenting With Pedal Pressure
Now that you’ve practiced pressing the pedal without the machine running, it’s time to experiment with different levels of pedal pressure. The key is finding the right balance between sensitivity and control. Start by gently tapping the pedal to get a feel for how responsive it is. Gradually increase the pressure to see how that affects the sewing speed.
Pay attention to how your foot coordinates with the pedal – you want to be able to make smooth, controlled movements, not jerky starts and stops. Don’t be afraid to try different ergonomic foot positions to see what gives you the most precise pressure variations. With some experimentation, you’ll develop a natural feel for the pedal’s responsiveness and be able to sew at the perfect pace.
Foot Positioning for Optimal Control
That sweet spot of your foot pedal really does make all the difference in smooth sewing. First, be aware of the angle of your foot. A neutral position—one where the foot isn’t straining from side to side on the ankle—feels best for control.
Secondly, heel placement. Be sure the toes are positioned so gradual pressure begins by stepping gently onto a gas pedal. First, check that your knee is aligned with the pedal; this way, you won’t experience any awkward angle. Your ankle flexibility can help fine-tune your pedal pressure. Experiment with different placements—try what feels natural.
A little readjusting does make a big difference in getting seamless stitching and comfort overall. Experiment for the best results!
Troubleshooting Pedal Issues
First, if there are problems with the pedal, check the pedal calibration and then set the stitch speed dial to have better control over the sewing. If your stitches are uneven or the machine seems to hesitate, check the sensitivity of the pedal—Press harder or lighter. Here are steps for troubleshooting common problems:
- Pedal Tension: Make sure there’s no sticking in the foot pedal and that it’s not too loose or slack; adjust as necessary.
- Pedal Maintenance: Clean the pedal at your feet regularly to keep dust away, as this may affect its functionality.
- Pedal Ergonomics: Experiment with different foot positions to find a comfortable set up and responsive ride.
- Machine Problems: The fault may be in the machine itself at times. Rethread or adjust the bobbin.
Regular Practice for Improved Control
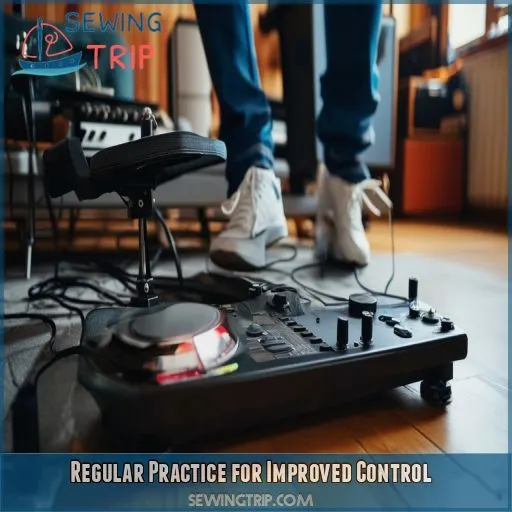
Practice with the foot pedal regularly as it makes you control your sewing machine. Maintain the correct ergonomic positioning of the foot below the pedal so that you feel comfortable keeping your toes on the pedal. Try out different placements of the foot to make the pedal more ergonomic in your turn. Practice how to adjust tension—the easiest way is by means of applying different pressures against the pedal. Remember, the continuous practice is your key to smoother and controlled sewing experiences. Here’s a simple table for your practice sessions:
| Practice Technique | Frequency | Duration |
|---|---|---|
| Foot posture adjustments | Daily | 10 minutes |
| Varying toe placement | Alternate days | 15 minutes |
| Tension adjustment trials | Weekly | 20 minutes |
| Full sewing practice | Twice a week | 30 minutes |
| Ergonomic checks | Monthly | 5 minutes |
By practicing these exercises regularly, you’ll develop finer control over the pedals.
Frequently Asked Questions (FAQs)
How to pedal a sewing machine for beginners?
Start with gentle taps on the pedal to familiarize yourself with pressure control. Practice until you achieve smooth, even stitches. Adjust foot position as needed for comfort and experiment with speed for better precision and mastery.
How to control pedals on a sewing machine?
Pedal control: Gently tap the pedal to get the machine started and build pressure for speed. Test the different positions of your lead foot on the pedal for maximum control. Sewing at a slow pace with the stitch speed dial, as much as possible, at the beginning, you’ll easily adjust to various stitching speeds as you practice enough.
What foot should I use on my sewing machine?
Use the standard presser foot for most sewing tasks. It’s versatile and allows you to control the fabric as you guide it under the needle. Experiment with specialty feet for specific techniques like zippers or buttonholes.
What is the foot control on a sewing machine?
The foot control on a sewing machine is a pedal you press with your foot to regulate the sewing speed. Adjusting your pressure lets you control how fast or slow the machine stitches.
How do I clean and maintain my sewing machine foot pedal?
Dust off the cobwebs regularly! Unplug it first, then use a damp cloth to clean the exterior of the pedal. Use compressed air to blow away any dust from all openings. It will keep running smooth and will last you a good amount of time.
Can I use a different foot pedal with my sewing machine?
You may use a different foot pedal with your sewing machine if you wish, but make sure it fits. Check the manual or contact the manufacturer for specifications. This is to ensure that thorough health safety and high performance are maintained.
What should I do if my foot pedal stops working?
If your foot pedal just quit working, don’t worry! First, check the connections to see if it’s plugged properly. Otherwise, it would be due for replacement. Consult your machine’s manual on troubleshooting steps.
How do I troubleshoot issues with my sewing machine foot pedal?
First, ensure that the pedal is plugged in. Make sure there are no cuts or otherwise in the power cord. If it still doesn’t turn on at this point, clean the pedal of debris. Refer to your machine’s manual for further troubleshooting instructions.
Can I adjust the foot pedals sensitivity or responsiveness?
Adjusting your sewing machine’s foot pedal sensitivity is a breeze! Simply turn the dial or screw on the side to find your perfect balance of control and responsiveness. Experiment until you feel like a master of your machine.
Conclusion
Think of mastering the sewing pedal like learning to drive a car. You’ve understood the machine pedal tips for beginners—from foot positioning and adjusting pressure to practicing without a machine and ensuring comfortable seating.
You’ve learned to start slow, experiment with pressure, and troubleshoot common issues. With regular practice, you’ll gain confidence, control, and comfort, taking your sewing skills to the next level. Keep these tips in mind, and you’ll soon be sewing like a pro.

