This site is supported by our readers. We may earn a commission, at no cost to you, if you purchase through links.
With a few basic tools and some patience, you’ll be rocking custom-fit trousers in no time. Start by turning your pants inside out and pinning along the inseam to your desired width.
Then, stitch a new seam, trim the excess fabric, and voila! You’ve got yourself a pair of perfectly tapered pants. Don’t worry if you’re not a sewing pro – we’ve got tips to help you navigate common pitfalls and achieve that polished look you’re after. Who knew being your own tailor could be this fun?
Table Of Contents
- Key Takeaways
- Preparing for Tapering
- Tapering Wide Leg Pants
- Tapering Trouser Legs Step-by-Step
- Tapering Jeans for a Perfect Fit
- Tips and Tricks for Tapering
- Common Mistakes to Avoid When Tapering
- Alternatives to Tapering Wide Leg Pants
- Troubleshooting Common Issues With Tapering
- Advanced Tapering Techniques
- Maintaining and Altering Tapered Pants
- Frequently Asked Questions (FAQs)
- Conclusion
Key Takeaways
- Bring out your inner tailor: Tapering wide-leg pants isn’t rocket science! All you need are some basic tools, patience, and a dash of creativity to transform those flowy trousers into sleek, fitted masterpieces.
- Precision is key: When it comes to marking and measuring, take your time. Use your measuring tape and chalk like a pro to avoid any wonky lines or uneven hems. Just think of it as giving your pants a stylish haircut.
- Understanding fabric quirks: Different fabrics can turn your tapering adventure into a breeze or a mess. Denim is your forgiving friend, while delicate silks need a gentle touch. Get to know your fabric’s personality before diving in.
- Don’t fear the seam ripper: Mistakes are just happy little accidents in the world of DIY! If things go sideways, grab your seam ripper, undo, and try again. Plus, it’s all part of the journey to becoming your own fashion designer!
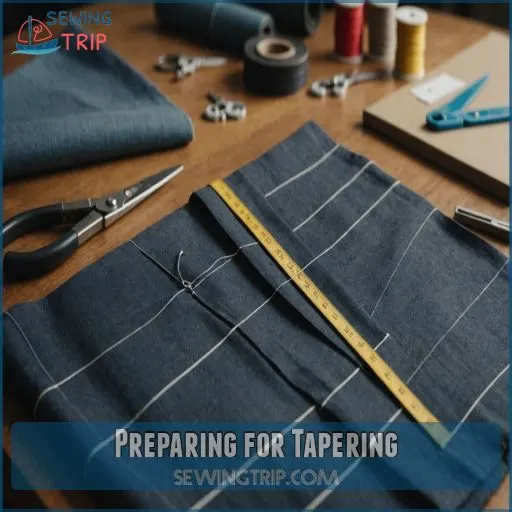
Preparing for Tapering
Getting ready to taper your pants? Grab the essentials, measure those legs carefully, and understand your fabric—no one wants their pants to go rogue mid-project!
Choosing the Right Tools and Materials
Ready to tackle those wide leg pants? Start with your toolbox of essentials:
- Sewing Machine: Your trusty steed for a straight stitch ride.
- Seam Ripper: For those "oops" moments.
- Measuring Tape: Like a best friend’s advice, it’s key for good, honest measurements.
Choose tools that match your fabric type, ensuring a smooth, stylish journey.
Measuring and Marking the Pant Legs
Alright, let’s get those pant legs measured and marked up!
First, turn the trousers inside out – this will make it easier to pinch and assess the fabric.
Gently grab the fabric around your calf and ankle, noting where you want the taper to begin and end.
Mark those spots with some chalk or fabric pins.
Precision is key here, so take your time and double-check those measurements.
We don’t want any uneven hems or awkward bunching later on!
Understanding the Type of Fabric and Its Limitations
Understanding fabric is like reading its secret code.
The stretch, drape, and weight dictate your tapering adventure.
Imagine tackling a tight weave without fraying!
Denim’s sturdy, forgiving nature allows a little wiggle room, while delicate silks demand precision.
Always make sure your fabric matches your vision to sidestep chaos and take control of your sewing quest.
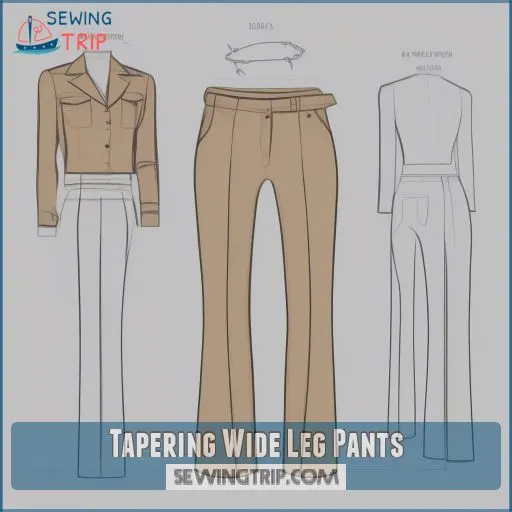
Tapering Wide Leg Pants
Tapering wide-leg pants might seem tricky, but it’s a rewarding way to freshen up your wardrobe without buying new clothes.
With a few simple steps, you can turn those flowy pants into a sleek, flattering fit that’ll make you want to strut down the street.
Creating a New Seam Line
Creating a new seam line is where the magic happens—grab your pants and let’s get started. Make sure your marking is accurate with chalk for that perfect seam straightness. Consider the fabric type and adjust your machine settings accordingly. Keep your seam allowance steady by using pins for guidance. Remember, a straight line adds style to your freedom-loving wardrobe.
- Chalk for accuracy
- Pins for guidance
- Adjust machine settings
- Keep seam allowance steady
Removing Excess Fabric and Creating a New Hem
Now that you’ve marked the taper line, it’s time to remove that excess fabric and create a fresh, clean hem.
Carefully cut along the second chalk line, cutting away the old seam.
Pin the fabric together and sew slowly, making sure to backstitch at the start and end.
Adjusting the Pant Leg Width and Shape
Let’s tackle tapering by diving in with both feet!
Grab your fabric and imagine sleek lines instead of wide legs.
Trim carefully, following your chalked path—no need for a fabric frenzy.
Patience plus precision equals perfection!
Grab a fit guide for assurance, as leg style hinges on practice.
Remember though, don’t sweat it—because errors are simply happy little adjustments.
Tapering Trouser Legs Step-by-Step
Ready to give your trousers a makeover and strut with style?
Don’t worry, turning your pants inside out and pinching a little fabric is easier than wiggling into skinny jeans after a big lunch,
and we’ll guide you through cutting and sewing the perfect new seam.
Turning the Trousers Inside Out and Pinching the Fabric
Turning trousers inside out is your first power move in the art of tapering.
Channel your inner fashion artist: pinch the fabric, feeling where it naturally wants to change.
Pick your taper location like choosing a secret hideout.
For desired fit, mark using your favorite method—chalk, pins, whatever!
Dabbling with different fabric types and pinching techniques reveals your perfect fit.
Cutting the Fabric and Sewing the New Seam
With the trousers still inside out, grab your scissors and carefully cut along the chalk line you marked earlier.
Be mindful of the seam allowance – you’ll want to leave enough fabric to create a sturdy new seam.
Now, pin the fabric together and sew slowly, using your sewing machine to stitch the tapered line. Don’t forget to backstitch at the start and end for extra durability!
Backstitching and Hemming the Tapered Trousers
After cutting the fabric and sewing the new seam, it’s time to backstitch and hem. Here’s your game plan:
- Use a short backstitch length to lock those seams tight.
- Choose hemming techniques based on fabric types.
- Set hem width to your liking—control your destiny!
- Adjust sewing machine settings for smooth sailing.
Ready to flaunt those sleek trousers?
Tapering Jeans for a Perfect Fit
Get ready to transform your baggy jeans into a tailor-made fit that you’d swear came straight from a designer.
With just a zigzag stitch and some strategic cuffing, your jeans will hug your legs perfectly and impress every fashionista you meet!
Securing the Raw Edges With a Zigzag Stitch
Imagine your jeans with perfectly secured edges—a zigzag stitch offers just that. The benefits? Fewer frays, adding life to your pant legs. Adjust stitch tension for different raw edge types, like denim or cotton. Alternative methods exist, but let’s face it, a zigzag stitch is the hero here, giving you the power to control your style effortlessly.
| Aspect | Description | Tips |
|---|---|---|
| Zigzag Stitch | Prevents fraying | Use matching thread |
| Stitch Tension | Adjust as needed | Test on scrap fabric |
| Seam Allowance | 0.5 inches | Measure precisely |
Cuffing the Jeans to the Desired Length
Once you’ve sewn up those tapered legs, it’s time to add the finishing touch – cuffing! Fold the hems up to your desired length, pinning them in place.
Then, stitch along the fold to create a crisp, polished cuff. Play around with the width to find your perfect look.
Cuffed jeans add a casual-cool vibe that’s totally on-trend.
Tips and Tricks for Tapering
Tapering pants doesn’t have to feel like rocket science—here’s how to make it a breeze.
Grab your ruler, iron, and maybe a dab of fabric glue, and create your perfectly fitted wardrobe masterpiece.
Trimming Back Seams and Pressing Seams With an Iron
To achieve perfectly tapered pants, focus on trimming back seams.
While you’d decimate jeans, treat wide leg pants with care.
Leave a neat seam allowance, stitch it, then grab your iron and explore its settings.
Use pressing tools to flatten those stubborn seams.
Different fabric types need different seam finishes, so press with confidence!
It’s like taming a wild stallion.
Using a Ruler for Precise Marking and Cutting
You’ve pressed seams like a pro, now let’s tackle precision marking. A ruler’s your trusty sidekick for straight lines and accurate cuts.
Choose the right tool:
- A sturdy metal ruler
- Fabric chalk for visibility
- Sharp scissors for clean edges
- Ret retractable measuring tape
- Transparent rulers for tricky fabrics
Enjoy mastering fabric’s subtle rules with ruler accuracy!
Working With Fabric Glue for a No-Sew Option
Fabric glue can be a handy no-sew option for tapering pants.
Consider the type – permanent, temporary, or washable.
Apply it carefully, following the instructions.
Allow proper drying time before wearing.
While strong, glue may not hold up as well as stitching over time.
If needed, use a seam ripper to remove the glue.
| Fabric Glue Types | Glue Application | Drying Time |
|---|---|---|
| Permanent, Temporary, Washable | Apply Carefully, Follow Instructions | Allow Proper Drying Time |
Common Mistakes to Avoid When Tapering
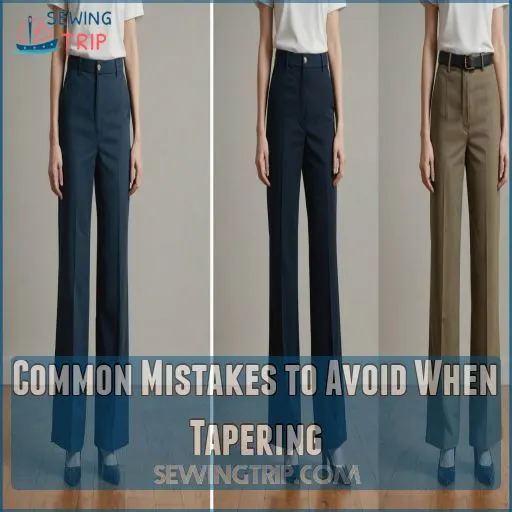
Tapering your wide-leg pants can feel like a fun DIY project, but it’s easy to mess up if you’re not careful.
Don’t worry; we’ll share the common mistakes you should dodge—like measuring wrong or over-cutting fabric—to keep your pants looking sharp!
Inaccurate Measuring and Marking
Wanna avoid tearing your hair out from inaccurate measuring and marking? Here’s how you navigate the pitfalls:
- Use reliable measuring tools to make sure you’re precise—don’t eyeball it!
- Master marking techniques; chalk or fabric pens are your best pals.
- Account for fabric stretch and seam allowances. Tapering errors can be a frustrating mess, so accuracy is power!
Insufficient Fabric Removal or Excessive Fabric Removal
Balancing fabric removal can be tricky! Take too little and your pants might resemble bell bottoms; too much, and they’re suddenly skinny jeans.
A visual guide, or a friend with a keen eye, can be your best ally.
Check fit with each snip to maintain leg shape.
Remember, it’s easier to take more off than put it back!
Poor Seam Construction and Finishing
Sloppy seams and unfinished hems can really ruin the look of your tapered pants.
Pay close attention to your sewing machine tension and use a zigzag stitch to secure raw edges.
Careful hemming is key – take your time and use the right techniques to get that polished, professional finish.
Trust us, it’s worth the extra effort!
Alternatives to Tapering Wide Leg Pants
If tapering your wide-leg pants feels like too much work or you’re worried about messing up, don’t fret; you’ve got options.
Consider taking them to a tailor, using hemming tape, or embracing a fresh style that suits your fashion flair.
Taking the Pants to a Tailor
Sometimes, tackling tapering yourself feels like taming a wild beast.
If your sewing adventures leave you tangled, why not leave it to a skilled tailor?
They can handle fit challenges and different fabric types with ease.
Plus, while tailor costs may vary, your pants will come out looking sharp.
Got recommendations? Ask around—that hidden gem tailor could be a block away!
Using Hemming Web or Hemming Tape
Looking to taper pants without sewing? Hemming web or tape might be your golden ticket!
- Hemming web vs. tape: Choose the best for your fabric.
- Pros & cons: Quick, but not always a tailor’s touch.
- Application tips: Press, don’t stress!
- Fabric types: Works wonders on cotton.
- DIY vs. tailor: Control, right in your hands!
Trying a Different Style or Silhouette
If tapering isn’t your cup of tea, why not try a different pant style altogether?
Ditch the wide legs and embrace a sleek, streamlined silhouette – think bootcut, flare, or even skinny jeans.
This fresh look can breathe new life into your wardrobe and help you feel confident and stylish.
The possibilities are endless!
Troubleshooting Common Issues With Tapering
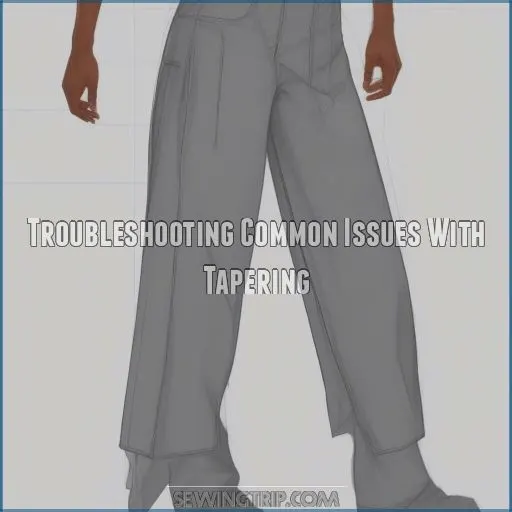
Even the most careful DIY tailor can run into snags when tapering wide leg pants.
Don’t worry though – we’ll show you how to troubleshoot common issues like uneven hems, puckered fabric, and pesky loose threads, so your newly tapered pants will look professionally altered.
Dealing With Uneven Hems or Seams
While tailors can work wonders, you’ve got this!
Let’s tackle those pesky uneven hems and seams head-on.
You’ve put in the work to taper your pants, but something’s not quite right.
Don’t fret!
Grab your seam ripper and get ready to finesse those edges.
We’ll walk you through smoothing out those wonky lines, ensuring your newly tapered pants look sleek and professional.
Ready to iron out those kinks?
Fixing Puckering or Bunching Fabric
When you’re faced with puckering or bunching fabric after tapering, don’t fret!
This common issue often stems from uneven fabric tension or improper seam allowance.
Start by carefully unpicking the problematic area.
Then, re-pin the fabric, ensuring even distribution.
Adjust your stitch length and try steam pressing to relax the fibers.
Remember, patience is key – take your time to achieve that smooth, professional finish you’re after.
Removing Excess Thread or Yarn
After tackling fabric puckering, you’ll want to focus on those pesky loose threads. Removing excess thread or yarn is important for a polished look.
Here’s how to tidy up your newly tapered pants:
- Grab a pair of sharp scissors
- Carefully snip any visible loose threads
- Use a lint roller to catch tiny fibers
Don’t forget to double-check seams and hems – those sneaky strands love to hide! With a little patience, you’ll have sleek, thread-free pants in no time.
Advanced Tapering Techniques
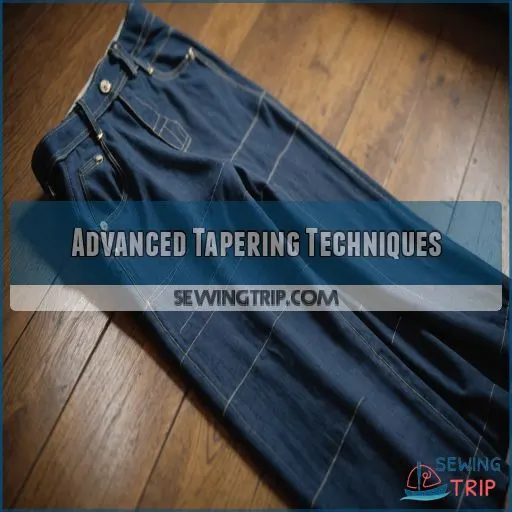
Ready to take your tapering skills to the next level?
In this section, you’ll discover advanced techniques like creating a custom fit with darts, working with tricky fabrics, and adding eye-catching details to your newly tapered pants.
Creating a Custom Fit With Darts and Seams
Ready to take your tapering skills to the next level?
Let’s get into creating a custom fit with darts and seams.
You’ll transform those wide legs into a masterpiece!
Darts are your secret weapon for nipping in excess fabric, while strategic seam placement can sculpt the perfect silhouette.
Don’t be afraid to experiment – remember, you’re the artist of your own wardrobe.
With practice, you’ll be altering pants like a pro in no time!
Working With Stretchy or Delicate Fabrics
Stretchy and delicate fabrics require a gentle touch when tapering. You’ll need to adjust your approach to achieve that perfect fit without damaging the material.
Here are three key tips to keep in mind:
- Use ballpoint needles to prevent snags
- Opt for a narrow zigzag stitch for flexibility
- Test your settings on scrap fabric first
Remember, patience is your best friend here. Take your time, and you’ll be rocking those tapered pants in no time!
Adding Embellishments or Details to the Pant Legs
Jazz up your newly tapered pants with eye-catching embellishments! You’ve got options galore: add embroidered details for a boho vibe, or try lace accents for a touch of romance.
Feeling bold? Experiment with fringe trim or funky patches.
For a touch of glamour, consider beading along the hem or side seams. These personal touches will transform your pants into one-of-a-kind statement pieces that scream "you.
Maintaining and Altering Tapered Pants
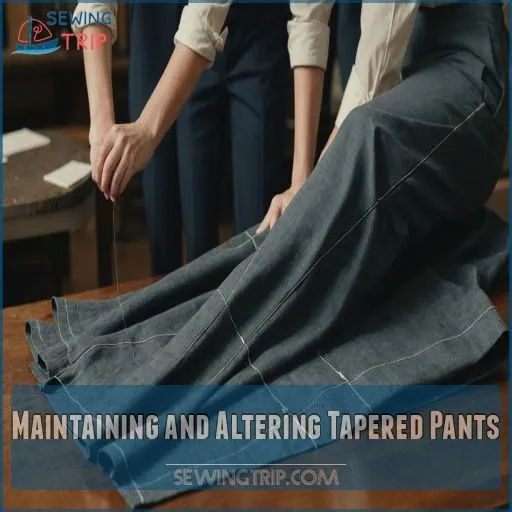
You’ve successfully tapered your wide-leg pants, but the journey doesn’t end there.
Let’s explore how to keep your newly adjusted trousers looking sharp and fitting perfectly.
From washing tips to making adjustments as needed.
Washing and Caring for Tapered Pants
After putting in the effort to taper your pants, you’ll want to keep them looking sharp.
Treat your newly tapered trousers with care by following the washing instructions for their specific fabric type.
Stick to cold water for most fabrics, and air dry when possible to prevent shrinkage.
For stubborn stains, spot-clean before washing.
When storing, hang your pants to maintain their shape and avoid wrinkles.
Making Adjustments to the Fit and Shape
Your tapered pants are like a custom-fit glove, but bodies change.
Don’t fret! You can tweak the fit with simple adjustments.
Pinch excess fabric at the waist or thighs, then re-sew the seams for a snugger fit.
Or, let out seams slightly if things feel too tight.
Remember, small changes make a big difference.
With these tricks up your sleeve, you’ll keep your pants fitting just right.
Repairing or Replacing Damaged or Worn-Out Seams
Over time, even the sturdiest seams can succumb to wear and tear.
To keep your tapered pants looking sharp, you’ll need to tackle those pesky damaged seams.
Here are some quick fixes:
- Seam ripping for a fresh start
- Fabric patching to reinforce weak spots
- Invisible mending for a seamless look
- Darning techniques to breathe new life into threadbare areas
Don’t let a little damage cramp your style – with these tricks up your sleeve, you’ll be strutting your stuff in no time!
Frequently Asked Questions (FAQs)
How to make wide pant legs narrower?
Turn pants inside out, pinch excess fabric, mark taper lines, and sew new seams.
Cut away extra material, then hem to your desired length.
Voila! You’ve transformed those baggy trousers into sleek, stylish leg-huggers.
How to taper a wide leg pattern?
Start with a wide-leg pattern, then mark your desired taper line.
Gradually narrow the leg shape from knee to ankle.
Cut excess fabric, pin, and sew along the new line.
Don’t forget to adjust the hem accordingly!
Can a tailor taper wide leg pants?
Ever wondered if your wide-leg pants could get a stylish makeover?
Yes, a skilled tailor can taper them for you!
They’ll pinch, mark, and sew to transform those billowing trousers into sleek, form-fitting legs you’ll love.
How to taper pants without a sewing machine?
Grab some fabric glue and let creativity take the wheel!
Simply mark your taper line, glue the edges, and let it dry.
Yes, it’s a DIY adventure—no sewing needed!
Who knew freedom could be this stylish?
Can dress pants be tapered at the waist?
Feeling like a fashion wizard, you can definitely taper dress pants at the waist!
Just take them to a skilled tailor or try your hand at DIY by adjusting the side seams—soon, they’ll fit like a glove.
Is it possible to reverse a tapered alteration?
Undoing a tapered alteration is like unhooking a fish—the trick is gentle hands and a seam ripper.
Carefully remove original seams, then restitch to restore the original width.
Patience and precision are your best friends here.
How much does professional tapering typically cost?
The cost of professional tapering can vary, but you’re typically looking at $15-$50 per pant leg, depending on the complexity of the alterations and your location.
It’s an affordable way to get that custom fit.
Can you taper pants made from stretchy fabrics?
You can taper stretchy pants, but exercise caution! They’re like a misbehaving slinky—unpredictable.
Use a ballpoint needle and stretch stitch.
Test on scrap fabric.
Don’t pull fabric when sewing, or you’ll be in elasticated chaos.
Conclusion
Who would’ve thought transforming wide-leg pants into a sleek fit could be more empowering than your morning coffee?
With this tapering wide leg pants tutorial, you’ve mastered a skill that even seasoned tailors might envy.
Armed with your newfound knowledge, some creativity, and perhaps a bit of fabric glue, you’re ready to tackle any pants challenge.
Remember, even if your seam’s not runway-ready, you’re one step closer to creating pants that are genuinely one-of-a-kind.

