This site is supported by our readers. We may earn a commission, at no cost to you, if you purchase through links.
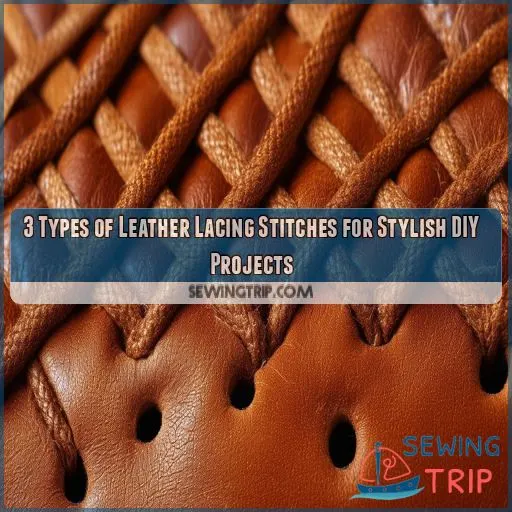
The running stitch provides material security, appearance enhancement, and decorative patterns, creating a strong bond.
The whipstitch is an easy-to-learn technique used for leather item repair and versatile leather craft projects, also forming a strong bond.
The double hand stitch produces continuous loop decorative patterns and is a more advanced technique.
Each stitch offers unique benefits – whether it’s materials security, appearance, or advanced craftsmanship.
To further explore the tools, materials, and techniques behind these stitches, keep reading.
Table Of Contents
Key Takeaways
- The running stitch is a versatile leather lacing technique that can secure materials, enhance appearance, and add durability to projects, especially when using strong lace materials like kangaroo lace.
- The whipstitch is an accessible stitch for beginners that is commonly used for leather item repair and can be applied to various leather craft projects, offering a strong bond and versatility with different types of leather lace.
- The Double Hand Stitch, also known as Double Loop Lacing, is an advanced technique that creates continuous loop decorative patterns and can be used with different types of leather lace for both functional and decorative purposes.
- Cross-stitch and basket weave stitch are additional lacing techniques that can be used to create decorative patterns and textured finishes, with cross-stitch being adaptable to various materials and the basket weave providing a unique rope-like appearance.
Types of Leather Lacing Stitches
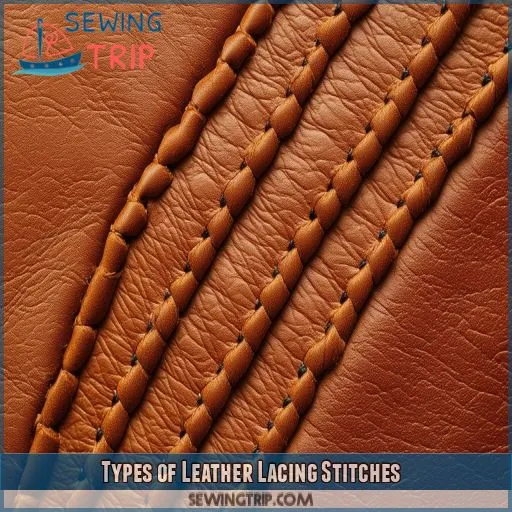
In the realm of leather lacing, a myriad of stitches await your command, promising to adorn your creations with both elegance and utility. From the enduring running stitch to the elaborate basket weave, the mastery of these 3 fundamental leather lacing stitches – running stitch, whipstitch, and double hand stitch – shall elevate your leathercraft endeavors to unparalleled heights.
Running Stitch
To create a decorative pattern with leather lacing stitches, the running stitch is a popular choice. Here are three ways to use the running stitch:
- Secure materials: Use the running stitch to attach two pieces of material together. This is particularly useful when working with top grain leather, as it provides a strong bond between the materials.
- Enhance appearance: The running stitch can be used to add visual interest to an item. By varying the tension or spacing between stitches, you can create a unique pattern that adds character to your project.
- Add durability: The running stitch is also useful for adding strength to an item. By using a strong, durable lace material like kangaroo lace, you can create a lacing pattern that will withstand wear and tear over time.
Whipstitch
Whipstitch is a popular type of leather lacing stitch that offers both strength and appearance. Here are three key points about whipstitch:
- Ease of Use: Whipstitch is relatively easy to learn and execute, making it a great choice for beginners.
- Repair: Whipstitch is commonly used for repairing leather items, as it provides a strong and secure bond between the leather pieces.
- Versatility: Whipstitch can be used for various leather craft projects, such as braiding and edge finishing, and is compatible with different types of leather lace, including calfskin and goatskin lace.
Double Hand Stitch
Double Hand Stitch is a popular leather lacing technique that involves using two needles to create a decorative pattern. Here are some key points about Double Hand Stitch:
- Double Hand Stitch is also known as Double Loop Lacing.
- It’s often used for lacing slits in leatherwork projects.
- The technique involves using two needles to create a continuous loop stitch.
- Double Hand Stitch can be used with various types of leather lace, such as round leather lace or braided leather lace.
- It’s a versatile stitch that can be used for both functional and decorative purposes.
- Double Hand Stitch is a more advanced lacing technique that requires some practice to master.
If you’re interested in learning more about Double Hand Stitch, you can find tutorials on websites like Kingsmere Crafts and YouTube. These resources can provide step-by-step instructions and tips for mastering this technique.
Cross-Stitch
Cross-stitch is a popular lacing technique that involves creating a filled running stitch type pattern on the flipside of the leather. This technique is often used to create decorative patterns, secure two pieces of material together, and enhance the appearance of an item. Here are some key points about cross-stitch lacing:
- Cross-stitch patterns can be created using various types of lace, including 1/8 lace for 3/32 slits and 3/32 lace for 3/32 slits for a tighter look.
- The lacing materials for cross-stitch projects can include haphazard holes, scraps, and other materials, depending on the specific design and purpose of the project.
- Cross-stitch is a versatile technique that can be used for a variety of purposes, such as creating jewelry, crafts, and functional items.
- Cross-stitch designs can range from simple to complex, and can incorporate vibrant colors and macrame designs for added visual interest.
- Cross-stitch techniques can be adapted to different materials, such as leather, to create a wide range of stylish DIY projects.
To create a cross-stitch pattern, follow these steps:
- Choose the appropriate lace and slit size for your project.
- Skive the tip of your lace using a sharp stencil knife.
- Load your needle with the lace and pry it open to slip the lacing underneath.
- Squeeze the needle to engage the lacing and start your stitch in a hole.
- Leave several inches of lace and bring it over the top of the next hole.
- Go through the next hole, pull it up snug, and roll the lacing over the top.
- Continue this pattern, going through each hole and pulling the lacing up snug, until you complete your project.
Remember to match the size of your lace with the size of your slits for the best results. With practice, you can master the cross-stitch technique and create beautiful, functional items for your home or as gifts for others.
Basket Weave Stitch
After mastering the cross-stitch, you’re ready to weave magic with the basket weave stitch. This technique adds a textured lace finish that’s both stylish and unique.
- Feel the satisfaction as your leather lacing transforms into a rope basket weave.
- Marvel at the unique basket weave patterns emerging.
- Elevate your lacing leather projects with a stylish basket weave.
- Discover the versatility of round braided lace.
- Embrace the complexity and beauty of the leather basket weave stitch.
Tools for Leather Lacing
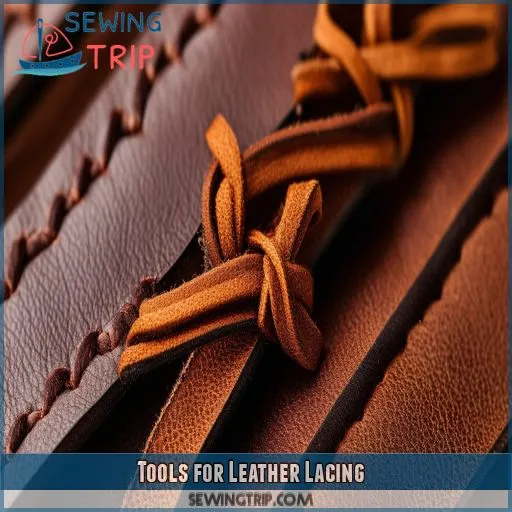
To get started with leather lacing, you’ll need a few essential tools. A leather punch or awl, lacing needle, ruler and pen, and scissors or a sharp knife are the key items you’ll want to have on hand.
Leather Punch or Awl
Leather punches and awls are essential tools for creating holes in leather for lacing. Both tools serve similar functions but have distinct differences. A leather punch is a hand tool with a sharp point that punches a hole in leather. It’s designed to create clean, precise holes that are uniform in size and shape. On the other hand, an awl is a versatile tool with a sharp point and a flat edge. It can be used to punch holes in leather, but it’s also useful for widening existing holes or scraping away material for a better fit.
When making a decision between a punch and an awl, take into account the specific task at hand. A punch is ideal for creating new holes in leather, while an awl is more suitable for working with existing holes or for scraping away material. Safety precautions should always be taken when using these tools, such as wearing protective gloves and ensuring the leather is properly secured before punching or cutting.
Hole reinforcement is another important aspect to bear in mind. Some leather punches come with a reinforcing plate or tip, which helps to prevent the leather from splitting or tearing when the hole is punched. This can be particularly useful for thicker or more durable leathers.
Lacing Needle
In the realm of leather lacing, the appropriate needle holds immense sway. Here are crucial factors to bear in mind:
- Needle Varieties: Tapestry needles, sewing needles, and lacing needles grace the market, each boasting unique strengths and drawbacks. Select the one most suited to your endeavor.
- Needle Dimensions: The thickness of the lace and the size of the perforations will dictate the needle’s dimensions. Slender laces may necessitate a smaller needle, whereas robust laces demand a more substantial one.
- Needle Compositions: Metal, plastic, and bone are but a few of the materials employed in needle construction. Opt for a material renowned for its durability and resistance to breakage during the lacing process.
- Needle Profiles: Needles exhibit varying profiles, including round, flat, and triangular. This aspect can influence the user-friendliness and the types of stitches that can be crafted.
Ruler and Pen
To guarantee precise and accurate lacing, it’s vital to have the appropriate tools at your disposal. One essential tool is a ruler and pen. Here’s why:
- Measurement Accuracy: A ruler aids in measuring the distance between slits or holes accurately, ensuring that your lacing is uniform and consistent.
- Design Planning: With a pen, you can identify the starting and ending points of your lacing pattern on the leather, allowing you to plan your design before you start lacing.
- Marking Holes: If you’re working with pre-punched holes, a pen can be used to mark any additional holes you need to create for your lacing pattern.
- Templates: A ruler and pen can be used to create templates for lacing patterns, making it easier to replicate the same pattern on multiple items or to teach others how to lace.
Scissors or Sharp Knife
When discussing cutting techniques for leather lacing, you’ll want to use a sharp knife or scissors. Here are four key points to bear in mind:
- Knife Safety: Always verify your knife is sharp and firmly held in place while cutting. A blunt knife can slip and cause injury.
- Sharpening Methods: Regularly sharpen your knife to maintain its cutting edge and prevent it from becoming dull.
- Blade Types: Different types of blades are suitable for different materials. For leather lacing, a sharp, pointed blade is ideal.
- Tool Maintenance: Clean and maintain your knife regularly to verify it remains in good condition and ready for use.
These cutting techniques are essential when working with leather lacing stitches, such as the running stitch, whipstitch, double hand stitch, cross-stitch, and basket weave stitch. They’re commonly used in various DIY projects, including outdoor gear and animal accessories.
Choosing the Right Leather for Lacing
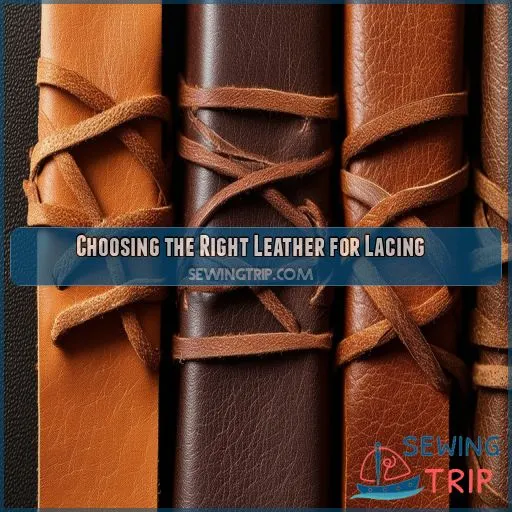
Regarding leather lacing, selecting the appropriate leather type holds great significance. Regardless of whether you opt for the resilience of kangaroo lace, the cost-effectiveness of calf skin lace, or the superior quality of Springfield leather, ensure that the lace size corresponds to the slit size to achieve a polished and professional appearance.
Kangaroo Lace
Moving from the fundamental tools for leather lacing, let’s explore kangaroo lace. Here’s why it’s a favorite choice:
- Strength: Known for its tensile power, kangaroo lace withstands the pull and tug of your projects.
- Durability: It’s not just strong; it lasts, making your creations enduring.
- Color & Availability: With a wide range of colors, find the perfect match readily available for your next masterpiece.
Calf Skin Lace
Calf skin lace is a popular choice for leather lacing due to its durability and flexibility. Here are some key points to keep in mind when using calf skin lace for your projects:
- Durability: Calf skin lace is known for its strength and resilience, making it suitable for various leathercraft projects.
- Flexibility: Despite its durability, calf skin lace remains pliable, allowing it to adapt to different shapes and contours.
- Availability: Calf skin lace is widely available, making it an accessible choice for many DIY enthusiasts.
- Projects: Calf skin lace is versatile and can be used for a range of projects, from simple decorative items to more complex functional pieces.
When working with calf skin lace, remember to select the appropriate lacing materials and methods based on the project’s requirements. Additionally, make sure that the lacing slits are properly prepared and matched with the correct lace size for the best results.
Springfield Leather
Springfield Leather is a popular choice for leather lacing due to its durability and versatility. Here are three reasons why you should consider Springfield Leather for your lacing needs:
- Durability: Springfield Leather is known for its strength and durability, making it ideal for heavy-duty projects where you need a lace that can withstand wear and tear.
- Tooling: Springfield Leather is often used for tooling, which is a process of embossing designs or patterns onto leather. This can add a unique and personal touch to your lacing projects.
- Variety: Springfield Leather offers a wide range of thicknesses, allowing you to choose the perfect lace for your project. Their thickness guide can help you find the right lace for your needs.
To soften Springfield Leather, you can use a leather conditioner or a mixture of apple cider vinegar and water. Apply the solution to the leather, let it sit for a few hours, and then wipe it off with a clean cloth. This will help the leather become more pliable and easier to work with.
Matching Lace With Slit Size
To craft a chic and practical leather project, it’s essential to select the appropriate lace materials, lace design, lace function, lace method, and lace expertise. Regarding matching lace with slit size, specific guidelines exist for an optimal fit.
First, employ 1/8 lace for 3/32 slits to achieve a tighter appearance. For 3/32 lace, use 3/32 lacing chisels and 00 holes. Horizontal slits are preferred for double loop lacing, while angled slits are suitable for Buck Stitch Lacing.
When choosing lace materials, consider using premium materials like Kangaroo lace for exceptional results. Calf Skin lace from Tandy is also a viable option. Springfield Leather offers Kangaroo lace, making it a convenient choice for your project.
To create a decorative pattern, make sure the lace matches the size of the slits. Double loop lacing is preferred for slits, and you can find tutorials on websites like Kingsmere Crafts and YouTube for guidance.
Regarding lace function, the lacing technique involves emerging through the first hole and descending through the third hole. Then, emerge through the second hole and descend through the fourth hole. Finally, emerge through the third hole and descend through the fifth hole.
For lace expertise, you can find various stitching patterns in leathercraft books and online resources. Common stitching patterns include running stitch, whipstitch, double hand stitch, cross-stitch, and basket weave stitch.
Techniques for Lacing Slits
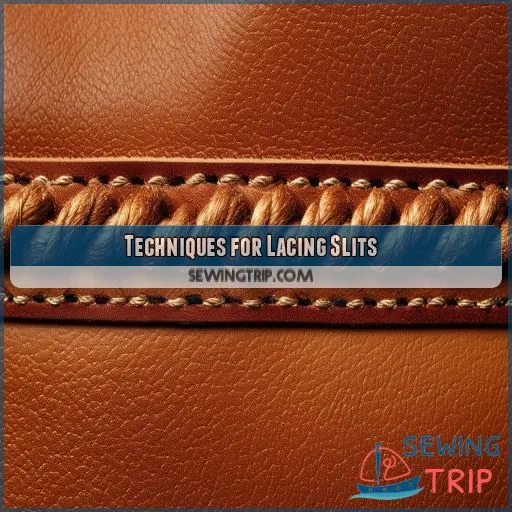
In the realm of lacing slits, you’ll need to evaluate aspects such as slit dimensions and lacing method. For instance, employing 3/32 lacing slits aligns well with 3/32 lacing thong, while horizontal slits excel for double loop lacing.
3/32 Lacing Slits
To craft an elegant and resilient leather lacing, it’s vital to grasp the various lacing slit techniques. For 3/32 lacing slits, several methods exist, each offering distinct advantages and uses. Here’s a concise overview:
- Running Stitch: This fundamental stitch is ideal for joining material. It entails emerging from the initial hole and descending through the third, then rising through the second and lowering into the fourth. Iterate this pattern to completion.
- Whipstitch: Akin to the running stitch, the whipstitch is a simple and efficient method. It produces an ornamental design on the lacing’s reverse side.
- Double Hand Stitch: This stitch creates a filled running stitch pattern on the reverse. It involves ascending through the first hole, descending through the third, rising through the second, and descending through the fourth. Repeat this pattern to completion.
- Cross-Stitch: This stitch is often employed for intricate and visually striking patterns. It involves crossing the lacing over and under the preceding stitch, resulting in a criss-cross effect.
- Basket Weave Stitch: This stitch is a more intricate pattern that requires weaving the lacing through the slits, creating a woven appearance.
When working with 3/32 lacing slits, it’s critical to select the appropriate lacing materials, patterns, applications, and techniques to achieve the desired outcome. For instance, employing premium leather like kangaroo lace guarantees durability and a professional finish. Furthermore, matching the lace size to the slit size is crucial for a neat and secure lacing job.
For a more comprehensive guide, consider viewing video tutorials on double loop lacing or visiting the Kingsmere Crafts website for step-by-step instructions. With the requisite knowledge and tools, you can create stunning leather lacing for diverse DIY projects.
3/32 Lacing Thong
After mastering the basics with 3/32 lacing slits, it’s time to level up with a 3/32 lacing thong. This choice is your secret weapon for achieving that snug, tight look that screams craftsmanship. Imagine weaving through leather with the precision of a surgeon, using the double loop technique to create patterns that make your project pop. It’s not just lacing; it’s art.
Horizontal Slits
To create a double loop lacing pattern using horizontal slits, follow these steps:
- Choose the right lace and slit size: Use 3/32 lace for 3/32 slits, and 1/8 lace for a tighter look.
- Prepare the materials: Gather a lacing needle, a sharp knife, and your chosen lace.
- Skive the lace tip: Use a sharp knife to skive the tip of the lace to create a smooth edge.
- Cut the lace tip: Cut the lace tip to a point for easier insertion into the slits.
- Load the needle: Thread the needle with the lace and load it with the lacing material.
- Start lacing: Begin by inserting the needle through the first hole, leaving several inches of lace.
- Create the double loop: Bring the lace over the top of the next hole and insert the needle through the next hole, pulling it up snugly.
- Repeat: Continue this process, going through each hole in a double loop pattern, pulling the lace up snugly and then over the top of the next hole.
Angled Slits
Angled slits offer a different way to make lacing patterns on leather items instead of horizontal slits. To create angled slits, you can use a lacing chisel or a sharp knife to cut the slits at an angle, rather than straight across. This can add a unique touch to your lacing and create a more intricate pattern.
When using angled slits, it’s important to make sure that the lacing material matches the size of the slits for a proper fit. Additionally, you can use double loop lacing techniques with angled slits, which involve passing the lace over the top of the slit before going through the next hole. This creates a decorative effect and can be used in Buck Stitch Lacing.
Angled slits can be combined with other techniques, such as horizontal slits and 00 holes, to create a variety of lacing patterns for your DIY projects.
00 Holes
To craft a chic DIY project with leather lacing, it’s imperative to grasp the various techniques for lacing slits. One such method entails employing 00 holes. Here are some pivotal points to ponder:
- Use 00 holes: When lacing with 3/32 lace, utilize 00 holes to guarantee a secure fit and precise alignment with the slits.
- Horizontal slits: For double loop lacing, employ horizontal slits to establish a seamless, uninterrupted loop.
- 1/8 lace: If a more constricted appearance is desired, employ 1/8 lace for 3/32 slits.
- 3/32 lace: This kind of lace is expressly fashioned for 3/32 slits, rendering it an optimal choice for your project.
- Double loop: This lacing technique involves engendering a loop that transits through two neighboring holes, subsequently drawing it through the ensuing hole and iterating the process.
Frequently Asked Questions (FAQs)
What is the best lace material for leather lacing?
For the best leather lacing material, you’ll want kangaroo lace – it’s super durable yet flexible. Calf skin lace from Tandy is a solid backup if kangaroo isn’t available. Trust me, kangaroo is the real MVP.
How do I choose the right lace thickness for my leather project?
The right lace thickness is key – use 3/32 for 3/32 slits, go with 1/8 for a tighter look on those slits. Nail the size match for best results, friend.
What tools are necessary for leather lacing?
To lace leather, you’ll need a lacing chisel, awl, and needles. A stitching pony or clamp helps secure your project. Get the right tools for a smooth, professional-looking result.
Can I use different types of lacing stitches for the same project?
As the saying goes, Variety is the spice of life. Yes, you can absolutely use different lacing stitches on the same project for a unique, eye-catching design. Mix and match techniques to create a one-of-a-kind masterpiece.
How do I ensure a tight and secure lacing pattern on my leather project?
You’ll want to use the right lace size for your slits, quality material, and tension properly as you stitch. Following techniques like the buck stitch or double loop guarantees a snug, secure lacing that’ll last. Don’t be afraid to get a little creative with patterns too!
Conclusion
Venturing into the arena of leather lacing stitches unveils a domain of stylish DIY opportunities.
With the appropriate tools, materials, and proficiency in the three categories of leather lacing stitches – running, whipstitch, and double hand stitch – you’ll construct durable, aesthetically pleasing crafts.
Explore various leathers, slit dimensions, and stitch configurations to unleash your creativity while cultivating an indispensable skill set.

