This site is supported by our readers. We may earn a commission, at no cost to you, if you purchase through links.
To sew a flawless join, carefully prepare by selecting the appropriate bias tape and unfolding it with folds as guides.
Align the unfinished edges, stitching in the fold closest to the edge.
Cut binding ends and flatten.
Join fabrics using bias tape, machine stitching for swiftness or hand stitching for a refined appearance.
Ensure sharp points and an imperceptible join.
Finish by hand stitching conventionally or machine stitching for larger projects.
Flatten, trim ends, and conceal stitches.
Determine potential issues such as fabric types, seam allowances, and iron accuracy.
Advanced techniques such as folding and cutting binding await if you desire to enhance your joins further.
Table Of Contents
Key Takeaways
- Select the right type of bias tape for your project, using single-fold for simple finishes and double-fold for binding raw edges. Unfold the bias tape and use the creases as guides for aligning and sewing.
- For a flawless join, align the raw edges of the bias tape with the fabric, stitch in the fold closest to the edge, and use a 45-degree crease to join the ends of the binding neatly.
- Choose between hand-stitching and machine-stitching based on the desired finish. Hand-stitching offers a more refined appearance by hiding stitches, while machine-stitching is quicker and suitable for larger projects.
- Address common joining issues by paying attention to fabric types, seam allowances, and precise ironing. Advanced techniques, such as using a bias tape maker or exploring different seam finishes, can enhance the durability and appearance of the join.
How to Sew a Join?
To sew a join, you can use various methods besides traditional sewing with a needle and thread.
These alternatives include thermal bonding, laser-enhanced bonding, adhesive bonding, and ultrasonic seaming.
For example, adhesive bonding uses mechanical, hydrogen, chemical, and thermodynamic techniques to bond textiles using adhesives.
Ultrasonic seaming could also replace the needle and thread technique with a safer, more efficient technology.
Preparing for the Join
To prepare for joining the edges of your fabric, start by choosing the right type of bias tape. You can use either single or double fold bias tape, depending on the project requirements. For a simple finish, consider using single fold bias tape, which has two folds, while double fold bias tape has three folds and can be used to bind raw edges.
Before joining the edges, unfold the bias tape and keep the creases as a reference. Line up the raw edge of the bias tape with the raw edge of your quilt or fabric, and sew in the crease closest to the edge. When joining the ends, lay one side flat and make a 45-degree crease. Lay the other end on top of the crease, cut the binding where indicated, pin the two edges together, and sew in the diagonal crease.
Trim back the binding ends and press if desired. Finish stitching the binding in the gap by turning the bias tape to the other side of the quilt and sewing it on using hand or machine stitching. Use hand stitching to hide stitches for a more polished look, or opt for machine stitching for a quicker finish.
Joining the Fabric
After laying the groundwork in preparation, you’re now at the heart of the matter: joining the fabric.
Think of bias tape as your trusty sidekick, its creases guiding you to align and conquer.
Whether you’re binding ends with the precision of a mattress stitch or ensuring your center goose point is as sharp as your wit, the goal is an invisible join.
Machine stitching offers speed, while hand stitching whispers tales of diligent care.
Let’s stitch our way to seamless unity.
Finishing the Join
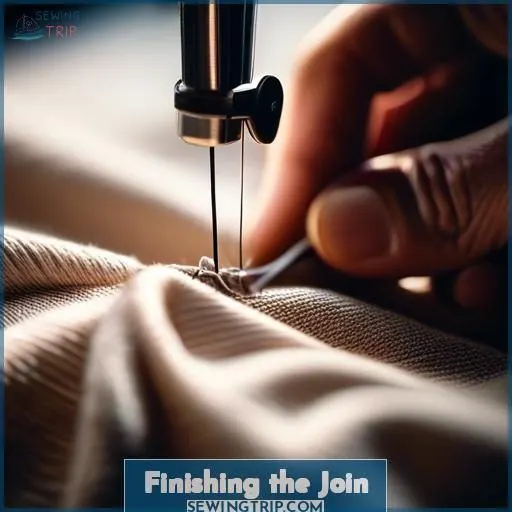
Finishing the join is the final step in your sewing project. You’ll want to make sure the join is neat and secure, whether you’re sewing a quilt, joining crochet squares, or creating a garment. Here’s a quick guide on how to do it:
- Hand Stitching: For a more traditional look, you can use hand stitching to hide stitches. This method requires patience but can yield beautiful results.
- Machine Stitching: If you’re in a hurry, machine stitching is a quicker option. It’s also useful for larger projects where hand stitching might be impractical.
- Pressing: Pressing the join can help smooth out any wrinkles and make your project look more professional. Be careful not to press too hard, as this can damage the fabric.
- Trimming: Trim back the binding ends to guarantee a clean finish. You can also turn the bias tape to the other side of the quilt and sew it on using hand or machine stitching.
- Hiding Stitches: If you’ve used a wavy seam or turned chain, you’ll need to hide these stitches. You can do this by sewing over them with a straight stitch or by using a technique like ‘let some go’ to blend them into the fabric.
Troubleshooting Common Joining Issues
Identifying the appropriate fabric types and comprehending their orientation is essential for a successful join. Be attentive to seam allowances and yarn selection. Ironing techniques should be orderly and exact, guaranteeing matching row endings and aligning stitches. Secure the final stitch with assurance, knowing that your join is now unnoticeable.
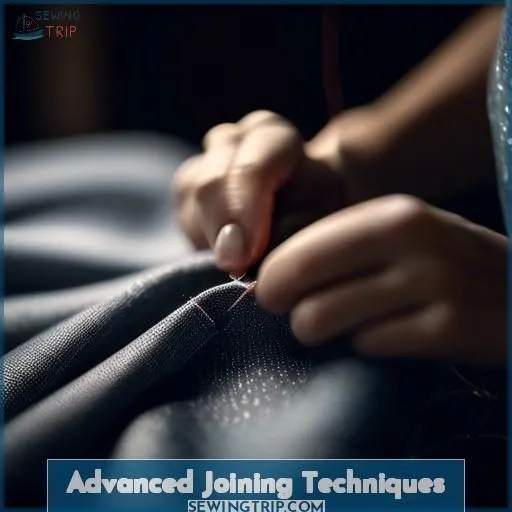
Advanced Joining Techniques
To master advanced joining techniques, you’ll need to explore the world of bias tape and seam finishing.
For joining ends, lay one side flat and make a 45-degree crease. Then, lay the other end on top of the crease, cut the binding where indicated, pin the edges together, and sew in the diagonal crease. Trim back the binding ends and press if desired.
Finish stitching the binding in the gap, turn the bias tape to the other side of the quilt, and sew on using hand or machine stitching.
For additional resources, explore cutting fabric on the bias, making bias tape using a bias tape maker, and joining the edges of binding and sewing on bias tape.
To join different colors, pull the yarn tight and sew in the yarn tail.
In garment construction, consider using a flat seam for a tidy finish.
Frequently Asked Questions (FAQs)
What is the best way to join two pieces of fabric using a sewing machine?
Brace yourself, for you’re about to master the sacred art of fabric joining! Align those raw edges perfectly, engage the feed dogs, and let your machine gracefully stitch a seam so divine, angels will weep tears of joy. Embrace the thrill of seamless unity!
How do I finish the join between two pieces of fabric to prevent fraying?
To prevent fraying on your fabric join, you’ll want to finish those raw edges. Run a zig-zag stitch or overlock ’em – that’ll lock those fibers in place nice and tidy. Or for a cleaner look, turn under and stitch a baby hem on each side. Easy peasy!
What are some common issues that occur when joining fabric and how can I troubleshoot them?
Common issues when joining fabric? Mismatched patterns, wonky seams, and puckering. To troubleshoot, use plenty of pins, sew slowly, and press seams flat. If patterns don’t align, rip and resew carefully. With patience and practice, you’ll nail those seamless joins!
Are there any advanced techniques for joining fabric that are more efficient or durable than traditional sewing?
Zany zigzag zips zest zones zipping zig zags – zany zipper insertion’s an ace advanced adhesive adjoining approach. Zestfully zips zippers zip zinging zipper’s seams seamlessly; zippy zips zap zealous zing!
How can I create a seamless join between two pieces of fabric without visible stitching?
For a seamless join without stitches, you’ll need to adhere the fabrics using fabric adhesive or fusible web. Iron on the adhesive, then carefully line up and press the pieces together. The seamless bond eliminates visible stitching for that magical, invisible seam.
Conclusion
To achieve seamless joins, painstakingly become a maestro at the craft of joining. Explore innovative folding and cutting methods to enhance your expertise. Strive for undetectable joins, ensuring crisp corners and fluid transitions. With diligent practice and meticulous attention to detail, you’ll soar above the mediocre, elevating your sewing endeavors into masterpieces of accuracy and grace.

