This site is supported by our readers. We may earn a commission, at no cost to you, if you purchase through links.
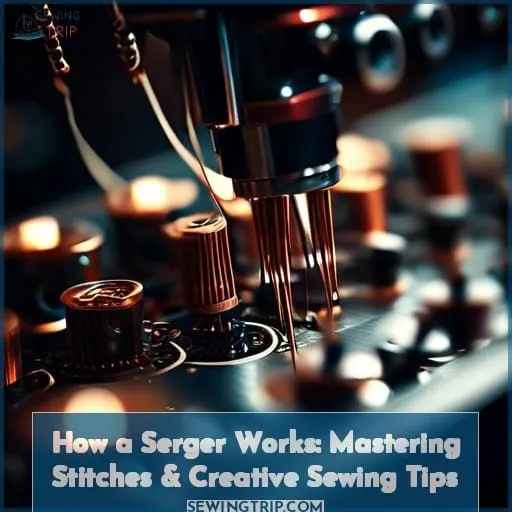
Sergers, or overlockers, are powerful tools that can transform your sewing projects, offering neat, professional finishes with speed and precision.
From threading challenges to adjusting settings for perfect stitches, we’ll dive deep into the mechanics and versatility of sergers.
Embrace the opportunity to enhance your sewing skills, explore various stitch types, and unleash your creative potential with confidence.
Table Of Contents
Key Takeaways
- Sergers perform multiple functions simultaneously, including sewing seams, trimming excess fabric, and creating loopy overcast stitches to prevent fabric edges from unraveling, thereby giving garments a professional finish.
- The anatomy of a serger includes a feed system to move the fabric, a cutting system to trim the fabric edge, loopers to form stitches without penetrating the fabric, and stitch fingers that guide the formation of stitches.
- Sergers can create various stitch types such as overlock stitches for encasing seams, cover stitches for professional hems, flatlock stitches for joining fabrics with flat seams, and rolled hem stitches for wrapping fabric edges in a tight coil, suitable for lightweight fabrics.
- Adjusting serger settings is crucial for achieving the desired stitch quality, including tension adjustment for both needles and loopers, differential feed to prevent fabric puckering or stretching, and modifying stitch length and width for different seam allowances and decorative techniques.
How Does a Serger Work
Yes, a serger works by simultaneously cutting the fabric edge, sewing a seam, and overcasting the edge with loops of thread to prevent fraying, creating professional, durable finishes. This multi-thread stitching process is fast and ideal for sewing knits and finishing seams.
Understanding the Basics of a Serger
You’re about to explore how a serger, also known as an overlocker, revolutionizes sewing with its unique functions.
This machine not only sews seams but also trims excess fabric, ensuring your projects look professional and polished.
Functions of a Serger
When it comes to understanding the functions of a serger, you’re diving into a world of creativity and efficiency.
- Seam sewing and finishing
- Trimming excess fabric
- Creating loopy overcast stitches
- Enhancing garment professionalism
Unlock the secrets of your serger’s potential with these essential functions for seamless sewing experiences.
Serger Vs. Overlocker
You might hear serger in the US and overlocker across the pond, but they’re twins in function—both champions at whipping up an overcast stitch to tuck away those pesky raw edges.
When you’re juggling serger needle types and fiddling with fabric and thread tension settings, remember, whether serger or overlocker, you’re steering the same trusty ship in your sewing machine fleet.
The Anatomy of a Serger
You’ll find that a serger’s anatomy is key to its versatility and efficiency in sewing.
Let’s explore its feed system, cutting system, loopers, and stitch fingers to understand how it achieves such professional results.
Feed System
As you’ve learned the serger’s ropes, let’s chew over its feed system. Picture the jagged teeth beneath the presser foot, chomping along to move your fabric with military precision.
Differential feed is your secret weapon against the dreaded puckered and stretched seams. It’s like having a savvy co-pilot, ensuring every inch of fabric marches through in perfect lockstep.
Keep those tensions even and loopers looping!
Cutting System
Dive into the cutting system of your serger, where the magic of clean finishes begins. This ingenious feature, with its movable knife, trims seam allowances on the fly, ensuring your projects are free from fabric fraying.
- Movable knife: A game-changer for handling knits and stretchy fabrics.
- Seam allowances: Say goodbye to tedious trimming.
- Fabric fraying: Keep those edges neat and professional.
Embrace the freedom to create with confidence, whether you’re working with delicate knits or sturdy woven fabrics. Your serger stitches not just seams but dreams, turning raw edges into realms of possibility.
Grab your wonder clips, and let’s make sewing with your overlock machine not just easy, but exhilarating.
Loopers
Dive into the serger’s soul with its loopers. Think of loopers as the serger’s rhythm section, laying down the beat for your fabric’s symphony.
Whether you’re manually threading or using air threading, keeping those loopers in tune is key.
Mix in polyester or texturized nylon thread for a performance that turns rolled hems and decorative stitches into a standing ovation.
Stitch Fingers
Dive into the serger’s anatomy and meet the unsung heroes: stitch fingers. These tiny projections are the stage where the magic of stitch formation happens.
Think of them as the conductors of an orchestra, guiding threads into harmonious seams. Whether you’re crafting a durable overlock or a delicate rolled hem, stitch fingers ensure your fabric is handled with precision, transforming every project.
Threading Your Serger
Threading your serger can be a daunting task, often causing stress and confusion even among experienced sewists.
With practice and the right techniques, however, you’ll find that mastering this process is key to unlocking your serger’s full potential.
Serger Threading Challenges
Threading your serger can feel like you’re trying to solve a Rubik’s Cube blindfolded.
With a few threading tips, you’ll conquer those threading difficulties and keep your machine humming. Remember, regular machine maintenance is key, and understanding how a serger works will make incorporating clear elastic into your projects a breeze.
Keep at it, and you’ll thread like a pro!
Tips for Easy Threading
Threading your serger shouldn’t be a headache. Let’s dive in:
- Choose the Right Thread: Different projects call for different threads. Experiment and see what works best.
- Know Your Needles: Match serger needle types to your fabric for seamless sewing.
- Troubleshoot Like a Pro: Encounter an issue? Don’t panic. Check your threading path first.
- Maintain Regularly: A well-oiled machine avoids many a stitch in time.
Serger Stitch Types and Their Uses
Understanding serger stitch types and their uses is crucial for maximizing your sewing projects.
Each stitch, including the overlock, cover, flatlock, and rolled hem, offers unique benefits for different fabric types and finishes.
Overlock Stitch
After threading your serger, a world of stitch types awaits.
The overlock stitch, your go-to for encasing seams, is a game-changer. Adjust stitch settings for different fabrics, ensuring smooth, fray-free edges.
Hit a snag? Troubleshooting is part of the fun.
Dive into creative ideas, experimenting with fabric selection.
Cover Stitch
Dive into the world of cover stitches, your go-to for hemming with a professional touch.
These stitches are versatile, perfect for stretchy fabrics and adding a decorative flair.
Encounter a snag? Troubleshooting is key—ensure your tension’s spot-on.
Explore cover stitch variations and applications, and you’ll stitch up a storm, turning the ordinary into the extraordinary with every fabric type.
Flatlock Stitch
Just aced the cover stitch? Now, let’s crack the code on the flatlock stitch.
This gem lets you join fabrics with seams flatter than a pancake, perfect for comfy flatlock garments.
Master flatlock techniques, and you’ll be customizing with a finesse that turns heads.
It’s the go-to for a sleek finish, making every flatlock customization a stitch in style.
Rolled Hem
Dive into the art of the rolled hem stitch, your secret weapon for silky edges.
Perfect for lightweight rolled hem fabrics, this technique wraps fabric edges in a tight coil.
Adjust your serger’s settings for a flawless finish.
Experiment with rolled hem tips and variations to master this skill.
It’s like giving your projects a professional, sleek hug.
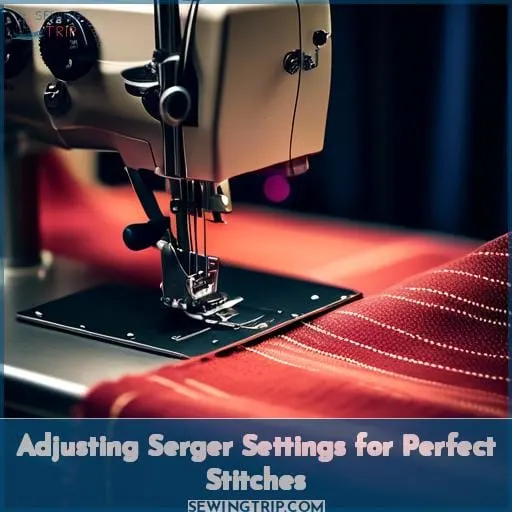
Adjusting Serger Settings for Perfect Stitches
Adjusting your serger’s settings is key to achieving perfect stitches.
You’ll need to fine-tune tension, differential feed, as well as stitch length and width.
Tension Adjustment
Just nailed that flatlock stitch? Great!
But if your seams are waving ‘hello’ or the fabric’s puckering like a prune, it’s time to tweak your tensions.
Think of needle tension as the maestro, orchestrating thread harmony. Looper tension’s the backup band, keeping the beat.
Mix in differential feed and stitch length, and you’re conducting a symphony of stitches!
Differential Feed
After nailing tension adjustments, let’s dive into the differential feed.
Think of it as your fabric’s personal trainer, ensuring it doesn’t slack or overstretch. This clever feature keeps your seams from puckering or stretching, guiding the fabric smoothly for an even finish.
It’s like having cruise control for your stitches, making sure every seam is in tip-top shape.
Stitch Length and Width
After mastering differential feed, let’s dive into adjusting stitch length and width for perfect stitches.
- Stitch Quality: Shorter lengths for fine details, longer for basting or gathering.
- Seam Allowances: Adjust width for precise fabric edges.
- Decorative Techniques: Play with settings to avoid unwanted fabric gathering, ensuring even thread tension.
Creative Applications and Project Ideas
You’ve mastered the basics of your serger; now it’s time to explore its creative potential.
From finishing garments with professional seams to adding decorative edges and working with a variety of fabrics, your serger opens up a world of sewing possibilities.
Finishing Garments
After dialing in your serger’s settings, you’re ready to tackle garment construction with finesse.
Use serger techniques to handle fabric like a pro, ensuring seam finishing is a breeze.
Your thread selection is crucial—pick the right hues and strengths to make those seams sing.
It’s like giving your fabric a superhero cape, making every edge invincible to fraying’s kryptonite!
Decorative Edges
Dive into the art of using your serger to craft creative edges that turn heads.
With a serger, different fabrics transform under your fingertips, offering a playground for decorative stitches.
Master serger techniques to edge your projects in flair.
It’s like giving your fabric a high-five, saying, Let’s jazz things up!
Who knew edges could be this exciting?
Working With Different Fabrics
Transitioning from decorative edges, let’s dive into working with different fabrics.
- Serging delicate fabrics without tears or fears, ensuring they glide smoothly under the presser foot.
- Serging stretch fabrics with ease, making your projects snap back without a hitch.
- Serging knit fabrics and thick fabrics or multiple layers becomes a breeze, turning daunting tasks into triumphs.
Frequently Asked Questions (FAQs)
Can sergers handle heavyweight fabrics effectively?
Yes, sergers can tackle heavyweight fabrics with ease. They’re powerhouses, slicing through thick layers like a hot knife through butter, thanks to their hefty cutting systems and durable loopers.
It’s sewing on steroids!
How often should sergers be professionally serviced?
Like a trusty steed needs a check-up, your serger should visit the service shop annually to keep it running smoothly and extend its life.
Regular servicing prevents the dreaded stitch skip and tension tantrums.
Are serger stitches suitable for outdoor gear?
Yes, serger stitches are ideal for outdoor gear. They’re strong, stretchy, and fast, perfect for tackling the wild elements.
Plus, they give your DIY gear that pro touch—no fraying at the edges!
What is the lifespan of a typical serger?
A typical serger can last well over 5 years, sometimes stretching to 25 years with proper care.
It’s like a trusty steed in your sewing arsenal, ready to gallop through fabric for decades.
Can sergers create reversible garments?
Yes, sergers can create reversible garments by neatly finishing seams and edges, ensuring both sides look polished.
It’s like having a fashion secret agent that crafts a two-in-one wardrobe piece.
Conclusion
You’ve now unraveled how a serger works, equipping yourself with the knowledge to produce clean, professional seams and hems.
Embrace the versatility of stitch types for both functional and decorative purposes.
With these skills, you’re set to tackle any sewing challenge and let your creativity shine through your beautifully finished garments and textiles.

