This site is supported by our readers. We may earn a commission, at no cost to you, if you purchase through links.
 Are you looking to take your fashion creativity up a notch by learning how to use a sewing machine? You’re in the right place! In this guide, we’ll walk you through the seven steps of mastering your new device and will have you stitching like an expert in no time.
Get ready for some serious liberation as we dive into everything from winding bobbins and threading needles, all the way to troubleshooting issues that may arise.
Don’t worry if it seems daunting at first – with practice comes power and soon enough there won’t be anything stopping you from creating amazing garments all on your own.
So let’s get started: learn how to use a sewing machine in 7 simple steps today!
Table Of Contents
- Key Takeaways
- Sewing Machine Parts
- Before You Begin
- Step 1: Wind and Install the Bobbin
- Step 2: Thread the Machine
- Step 3: Prepare Your Thread and Select Your Stitch
- Step 4: Prepare Your Fabric
- Step 5: Start Sewing
- Step 6: Reverse Stitch and Continue Sewing
- Step 7: Finish the Stitch
- Troubleshooting
- Frequently Asked Questions (FAQs)
- Conclusion
Key Takeaways
- Understanding the different parts of a sewing machine is crucial for successful sewing projects.
- Consistent habits and attention to detail are important for mastering the use of a sewing machine.
- Adjusting tension, stitch settings, and thread paths are essential for achieving desired outcomes.
- Proper maintenance of the sewing machine, such as cleaning and oiling, is necessary for its longevity and optimal performance.
Sewing Machine Parts
You’re the conductor of a finely-tuned orchestra, with all its intricate parts working in harmony. From the foot pedal to the power switch and bobbin winder to needle plate, together they make sure your masterpiece is brought to life.
Every sewist needs an understanding of their sewing machine‘s many components. The spool pin, thread guide, stitch selector, and hand wheel regulate tension. Don’t forget about the protective presser foot or bobbin cover, which keep fabrics safe while stitching straight lines using the feed dogs on top of a smooth needle plate surface.
Each part has its own role in guiding you seamlessly through your projects and allowing for creative freedom when powered by electricity via an ever-trusty power switch! Investing time into familiarizing yourself with each component will lead you on a journey full of liberation as well as mastery over this craft.
With practice comes confidence, so challenge yourself again and again until satisfaction follows every project you complete using your beloved sewing machine!
Before You Begin
Now that you know your sewing machine parts, it’s time to prepare for the journey ahead.
Choosing fabric and thread types is essential. Consider the weight of both materials when pairing them together, as this can affect stitch tension and the quality of results.
Make sure your foot pedal is firmly connected into the top right side of your sewing machine.
Developing consistent habits will also help create beautiful projects with ease. Whether it’s holding threads at the beginning until they become taut or removing pins while stitching close to an edge, these little details go a long way in making sure everything runs smoothly!
Finally, remember that not all machines require electricity. So, make sure that the power switch remains off unless necessary.
With practice comes confidence – challenge yourself again and again until satisfaction follows every project!
Step 1: Wind and Install the Bobbin
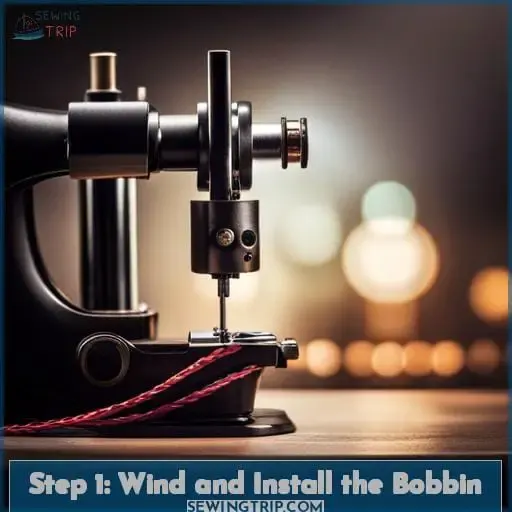
To get started, begin by winding and installing a bobbin – it’s the foundation of any successful sewing project! Fascinating facts about bobbins: did you know that some have been found dating back as far as 4500 B.
To do this, locate the bobbin winder at the top right side of your machine. Then guide the thread from the spool pin to the thread guide before slipping one end through the needle clamp on the bobbin cover.
After securing the threads in place with the tension disk, hold the hand wheel while pressing the foot pedal until the cylinder is full or almost full.
For even tension across the entire fabric preparation process, select the stitch type using the stitch selector dial prior to threading the machine with both top and bottom threads for straight line production results every time!
Ensure all components are securely fastened together, such as the needle plate and presser foot.
Step 2: Thread the Machine
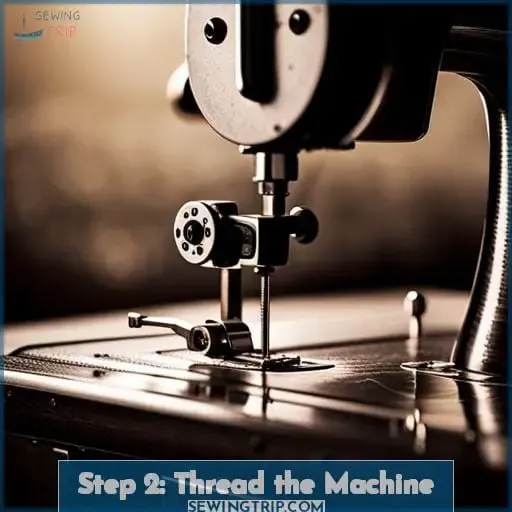
Next, thread your machine with both the top and bottom threads to ensure even tension across the entire fabric preparation process.
To do this, choose a stitch type using the stitch selector dial on the right side of your machine. Then select an appropriate spool of thread for your chosen stitch – typically either cotton or polyester depending on the fabric types being used.
Afterwards, guide one end through the small metal piece located near the needle clamp and feed dogs at the front of the sewing machine. Then pass it through the take-up lever near the bobbin winder at the top right side of the device.
Finally, pull down the hand wheel while pressing the foot pedal to engage the reverse stitching motion, which will lock in place when you release pressure from the wheel!
Make sure to practice techniques such as adjusting tensions correctly by selecting the correct thread types along with proper speed levels.
Step 3: Prepare Your Thread and Select Your Stitch
Once you’ve threaded your machine, it’s time to prepare the thread and select a stitch that best suits your project. Make sure to note any specific threading techniques for each type of fabric, as this will affect the tension adjustment needed when sewing.
The right selection on the stitch selector dial can make all the difference in how well seams finish and hold up after repeated use. Also, be mindful of where you position fabrics before starting. Being too close or far away from the metal plate could lead to problems with the thread path later down the line.
Finally, once you’re done stitching a design or piecing something together, don’t forget to tie off the ends of the threads securely.
With proper practice and understanding, these steps should become second nature, allowing sewers everywhere to unlock their true potential!
Step 4: Prepare Your Fabric
Before you start stitching, make sure your fabric is smooth and flat so it won’t bunch up when you sew. Pay attention to the threading tension as this will affect how well seams finish. If you’re using a patterned fabric, mark out the seam allowance for cutting with chalk or tailor’s tape before pinning it onto the machine bed.
Also, consider whether any of the patterns need special stitch lengths or types of seams, like French Seams, that require extra widths for folding over twice.
Once you’re ready to begin, hold the fabric firmly in place with your right hand while adjusting the stitch selector dials and foot controls accordingly until the stitches are set correctly. Pay particular attention to the tension settings on each side of the needle plate.
Then, lower the presser foot onto the cloth before sewing can commence! As you work, take care not to pull the fabrics at different speeds as this affects accuracy.
Finally, when you’re finished, secure the threads off neatly at the end point, making sure all pieces stay perfectly aligned throughout the entire project.
Step 5: Start Sewing
Now that you’ve got your fabric in place and the settings adjusted correctly, it’s time to get sewing! With a few steady pushes of the foot pedal and some careful maneuvering, you’ll be stitching away like a pro.
To keep things running smoothly, make sure to strengthen stitches with backstitching. Maintain even tension through the use of the thread take-up lever. Release fabric from the machine when necessary. Replace the thread with a new one if needed. Sew at a slow speed for curves or tight corners.
Be sure to check all areas around the needle plate where straight pins may have been left behind too.
Step 6: Reverse Stitch and Continue Sewing
Reach the end of your seam and reverse stitch for a few stitches to secure. Then press on with confidence as you continue sewing! As you push fabric through the machine, make sure to keep an even tension by adjusting the thread take-up lever.
When going around curves or tight corners, be sure to sew at a slow speed. Be mindful when needle threading and bobbin winding too.
With enough practice comes mastery, so don’t give up. Strive for perfect results every time! Remember, pushing fabric forward confidently while controlling tensions leads the way towards successful sewing projects each time.
Step 7: Finish the Stitch
Once you’ve reached the end of your project, carefully lift up the presser foot and needle to finish off the stitch. Ask yourself: did I sew with confidence and accuracy? The correct tension and even spacing are key elements in achieving a successful sewing machine setup.
Your choice of how to end will depend on what type of fabric you’re working with. If it’s sheer or delicate material, then take extra care when stopping at its edge.
To complete your seam, raise both needle and presser foot before taking away from the machine for good.
Taking little bits at a time is always important. Starting by mastering basic techniques like setting tension correctly should be the first step taken towards becoming an expert sewer!
The most common type of sewing requires that fabric lays flat against the edge of the presser foot while stitching, so keep an eye out for any puckering or pleating that might happen during the process.
With enough practice comes mastery; don’t give up striving for perfect results every time! Remember pushing fabric forward confidently while controlling tensions leads the way toward successful projects each time.
Troubleshooting
If you experience any issues while sewing, troubleshooting the machine can help get it back on track. Thread bunching is a common issue that usually occurs when the tension of either the bobbin thread or the upper thread isn’t evened out correctly.
To fix this, adjust your tensions and check if everything looks good from both the front and back of the sewing machine.
Avoid pulling fabric at different speeds as well to maintain an even stitch type throughout your project.
When working with delicate fabrics like sheer material, make sure you lift the presser foot near pins to prevent puckering edges due to uneven tensions between threads.
Finally, take extra care when stopping at the edge by slowing down so that each stitch will be precisely placed along marked lines for a neat finish every time!
Frequently Asked Questions (FAQs)
What are the best practices for maintaining a sewing machine?
To keep your machine in top shape, regularly clean and oil it, use the right needles for fabrics and threads, and store it in a dust-free environment between uses. Take time to learn about functions like tension adjustment so that you can master them confidently.
What kind of fabric should I use for a particular project?
To determine the best fabric for a project, consider its purpose and features such as strength, stretchiness, texture, and weight.
What kind of needle should I use for a certain type of fabric?
When working with fabrics, the needle type matters. Use a sharp or universal needle for wovens and stretchy knits, respectively. Denim requires a heavier denim or topstitch needle. Choose ballpoint needles for knitwear to avoid snagging threads.
For delicate fabric, use microtex needles as they have sharper points than other types of needles.
How do I adjust the tension on my sewing machine?
Adjusting the tension on your sewing machine is easy! First, locate the small knob or dial; you’ll feel a sense of power and control as you turn it. Make sure to use anachronistic precision when making adjustments – this will help ensure stitches are even and perfect every time.
What are the differences between different types of stitches?
Different stitches offer varying results – from decorative to functional. Experiment with zigzag, blanket, satin, and more! Utilize your sewing machine’s stitch selector for creative expression; unleash the power of liberation found in mastering new techniques.
Conclusion
Your journey with the sewing machine has just begun. By taking the time to understand the basics, you’re setting yourself up for success. There’s a lot to learn, but with practice, patience, and a bit of creativity, you can make beautiful works of art with a sewing machine.
As you stitch away, you’ll be surprised at the level of detail and precision you can achieve. So keep going and strive for mastery. And remember, even the most experienced sewers make mistakes, but that’s how we learn and grow.

