This site is supported by our readers. We may earn a commission, at no cost to you, if you purchase through links.
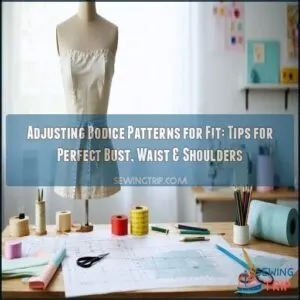
Start by checking the shoulder slope—it impacts how the bodice sits. Next, adjust the length of the bodice to match your torso, using the cut-and-spread method to add length or the cut-and-overlap technique to reduce it.
For the bust, tweak dart placement or try a full or small bust adjustment, depending on your needs. Don’t forget to refine the armhole curve for comfort and movement.
Table Of Contents
Key Takeaways
- You’ll need to prioritize shoulder adjustments first, as the shoulder slope affects how the entire bodice sits and creates the foundation for a properly fitted garment.
- When altering length, you can use the cut-and-spread method to add fabric for full-busted figures or the cut-and-overlap technique to reduce excess material for smaller busts.
- You should focus on precise bust point placement and dart manipulation to ensure the bodice contours naturally to your shape without gaps or strain.
- You’ll achieve more harmonious side seams by dividing waist adjustments evenly across darts, side seams, and the center back while maintaining proper grain direction.
Bodice Pattern Basics
When working with bodice patterns, you’ll need to know how to make adjustments to achieve the best fit.
Understanding how to alter length, width, and darts while keeping the armhole shape intact guarantees your final garment looks polished and fits comfortably.
Smooth pattern adjustments are the secret to a perfectly fitted, polished bodice that moves comfortably with you.
Understanding Bodice Pattern Adjustments
Mastering bodice pattern adjustments means tackling fitting challenges with ease.
To adjust a bodice pattern successfully, follow these adjustment principles:
Master bodice adjustments with precision and ease by prioritizing pattern integrity, testing changes, and refining with a muslin fitting.
- Use a bodice alteration guide for step-by-step clarity.
- Prioritize pattern integrity during changes.
- Test your changes with a muslin fitting.
- Keep essential alteration tools handy.
- Analyze a bodice sloper for proper proportions.
This guarantees an accurate, personalized fit, ensuring you can tackle fitting challenges with ease.
Importance of Preserving Armhole Shape
Preserving armhole shape is vital for armhole integrity and proper garment drape.
Any misstep in bodice pattern adjustments can lead to fitting issues and restricted range of motion.
One common issue to address is diagnosing shoulder types for a better fit.
| Key Focus | Why It Matters | Avoid It By |
|---|---|---|
| Armhole Preservation | Guarantees sleeve compatibility | Smooth curve adjustments |
| Comfort Level | Improves fit and motion | Maintaining symmetry |
| Bodice Fitting Issues | Avoids pinching or gaps | Precise pattern marking |
Common Bodice Pattern Adjustment Techniques
When working on bodice pattern fitting, you’ll need tools like Dart Manipulation and Pattern Grading.
Using Muslin Fitting, test changes like bust adjustments or shoulder adjustments.
Combine adjustments carefully to keep the armhole shape intact. Techniques like cut-and-spread or cut-and-overlap guarantee advanced alterations don’t compromise the fit.
Adjust bodice patterns smoothly for a polished fitting bodice sloper.
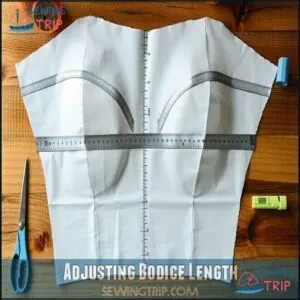
Adjusting Bodice Length
When your bodice doesn’t sit at the right spot, adjusting its length can make all the difference.
By using simple methods like cutting and spreading or overlapping, you can guarantee the fit is both comfortable and flattering.
Cut-and-Spread Method for Full-Busted Figures
For full-busted figures, the cut-and-spread method enhances bodice pattern fitting. Start by marking bust points and cutting along the lines. Spread gently to adjust width and length, maintaining armhole preservation.
This technique guarantees dart manipulation, keeps pattern integrity, and creates space for bust adjustments. The cut-and-spread supplies are available online.
- Mark bust points carefully.
- Slice patterns without tearing.
- Spread evenly, checking muslin fitting.
- Adjust darts for better shape.
The technique guarantees dart manipulation, keeps pattern integrity, and creates space for bust adjustments, ensuring a proper fit for full-busted figures with the cut-and-spread method.
Cut-and-Overlap Technique for Small-Busted Figures
For small-busted figures, the cut-and-overlap technique helps adjust your bodice for a sleek fit.
Simply overlap the pattern by the desired amount, reducing excess fabric while maintaining pattern integrity.
This method prevents neckline gaping and keeps darts proportional.
Proper dart manipulation guarantees smooth bust adjustments.
Don’t forget—shoulder adjustments may also refine overall fit without compromising the design’s structure, ensuring a proper sleek fit.
Lengthening or Shortening The Bodice
After adjusting for smaller busts, let’s tackle bodice length.
A bodice length alteration guarantees the hemline shape complements your torso length and waist placement.
To lengthen, cut, spread, and secure; to shorten, overlap sections.
Balance proportions carefully for a fitted look.
These clothing pattern adjustments are key bodice fitting tips to refine your sloper and perfect bodice alterations.
Altering the bodice may involve changing neckline styles for a fresh look.
Bust Adjustments Explained
Getting the fit right across the bust is all about precision, whether you’re adding or removing fullness.
You’ll adjust darts, measurements, and placement to guarantee the fabric contours smoothly without gaps or strain.
Full Bust Adjustment for Large Busts
To perfect bust adjustments on a bodice, start by marking your bust point accuracy.
For full-busted figures, the Full Bust Adjustment (FBA) widens and lengthens the bodice.
Use dart manipulation to smooth fit while preserving pattern integrity.
A muslin fitting helps refine results.
Remember, FBA limitations occur if darts don’t align naturally—adjust for seamless shaping and balance.
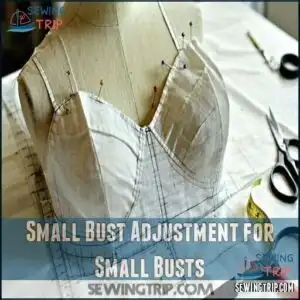
Small Bust Adjustment for Small Busts
If the bodice feels loose or droopy, it’s time for a Small Bust Adjustment (SBA).
Using dart manipulation or overlap techniques, you can trim excess fabric and achieve a better fit.
Slash the bodice, overlap sections, and smooth bust darts.
For pleats or gathers, reduce volume strategically.
SBA guarantees polished results in bust adjustments bodice, yielding a refined look.
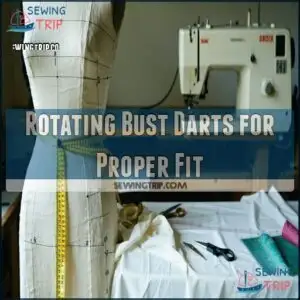
Rotating Bust Darts for Proper Fit
When bust darts don’t sit right, dart manipulation bodice techniques can save the day.
Dart rotation methods let you relocate darts to align with the bust point, improving fit.
Try pivoting darts to the waistline or shoulder for balance.
Explore options for easy pattern alterations to refine your designs.
Always smooth the armhole curve after adjustments to maintain proper shape and control dart volume effortlessly within bodice patterns.
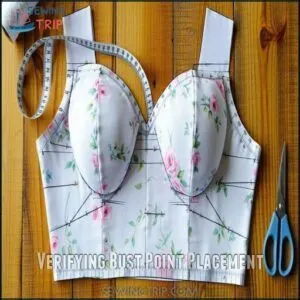
Verifying Bust Point Placement
Getting the bust point right can feel like a puzzle, but it’s simple.
Use your bust level measurement to check bust point height and spacing on the pattern. If it’s off, adjusting darts is your fix.
Move them slightly, guaranteeing dart manipulation matches your measurements.
Proper bust adjustments guarantee your fitting bodice sloper aligns perfectly. Full bust adjustments may be necessary for the best fit.
Great fitting starts here with proper adjustments, and great care to details ensures a perfect fit.
Shoulder Adjustments Made
Getting shoulder adjustments right can make or break your bodice’s fit, especially when dealing with sloping or square shoulders.
By tweaking the shoulder line and armhole curve, you’ll guarantee a more balanced, polished look that rests comfortably on your frame, achieving a polished look.
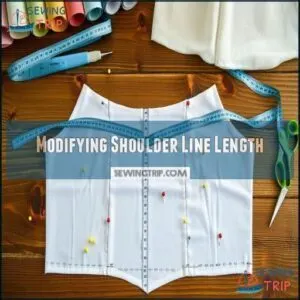
Modifying Shoulder Line Length
Shoulder adjustments in a bodice pattern often start with correcting shoulder slope. If your sleeve feels tight or gaps at the armscye, fix the shoulder line length.
Here’s how:
- Pin excess fabric at the shoulder seam.
- Angle the shoulder seam slightly.
- Split adjustments between front and back.
Measure armhole circumference after alterations for proper shoulder fit. Consider adjusting shoulder seams for a better fit.
Rotating Shoulder Darts for Sloping Shoulders
Sloping shoulders need a custom touch to improve garment fit.
Identify excess fabric and pinch it into a dart toward the apex for better shoulder slope correction.
Dart rotation methods refine shoulder adjustments by redistributing fullness smoothly.
Remember, use shoulder slope analysis to maintain the armhole curve.
Swift dart manipulation guarantees the bodice fits effortlessly.
| Task | Action | Purpose | Outcome |
|---|---|---|---|
| Pinch excess fabric | Mark and fold into a dart | Define shoulder slope | Improve shoulder fit |
| Rotate darts | Adjust to apex | Redistribute fullness | Less gaping, smooth fit |
| Preserve armhole curve | Smooth edges | Keep armhole integrity | Seamless shoulder finish |
| Adjust back shoulder | Add shallow darts | Correct slope symmetry | Comfortable garment shape |
The table outlines the steps for shoulder fit improvement, starting with pinching excess fabric, then rotating darts, preserving the armhole curve, and finally adjusting the back shoulder.
These steps ensure a smooth fit and a comfortable garment shape.
By following these instructions, one can achieve a well-fitted garment with proper shoulder slope correction.
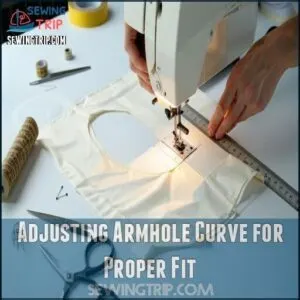
Adjusting Armhole Curve for Proper Fit
Shaping the armhole curve enhances armhole fit while keeping sleeve compatibility intact.
Address armhole gaping or comfort issues by fine-tuning the curve.
- Add or remove width evenly for better armscye balance.
- Smooth the curve to avoid strain or sagging.
- Adjust sleeve cap length during armhole adjustments.
Check seams match before sewing for seamless armhole binding. For precision, consider using an armhole shaping tool. Armhole shaping is crucial for better armscye balance and to avoid strain.
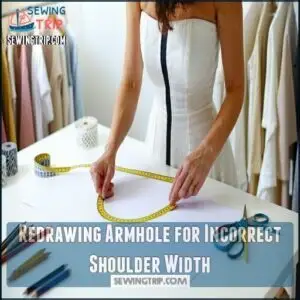
Redrawing Armhole for Incorrect Shoulder Width
Fixing an incorrect shoulder width? It’s simpler than you think.
Adjust the armhole curve to align with the shoulder joint.
Use a ruler to redraw the armscye for a smooth, natural shape.
Double-check your work—armhole reshaping needs sleeve adjustments later.
Here’s a quick guide:
| Adjustment Step | Purpose |
|---|---|
| Measure shoulder width | Guarantee precise shoulder fit |
| Mark new armhole line | Improve armscye accuracy |
| Smooth armhole curve | Eliminate sharp edges |
| Check sleeve pattern | Match sleeve to armhole adjustments |
| Retest pattern piece | Verify overall pattern fit |
To ensure accuracy, follow these steps carefully, as they are crucial for achieving a smooth, natural shape and a well-fitting garment.
By doing so, you will be able to guarantee precise shoulder fit and make the necessary armhole adjustments with confidence.
Waist Adjustments Done
Getting the waist just right makes all the difference in achieving a flattering fit for your bodice.
By adjusting the waistline and side seams, you’ll guarantee smooth lines and proper balance across the garment.
Correcting Bodice Waistline
To correct the bodice waistline, split waist adjustments evenly across darts, side seams, and the center back (C-back).
Lower or raise the waist level to improve fit without altering waist circumference.
Adjust dart placement for balance and confirm side seam harmony.
Maintain proper bodice length by keeping ease adjustments subtle. These small tweaks achieve a perfect fit effortlessly.
Adjusting Waist Level and Side Seams
Tweak your waist level and side seams to enhance garment fit.
Slice the bodice horizontally to adjust length or remove excess.
For a balanced waist circumference:
- Divide the length adjustments evenly across front and back pieces.
- Add or subtract width at the side seams for bodice ease adjustments.
- Verify hip adjustments complement the waistline correction for smooth flows and a proper waist circumference.
Ensuring Harmonious Side Seams
Side seams should flow smoothly without pulling or sagging.
Check Seam Alignment by matching lengths and ensuring Consistent Curves while accounting for Fabric Drape.
Grain Direction matters—misaligned patterns can affect bodice ease adjustments.
Use this quick guide:
| Issue | Cause | Solution | Tools |
|---|---|---|---|
| Uneven seams | Length mismatch | Recut pattern | Measuring tape |
| Curved distortion | Grain mismatch | Realign Grain Direction | Pattern weights |
| Baggy fit | Excess bodice ease | Refine waist adjustments bodice | Pins |
| Tight seams | Poor fabric drape | Adjust pattern alterations | Fabric chalk |
Meticulous sewing pattern adjustments for fit guarantee polished results!
Cup Sizing in Patternmaking Explained
Once side seams align, understanding cup sizing simplifies proper bust adjustments.
Cup calculation is based on the difference between your high and full bust measurement—ignore bra sizing.
Select patterns using this:
- Pattern selection: Match your high bust to size.
- SBA vs FBA: Adjust for small or full busts accordingly.
- Dart manipulation: Refines fit and bust point placement effectively.
Frequently Asked Questions (FAQs)
How to adjust patterns to fit you perfectly?
It’s like solving a puzzle—start by adjusting shoulders for slope, then tweak length at the bust and waist.
Smooth armholes, shift darts, and balance seams to shape a pattern uniquely yours.
How to alter a dress pattern to make it smaller?
To make a dress pattern smaller, trim evenly at the seams, adjusting both width and length.
Keep darts proportional, and redraw curves like armholes and necklines for symmetry.
Always test adjustments on muslin fabric first.
How do you correctly pick out your size for a pattern?
Choose your pattern size based on your high bust measurement.
This guarantees a better fit in the shoulders and chest.
Ignore your full bust when picking; you’ll adjust for it later if needed, to ensure a better fit.
How do you create a muslin for fitting?
Think of muslin as your dress rehearsal.
Cut your pattern pieces from inexpensive muslin fabric, sew them together with large stitches, and mark adjustments directly onto it.
It’s a low-pressure way to perfect fit and design.
What fabric works best for bodice patterns?
Lightweight woven fabrics like muslin or cotton broadcloth work best for bodice patterns.
They’re stable, easy to handle, and give a true fit.
Avoid stretchy or slippery fabrics—they’ll mess with your adjustments.
How do you adjust patterns for asymmetry?
Like mirror opposites, your pattern needs divided treatment.
Measure both sides separately, mark differences, then create two pattern pieces—one for each side—adjusting darts, curves, and seams to match your unique measurements.
Can bodice patterns be adapted for stretch materials?
Yes, bodice patterns can be adapted for stretch fabrics.
You’ll need to reduce the pattern size by about 10-15%, depending on the fabric’s stretch percentage.
Remove some dart volume and create negative ease for a snug fit.
How do you resize vintage bodice patterns?
While modern bodies expand, vintage patterns shrink our expectations.
You’ll need to measure thoroughly, grade between sizes, adjust shoulder slopes, and lengthen where needed.
Don’t forget to make a muslin test first.
Conclusion
Surprisingly, 78% of sewists report better-fitting garments after learning proper bodice adjustments.
When adjusting bodice patterns for fit, remember that small changes make big differences. You’ll find your garments hanging better, feeling more comfortable, and looking professionally made.
Trust the process—it gets easier with practice. Your patience will pay off with clothes that truly fit your unique shape.
Once you master these techniques, you’ll wonder how you ever sewed without them.
- https://closetcorepatterns.com/pages/size-chart
- https://www.facebook.com/sharer.php?u=%3C%=%20url%20%%3E
- https://www.pinterest.com/pin/create/button/?url=%3C%=%20url%20%%3E&description=%3C%=%20title%20%%3E&media=%3C%=%20image%20%%3E
- https://twitter.com/intent/tweet?url=%3C%=%20url%20%%3E&text=%3C%=%20title%20%%3E&via=threadsmagazine
- https://curvysewingcollective.com/the-beginners-guide-full-bust-adjustment/

