This site is supported by our readers. We may earn a commission, at no cost to you, if you purchase through links.
 Adjusting dress bust darts is your secret sewing superpower.
First, identify fit issues like excess fabric or gaping – your high and full bust measurements are the key.
If they differ by more than 2 inches, it’s time for a bust adjustment.
Mark that important bust apex point, then jump into a full or small bust adjustment.
Pivot, spread, and redraw those darts to flatter your figure.
Don’t forget to tweak the angle, length, and side seams for a seamless look.
With a little practice, you’ll be sewing dresses that hug your curves in all the right places.
Get ready to strut your stuff in style!
Table Of Contents
- Key Takeaways
- Identifying the Need for Bust Dart Adjustments
- Locating and Marking the Bust Apex Point
- Performing a Full Bust Adjustment (FBA)
- Executing a Small Bust Adjustment (SBA)
- Moving Bust Darts on Dress Patterns
- Modifying Bust Dart Size for Perfect Fit
- Sewing and Pressing Adjusted Bust Darts
- Frequently Asked Questions (FAQs)
- Conclusion
Key Takeaways
- Identify fit issues like excess fabric or gaping by comparing your high and full bust measurements – if they differ by more than 2 inches, it’s time for a bust adjustment.
- Mark that all-important bust apex point, then dive into a full or small bust adjustment. Pivot, spread, and redraw those darts to flatter your figure, tweaking the angle, length, and side seams for a seamless look.
- With a little practice, you’ll be sewing dresses that hug your curves in all the right places. Don’t be shy – get ready to strut your stuff in style!
- Sewing and pressing your adjusted bust darts is like taming a wild beast, but with the right tools and techniques, you’ll achieve smooth, rounded bust shaping that’s the cherry on top of your perfect fit.
Identifying the Need for Bust Dart Adjustments
You’ve got the perfect dress pattern, but something’s not quite right in the bust area when you’re constructing the bodice.
Whether you’re dealing with excess fabric or a too-tight fit,
identifying the need for bust dart adjustments is your first step to achieving that flattering, polished look you’re after.
Assessing Fit Issues in Dresses
Peering into your mirror, you might notice your dress isn’t quite sitting right. Don’t fret! Checking for fit issues is the first step to dart-ing perfection, and understanding the anatomy of a dart is key.
- Excess fabric pooling around the bust
- Tight, straining fabric across the chest
- Gaping neckline or armholes
Remember, a well-fitted dress is like a good friend – it should support you in all the right places!
Measuring High Bust and Full Bust
Now that you’ve spotted fit issues, let’s grab that measuring tape!
You’ll need two key measurements: your high bust (right under your armpits) and full bust (the fullest part).
Don’t worry if you’re not a pro – we’ve all fumbled with tape measures before!
Remember, your bra can make a big difference, so wear the one you’ll use with your dress.
Ready? Let’s measure up!
Comparing Measurements to Pattern Size
You’ve got your measurements, now let’s see how they stack up against your pattern size.
Think of it as a dress-up game of numbers!
Compare your high bust and full bust to the pattern’s sizing guide, checking the size chart on sewing patterns.
If there’s more than a 2-inch difference, you might need to tweak those darts.
Remember, patterns aren’t one-size-fits-all – they’re more like a starting point for your perfect fit adventure!
Determining Small Bust Vs Full Bust Adjustment
After comparing your measurements, it’s time to decide if you need a small bust adjustment (SBA) or a full bust adjustment (FBA).
Is your full bust 5cm (2in) smaller than the pattern size? You’re in SBA territory. If it’s larger, FBA’s your ticket.
Whip up a quick toile to double-check – it’s like a dress rehearsal for your fabric! This step’s key to nailing that perfect fit and avoiding the dreaded gaping armhole or tight-as-a-drum bodice, which is a common issue.
Locating and Marking the Bust Apex Point
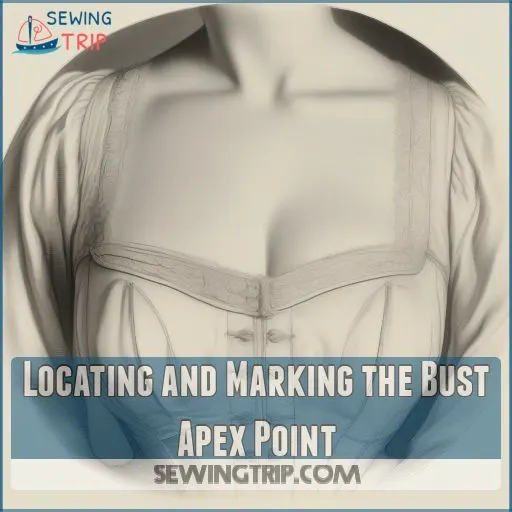
The elusive bust apex point – it’s the key to getting a perfect fit! Think of it as your garment’s North Star, guiding your adjustments to flattering perfection.
To find your true apex, grab a measuring tape and a trusted friend (or a mirror if you’re flying solo). Measure across from one apex to the other, then divide by two. Next, measure from your shoulder to your apex point. Armed with these measurements, mark an X on your pattern where the vertical and horizontal lines intersect. Don’t be shy – this is your body’s unique roadmap!
Double-check by holding the pattern against yourself. Remember, accuracy here is important for nailing that "made just for you" look. A well-placed apex point makes sure your darts hit all the right notes, avoiding any off-key fit issues down the road.
Performing a Full Bust Adjustment (FBA)
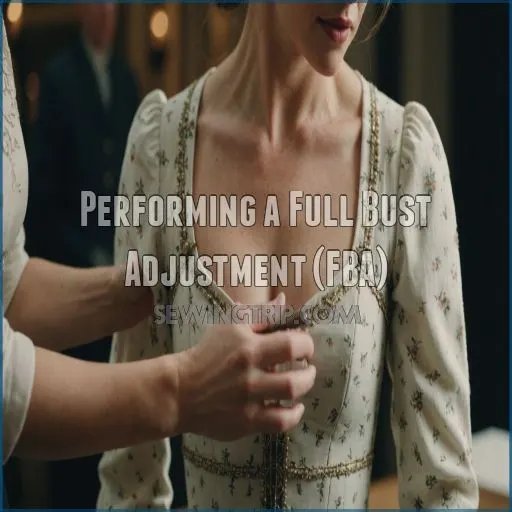
Ready to tackle a full bust adjustment (FBA) for your dress?
You’re about to become a dart-manipulating pro, transforming your pattern into a custom-fit masterpiece that’ll hug your curves in all the right places.
Tracing and Preparing the Pattern
Now that you’ve pinpointed your bust apex, let’s prep that pattern for a full bust adjustment.
Grab your tracing paper and favorite marking tools – it’s time to get crafty!
- A sharp pencil for precision (because who wants wonky lines?)
- Tracing paper (your pattern’s new best friend)
- A ruler (straight edges are your secret weapon)
- Pattern weights (or cans of soup, we won’t judge!)
Remember, a well-traced pattern is like a good foundation garment – it sets you up for success!
Drawing and Cutting Adjustment Lines
You’ve got your pattern ready, so let’s grab those marking tools and get surgical!
Draw three important lines: one through the dart’s center, another from the bodice bottom to your bust apex, and a horizontal near the hem.
Time to channel your inner Edward Scissorhands – carefully cut along these lines, creating pivot points at the dart tip and armhole.
Remember, precision is key here!
Pivoting and Extending the Bodice
After cutting along the adjustment lines, it’s time to pivot and extend your bodice. Place the pattern piece on fresh paper, aligning the vertical cut lines with the paper’s edges. Here’s what you’ll do next:
- Spread the pattern at the bust apex
- Secure the pivoted sections with tape
- Extend the center front line downward
- Fill in gaps with additional paper
- Smooth out any jagged edges
Remember, you’re sculpting your garment like a master artist – each adjustment brings you closer to the perfect fit!
Redrawing Side Seams and Darts
With your bodice extended, it’s time to tackle those side seams and darts. Grab your ruler and let’s create some magic!
Redraw the side seam curve, ensuring it flows smoothly from armhole to waist.
Next, adjust your dart placement to point in the direction of your new apex. Remember, a well-placed dart is like a secret agent – working behind the scenes for a flattering fit. Keep the dart length about 2.5cm shy of your apex point.
Smoothing the Armhole Curve
Now that you’ve adjusted your dart, it’s time to smooth out that armhole curve. This step is important for a polished look and comfortable fit. Think of it as giving your dress a gentle facelift! Here are five key points to remember:
- Gradually blend the adjusted area into the original curve
- Maintain shoulder ease for movement
- Make sure even fabric tension around the armscye
- Check for symmetry between left and right sides
- Use a french curve ruler for precise shaping
Remember, a smooth armhole means happy arms and a happy you!
Executing a Small Bust Adjustment (SBA)
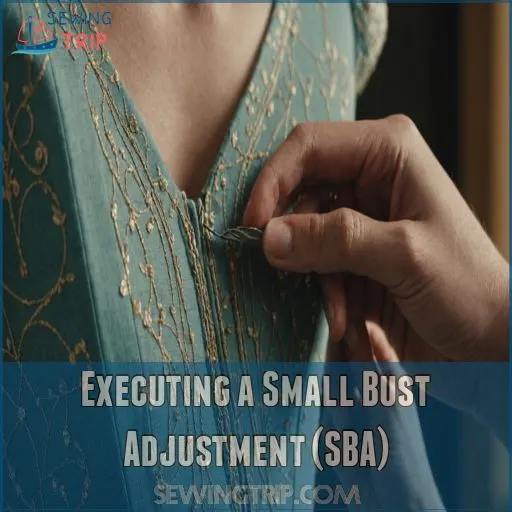
If your dress is swimming in excess fabric around the bust, it’s time to reel it in with a small bust adjustment (SBA).
Don’t worry, we’ll guide you through this nip-and-tuck adventure step by step, ensuring your dress hugs your curves in all the right places.
Calculating Bust Decrease Amount
Precision is key in calculating your bust decrease amount.
You’ll want to measure your high bust and full bust, then compare these to your pattern size.
If your full bust is 5cm (2in) smaller than the pattern, you’re in SBA territory.
Don’t worry if math isn’t your forte – think of it as tailoring by numbers.
Your efforts will pay off in a perfectly fitted dress!
Marking and Cutting Adjustment Lines
You’ve calculated your bust decrease amount.
Now let’s get hands-on with your pattern!
Grab your favorite marking tool and draw a vertical line from the bottom of the bodice to your newly marked bust apex.
This line’s your roadmap for adjustment.
Ready to channel your inner seamstress?
Carefully cut along this line, stopping just shy of the armhole.
You’re one snip closer to that perfect fit!
Realigning Pattern Pieces
After cutting your adjustment lines, it’s time for some pattern piece puzzle-solving.
Align the cut line with the vertical guideline, gently pivoting the pieces like a graceful dancer.
As you do this, you’ll notice the dart subtly shifting upward – that’s the magic happening!
Remember, precision is key here, so take your time and channel your inner seamstress.
This realignment sets the stage for a perfectly fitted bodice.
Redrawing Side Seams and Armholes
Now that you’ve realigned your pattern pieces, it’s time to smooth out those side seams and armholes.
Think of it as giving your dress a mini-makeover!
With a steady hand, redraw the side seams, ensuring they flow seamlessly from top to bottom.
Don’t forget the armholes – they’re like the windows to your bust fit. Gently curve them to maintain a natural shape that’ll hug your body just right.
Compensating for Reduced Width
When reducing bust width, don’t forget to tweak those side seams!
Bring out the side seam under the dart to balance the reduced width.
This nifty trick makes sure your dress doesn’t end up too snug around the ribcage.
Remember, fabric choice plays a role here – stiffer materials might need a smidge more adjustment.
Keep an eye on how these changes affect your sleeve fit and neckline shape.
It’s like a game of fashion Tetris!
Moving Bust Darts on Dress Patterns
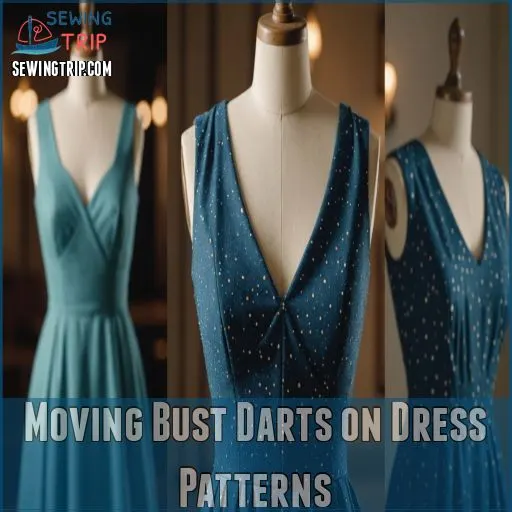
You’ve nailed the fit, but those bust darts just aren’t hitting the mark?
Don’t fret – moving bust darts on your dress pattern is easier than you might think,
and it’s the secret to transforming a good fit into a great one.
Vertical Dart Relocation Technique
Shifting gears from SBAs, let’s tackle vertical dart relocation. This technique is like giving your dress a mini facelift! You’ll move the dart up or down to perfectly align with your bust apex.
- Draw a rectangle around the bust dart
- Cut it out like you’re performing dart surgery
- Slide it up or down, keeping those vertical lines flush
Remember, precision is key – you’re crafting your dress’s perfect silhouette!
Horizontal and Vertical Dart Repositioning
Imagine your dress as a canvas, with bust darts as the brushstrokes that shape your silhouette.
To reposition these important elements, you’ll need to think in two dimensions.
Draw a rectangle around the dart, then cut it out.
Move this "dart island" to its new home, keeping it parallel to the original lines.
Stick it in place, redraw those side seams, and voila!
You’ve just mastered the art of dart relocation.
Adjusting Dart Angle and Length
Now that you’ve moved your dart, let’s fine-tune its angle and length. A well-adjusted dart can make or break your dress fit.
- Aim the dart point in the direction of your apex, stopping about 1 inch short.
- Adjust the dart width to match your cup size.
- Experiment with dart length to achieve the perfect silhouette.
Remember, dart adjustments are like a game of darts – practice makes perfect!
Truing Up Side Seams After Adjustments
After adjusting your bust darts, it’s time to fine-tune those side seams. You’ve nailed the dart placement, but now your dress might look a bit wonky. Don’t fret!
Truing up the side seams is like giving your pattern a facelift. Here’s a quick guide to smooth out those curves:
| Step | Action | Tips |
|---|---|---|
| 1 | Lay pattern flat | Use a large, smooth surface |
| 2 | Connect dart points | Use a gentle curve |
| 3 | Adjust ease allowance | Consider fabric drape |
| 4 | Blend seam lines | Aim for a smooth change |
Modifying Bust Dart Size for Perfect Fit
You’ve mastered moving your bust darts, but what if they’re still not quite right?
Let’s tackle the art of resizing those pesky darts to achieve that elusive perfect fit – because nobody wants their dress to look like a sad, deflated balloon or an overstuffed sausage casing.
Determining Sewing Cup Size
You’ve moved your darts, but the fit’s still off? Let’s tackle cup size! Your bra size isn’t just for lingerie shopping – it’s key to nailing that perfect dress fit.
Grab your measuring tape and let’s get personal.
Measure your high bust and full bust, then subtract. The difference determines your sewing cup size. Don’t worry, we’ll keep your secrets safe – it’s just between you and your dress pattern!
Increasing Dart Size for Larger Busts
Imagine your dress as a perfectly fitted glove for your curves.
To increase dart size for larger busts, you’ll need to embrace your FBA skills.
Grab that trusty dart size chart and let’s get started!
For C cups and beyond, add 1.25cm or more to your dart.
Remember, your bra cup has a big impact on fit, so adjust accordingly.
Don’t worry – with practice, you’ll be a dart-adjusting pro in no time!
Decreasing Dart Size for Smaller Busts
If you’re blessed with a petite frame, a small bust adjustment (SBA) can work wonders.
Regularly, you’ll want to reduce the dart size based on your cup size – think AA or A cups. Close those dart sections by overlapping the pattern, securing with tape. This clever trick helps create a flattering neckline and a smooth, fitted bust.
- Determine your sewing cup size to guide dart adjustments
- Overlap pattern pieces to reduce dart width for smaller busts
- Secure overlapped sections with tape for a polished finish
Redrawing and Smoothing Adjusted Darts
Now that you’ve mastered decreasing dart size, let’s focus on redrawing and smoothing those adjusted darts.
Think of this as sculpting: use dart smoothing techniques to blend the lines carefully, adjusting dart curves to avoid puckering.
Picture your darts gracefully merging with the fabric, like a dance partner finding balance, shaping smooth bustlines for a perfect fit.
Sewing and Pressing Adjusted Bust Darts
Sewing and pressing your adjusted bust darts can feel like trying to tame a wild beast—frustrating at first, but rewarding once you’ve got it right.
Follow these steps to sew straight lines and press like a pro, and your darts will be smoother than a cat on a hot tin roof.
Marking Dart Lines on Fabric
Before sewing, transferring marks onto fabric is like giving a map to a friend who can’t ask for directions.
Choose the right tool: tailor’s chalk, a water-soluble pen, or even a magic disappearing pen if you’re daring.
Different fabric types might need specific tools, but accuracy is key.
Remember, lines should vanish faster than a sock in a dryer.
Pinning and Sewing Darts Accurately
Carefully pin the dart, matching the marked lines on the front and back fabric pieces.
Sew the dart from the outside, stitching along the line all the way to the point – no need to backstitch.
Take your time and go slowly for a neat, professional finish.
The key is precision when pinning and sewing those darts.
Proper Pressing Techniques for Bust Darts
When pressing darts, think of it as taming a wild beast; employ your trusty ironing tools.
Choose pressing tools that suit your fabric type.
Use steam for wool, but go dry on delicate silk.
This helps preserve dart shaping.
Remember, steam’s a wild card—tame it!
Don’t rush; darts need love (and a press cloth) to behave properly.
Achieving Smooth, Rounded Bust Shaping
Pressing darts like a pro is the cherry on top for that smooth, rounded bust shaping. Here’s your quick run-down:
- Align the dart with the bust apex location
- Select the right fabric choice—think “goldilocks” softness
- Pay attention to dart placement tips
- Use careful sewing techniques
- Check fit adjustments for perfection
You’ll soon master the art of flawless fit!
Frequently Asked Questions (FAQs)
How to adjust bust darts on a dress?
Imagine seamlessly adjusting a dress’s bust darts like a maestro tuning an instrument.
Shift darts to align with your bust apex, ensuring that they point true.
A well-placed dart makes your garment sing beautifully.
Enjoy mastery!
How to move a bust dart up?
To move a bust dart up, draw a rectangle around it.
Cut out this shape, raise it the desired amount, and tape it back.
Redraw the side seams, keeping everything neat.
Voilà, dart repositioned!
How do you adjust the bust size on a dress?
Bust-busting brilliance, my friend! Tweak that top to tame those tricky tatas.
Pinpoint the perfect pattern, precisely position the darts, and presto – a personalized fit that flatters your fabulous figure.
Flaunt that fine-tuned fashion with flair!
Where should a bust dart sit on a dress?
You want your bust dart positioned to point in the direction of the bust apex but stopping about an inch (5 cm) short.
Think of it as aiming for the bullseye, but wisely leaving room for movement.
How do I choose the right pattern size?
Choosing the right pattern size involves measuring your high bust and full bust, then comparing them to the pattern’s standard sizing chart.
Size up or down as needed, like finding that perfect recipe tweak for your favorite dish.
What tools are needed for bust dart adjustments?
Imagine a seamstress’s toolbox—your essentials for bust dart adjustments include a ruler, scissors, tracing wheel, paper, tape, and marking tools.
It’s like having a sewing magic kit, ready to create perfectly fitting garments!
Can dart adjustments impact waist fit?
Adjusting bust darts can have a significant impact on waist fit.
When you move or resize the bust dart, it alters the overall shape and balance of the garment, which can affect the waistline fit. (Source)
Are there alternatives to traditional dart placements?
Sometimes darts are like GPS, leading fabric to hug your shape.
Alternatives include princess seams for graceful curves or gathering for a softer look.
These methods avoid traditional darts while maintaining a snug and stylish silhouette.
How do I handle excess fabric in shoulders?
To tackle excess fabric in the shoulders, consider adjusting the shoulder seam width.
Pinch out the extra fabric, pin it, and baste the adjustment.
Once it fits, sew the permanent seam.
Now you’re golden!
Conclusion
With decisive dart adjusting, you’re well on your way to sewing sensational outfits that flatter flawlessly.
By adjusting dress bust darts, you’ll conquer fit issues with finesse, ensuring each dress drapes without gaping.
Pinpointing your bust apex and deftly directing darts leads to a polished, perfect fit.
Whether you’re boosting or minimizing, the mastery of adaptations means your handmade garments embrace every curve.
So needle in hand, stride confidently and craft dresses that mirror your exceptional eye for detail!


