This site is supported by our readers. We may earn a commission, at no cost to you, if you purchase through links.
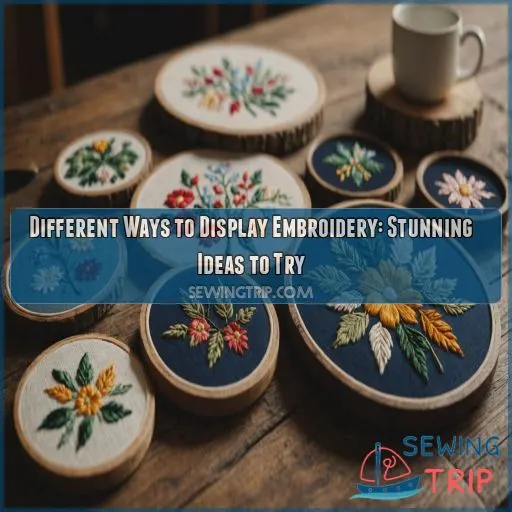 Explore your creativity and transform your embroidery into stunning home decor!
You can showcase your stitching skills in so many fun ways.
From classic embroidery hoops that add rustic charm, to elegant frames that give your work a polished look.
Feeling adventurous?
Try hanging your embroidery on display strips or banners for a bold statement.
Or get cozy by turning your embroidery into plush pillows and quilts.
The possibilities are endless!
No matter your style, there’s a display option that will make your embroidery shine.
Get ready to wow your friends and family with your embroidered masterpieces.
The fun is just getting started!
Table Of Contents
- Key Takeaways
- Embroidery Display Basics
- Working With Embroidery Hoops
- Hanging Your Embroidery
- Beyond Traditional Displays: Pillow and Quilting Options
- Displaying Embroidery on Specially Designed Frames and Borders
- Creating Your Embroidered Wall Art
- Mini Embroidery Art Pieces
- Embracing Flexibility in Embroidery Display
- Displaying Embroidered Creations as Gifts
- Making Embroidery Display Part of Home Decor
- Frequently Asked Questions (FAQs)
- Conclusion
Key Takeaways
- Don’t just hang your embroidery on a wall – let it dance across your home! From cozy pillows to artistic hoops, there’s a whole universe of display options waiting for you. Think beyond the hoop and turn your home into an art gallery that showcases your personality and flair.
- Embrace the charm of embroidery hoops! They’re not just mere tools; they’re frames bursting with whimsy. Use them as canvas substitutes, hang them in clusters, or creatively place them to tell a visual story that reflects your craft’s brilliance.
- Get playful with how you display your mini embroidery wonders. They’re like sprinkles on a cupcake – tiny but transformative. Turn them into adorable bookmarks, keychains, or even coasters, making sure your creativity is always the life of the party!
- Keep your needlework looking fresh and vibrant by thinking ahead. Protect it from dust and humidity – those sneaky party crashers – by using shadow boxes, frames with glass, and positioning it wisely. Let your embroidery shine bright, proud, and dust-free.
Embroidery Display Basics
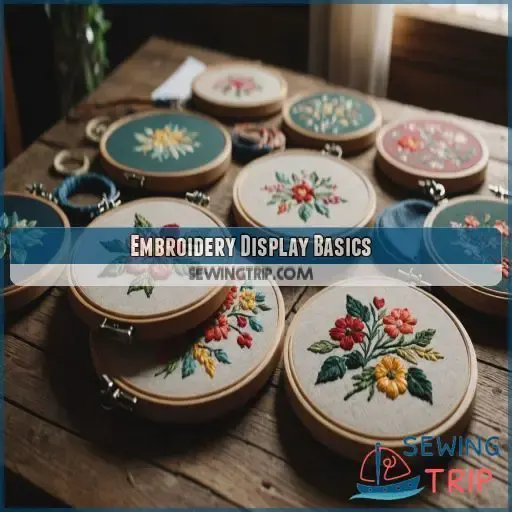
Embroidery is a beautiful craft that deserves to be showcased in style. From classic hoops to modern banners, the possibilities for displaying your stitched masterpieces are endless – let’s explore the essential tools and tips to make your embroidery shine!
Essential Tools and Materials for Displaying Embroidery
To start your embroidery display journey, gather tools like embroidery hoops, display boards, and framing supplies. Mounting techniques and decorative embellishments can elevate your embroidery designs, especially when you’ve mastered the art of proper hooping techniques. Think of embroidery hoops as your canvas, framing your creativity. For more flair, consider crafting a gallery wall showcasing your embroidery hoop art—it’s like framing your happiness for everyone to see! Happy crafting!
Tips for Choosing the Right Display Option
You’ve got your embroidery masterpiece and want it to shine, but how do you choose the right display?
Consider size: A hoop or frame should fit snugly.
Budget-wise, there’s flexibility, whether you’re going for ornate frames or simple hoops.
Think about style and space: Do you want bold wall decor or subtle charm?
Personalize it for every occasion; your embroidery projects deserve it.
Working With Embroidery Hoops
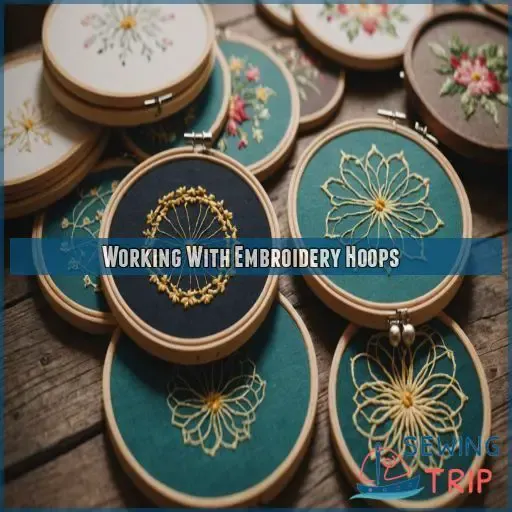
When you’re exploring different ways to display your embroidery, working with hoops offers both charm and versatility, making it a stitch above the rest! Think of embroidery hoops not just as tools, but as frames with flair that can turn your kitchen into a tapestry or your living room into an art gallery.
Display Options Using Working and Display Hoops
Embroidery hoops are the classic way to display your stitched creations, but there are magnetic embroidery hoops that make it even easier to showcase your work. Whether you use the working hoop from your project or a dedicated display hoop, the options are endless. Hang them on the wall, prop them on a shelf, or even turn them into unique decorative pieces. The hoop is your canvas – get creative!
Creative Ideas for Embroidery Hoops and Designs
Get creative with embroidery hoop crafts! Explore hoop sizes and personalized designs that make a statement.
| Style | Medium | Theme |
|---|---|---|
| Mixed Media | Canvas Embroidery | Wearable Art |
| Color Palettes | Themed Sets | Embroidery Techniques |
| Personalized Hoops | Wall Decor | Crafts To Show Off |
Let your imagination fly; hoops aren’t just circles. They’re possibilities!
Hanging Your Embroidery
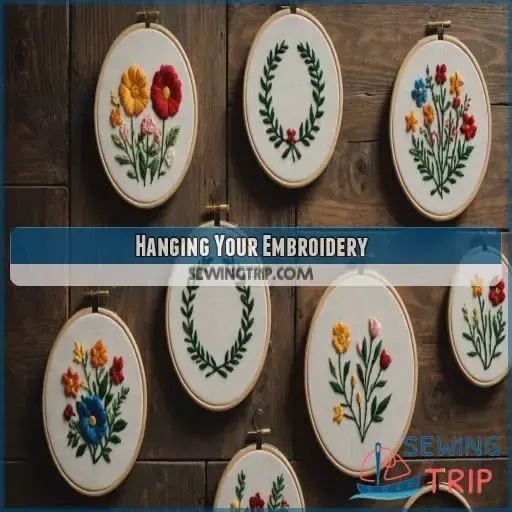
Imagine this: you’ve just finished a gorgeous embroidery piece, and now you’re itching to show it off in the best way possible. Whether you choose sleek display banners or vibrant canvases, hanging your embroidery can transform any part of your home into a cozy, artistic sanctuaryyou might even be tempted to cover every wall!
Tips for Using Display Strips, Banners, and Canvases
When sprucing up your space with embroidery, consider display strips, banners, and canvases.
Does banner size scream for attention? Go bold!
Love textured canvases? Embrace their touch.
Display strips are like a little black dress—simple yet effective.
Hanging methods? Choose wisely—like picking a dance partner.
With these tools, your embroidery will shimmy into home, kitchen, or nursery decor effortlessly!
Considering Embroidery in Unique Spots for Wall Displays
Beyond the traditional wall display, consider showcasing your embroidery in unique spots that add visual interest. Hang embroidered tapestries on staircase landings, create 3D shadow box displays, or mount hoops on the wall for a modern touch. The possibilities are endless – let your creativity shine and transform your space!
- Staircase Displays: Hang embroidered tapestries on staircase landings for a stunning focal point.
- 3D Embroidery: Create shadow box displays to showcase your dimensional embroidery pieces.
- Wall-Mounted Hoops: Arrange a collection of embroidery hoops for a contemporary, gallery-inspired look.
Beyond Traditional Displays: Pillow and Quilting Options
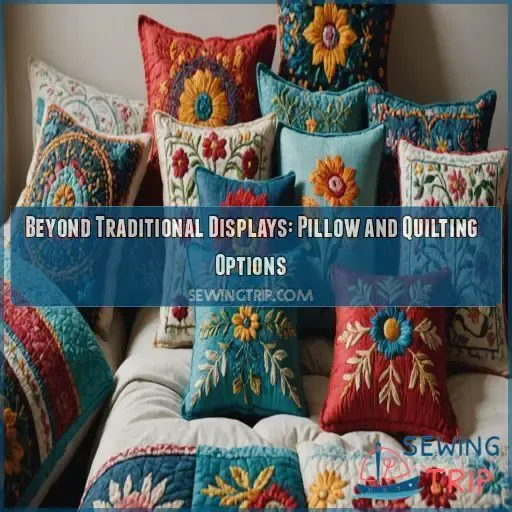
Imagine sinking into a cozy embrace with an embroidered pillow cover you crafted. It’s like giving your living space a warm hug!
Using quilting techniques, you can turn embroidery into functional decor that’s as comfy as it’s eye-catching.
Mix and match fabric combinations to create unique designs, where embroidery placement is the star of the show.
It’s not rocket science, but it does take a sprinkle of creativity and maybe a dab of courage.
Pick pillow stuffing options ranging from fluffy fiberfill to memory foam—your call!
Think of it like whipping up the perfect soup; the right ingredients make all the difference.
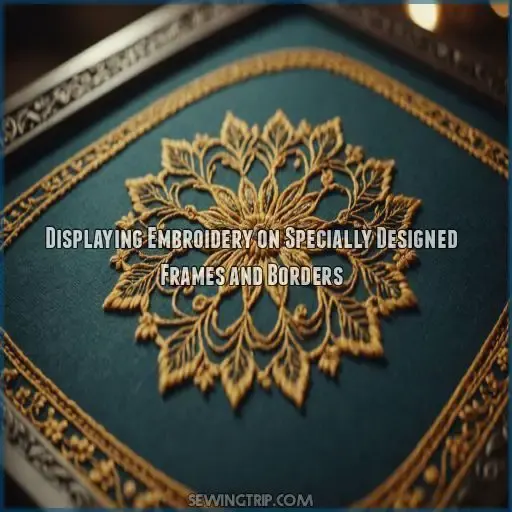
Displaying Embroidery on Specially Designed Frames and Borders
Ready to give your embroidery a frame-worthy upgrade? With specially designed frames and borders, you can turn your needlework into a stunning masterpiece that even your Grandma would hang in her living room—right next to her prized collection of ceramic cats!
Customizing Picture Frames to Showcase Embroidery
Picture frames offer a world of possibilities for showcasing your embroidery. Choose a frame color that complements the design, pick the perfect size to make your work shine, and consider adding decorative matting for extra flair. Frame placement is key – get creative with how you display your embroidered masterpiece!
Techniques to Create Deep-Set Frames
Deep-set frames allow your embroidery to pop as if it’s hosting a tiny art show. You can create a shadow box depth by playing with frame molding and custom framing techniques for a depth illusion. Think of it as 3D embroidery turning your wall into a canvas!
| Technique | Description |
|---|---|
| Shadow Box | Adds depth to embroidery |
| Frame Molding | Customize the frame edges |
| Custom Framing | Personalize size and materials |
| Depth Illusion | Makes embroidery 3D |
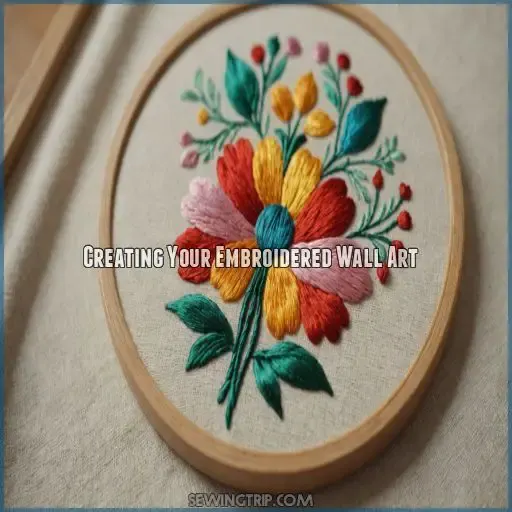
Creating Your Embroidered Wall Art
You’re about to open up a world of creativity by turning your embroidery into stunning wall art that captivates everyone’s attention. Imagine your embroidered pieces hanging gracefully, turning your living space into a cozy gallery that tells your unique story.
Gallery Ideas for Displaying Embroidery
Imagine your embroidery as a gallery wall, adding flair to your space. Mix vintage embroidery displays with shadow box embroidery for depth and intrigue. Experiment with themed embroidery groups and mixed media embroidery art to create a story that screams you! Don’t be afraid to let looseunleash an embroidery style that makes your heart sing and your walls shine.
Displaying Multi-Panel and Themed Embroidered Pieces
When displaying multi-panel or themed embroidered pieces, think of them as a visual story waiting to unfold. Arrange the panels in an interesting layout, perhaps a grid or staggered pattern, to guide the eye through your creative narrative. Consider coordinating the frames or hoops to unify the look, adding depth and cohesion to your embroidered wall art.
Combining With Other Artwork and Decorative Elements
Imagine your embroidered wall art mingling with other creations, like guests at a fabulous party!
Mix media, match color palettes, and let your designs vibe with nearby furniture accents.
Embrace thematic displays; they’re like a playlist for your walls.
Craft a visual symphony that dances with your decor, transforming your home into a boho paradise of creativity and cozy belonging.
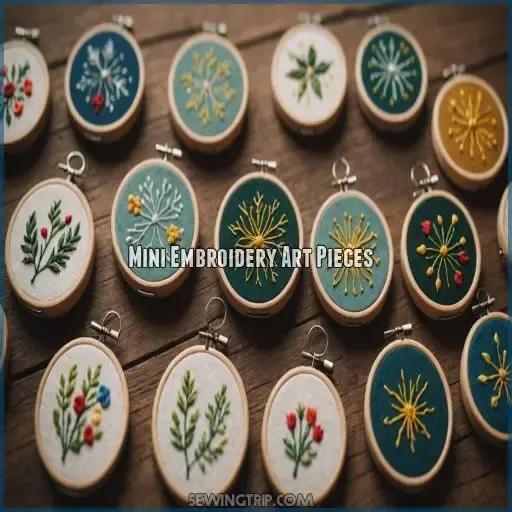
Mini Embroidery Art Pieces
If you’re looking for charming ways to display your mini embroidery art, think of them as the sprinkles on your creative cupcake, adding a touch of flair to your home decor. These tiny pieces are adorable and versatile, allowing you to showcase your talent in delightful, unexpected places!
Creating Decorative and Adorable Small Embroidery Art
Moving from grand wall art to petite marvels, miniature embroidery opens a world of cute themes and tiny details. Picture needlework gifts that fit in the palm of your hand! Here’s why small projects shine:
- Portability: Craft on the go!
- Quick Satisfaction: Finish faster, feel accomplished.
- Versatility: Perfect for any space.
Functional Miniature Embroidery Art
Why limit your miniature embroidery to just wall art? Expand your creativity and transform those tiny stitches into functional masterpieces! Stitch up a delicate bookmark, a one-of-a-kind keychain, or even coasters that double as conversation starters. The possibilities are endless when you think beyond the hoop. Get crafty and make your mini embroidery pull its weight around the house.
Displaying Miniature Embroidery
Looking to showcase your mini embroidery? Think of your miniature masterpieces as pocket-sized art treasures waiting for a spotlight! Use tiny art cards as quirky stands or create small hoop displays for a whimsical touch. You can even treat your pieces like jewelry display items, turning them into dazzling conversation starters.
- Miniature embroidery frames
- Jewelry display techniques
- Tiny art cards
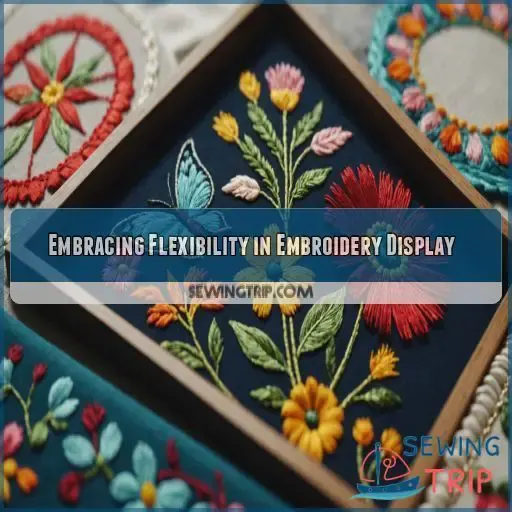
Embracing Flexibility in Embroidery Display
Discovering new ways to display your embroidery can be as exciting as stitching itself, especially when you let your imagination run wild. Don’t be afraid to mix and match; after all, even Monet had more than one paintbrush!
When and Why to Rethink Display Options
As your embroidery skills evolve, don’t be afraid to rethink your display options.
The size of your piece, the available space, and your personal design style may all influence the best way to showcase your work.
Consider the purpose of the project – is it a gift, a home accent, or a work of art?
Stay open-minded and let your creativity guide you.
Don’t Be Afraid to Mix and Match Display Ideas
Why stick to one style when you can spice things up? Mixing hoops, frames, and banners isn’t just creative—it’s a road trip for your imagination. Shake things up and watch your space sing!
- Combine hoops with frames: Hang a hoop inside a frame.
- Layer banners: Create a textured story.
- Mix vintage with modern: Add whimsy and flair.
Creating an Embroidered Series
Sometimes, embroidery can tell a story in a series. Let them dance across your walls, creating a series story arc with ease. Mix and match series design themes, using bold colors and diverse materials. Hang them in patterns or random clusters. Remember:
| Series | Element | Focus |
|---|---|---|
| Theme | Story Arc | Color |
| Materials | Layout | Display |
Create a masterpiece that speaks your artistic language.
Displaying Embroidered Creations as Gifts
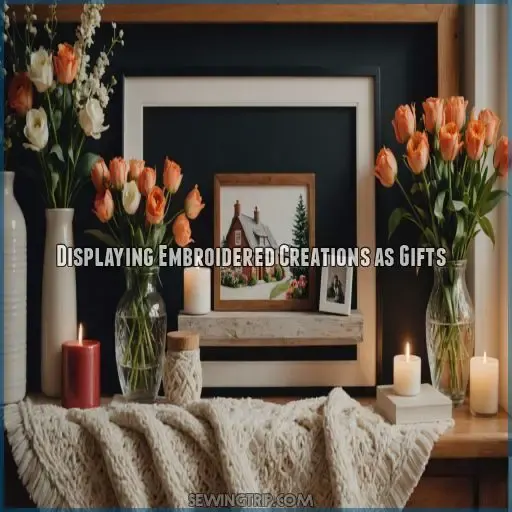
Embroidery makes for the perfect personalized gift – whether you’re stitching up a cozy pillow, a whimsical wall hanging, or a charming ornament. With a little creativity and some speedy stitching, you can whip up an embroidered treasure that’s sure to delight your loved ones.
Ideas for Gift Embroidery Projects
Imagine gifting a piece of embroidered magic to a loved one. Personalized embroidery gifts can feel like a warm hug! Consider these ideas:
- For men: Embroidered cufflinks or handkerchiefs.
- For kids: Whimsical pillowcases.
- Home decor: Monogrammed towels.
- Creative gift wrapping: Use embroidered fabric as ribbons.
These embroidered gifts truly stitch bonds stronger!
Creating an Embroidered Gift in a Hurry
You’ve got the gift ideas, now let’s whip up an embroidered present in no time! Think quick embroidery projects, perfect for last-minute gifts. Pick simple embroidery patterns like hearts or initials. Use easy embroidery techniques on a small canvas or hoop. You’ll create a charming, personal present faster than you can say "stitch and switch!
Making Embroidery Display Part of Home Decor
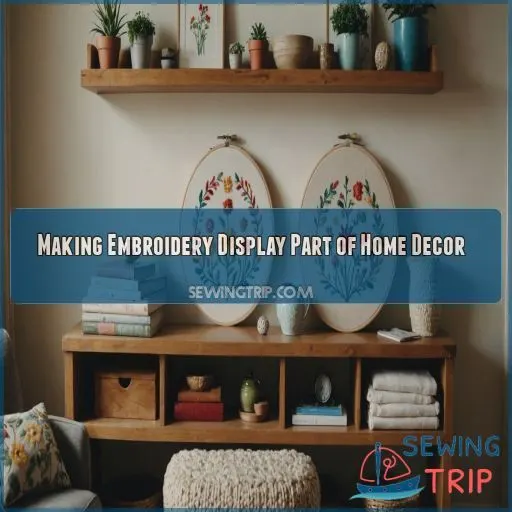
Embroidery isn’t just a standalone art form – it can seamlessly integrate into your home’s decor, elevating the style and personality of any space. From seasonal displays to thematic embroidered accents, the possibilities are endless for making your stitched creations an integral part of your living environment.
Displaying Embroidery as Part of a Room’s Decorative Theme
You’ve gifted beautiful embroidery, now add it to your decor! Make embroidered room accents part of your themed embroidery display. Imagine coordinating pieces with your color palettes and matching furniture. It’s like your embroidery’s throwing a party, inviting:
- Wall hangings
- Pillow covers
- Table runners
- Accent rugs
- Lamp shades
Unite them all, and let your room’s personality shine!
Incorporating Embroidery Into Seasonal Decorating and Events
Holiday embroidery can sprinkle a little magic on your seasonal decor. Imagine this: custom embroidery bursting with festive crafts, the perfect touch for any celebration. Hang these whimsical creations or use them as table accents during events—talk about setting the mood! Embrace seasonal themes and create a cozy ambience that’ll make guests feel right at home.
Frequently Asked Questions (FAQs)
What lighting is best for displaying embroidery?
Did you know 92% of crafters say the right lighting changes everything? Use LEDs with a daylight-balanced glow to make your embroidery pop, eliminating shadows and harsh glares. It’s like giving your art its own spotlight!
How can embroidery be protected from dust?
Shield your embroidery from dust by storing it in shadow boxes, frames with glass fronts, or breathable bags. These measures keep your art fresh and vibrant, like storing a rare book on a special shelf.
Are there eco-friendly display options for embroidery?
Use a wooden embroidery hoop from sustainable sources for an eco-friendly display. Its rustic charm highlights the piece but also shows your love for Mother Earth. It’s like giving a stylish high-five to the planet!
Can embroidery be integrated into wearable items?
You can make a splash by turning embroidery into stylish patches for jackets or bags. Let your creativity run wild and sprinkle some personal flair on your clothing—it’s like wearing your art on your sleeve!
What is the impact of humidity on embroidery display?
Humidity is like a party crasher for your embroidery. It can warp hoops, cause mold, or even fade colors. Keep your art breathing in the open, avoiding damp spaces. Ventilation’s your artwork’s best friend!
Conclusion
Embroidery is like a blank canvas waiting for your artistic touch.
You’ve got a needle, some thread, and countless ways to make your masterpieces shine in your home.
Whether you’re hanging vibrant hoops or crafting cozy pillows, the different ways to display embroidery are truly endless.
So, grab your supplies and get creative—after all, your walls are just calling out for a splash of your embroidered genius.
Showcase your handiwork and let it steal the spotlight!

