This site is supported by our readers. We may earn a commission, at no cost to you, if you purchase through links.
When working with stretchy fabrics, it’s all about finding the perfect balance between stabilizer, needle, thread, and tension.
Cut-away stabilizers are your best friends for larger designs, while tear-away stabilizers are perfect for smaller projects.
And remember, choosing the right needle and thread is like selecting the perfect outfit – it’s all about matching the fabric’s style and weight.
Ready to get stitching?
Table Of Contents
- Key Takeaways
- Choosing the Right Stabilizer for Stretchy Fabric
- Selecting Appropriate Needles and Threads
- Hooping Techniques for Stretchy Fabrics
- Stitch Density and Design Considerations
- Machine Settings for Embroidering on Stretch Fabrics
- Hand Embroidery Techniques for Stretchy Fabrics
- Preventing Puckering and Distortion in Knits
- Finishing Techniques for Embroidered Stretchy Fabrics
- Troubleshooting Common Issues With Stretch Embroidery
- Care and Maintenance of Embroidered Stretch Garments
- Frequently Asked Questions (FAQs)
- Conclusion
Key Takeaways
- You’ve got to choose the right stabilizer for your Stretchy Fabric – think of it as finding your fabric’s best friend! Cut-away stabilizers are perfect for larger designs, while tear-away stabilizers are great for smaller projects. Don’t be afraid to experiment and find the one that works best for you.
- When it comes to needles and threads, you’ve got to be picky! Ballpoint needles are your best friend for knits, and make sure to choose a thread that matches your fabric’s style and weight. It’s like selecting the perfect outfit – you want to make sure everything works together seamlessly.
- Hooping stretchy fabrics can be a real headache, but with the right techniques, you can master the art! Use a magnetic hoop for delicate knits, and don’t be afraid to adjust your tension and fabric movement to get the perfect stitch. Remember, it’s all about finding that perfect balance.
- Finally, don’t forget to take care of your embroidered stretchy fabrics! Wash them in cold water, air-dry or tumble dry on low, and store them in a cool, dry place. With a little TLC, your embroidered masterpieces will stay vibrant and intact for years to come.
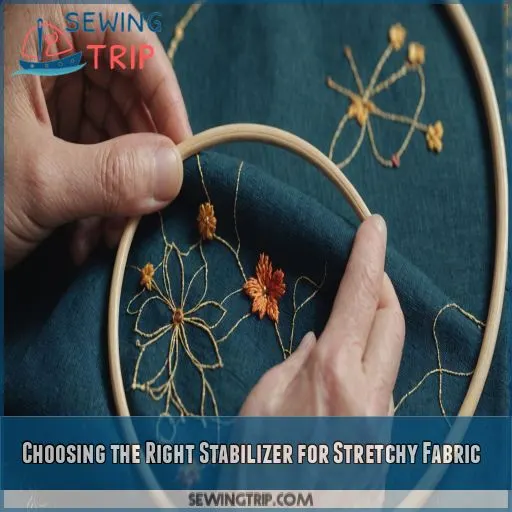
Choosing the Right Stabilizer for Stretchy Fabric
Embroidering on stretchy fabric can be a real head-scratcher, but don’t sweat it! Choosing the right stabilizer is your secret weapon for achieving flawless stitches on even the most challenging knits, so let’s unravel the mystery of stabilizers and get your needle dancing across that stretchy canvas.
Types of Stabilizers for Knit Fabrics
You’ll need the right stabilizer to tame that stretchy beast! From lightweight to heavy-duty, there’s a perfect match for every knit fabric. It’s like finding your fabric’s soulmate – important for flawless embroidery results!
Cut-Away Vs. Tear-Away Stabilizers
Now, let’s tackle the stabilizer showdown: cut-away vs. tear-away. Each has its perks, so choose wisely! Cut-away’s your ride-or-die for larger designs on stretchy fabric, while tear-away’s perfect for smaller, less dense embroidery projects. Your fabric’s BFF awaits!
Water-Soluble Stabilizers for Delicate Knits
For delicate knits, water-soluble stabilizers are your secret weapon. They’ll dissolve like magic after stitching, leaving no trace behind. Just remember to adjust your stitch density and needle size for these fragile fabrics.
Fusible Stabilizers for Added Support
You’ll love fusible stabilizers for your stretchy fabric woes! These iron-on wonders provide extra support, keeping your knits in line. Just press, stitch, and watch your embroidery pop. It’s like giving your fabric a supportive hug!
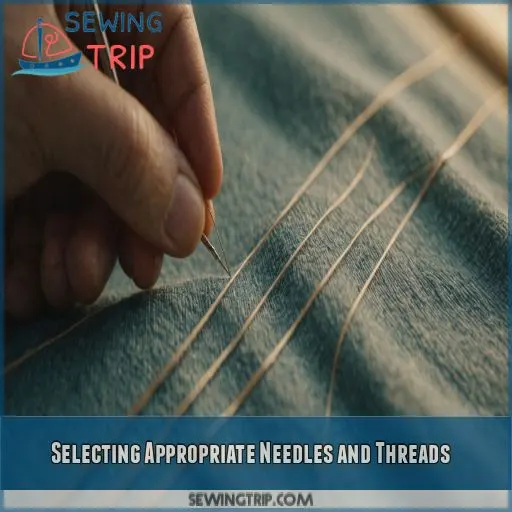
Selecting Appropriate Needles and Threads
You’re all set with the perfect stabilizer, but don’t forget about your trusty sidekicks: needles and threads! Choosing the right combo can make or break your stretchy fabric embroidery adventure, so let’s explore some pro tips to keep your stitches smooth and your knits happy.
Needle Types For Knits
Now, let’s talk needles! For knits, you’ll want to choose wisely. Ballpoint needles are your best friend here – they slip between fabric fibers without snagging. Opt for a size 75/11 for lightweight knits or 90/14 for heavier ones. Your fabric will thank you!
Thread Selection Considerations
Now, let’s talk thread! Choosing the right thread can make or break your knit embroidery project. You’ll want to think about:
- Thread weight: Lighter for delicate knits, heavier for sturdy fabrics
- Fiber type: Polyester for strength, rayon for shine
- Thread sheen: Matte or glossy?
- Color: Match or contrast?
Stabilizer-Compatible Needle Choices
When choosing needles, consider the stabilizer type and fabric thickness. A sharper needle with a smaller eye and groove works best with sticky stabilizers to prevent thread fraying. For thicker fabrics, opt for a larger needle size to puncture the fabric easily. Test on a scrap first!
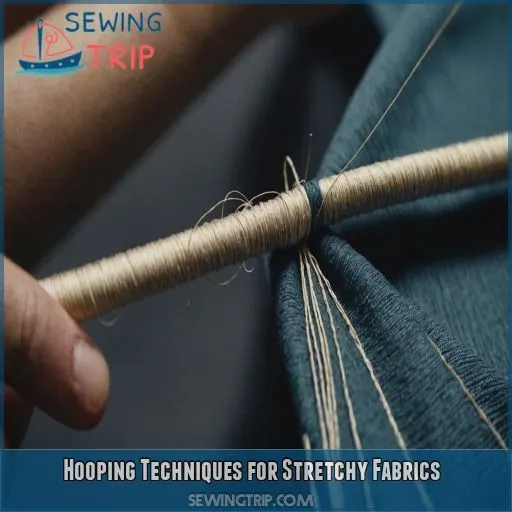
Hooping Techniques for Stretchy Fabrics
Hooping stretchy fabrics can be a real headache, but with the right techniques, you can master the art. We’ll show you how to tackle this tricky task and share tips for getting the perfect tension and handling delicate knits.
Proper Tension in the Embroidery Hoop
Now, let’s talk about hooping techniques and getting that perfect tension. Here are some tips to help you make sure your stretchy fabric is securely in place without distorting it:
- Hoop Size: Choose the right size hoop for the job. You want it to be snug but not too tight.
- Tension Adjustment: Loosen the hoop screw just a tad to allow for some fabric movement.
- Fabric Movement: Position the fabric so it can move freely within the hoop, especially when pulling and pushing stitches.
- Hoop Placement: Avoid hooping delicate areas like necklines. Place the hoop in a less restrictive area for better stitch control.
Using Magnetic Hoops for Delicate Knits
Magnetic hoops are a game-changer for embroidering delicate knits.
These hoops have a top and bottom frame that snap together, securing your fabric without the need for aggressive hooping.
This is ideal for delicate knit fabric types that can be sensitive to hoop pressure and marking.
Choose the right hoop size to cover your stitch area, and place it away from seams for better results.
Floating Method for Difficult-to-Hoop Items
The floating method is a hooping alternative that gives you more control over tricky items. Skip the hoop drama and secure your fabric with a stabilizer, then float it under the needle. This free-motion embroidery technique lets you handle delicate or bulky items with ease, like that cozy sweater you’ve been dying to personalize.
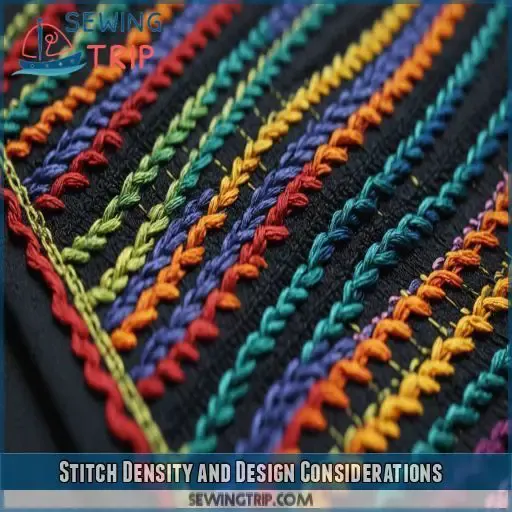
Stitch Density and Design Considerations
As you start embroidering on stretchy fabric, you’ll quickly realize that stitch density and design considerations are key to achieving professional-looking results. By adjusting your stitch density and choosing designs that complement the natural give of knit fabrics, you’ll be able to create beautiful, distortion-free embroidery that will make your projects stand out.
Adjusting Stitch Density for Stretch Fabrics
When adjusting stitch density for stretch fabrics, go for a lower stitch density to allow the fabric to move and stretch naturally. This is key for maintaining the garment’s flexibility and ensuring your embroidery doesn’t restrict movement. A happy, comfy wearer means a job well done!
Choosing Suitable Designs for Knit Materials
When embroidering on knit materials, choose simple designs with small motifs to avoid overwhelming the fabric. Consider stitch density, color placement, and design placement to make sure you get a beautiful, professional finish. Keep it subtle, and let the fabric shine through!
Modifying Existing Designs for Better Results
When modifying existing designs for knit fabrics, simplify the design, reduce stitch density, and adjust thread count. Scale patterns to accommodate fabric stretch and choose colors that complement the knit’s texture. This will help you create a beautiful, professional-looking finish that’s uniquely yours.
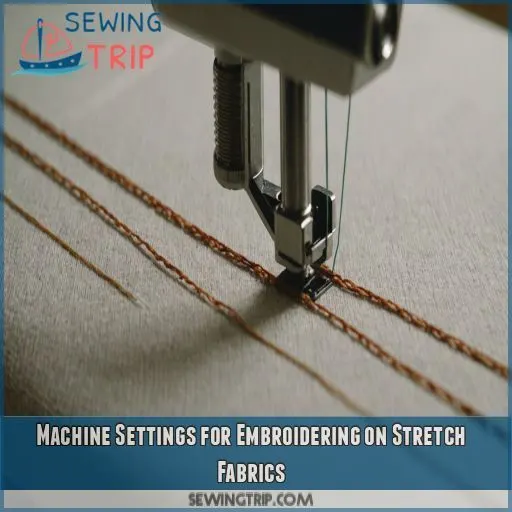
Machine Settings for Embroidering on Stretch Fabrics
As you get ready to embroider on stretchy fabric, you’ll want to tweak your machine settings to make sure you get smooth stitching and prevent those pesky puckers. By adjusting tension, stitch length and width, and machine speed, you can achieve professional-looking results that will make your embroidered knit projects truly shine.
Adjusting Tension for Knit Materials
Now that you’ve mastered stitch density, it’s time to tackle tension adjustments for knit materials. Don’t stress, with the right needle choice, hoop size, and fabric prep, you’ll be embroidering like a pro in no time – no more puckering or distortion!
Selecting Appropriate Stitch Length and Width
When embroidering on stretchy fabrics, tweak your stitch length and width to match your fabric’s thickness and thread weight. A shorter stitch length and narrower width usually work best for knit fabrics, but experiment to find the perfect combo for your machine and design.
Using the Correct Machine Speed
When embroidering on stretchy fabric, don’t underestimate the power of machine speed! Adjust your speed to match the complexity of your design and the type of thread you’re using.
- Match your speed to your stitch: Faster speeds for simple stitches, slower for intricate ones.
- Consider fabric tension: Looser tension requires slower speeds to prevent puckering.
- Don’t rush delicate threads: Slow down for metallic or variegated threads to get the best stitch quality.
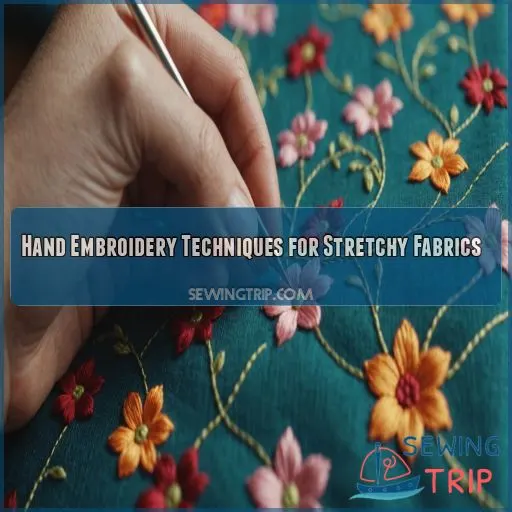
Hand Embroidery Techniques for Stretchy Fabrics
You’re ready to add some handmade love to your stretchy fabrics, but you’re not sure where to start.
Don’t worry, with a few simple techniques, you’ll be stitching like a pro in no time!
To achieve flawless hand embroidery on stretchy fabrics, you’ll want to master the right stitches, needle sizes, and tension techniques to keep your designs looking fabulous, not frazzled.
Choosing the Right Hand Embroidery Stitches
Choosing the right hand embroidery stitches is key to achieving flawless stitching on stretchy fabrics!
| Stitch Type | Best for Fabric Weight |
|---|---|
| Running Stitch | Light to medium weights |
| Backstitch | Medium to heavy weights |
| French Knot | Heavy weights, adds texture |
| Satin Stitch | Light to medium, fills spaces |
Pick your stitch wisely, considering fabric weight, stitch density, and design impact. Remember, thread choice also affects the final result.
Using a Smaller Needle for Hand Embroidery
Now that you’ve chosen the perfect hand embroidery stitches, it’s time to pick the right needle! A smaller needle gives you better stitch control on stretchy fabrics. Try a tapestry petit needle for smooth, even stitches and a professional finish.
Maintaining Consistent Tension While Stitching
Your secret to stunning hand embroidery on stretchy fabric? Consistent tension! Keep your stitches smooth by gently holding the thread and needle, moving in a steady rhythm. It’s like dancing with your thread – with practice, you’ll master the perfect stitch tempo!
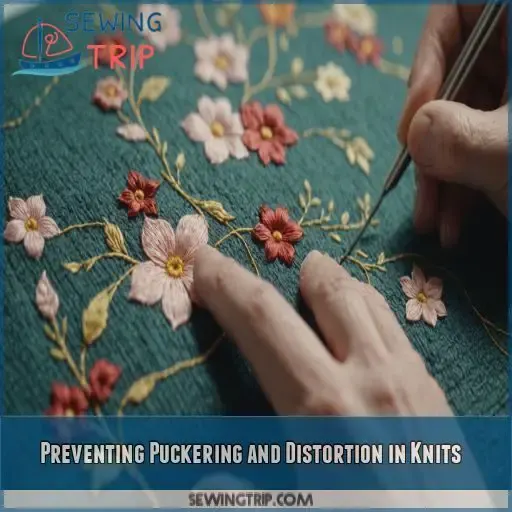
Preventing Puckering and Distortion in Knits
You’re about to tackle one of the trickiest parts of embroidering on stretchy fabrics: preventing puckering and distortion in knits. Don’t worry, with the right techniques and materials, you’ll be able to achieve smooth, even stitching that will make your projects look professional and polished.
Proper Fabric Preparation Techniques
- Press your fabric before hooping to remove wrinkles and creases
- Use a walking foot or Teflon foot on your sewing machine to help guide the fabric smoothly
- Make sure your fabric is at room temperature and humidity to prevent shrinkage or stretching during embroidery
Using Multiple Layers of Stabilizer
When working with super-stretchy or thick knit fabrics, using multiple layers of stabilizer is a game-changer.
Layering Stabilizers
| Stabilizer Type | Benefits |
|---|---|
| Water-soluble | Easy to remove, gentle on fabric |
| Cut-away | Provides extra support, prevents puckering |
| Tear-away | Easy to remove, suitable for most knits |
| Fusible | Adds extra stability, suitable for thick fabrics |
Employing Temporary Spray Adhesives
Get a grip on puckering with temporary spray adhesives! Choose a fabric-friendly type, like Sulky or Heat n Bond, and apply a light coat. Allow it to dry before embroidering. When done, gently remove excess adhesive with a damp cloth.
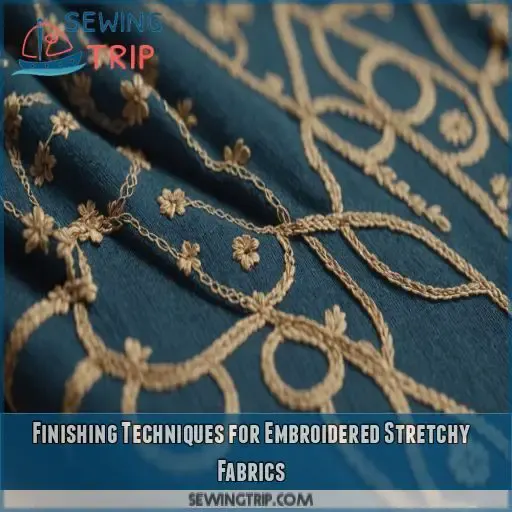
Finishing Techniques for Embroidered Stretchy Fabrics
You’ve finally made it to the last step of embroidering on stretchy fabric – finishing your masterpiece! Now, it’s time to learn how to remove excess stabilizer without damaging those beautiful stitches, press your knit fabric like a pro, and add a backing material for extra durability, so your embroidered design stays stunning wash after wash.
Removing Excess Stabilizer Without Damaging Stitches
Now that your embroidery is complete, it’s time to remove the excess stabilizer without damaging those beautiful stitches. Soak the fabric in water for the recommended time, then gently remove the stabilizer. Here are some tips to keep in mind:
- Don’t scrub or rub the fabric, as this can damage the stitches.
- Use cold water to prevent shrinkage or felting.
- Gently peel away the stabilizer, working from one corner to the other.
- If some stabilizer remains, try soaking the fabric again or using a small brush to gently coax it away.
Proper Pressing Techniques for Knit Fabrics
Now that you’ve removed excess stabilizer, it’s time to press your embroidered knit fabric. Use a medium ironing temperature, following the fabric grain. Steam can be your friend, but use it sparingly. Invest in pressing tools, like a tailors’ ham, for smooth, even block pressing.
Applying Backing Material for Added Durability
Now that you’ve mastered pressing techniques, it’s time to add an extra layer of protection with backing materials! This step is really important for durability and preventing fabric distortion. Here are some options to think about:
- Iron-on backing fabrics for a quick fix
- Sewn-in supports for added stability
- Variable backing thickness for customized protection
Troubleshooting Common Issues With Stretch Embroidery
As you work on your stretchy fabric embroidery project, you’ll inevitably encounter some bumps along the way.
Don’t worry, we’ll help you out!
In this section, we’ll tackle the most common issues that can arise during stretch embroidery.
These include fabric shifting and thread breaks.
We’ll provide you with practical tips to fix them and get back to stitching like a pro.
Dealing With Fabric Shifting During Embroidery
Fabric shifting during embroidery? Don’t panic! Adjust your hoop size, check fabric tension, and make sure the right stabilizer type is used. Also, revisit your stitch density and needle choice – these tweaks can make all the difference for flawless stitching!
Fixing Gaps and Missed Stitches
Missed a stitch? Don’t panic! Fixing gaps and missed stitches is easier than you think. Adjust your thread tension, re-evaluate stitch density, and make design adjustments as needed. For hand embroidery, try re-threading or re-working the stitch with a fresh needle.
Addressing Thread Breaks and Tension Problems
- Check thread tension: too tight can cause breaks, too loose can lead to puckering.
- Adjust needle size: a smaller needle can reduce thread stress.
- Tweak bobbin tension: too tight can cause thread breaks.
- Review machine settings: make sure you have the right stitch density.
Care and Maintenance of Embroidered Stretch Garments
Now that you’ve invested time and effort into creating beautifully embroidered stretch garments, it’s important to learn how to care for them so they stay vibrant and intact. By following some simple washing, drying, and storage tips, you’ll be able to enjoy your embroidered masterpieces for years to come.
Proper Washing and Drying Techniques
Now that you’ve mastered troubleshooting, it’s time to clean your masterpiece! Wash embroidered knits in cold water (below 30°C) to prevent shrinkage and color bleeding. For tough stains, gently hand-wash with mild detergent, then air-dry or tumble dry on low.
Storing Embroidered Knit Items
Now that you’ve mastered washing and drying your embroidered knit items, let’s talk storage! To keep your creations looking fabulous, follow these simple storage tips:
- Fold or roll items to prevent creasing and stretching
- Store in a cool, dry place away from direct sunlight
- Consider using breathable storage bags or containers
Touching Up and Repairing Worn Embroidery
Now that you’ve mastered storing your embroidered knit items, it’s time to tackle touching up and repairing worn embroidery! Don’t worry, it’s easier than you think – from thread fading to stitch replacement, hole patching, and color refresh, we’ll walk you through it step-by-step.
Frequently Asked Questions (FAQs)
Can you do embroidery on stretchy fabric?
You can do embroidery on stretchy fabric, but it requires extra care and techniques to prevent distortion. With practice and the right stabilizers, you’ll master the skills and achieve professional-looking results on even the most finicky fabrics (Source).
How do you stabilize stretchy fabric for machine embroidery?
You’ll want to use a non-stretchy stabilizer like cut-away or no-show mesh to keep your stretchy fabric stable during machine embroidery. Choose a fusible or sticky option to help minimize movement and have a smooth stitch-out (Source).
Can you embroider onto spandex?
Don’t stretch the truth – embroidering on spandex can be a real challenge! While it’s not impossible, you’ll need to use specialized stabilizers and techniques to keep your design from getting distorted or puckered.
What stitch should you use on stretchy fabric?
When sewing on stretchy fabric, you’ll want to use a stitch that can handle the fabric’s give-and-take. Opt for a zigzag stitch or a stretch stitch, which will allow the fabric to stretch without breaking the thread (Source).
How do I handle bullion knots on stretchy fabric?
Tackling bullion knots on stretchy fabric can be a challenge! Practice patience and develop a rhythm to achieve better results. Don’t stress if it’s not perfect at first – with time, you’ll master the technique and create beautiful, secure knots.
Conclusion
You’ve got the stretch, now master the stitch!
Embroidery on stretchy fabric is no longer a tough task, thanks to these 10 pro secrets.
With the right stabilizer, needle, thread, and tension, you’re ready to create flawless designs that flex with the fabric.
Don’t be afraid to experiment and adjust as you go – practice makes perfect, after all.
Happy stitching, and remember: embroidery on stretchy fabric is all about finding that perfect balance!

