This site is supported by our readers. We may earn a commission, at no cost to you, if you purchase through links.
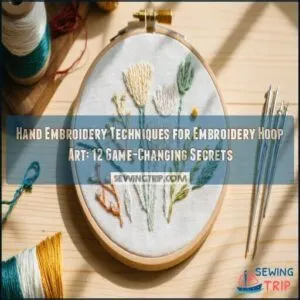
Start with the right hoop—wooden ones grip fabric better than plastic. Prepare your fabric by washing and ironing it first.
Learn basic stitches like backstitch for outlines, French knots for texture, and stem stitch for flowing lines. Natural fabrics like cotton and linen will showcase your stitches beautifully.
Secure your work by keeping fabric drum-tight in the hoop. When you’re finished, protect your creation by properly securing thread ends and storing away from direct sunlight.
The difference between ordinary and extraordinary hoop art often lies in these simple preparation steps.
Table Of Contents
Key Takeaways
- You’ll get better results with wooden hoops rather than plastic ones—they grip fabric better and maintain the "drum-tight" tension necessary for clean stitches.
- Master basic stitches like backstitch for outlines, French knots for texture, and stem stitch for flowing lines before moving to more complex techniques.
- Proper fabric preparation is crucial—wash and iron your fabric first, then secure it tightly in the hoop to prevent puckering and ensure smooth stitching.
- Finish your work professionally by properly securing thread ends, protecting your creation from direct sunlight, and using acid-free materials for storage to preserve your embroidery for years.
Choosing Embroidery Hoops
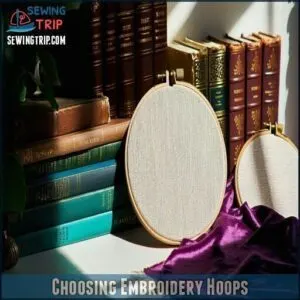
You’ll need the right embroidery hoop to create beautiful stitches that don’t pucker or sag.
Your perfect hoop should be about an inch larger than your design and hold your fabric drum-tight while still being comfortable in your hands, which is crucial for making beautiful stitches.
Types of Embroidery Hoops
When diving into embroidery, you’ll encounter several types of hoops that can make or break your stitching experience.
Using an embroidery hoop stabilizes fabric, preventing wrinkles and maintaining tension.
Screw tension hoops are the most common, giving you control over fabric tightness.
Spring tension hoops need a screwdriver for adjustments, while flexi hoops offer flexibility for different projects.
Specialty hoops come in various shapes and sizes, perfect for creating unique hoop art pieces, which can be a great way to express your creativity with embroidery.
Wooden Vs Plastic Hoops
Now that you know the hoop types, let’s compare wooden and plastic options.
You can find a variety of wooden embroidery hoops online.
Wooden hoops offer superior fabric grip and tension. They’re sturdier but pricier at $5-15.
Plastic hoops cost less ($2-8) and come in bright colors, but they can warp over time.
For beginners, plastic works fine, but if you’re serious about embroidery, wooden hoops are worth the investment for their durability and reliable fabric tension.
Spring Tension Hoops
When considering spring tension hoops for your embroidery hoop art, you’ll notice their unique metal construction.
Unlike wooden hoops, they feature a spring mechanism that helps with tension control.
While they’re adjustable and easy to use, they don’t provide the tightest fabric grip for detailed work.
The metal inner ring can sometimes get in your way during stitching, making hand embroidery techniques more challenging.
Understanding the proper spring tension mechanisms is essential for effective embroidery hoop art.
Flexi Hoops
Flexi hoops offer a happy medium for your embroidery projects.
They provide better tension than plastic hoops but don’t quite match wooden ones for grip.
You’ll find them in various shapes—round, square, and even octagonal—making them perfect for displaying finished pieces.
They can be tricky to load with fabric, so they’re best used for framing your completed embroidery hoop art rather than for stitching.
Once you’ve completed your embroidery, consider using embroidery framing techniques to showcase your finished embroidery and completed work.
Preparing Fabric
You’ll save yourself hours of frustration by properly preparing your fabric before it touches your embroidery hoop.
Wash, iron, and inspect your chosen material to prevent shrinkage and guarantee you’re starting with a clean, smooth canvas for your beautiful stitches.
This step is crucial as it ensures you’re working with a stable material that won’t shrink after you’ve invested time and effort into your embroidery.
Selecting Fabric Type
Now that you’ve got your hoop ready, let’s talk fabric – the canvas for your embroidery magic!
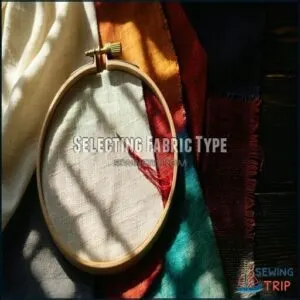
Your fabric choice can make or break your project. Natural fibers are your best friends for beautiful stitches.
A range of suitable embroidery fabric types are available for purchase. Here’s what works best:
- Cotton (especially quilting cotton) offers versatility and a tight weave
- Linen creates a classy texture but needs a tight weave
- Denim provides durability for clothing embroidery
- Wool felt doesn’t fray, perfect for appliqué
- Consider fabric weight, thread count, and weave when selecting
Lighter colors make it easier to transfer designs and see your stitches clearly!
Washing and Ironing Fabric
Almost every embroidery project begins with an essential step: washing and ironing your fabric.
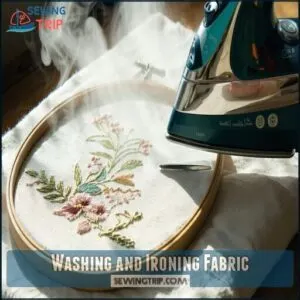
Pre-wash fabrics in cold water to remove sizing chemicals and prevent future shrinking. Once dry, set your iron to the appropriate temperature for your fabric type.
Smooth away wrinkles with gentle, steady strokes, creating the perfect canvas for your stitches.
Proper fabric preparation guarantees your hoop mounting goes smoothly.
Preventing Shrinkage
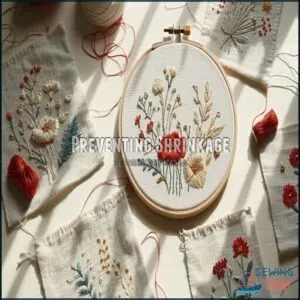
Tackle fabric shrinkage before your first stitch! Pre-wash fabrics in cold water and air dry flat to prevent unwelcome surprises later.
Test small swatches if you’re unsure about a fabric’s reaction. Avoid heat when drying, as it’s the main culprit behind shrinkage.
Understanding fabric weave and shrinkage is key for preventing puckering.
Proper fabric preparation assures your beautiful stitches won’t pucker after washing, and improves tension control during hoop mounting.
Inspecting Fabric for Damage
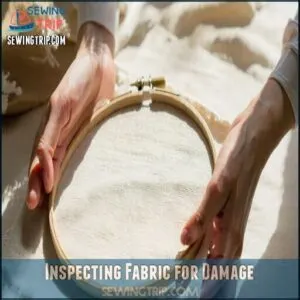
With your fabric clean and shrink-proof, now check for hidden damage.
Hold your fabric up to light to spot thin spots, tears, or stains that could ruin your project later.
Run your fingers across the surface to feel for snags or rough patches.
Small flaws might be workable, but larger damage means cutting around it or choosing a new section for your hand embroidery project, which could potentially have hidden damage.
Embroidery Stitches
You’ll discover that embroidery stitches are the building blocks that bring your hoop art to life, from the versatile backstitch to the elegant stem stitch.
With just a few basic techniques under your belt, you’ll transform plain fabric into something truly special that showcases your creativity.
Basic Embroidery Stitches
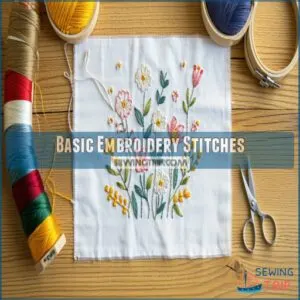
With just a handful of basic embroidery stitches, you’ll reveal endless creative possibilities.
Start with simple techniques like backstitch variations, French knots, and seed stitch uses.
Chain stitch basics form beautiful outlines, while satin stitch tips help fill spaces with smooth color.
These fundamental hand embroidery techniques are building blocks for all your projects—master them first, and you’ll be stitching like a pro in no time.
Backstitch Technique
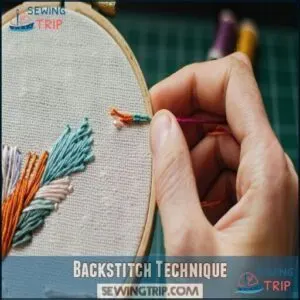
The backstitch technique serves as the backbone of embroidery projects.
You’ll find this versatile stitch perfect for outlining shapes and creating solid lines. To execute it, simply stitch forward, then back, creating small, even stitches that connect.
It’s your go-to for text, line art, and fine details. Try varying stitch lengths for different effects in your embroidery hoop projects.
Split Stitch Technique
Now that you’ve mastered the backstitch, let’s explore the split stitch technique.
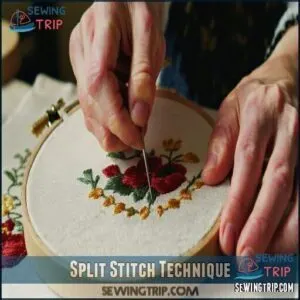
This versatile stitch creates a beautiful textured line that’s perfect for outlining and filling designs.
Learning basic embroidery stitch techniques is essential for any embroiderer.
To make a split stitch, bring your needle up through the fabric, make a small forward stitch, then bring your needle back up through the middle of that stitch.
Continue this pattern for a rope-like effect that adds dimension to your embroidery hoop art.
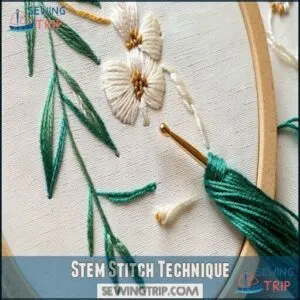
Stem Stitch Technique
While split stitch creates texture, the stem stitch gives your designs beautiful flowing lines.
You’ll create rope-like curves perfect for vines, stems, and outlines.
Hold your embroidery hoop with your non-dominant hand, then bring your needle up through the fabric.
Take a small forward stitch, then bring your needle back up halfway through your previous stitch, keeping the thread below your needle, to achieve a stem stitch with a smooth, flowing lines effect.
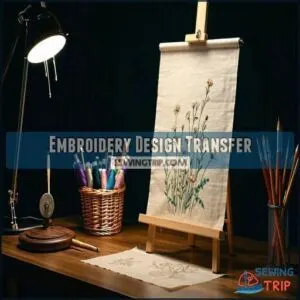
Embroidery Design Transfer
You’ll find your embroidery journey much easier once you’ve mastered transferring designs to fabric, which is like giving your needle a roadmap to follow.
Whether you use printable stabilizer sheets or heat-erasable Frixion pens, getting your design onto fabric is the essential first step that sets you up for embroidery success.
Methods for Transferring Designs
Now that you’ve learned various stitches, let’s explore how to get your design onto fabric.
You’ve got several options for transferring embroidery designs. Try using tracing paper placed over your fabric, then trace with a pencil.
Another method is stencil use – simply position your stencil and draw the outline. For detailed patterns, image projection works wonders, allowing you to trace projected designs directly onto fabric, using image projection.
Using Stabilizer Sheets
With stabilizer sheets, transferring designs becomes a breeze.
Simply print your pattern directly onto Stick and Wash Away Stabilizer, then attach it to your fabric.
These water-soluble sheets come in various sizes and adhesive options.
After stitching, just rinse with water and watch the stabilizer disappear, it’s perfect for intricate patterns that would be difficult to trace manually.
Iron-on Frixion Pens
While stabilizer sheets offer one solution, Iron-on Frixion pens will transform your design transfer process.
These handy tools let you trace patterns with incredible precision.
Simply place your design under a bright light source, trace it onto your fabric, and watch as the marks vanish with heat from an iron or blow dryer.
Remember though—these marks can reappear in cold temperatures, so plan accordingly for your final project, considering the heat from an iron or blow dryer.
Creating Custom Cross-Stitch Patterns
Designing your own cross-stitch patterns opens a world of creative possibilities.
Turn your ideas into beautiful embroidery hoop art with these simple techniques:
- Use gridded pattern paper to chart designs by hand – each square represents one stitch
- Try cross-stitch software for converting photos into patterns
- Experiment with pixel art conversion tools for unique custom embroidery patterns
Select a color palette that speaks to you and helps you create beautiful embroidery hoop art.
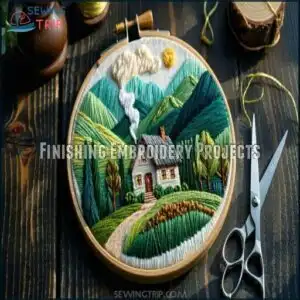
Finishing Embroidery Projects
You’ll transform your beautiful stitches into lasting art when you master the simple secrets of finishing your embroidery projects.
The way you secure your threads, protect your work, and display your creation can make all the difference between a piece that falls apart and one that becomes a treasured heirloom.
Securing Thread Ends
The secret to professional-looking embroidery lies in how you secure those thread ends.
You’ve got options: try the weaving method by tucking ends under nearby stitches, use simple knotting techniques, or try the threadsaver trick for delicate fabrics.
When working with satin stitches, secure with tiny backstitch anchors.
For a needleinthehoop hack, hide ends as you work instead of leaving them for later.
Protecting Floss From Tangles
The battle against tangled embroidery floss is one every stitcher faces.
Proper floss management saves time and frustration while extending thread life.
Try these threadsaver tricks:
- Wind floss onto cardboard bobbins or plastic organizers
- Use thread conditioner to reduce friction and prevent knotting
- Store partially used threads by wrapping around clothespins or taping loose ends
Match thread weight to your project for best results!
Storing Finished Projects
After all your hard work, proper storage methods keep your finished embroidery projects looking their best.
Store your hoop art in acid-free boxes or display them on walls away from direct sunlight.
For projects not in hoops, roll them gently with acid-free tissue rather than folding.
Following these fabric storage tips will help preserve your creations.
Keep embroidery in cool, dry places to prevent moisture damage and ensure they remain in good condition, which is a key part of proper storage.
Preserving Embroidered Pieces
Now that your beautiful creations are safely stored, let’s keep them looking perfect for years to come.
Preserving your embroidered pieces doesn’t have to be complicated.
- Wash with lukewarm water and gentle detergent to maintain colors
- Iron through a white pillowcase with a flannel pad inside
- Display in frames away from direct sunlight
- Rotate displayed pieces every few months
- Store with acid-free materials for long-term embroidery aftercare
By following these steps, you can ensure your creations remain vibrant and well-preserved, making them a lasting treasure for years to come.
Frequently Asked Questions (FAQs)
How do you use an embroidery hoop?
To use an embroidery hoop, separate the rings.
Place fabric over the inner ring, push the outer ring down.
Then tighten the screw while pulling fabric edges to achieve drum-tight tension.
What is an embroidery hoop?
Wooden hoops are preferred by 68% of embroidery enthusiasts.
Your embroidery hoop is a simple tool with inner and outer rings that hold fabric tight while you stitch, ensuring beautiful, pucker-free results.
Why is embroidery hoop so important?
Your embroidery hoop keeps fabric drum-tight, preventing puckering and ensuring neat stitches.
It’s the foundation for your entire project, giving you control and precision while you work your magic with thread.
Are Embroidery hoops necessary?
Like a guiding hand, hoops aren’t absolutely necessary, but they’ll improve your work. You can embroider without them, but they keep fabric taut, prevent puckering, and make your stitches neater.
What are the different types of Embroidery hoops?
You’ll find several hoop options: wooden (traditional, sturdy), plastic (lightweight, affordable), spring tension (adjustable grip), screw tension (precise control), and flexi hoops (versatile).
Each offers different benefits for your embroidery projects.
They come with various features such as adjustable grip.
What Hoop is best for embroidery?
For beginners, wooden hoops are your best bet. They’re sturdy, hold fabric tight, and won’t slip during stitching. While plastic hoops are cheaper, they don’t provide the same reliable tension.
How do you hand embroidery a hoop?
Did you know that 68% of embroiderers prefer wooden hoops?
To hand embroider a hoop, separate the rings, place fabric over inner ring, position outer ring on top, and tighten until drum-tight.
This reorganization improves readability by separating the introductory fact from the instructional steps, making it easier for the reader to follow and understand the information.
How do you embellish an embroidery hoop?
You can embellish your embroidery hoop by adding beads, sequins, ribbons, or fabric scraps.
Paint the wooden frame, wrap it with colorful thread, or attach dried flowers for a personalized touch.
How do you put a pattern on an embroidery hoop?
Place your fabric in the hoop first, then transfer your pattern using wash-away stabilizer, tracing paper, or iron-on transfer pens.
You’ll need the fabric tight as a drum for best results.
Do I need a stabilizer for hand embroidery?
Like a tightrope walker needs a safety net, you’ll often need a stabilizer for hand embroidery, especially with lightweight fabrics.
It prevents puckering and helps maintain tension while you stitch your design.
Conclusion
Picture your finished hoop art displayed proudly on your wall—a reflection of your creativity.
With these hand embroidery techniques for embroidery hoop art, you’ve gained the skills to create beautiful pieces that’ll last for years.
Remember, practice makes perfect. Start with simple designs, then challenge yourself with more complex patterns.
Your embroidery journey doesn’t end here—it’s just beginning. Keep your needle threaded and your inspiration flowing. You’ve got this!

