This site is supported by our readers. We may earn a commission, at no cost to you, if you purchase through links.
 The Running Stitch is one of the basic stitches in hand sewing and one that every sewing enthusiast should master. For this reason, it has a basic place behind hundreds of different projects and also, more complex stitches.
Teach yourself how to make a running stitch quickly and accurately because a world of creative possibilities has now opened before you. This versatile stitch tackles everything from ordinary seams to beautiful, decorative embroidery, so surely—you will not want to skip this one.
We’re going to go through it, step by step, making sure to point out all the tools, techniques, and variations. Get ready to bring your sewing to the next level and to join in the community of crafters who can’t live without this one very essential stitch.
Table Of Contents
- Key Takeaways
- How Do You Do a Running Stitch?
- What is a Running Stitch?
- Tools and Materials Needed
- How to Thread the Needle
- Inserting the Needle Into the Fabric
- Taking the First Stitch
- Continuing the Running Stitch
- Variations of Running Stitch
- Running Stitch in Comparison
- Practical Uses of Running Stitch
- Tips and Techniques for Perfect Running Stitch
- Frequently Asked Questions (FAQs)
- Conclusion
Key Takeaways
- Get your needle and thread ready to rock and roll – threading that needle is your ticket to stitching stardom!
- Remember, slow and steady wins the race. Keep those stitches evenly spaced, and you’ll be sewing circles around the competition in no time.
- Spice up your life (and your fabric) with some running stitch variations. Who knew a simple in-and-out could lead to so many creative possibilities?
- From mending torn jeans to crafting jaw-dropping embroidery, the running stitch is your Swiss Army knife of sewing. Master this bad boy, and you’ll be unstoppable!
How Do You Do a Running Stitch?
To work running stitch, you will start by threading your needle full of about 18 inches of floss. Pull the fabric taut and put the needle in from the back, leaving a little tail. Pull the thread through, then push the needle back down through the fabric a short distance away.
Keep on doing this, up and down, creating an evenly-spaced stitch along your desired line. The running stitch alternates between visible stitch on top and invisibility underneath, producing a pattern of dashed lines through the cloth.
This is a quite versatile stitch, but it is not one of the stronger types.
Just buckle down and practice this one. You’ll then be set on this all-important stitch, which will unlock a world of possibilities for your sewing.
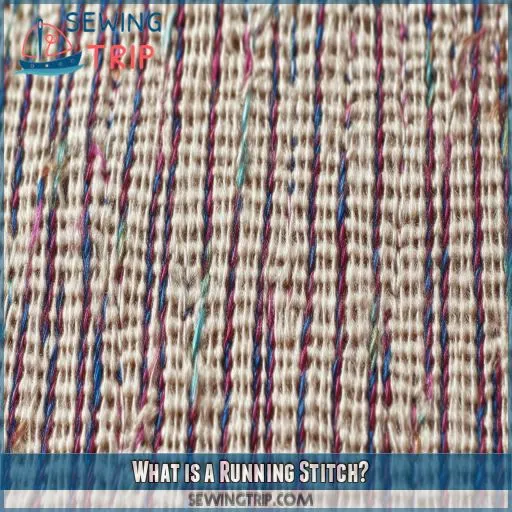
What is a Running Stitch?
You’ve likely encountered the running stitch before, even if you didn’t know its name. It’s the most basic hand embroidery technique, with a rich history dating back centuries.
This simple stitch creates a dashed line pattern, alternating between visible thread and fabric. While it’s not the strongest stitch, its versatility shines in various applications.
From basting to decorative embroidery, the running stitch is a staple in any sewer’s toolkit. Its simplicity belies its importance – mastering this stitch opens up a world of creative possibilities in your sewing and embroidery projects.
Tools and Materials Needed
Now that you understand what a running stitch is, let’s gather the tools and materials you’ll need.
You’ll want a needle suitable for your fabric choice – embroidery needles work well for decorative stitches, while universal needles are great for seams. Choose thread weights that complement your project, considering both strength and appearance.
Don’t forget fabric scissors and a thimble for comfort.
As you prepare, think about your desired stitch length and spacing.
Whether you’re creating a simple running stitch or exploring variations like whipped or interlaced stitches, having the right tools will set you up for success.
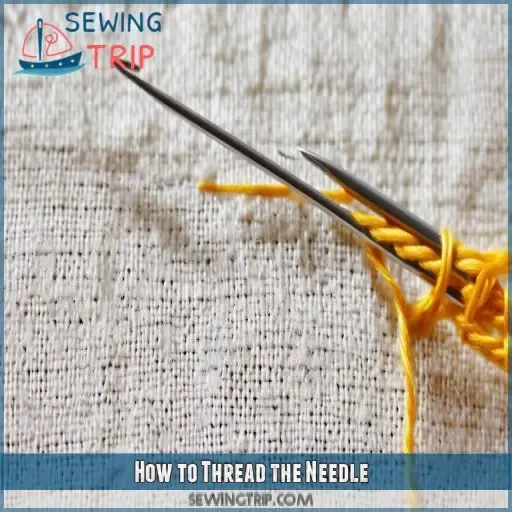
How to Thread the Needle
Now that you have all the tools in place, it’s time to thread your needle. This step is very critical for the accomplishment of a running stitch. Here is how to do it:
- Cut a length of thread about 18 inches long.
- Wet the end of the thread and pinch it between your thumb and forefinger.
- Guide the thread through the eye of the needle, leaving a tail.
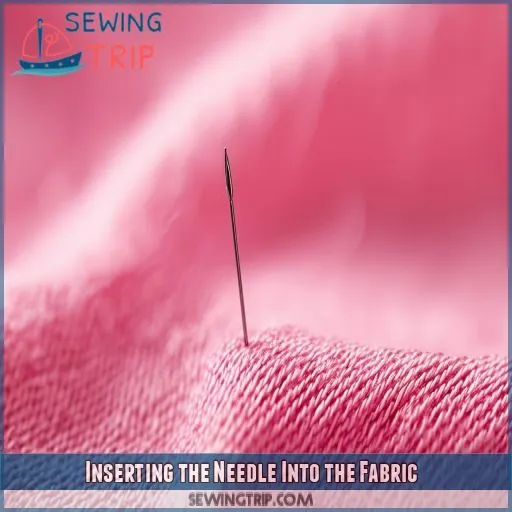
Inserting the Needle Into the Fabric
Now, with your needle threaded, it’s time to dive into the fabric. You’ll want to learn how to hold your needle at an angle, about 45 degrees off the surface of the fabric.
The depth of penetration depends on the type of your fabric and the effect you’d like to achieve. For thicker material, you’ll have to press harder; for a delicate fabric, you should press lighter.
The position of your hand is important – keep your fingers as close to where the insertion point is going to be for more control on the action.
Also, remember that the size of your needle has to do with your fabric – basically, larger needles on heavier materials and smaller ones on finer ones.
This works with most of the embroidery stitches, including running stitch used for basting seams and hand gathering.
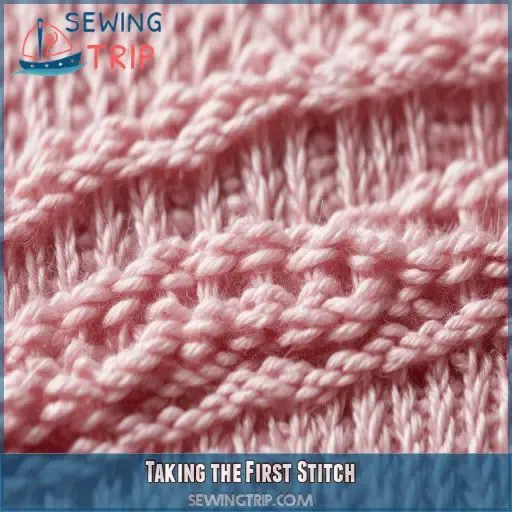
Taking the First Stitch
Now that you’ve inserted the needle, it’s time to take your first stitch. This is where the magic begins!
Hold the fabric taut with your non-dominant hand. With your dominant hand, push the needle up through the fabric from underneath, about 1/4 inch from where you started. Pull the thread through, leaving a small tail on the underside.
Next, push the needle back down through the fabric, another 1/4 inch ahead. Congratulations! You’ve just made your first running stitch.
Continuing the Running Stitch
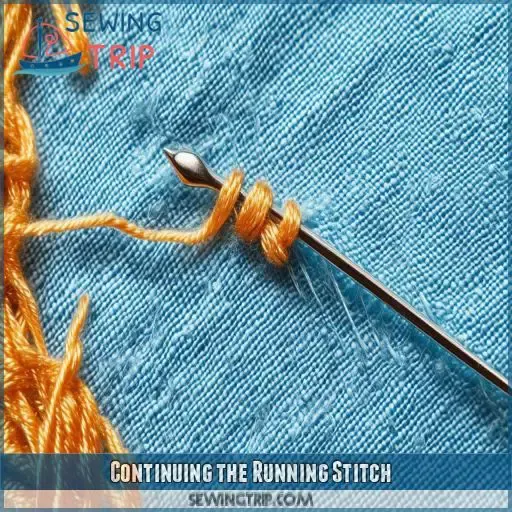
Now that you’ve taken your first stitch, it’s time to keep the momentum going. Continue your running stitch by maintaining a consistent rhythm. Push the needle up through the fabric, then down again, keeping your stitch length even.
For decorative applications, consider using a contrasting thread to make your running stitch pop.
With practice, you’ll find your groove and this essential sewing technique will become second nature.
Variations of Running Stitch
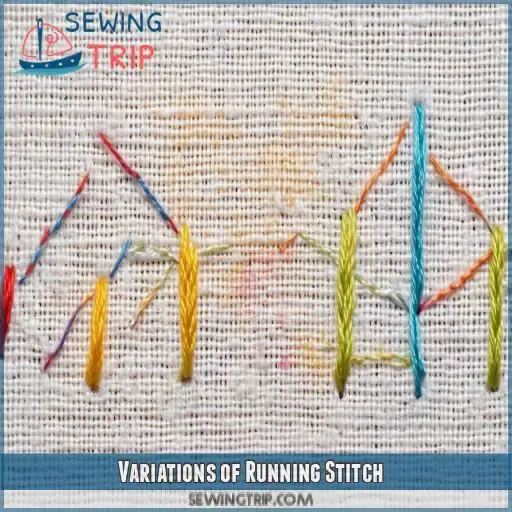
Once you’ve mastered the basic running stitch, you can explore its variations to add visual interest and functionality to your sewing projects. These variations include evenly spaced stitches, unevenly spaced stitches, whipped running stitch, threaded running stitch, and interlaced running stitch, each offering unique effects and uses.
Evenly Spaced Stitches
Now that you’ve mastered the basic running stitch, let’s focus on achieving evenly spaced stitches. This variation creates a clean, professional look. To perfect your technique:
- Choose the right needle size for your fabric
- Maintain consistent thread tension
- Practice on scrap fabric first
- Use a ruler or marked fabric for guidance
Unevenly Spaced Stitches
While evenly spaced stitches are classic, unevenly spaced stitches offer a creative twist. You can create unique designs by varying stitch lengths. This technique’s perfect for decorative embroidery, sashiko, and quilting, adding visual interest to your projects like a tree stump’s rings.
Whipped Running Stitch
You’ve mastered the running stitch? Now let’s whip it up! This decorative variation adds flair to your embroidery. Here’s how:
- Create a line of running stitches
- Thread a contrasting color
- Wrap around each stitch
- Secure at the end
Threaded Running Stitch
After mastering the whipped running stitch, you can level up with the threaded running stitch. This decorative technique adds strength and visual interest to your work. Here’s a quick guide:
| Step | Action |
|---|---|
| 1 | Complete running stitch |
| 2 | Thread new color |
| 3 | Weave through stitches |
| 4 | Secure and trim |
Interlaced Running Stitch
Interlaced running stitch adds a decorative twist to your fabric joining. You’ll create a woven effect by threading a contrasting color through your initial stitches. This technique’s perfect for pattern darning and kantha embroidery, elevating your sewing projects with eye-catching embellishments.
Running Stitch in Comparison
When comparing the running stitch to the backstitch, you’ll notice some key differences in strength and use. The running stitch creates evenly spaced stitches with gaps, making it less durable but quicker to execute, while the backstitch forms a continuous line without gaps, providing more strength for seams that need extra reinforcement.
Running Stitch Vs. Backstitch
When comparing the running stitch to the backstitch, you’ll notice some key differences. While both are fundamental sewing techniques, they serve distinct purposes in your projects. The running stitch is your go-to for quick seams, basting, and decorative work. On the other hand, the backstitch is your sturdy companion for secure seams.
- Feel the simplicity of the running stitch gliding through fabric
- Experience the satisfaction of a backstitch’s strength
- Embrace the versatility of both stitches in your sewing arsenal
Whether you’re using a running stitch to join fabrics or creating intricate cross-stitch designs, understanding these stitches will elevate your sewing game.
Differences in Strength and Use
When choosing between running stitch and backstitch, consider their strengths and uses. Here’s a quick comparison:
| Characteristic | Running Stitch | Backstitch |
|---|---|---|
| Strength | Moderate | Strong |
| Speed | Fast | Slower |
| Flexibility | High | Moderate |
| Decorative Use | Versatile | Limited |
| Fabric Stress | Low | Higher |
Running stitch shines in decorative techniques like sashiko, pattern darning, redwork, kantha, and beading. It’s quick and versatile, perfect for temporary basting or gathering. Backstitch, while slower, provides a stronger seam for stress points. You’ll often use running stitch for embellishments and backstitch for sturdy construction. Choose wisely to balance strength, speed, and style in your projects!
Practical Uses of Running Stitch
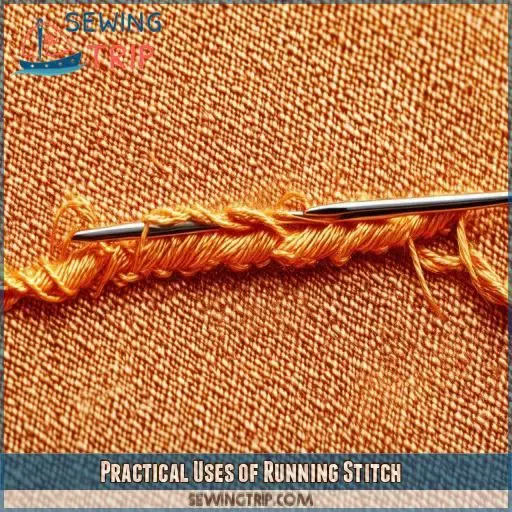
You’ll find the running stitch indispensable for various sewing tasks. From creating seams and hems to embellishing with decorative embroidery, gathering fabric, and mending tears, this versatile technique is a cornerstone of both functional and ornamental sewing.
Seams and Hems
You’ll find running stitch indispensable for hand quilting and joining curved seams. It’s perfect for creating decorative borders and garment embellishment. While it’s not as strong as some stitches, it’s quick and versatile. Use it to temporarily hold fabric layers together or for lightweight seams and hems.
Decorative Embroidery
Beyond seams and hems, running stitch shines in decorative embroidery. You can create unique designs and colorful patterns with this versatile technique. It’s perfect for adding intricate details to your projects. Here’s how running stitch enhances your embroidery:
- Adds texture to plain fabrics
- Creates outlines for complex designs
- Fills large areas with interesting patterns
- Combines easily with other stitches for depth
Gathering and Basting
Running stitch is your go-to for gathering and basting. When creating gathers, use long stitches to cinch fabric. For basting, it’s perfect for temporarily holding pieces together. Whether you’re hand sewing or embroidering, this versatile stitch streamlines your process, ensuring your project stays on track.
Mending and Repairing
Running stitch is your go-to for mending clothes and fixing tears. It’s perfect for darning fabrics and repairing garments quickly. Simply thread your needle, insert it from the underside, and work your way along the tear. You’ll have your favorite pieces back in action in no time!
Tips and Techniques for Perfect Running Stitch
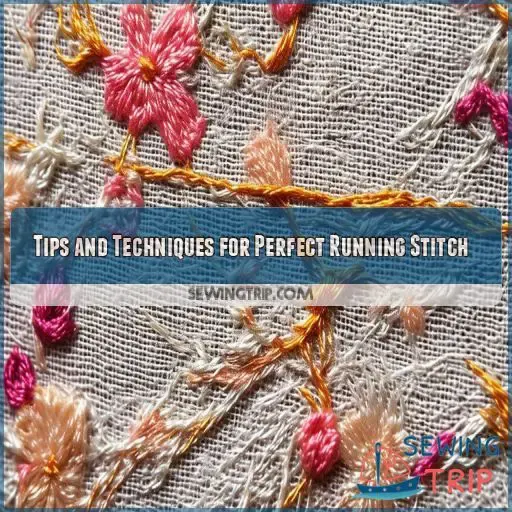
First, to make a perfect running stitches, select sharp needles and choose matching thread color with the fabric color. Keep even tension in sewing by keeping the fabric taut between the fingers. This makes your stitches all the more even and perfectly professional.
Using a Sharp Needle
Now, after going through the various applications of running stitch, let’s discuss how to build technique.
You’ll need a sharp needle to get clean, precise stitches. Use appropriate size and type of needle. When sewing on a fabric, use the correct type and size of the needle.
The longer needles allow you to take more than one stitch at a time. On the other hand, the short needles give better control.
Stainless steel needles are stronger, yet some people find carbon steel sharper.
Matching Thread Color to Fabric
While choosing the thread for your running stitches, you’ll want to match them up with your fabric color. This coordination of colors greatly enhances the look of the work in front of you.
You can choose a matching or contrasting color thread with that of your fabric for visible stitches. However, if invisible stitches are what you’re looking for, choose a thread which will blend without any problem.
Thread color coordination is important in giving your sewing project that professional finish or look.
Tension and Fabric Handling
Proper tension and handling of the fabric are essential for the creation of a perfect running stitch. This shall follow through on thread selection, where you’ll want to:
- Keep the consistent angle of the needle for even stitches
- Adjust stitches according to length based on thickness of fabric
- Keep lines straight by following the grain of the fabric
Frequently Asked Questions (FAQs)
How to do running stitch step by step?
Thread your needle and knot the end. Push it through the fabric from underneath. Pull it up, then down a short distance away. Repeat this motion, keeping your stitches evenly spaced. You’ve mastered the running stitch!
What is the standard running stitch?
You’re in stitches! The standard running stitch is a simple, evenly-spaced straight stitch. You’ll create a dotted line effect by passing the needle in and out of the fabric at regular intervals. It’s versatile for various sewing projects.
What is the running stitch in knitting?
In knitting, you won’t find a running stitch. It’s a sewing technique, not a knitting one. If you’re looking to join pieces in knitting, you’ll use methods like seaming or grafting instead.
What is a stitch when running?
When running, a stitch isn’t a sewing technique – it’s a sharp pain in your side. You’ll feel it below your ribs, often on the right. It’s common but can be avoided with proper breathing and warm-up.
How long should my running stitches be?
Your running stitches should typically be 1/4 to 1/2 inch long. For basting, make them longer (1/2 to 1 inch). Adjust stitch length based on your project’s needs and the fabric’s thickness for best results.
Can I use running stitch on stretchy fabrics?
Yes, you can use running stitch on stretchy fabrics, but it’s tricky. Use a ballpoint needle and stretch-friendly thread. Sew with the fabric relaxed, not stretched. For better flexibility, consider a zigzag or stretch stitch instead.
Is running stitch suitable for visible mending?
Yes, running stitch is great for visible mending. You’ll create a distinctive look while repairing your clothes. It’s easy to do and versatile, allowing you to add personality to patches or reinforce worn areas creatively.
How do I maintain even tension while stitching?
To maintain even tension, hold the fabric taut as you stitch. Keep your stitches consistent in length and spacing. Practice on scrap fabric first, and don’t pull the thread too tight. You’ll develop a steady rhythm with practice.
Can running stitch be done by machine?
Yes, you can do a running stitch by machine. Set your sewing machine to a straight stitch with a long stitch length. Guide the fabric under the presser foot, letting the machine create evenly spaced stitches automatically.
Conclusion
From simple seams to intricate embroidery, mastering how to do a running stitch opens up a world of creative possibilities. You’ve learned the basics, explored variations, and discovered practical applications.
Now it’s time to put your skills to the test. Remember, practice makes perfect. As you continue to refine your technique, you’ll find the running stitch becoming an indispensable tool in your sewing arsenal.

