This site is supported by our readers. We may earn a commission, at no cost to you, if you purchase through links.
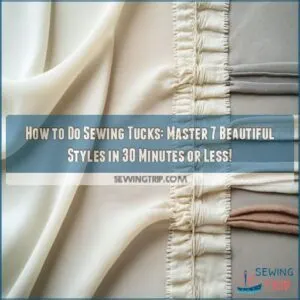 Unlike their free-flowing cousin the pleat, sewing tucks creates permanent, stitched folds that add beautiful texture to your fabric.
You’ll start by marking parallel lines on your fabric – think of them as tiny railroad tracks guiding your journey. Fold and press each line, then stitch parallel to the fold using the right needle and tension.
Whether you’re crafting delicate pin tucks (0.3-0.5cm) or bold statement tucks (2cm+), precise measuring and pressing are your best friends.
The real magic happens when you discover how different fabric weights transform your tucks’ personality – from crisp cotton pin tucks to structured wool statement tucks. Fabric weights and precise measuring are key to success.
Table Of Contents
Key Takeaways
- You’ll need to mark parallel lines on your fabric and press each fold firmly before stitching—think of them as tiny railroad tracks guiding your work.
- Unlike pleats, which can move freely, you’re creating permanent, stitched folds when making tucks—they’ll stay put with secure stitching at your desired width (from delicate 0.3cm pin tucks to bold 2cm+ statement tucks).
- You’ll get the best results by matching your fabric weight to the tuck style—lightweight fabrics work beautifully for pin tucks, while heavier materials hold structured tucks better.
- Your success depends on maintaining consistent machine tension, using the right needle, and pressing each tuck as you go—these technical details make the difference between "homemade" and professional-looking results.
Tucks Vs. Pleats: What’s The Difference?
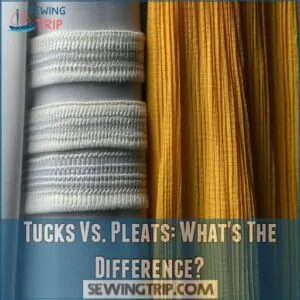
When you’re diving into fabric manipulation, you need to know the key difference between tucks and pleats. While both add volume and texture to your garments, tucks are actually stitched pleats that create permanent folds in the fabric. Think of pleats as the free-spirited cousin – they can move and unfold – while tucks are like their committed sibling, staying put with secure stitching.
You’ll find tucks come in various widths, from delicate pin tucks (0.3-0.5cm) that add subtle texture to wider statements (2cm+) that create bold visual impact. The magic of tucks lies in their versatility – they can be used for both decorative flair and functional shaping, especially in areas where you want controlled fullness without the movement of pleats.
The fabric choice plays an important role here – lighter fabrics work beautifully for pin tucks, while heavier materials hold structured tucks better.
How to Draft and Sew Tucks
You’ll be amazed at how easy it’s to transform flat fabric into beautiful dimension with perfectly drafted and sewn tucks.
Whether you’re adding pin tucks to a blouse or creating elegant pleats on a skirt, you’ll master the basics of measuring, marking, and stitching tucks in no time.
Pattern
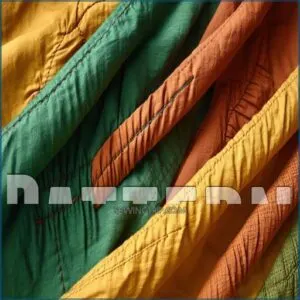
Mastering pattern design for tucks starts with a solid foundation, just like building a house.
You’ll need graph paper and a ruler to map out your vision accurately.
When creating your base pattern, consider using essential tools like a measuring tape and a flexible ruler for precise measurements, as outlined in how to make a sewing pattern.
Add tuck lines at 90-degree angles to your base pattern, calculating double the final width you want (for example, 1cm spacing for a 0.5cm tuck).
Remember, precise measurements now prevent headaches later – especially for garment fit.
Sewing Techniques
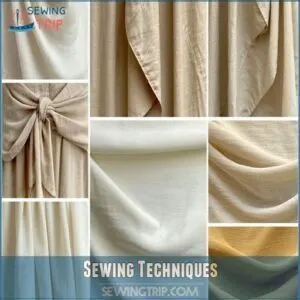
Anyone can create beautiful tucks with the right techniques – it’s like folding origami in fabric. Your success hinges on precise seam allowances and straight marking lines.
You can access various tuck patterns and products at the Everysimply store for sewing tuck guides.
Here’s what makes tucks turn out perfectly:
- Use a sharp needle and proper stitch tension for clean lines
- Press each fold firmly before stitching
- Pin strategically at intersections and endpoints
- Choose appropriate fabric weight for your desired effect
Different Types of Tucks
You’ll be amazed at how five distinct tuck styles can transform your fabric from flat to fantastic in minutes.
From dainty pin tucks to dramatic tapered folds, each style adds unique texture and dimension to your sewing projects.
Pin-tucks (Wide-Narrow)
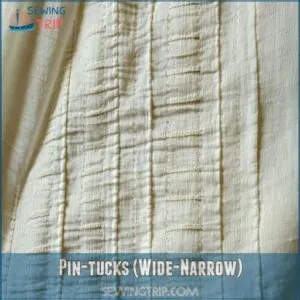
The delicate artistry of pin-tucks transforms ordinary fabric into eye-catching designs.
You’ll find these tiny treasures come in two main varieties: wide (0.5-2cm) and narrow (0.3-0.5cm).
Start by marking parallel lines on your fabric using a water-soluble pen. Press each fold crisply, then stitch close to the edge.
For varied texture, alternate between wide and narrow spacing as you work across your fabric.
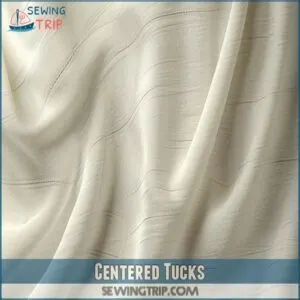
Centered Tucks
Centered tucks bring elegance to your sewing projects with their symmetrical, balanced look – think of them as pleats’ sophisticated cousin.
After mastering pin tucks, you’ll find centered tucks surprisingly straightforward.
Simply fold your fabric evenly on both sides of a marked center line, then stitch parallel to the fold at your desired width.
You can space them evenly or create dynamic patterns by varying the distances.
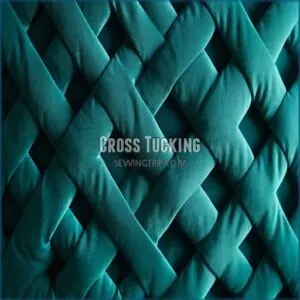
Cross Tucking
Moving beyond centered tucks, cross tucking opens up an exciting world of texture and dimension.
By layering tucks in perpendicular directions, you’ll create stunning geometric patterns.
Here are three game-changing tips:
- Start with vertical tucks, pressing each fold firmly
- Add horizontal tucks second, carefully handling intersections
- Use a quarter-inch foot as your guide for perfect spacing
The order you sew affects your final pattern, so experiment!
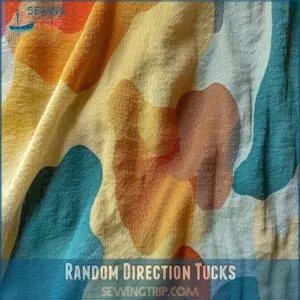
Random Direction Tucks
While cross tucking creates structured patterns, random direction tucks offer creative freedom in your designs.
By placing tucks at varying angles and intersections, you’ll create unique textures that catch light differently from every angle.
Choose medium-weight fabrics that hold shape well, like cotton poplin or lightweight wool. Start with a simple pattern of three intersecting tucks, then build complexity as you gain confidence. random direction tucks
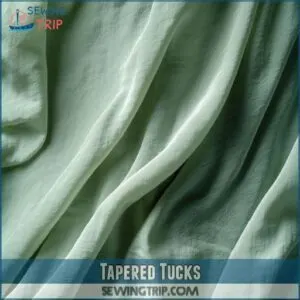
Tapered Tucks
Have you ever wondered how a simple fold can create stunning dimensional effects? Tapered tucks, shaped like elegant triangles rather than rectangles, add an origami-like flair to your garments. These eye-catching details gradually change width, creating dynamic visual interest that’ll make your projects stand out.
- Choose lightweight fabrics like silk or cotton lawn for crisp, defined edges
- Start wide at one end (2-3cm) and taper to a point
- Space tucks evenly, marking carefully with fabric chalk
- Press each tuck thoroughly before moving to the next
Examples of Tucks in Garments
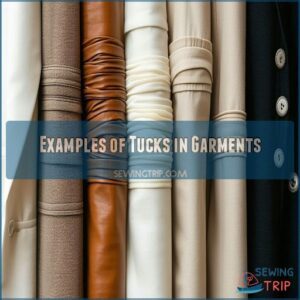
You’ll find tucks adding elegance to shirt fronts, creating shapely dress backs, and adding flair to skirt yokes in today’s fashion.
These classic design elements will transform your garments from basic to beautiful.
Whether you’re updating a simple blouse or creating a statement piece, these classic design elements will transform your garments from basic to beautiful.
Shirt Front
Shirt front tucks transform an ordinary button-up into something special.
You’ll want to start by marking evenly-spaced vertical lines parallel to your placket.
To achieve a professional finish, consider calculating seam allowance precisely, which is essential for drafting and sewing tucks.
For a classic look, keep tuck width between 1/4 to 1/2 inch, spacing them 1 inch apart.
Pin each fold carefully, press with an iron, and stitch straight down each line.
Remember to backstitch at both ends for durability.
Dress Back
Moving from front details to back designs opens up exciting possibilities.
You’ll love how tucks can transform a plain dress back into something extraordinary.
Start by marking evenly-spaced vertical lines 2-3 inches apart.
For partial tucks, stitch from the neckline down about 6-8 inches, creating elegant shaping.
Remember to press each tuck flat before moving to the next one.
Skirt Yoke
Transform your skirt yoke into a stunning focal point by incorporating carefully placed tucks.
When working with a yoke design, start by measuring equal divisions along the edge.
Space your tucks consistently – typically 1-1.5x the tuck width apart.
For added interest, try angling the tucks at 45 degrees instead of the standard 90. Remember to press each tuck firmly before moving to the next one.
How to Sew Basic Wave Tucks
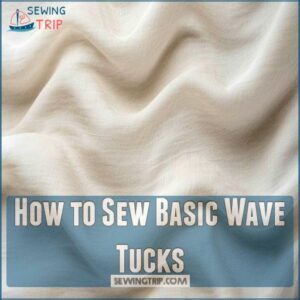
Wave tucks bring a splash of playfulness to your sewing projects that’ll make your friends ask "How did you do that?" Let’s walk through the basics of this fun technique that looks way harder than it actually is.
First up, grab your measuring tape and double-check all your markings – trust me, eyeballing it won’t cut it here! You’ll want lightweight cotton fabrics for your first attempt; they’re super forgiving and show off those wavy patterns beautifully.
Here’s your game plan:
- Mark your tuck lines with chalk or fabric pen
- Set your machine’s tension to medium
- Start with wider spacing (about 1 inch) between tucks
- Press each tuck as you go
- Keep your stitch length consistent (2.5-3mm works great)
Remember: Wave tucks are like potato chips – you can’t stop at just one!
Advanced Techniques for Wave Tucks
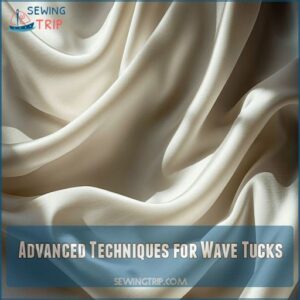
You’ll transform your basic wave tucks into stunning masterpieces with these professional techniques.
These techniques add depth and visual interest to your garments.
Whether you’re working with angled designs or contrasting fabrics, you’ll learn how to create eye-catching patterns.
These eye-catching patterns will make your friends wonder if you’ve secretly become a fashion designer.
Angled Wave Tucks
Angled wave tucks take basic fabric manipulation to new heights, adding depth and visual interest that’ll make your projects stand out. Think of them as the jazz improvisation of sewing – they follow a basic pattern but with creative twists.
For a detailed guide and specific products designed for the perfect angled wave tuck, check out this angled wave tuck tutorial.
Here’s how to nail this technique:
- Mark fabric precisely on both sides
- Vary your angles for dynamic patterns
- Start with wider angles (45°) for practice
- Keep stitch density consistent throughout
Contrasting Wave Tucks
Contrasting wave tucks add a striking visual punch to your sewing projects!
After mastering angled tucks, you’ll love playing with opposing fabric patterns to create eye-catching designs.
Here’s the trick: lay out your tucks in alternating directions, keeping your stitch density consistent at 2-3mm. Choose fabrics with distinct patterns or colors – think stripes against polka dots or light against dark shades.
Non-sewn Tucks
Exploring non-sewn tucks opens up a whole new world of fabric manipulation possibilities! Think of it as fabric origami – creating stunning designs without touching your sewing machine.
Here’s what makes these tucks special:
- No stitching required – just precise folding and pressing
- Perfect for delicate or sheer fabrics that don’t handle machine stitching well
- Creates unique dimensional effects through careful fabric manipulation
- Holds shape through strategic pressing and fabric choice
Wavy Tucks
Wave tucks transform ordinary fabric into mesmerizing ripples and curves.
Unlike straight tucks, these beauties flow like water across your garment.
You’ll need stable interfacing and matching thread to nail this technique, as well as a grasp of hand stitched fabric manipulation techniques.
Start with medium-weight fabrics for pronounced waves – think cotton or lightweight wool.
For best results, mark your wave pattern clearly and take it slow.
The extra effort creates stunning, one-of-a-kind pieces worth showing off.
Tips and Considerations for Fabric Manipulation Techniques
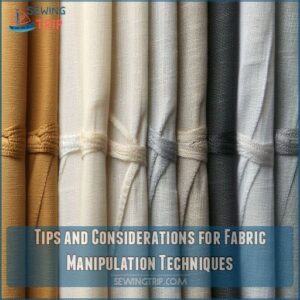
While mastering fabric manipulation techniques might seem intimidating, these essential tips will help you nail your tuck projects every time.
First, match your fabric weight to your technique. Heavy wools need wider tucks, while delicate silks work beautifully with pin tucks. Having the right sewing tuck tools can make all the difference in achieving professional results.
Keep your sewing machine’s tension consistent – uneven pressure leads to puckering and wonky lines.
Before diving in, test your stitch type on a scrap piece. Some fabrics love a straight stitch, while others need a bit more flexibility. Remember that knits and wave tucks rarely play nice together – opt for wavy tucks instead.
Pro tip: Always press as you go. A well-pressed tuck is the difference between "homemade" and "haute couture." And don’t skip the seam allowance calculations – they’re vital for a professional finish.
Frequently Asked Questions (FAQs)
How do I sew tucks?
Measure twice, cut once!
To create tucks, fold fabric along marked lines, press firmly, pin in place, then stitch parallel to the fold at your desired width.
Space them evenly for a professional finish.
What is a tuck in sewing?
A tuck is a folded strip of fabric that’s stitched in place to create texture and shape in your garment.
You’ll find them ranging from tiny pin tucks to wider folds that add beautiful dimension.
Should you sew tucks before sewing?
Want your garment to look polished from the start?
You’ll need to sew your tucks before joining seams to guarantee precise placement and even spacing.
It’s easier to work with flat fabric sections.
How do you sew a pin Tuck?
Create crisp pin tucks by folding fabric with right sides together.
Press firmly.
Then stitch 1/8 inch from the fold.
Press the tuck flat and repeat for additional tucks, maintaining even spacing.
How do you make a single tuck in fabric?
Fold your fabric along the marked line, press it firmly with an iron, and pin it in place.
Stitch parallel to the fold at your desired width, keeping the line straight and even.
How do you make spaced tucks in fabric?
Measure and mark parallel lines on your fabric at desired intervals.
Press each tuck’s fold.
Stitch along marked lines, maintaining even spacing between tucks.
Iron all tucks in one direction for a polished finish.
What Fabrics Work Best for Tucks?
Lightweight, firmly woven fabrics like cotton lawn, silk, and fine wool work best for tucks.
You’ll get crisp, defined folds with these materials, while avoiding bulky fabrics that’ll make your tucks look stiff and awkward.
What is the Difference Between a Tuck and a Dart?
Ever wondered about those fabric folds in your clothes?
While tucks create decorative folds by stitching fabric parallel to itself,
darts shape garments by tapering excess fabric to a point, controlling fullness where you need it.
Are Tucks Difficult to Sew?
Basic tucks aren’t difficult to sew with practice.
You’ll need patience for precise marking and pressing, but with proper measurements and straight stitching, you can master them quickly.
Start with wider tucks first.
What Are the Advantages of Using Tucks in Garments?
By jove, tucks offer remarkable advantages in garments!
They’re perfect for adding feminine details, creating texture, and managing fullness in your sewing projects.
You’ll get enhanced shaping, decorative flair, and better fit control.
remarkable advantages in garments!
Conclusion
Perfectly positioned tucks transform ordinary fabric into extraordinary fashion statements.
Now that you’ve mastered how to do sewing tucks, you’re ready to add dimension and drama to your designs.
Remember, practice makes perfect – start with simple pin tucks before diving into wave patterns.
Whether you’re revamping a basic blouse or creating an avant-garde masterpiece, these techniques will elevate your sewing game. So grab your fabric, fire up that iron, and let’s get tucking!

