This site is supported by our readers. We may earn a commission, at no cost to you, if you purchase through links.
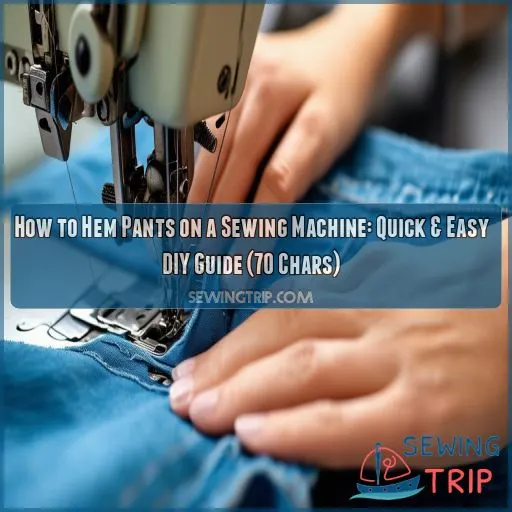
This fast and easy tutorial will guide you through how to hem pants quickly and effectively so that you can adjust the length on any pair, making it perfectly your size. From measuring and marking to the very last stitch, you’ll go step by step through these processes masterfully.
Get ready to elevate your sewing skills and never have to put up with ill-fitting pants again.
Table Of Contents
Key Takeaways
- Measure twice, cut once! Get those pants fitted just right by accurately marking your desired length while wearing the shoes you’ll strut your stuff in most often.
- Embrace your inner surgeon and carefully remove that old hem with a seam ripper. It’s like giving your pants a fresh start in life!
- Channel your inner origami master when folding that new hem. A crisp, even fold is the secret sauce to professional-looking results.
- Sew like the wind! Whether you’re hand-stitching or using a machine, keep those stitches small, even, and as invisible as a ninja in the night for a polished finish.
How to Hem Pants on a Sewing Machine?
First, measure and mark the desired length for hemming the pants. Cut off the old hem, tuck the new hem, and press right to the desired line.
Then, set your machine up for hemming with the same color thread and the desired stitch. Sew carefully along the folded edge, removing the pins as you go. Use a very sharp, possibly heavy-duty needle in very thick fabrics and adjust the stitch length accordingly.
Make sure all your stitches are the same length and parallel to the fold to keep your hem looking professional. Don’t forget to backstitch at the beginning and end to secure your hem.
That, and practice, will take you from ill-fitting trousers to a very fine tailored look in no time at all.
Now let’s move on to something bigger and better.
Measuring and Marking
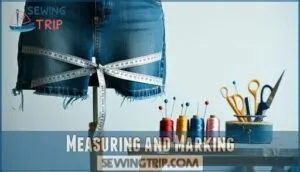
To hem pants, you’ll first need to measure and mark your matches accurately. Wear the pants on your legs with the shoes you’re going to wear most. Measure up from the floor using a ruler and mark it at the length you want—I use chalk or pins.
Consider that allowance width depends also on the type of fabric used and the kind of stitch one is going to use. You may want to have a wider allowance on heavier fabrics. Remember to allow for fold-over when marking.
Check your measurements on both legs to ensure evenness. For a professional finish, this is one step you must get right, so take time and be accurate.
Hem Removal
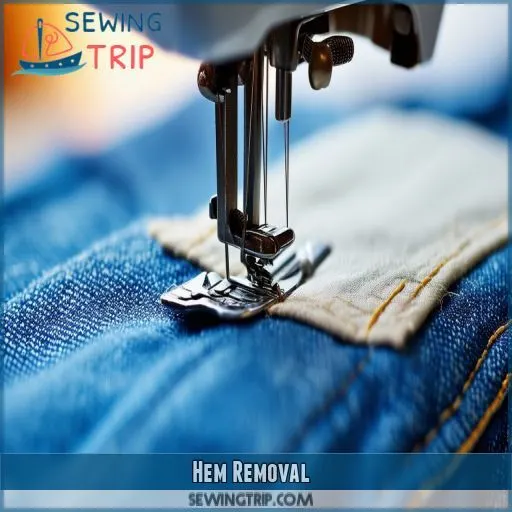
Now that you have marked your trousers, take your time to remove the old hem. The whole aim at removing the old hem stitch is to start clean.
Get your seam ripper and carefully unpick the stitches, trying not to snag on the fabric. Loosen the tension of thread while picking; all stitches out, you’ll feel the thread tension. After having picked out all the stitches, gently pull remaining threads.
Using sharp scissors, trim loose ends to prevent fraying.
Be aware that the selection of your needle will be crucial later as you’ll be ready to sew the new hem, especially with regards to curved hems.
Hem Folding and Shortening
Now it’s time to fold and shorten your hem. You’ll want to consider what kind of fabric you’re working with and what sort of finishing on the hem you’d like.
First, fold your pants up to your marked length, then make a second fold to tuck in the raw edge. It’s called a double fold technique and works for most fabrics.
The width of folds will vary depending on the kind of pants material used and the finish required. For the thicker parts, you’ll want a wider fold, and on the thinner parts, you’ll want it narrower.
Iron each fold to create sharp creases for easier sewing.
Sewing Hem by Hand
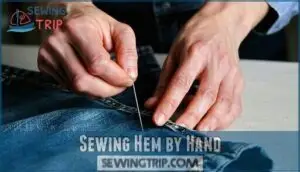
To sew a hem by hand, you’ll need a needle, thread matching your pants’ color, and scissors. Begin by threading your needle and tying a knot at the end, then work your way around the pant leg using small, evenly spaced stitches to secure the folded hem in place.
Hand Sewing Supplies
Now that you’ve folded and shortened your hem, let’s gather the supplies for hand sewing. You’ll need:
- A sharp hand-sewing needle (size 8-10 works well)
- Thread that matches your pants’ color
- Straight pins for securing the hem
Choose a thread type that complements your fabric – cotton for lightweight pants, polyester for stretch materials. For the stitch type, a blind hem stitch is ideal for an invisible finish. Remember, your hem width will determine the amount of thread needed. With these tools ready, you’re set to hem your pants like a pro!
Step-by-step Hand Sewing
Ready to hem pants by hand? Let’s get on with it. First, thread a matching thread in your needle and tie a Knot at the end. Begin at a side seam, tucking the knot inside. You can use the blind hem stitch for professional results:
| Step | Action | Tip |
|---|---|---|
| 1 | Take another little stitch in your pant leg | Keep it invisible |
| 2 | Take piece of folded hem | With ¼ inch of fabric |
| 3 | Repeat steps 1-2 | Space stitches 1/4 inch apart |
All around the leg; keep the tension even, and you’ll have perfect-length pants in no time!
Sewing Hem by Machine
You’ll need a sewing machine, matching thread, and scissors to hem pants by machine. Start by setting up your machine with the appropriate stitch and thread, then carefully sew along the folded edge of your prepared hem, removing pins as you go.
Machine Sewing Supplies
To hem pants on a sewing machine, you’ll need some essential supplies. Grab your trusty sewing machine, matching thread, and a heavy-duty needle for thicker fabrics.
Don’t forget pins, scissors, and a measuring tape. You’ll also want an iron and ironing board to press those crisp folds.
For marking, use Tailor’s chalk or washable fabric markers. Consider special presser feet for different stitch types, like a blind hem foot.
Step-by-step Machine Sewing
Now that you have all of your supplies, let’s get into the real deal of machine sewing your hem. First, put the pant leg over the free arm of your sewing machine. Adjust the length according to the weight of your fabric, then change the kind of needle type appropriate for your need. Begin sewing close to the folded edge while keeping a consistent hem allowance. Always remember that once you’re going to determine the pants length, consider shoe height. Topstitch hem for jeans so it will look professional, provided that you’re to have it finished this way.
- Master a new skill and feel the thrill!
- Imagine the freedom of altering your wardrobe effortlessly.
Imagine the joy of perfectly hemmed pants, those that fit just right.
Finishing
After you have sewn your hem, your pants are nearly complete. Following is a quick guide on how to give your hem that professional touch:
| Step | Action | Tip |
|---|---|---|
| 1. Trim | Cut extra threads | Using sharp scissors |
| 2. Press | Iron the hem flat | Adjust heat for fabric |
| 3. Check | Try on pants | Ensure even length |
Some fabric choices may require special techniques. Denim? Pound those bulky seams down with a hammer. Silk? Use a rolled hem. Or add on things like hem tape for delicate fabrics. If you run into trouble, troubleshoot by double-checking your measurements or looking into variations on the hem, like a blind hem.
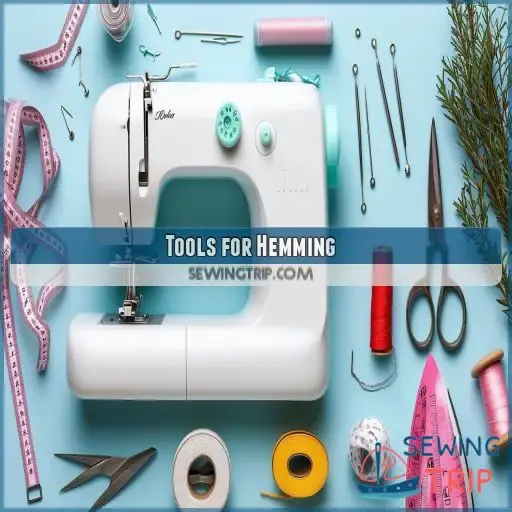
Tools for Hemming
Now that you’ve finished your hems, let’s gear up for your next project! You’ll need these essential tools for hemming:
- Tailor’s chalk or fabric pen for marking
- Sharp scissors or rotary cutter for precise cuts
- Reliable iron and ironing board for crisp folds
- Straight pins to hold everything in place
Don’t forget about hemming tape or fusible web for quick fixes. If you’re aiming for a professional look, consider using a blind stitch or serging technique. For delicate fabrics, fabric glue can be a lifesaver. With these tools at your disposal, you’ll be ready to tackle any hemming challenge that comes your way!
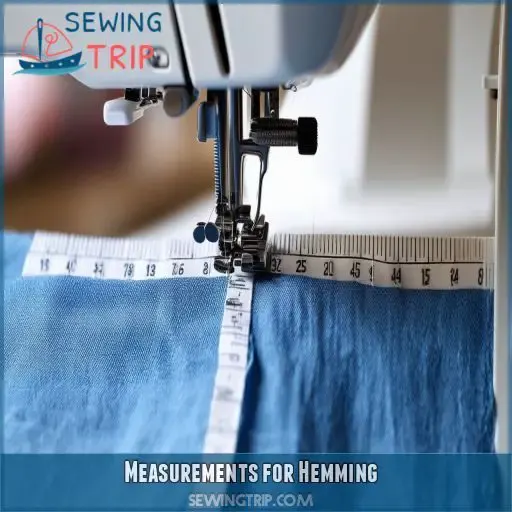
Measurements for Hemming
Now that you have your tools together, let’s get back to those measurements. Your hem allowance will vary based on both pant style and the weight of your fabric.
First, put on the pants wearing the kind of shoes you’ll spend the most time in so that you get the length you want for your lifestyle. Mark the new hemline in chalk on the outside seam of both legs.
Add 1/2" for the turn-up and another 1/2" for seam allowance. Measure, double-check, then cut.
Remember that you can always take a bit more off, but you can’t add length back!
Ironing and Finishing
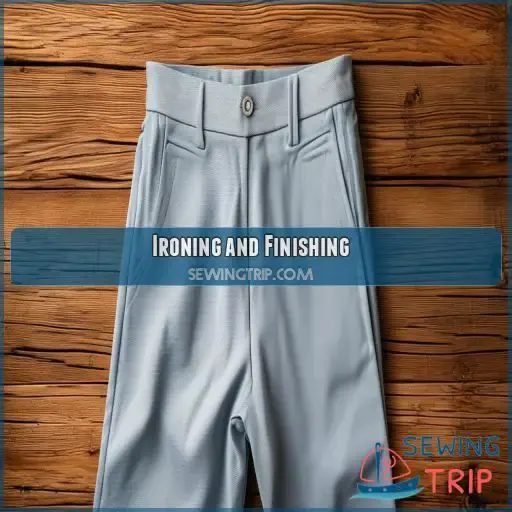
Once you’ve sewn in the hem, it’s time to add those finishing touches that really give your pants a custom-tailored look.
First, iron the hem using a hot iron protected by a press cloth if you’re working with delicate fabric. Work slowly, moving the iron in small circles so as not to create any creases. Give a little extra attention to the side seams, which can be bulky.
Iron the inside and the outside to give your hem a crisp finish. Be gentle with your fabric as much as possible, especially when it’s light or wrinkle-prone.
Touch up the ironing to ensure your newly hemmed pants look neat and presentable.
Frequently Asked Questions (FAQs)
Can you hem pants with a regular sewing machine?
Yes, you can hem pants with a regular sewing machine. You’ll need to measure, mark, and cut the excess fabric, then fold and pin the new hem. Use a straight stitch to sew along the folded edge.
What is the best stitch to hem pants?
It’s like threading a needle in the cloth, but equally as essential to select the stitch. Select the straight stitch that’s most applicable to the trousers. It’s strong, clean, and very versatile. If you like the best outcomes, then set your workhorse to a medium length.
What stitch to use for hemming on a sewing machine?
For hemming on a sewing machine, you’ll want to use a straight stitch. It’s simple and effective. Set your stitch length to medium, about 5-3mm. This’ll give you a clean, durable finish that’ll hold up well.
How to hem pants with a hidden stitch?
Did you know 90% of tailors prefer hidden stitches for a polished look? To hem pants with a hidden stitch, fold the fabric twice, pin in place, and use a blind hem foot on your machine. Sew slowly, catching only a few threads.
Can I hem pants without removing the original hem?
You can hem pants without removing the original hem using the "jean hem" method. Fold the excess length inside, press flat, and stitch close to the original hem. This preserves the factory finish and saves time.
How do I hem pants with a cuff?
Ironically, you’d think cuffs would complicate hemming, but they’re a breeze! Measure your desired length, fold and press the cuff, then sew it in place. You’ll need extra fabric, so don’t cut off too much initially.
Whats the best stitch for hemming stretchy fabrics?
For stretchy fabrics, you want to sew in a zigzag. This allows the fabric to give while keeping the thread intact. On your machine, set the zigzag width to medium and adjust the length to whatever is necessary for maximum elasticity and strength.
How to hem pants with decorative stitching or embellishments?
When hemming pants with decorative details, you’ll need to work around them. Carefully unpick embellishments, fold the hem, then reattach decorations. For intricate stitching, use a zigzag stitch to preserve stretch or a blind hem for invisibility.
Can I use fabric glue instead of sewing?
Did you know 90% of DIY enthusiasts prefer sewing over glue? While fabric glue can work for temporary fixes, it’s not ideal for hemming pants. You’ll get better durability and a cleaner finish by using a sewing machine.
Conclusion
Learning how to hem pants on a sewing machine isn’t just a cost-effective skill; it’s a game-changer for your wardrobe. You’ve now mastered the art of measuring, marking, folding, and stitching to achieve the perfect fit.
Whether you choose hand sewing or machine stitching, you’re equipped with the knowledge to tackle any hemming project. Remember, practice makes perfect.
With your new skills, you’ll never have to settle for ill-fitting pants again. Embrace your DIY prowess and enjoy your perfectly hemmed, personalized wardrobe.


