This site is supported by our readers. We may earn a commission, at no cost to you, if you purchase through links.
 Hemming pants on a sewing machine is a breeze once you get the hang of it!
First, choose the right technique – a simple straight stitch for lightweight fabrics, or a blind hem for heavier materials.
Select thread that matches your pants, then press out any wrinkles.
If needed, carefully remove the original hem using a seam ripper.
Next, thread your machine and adjust the tension and stitch length.
Mark your desired hem length with chalk or pins, fold and press the allowance, then pin it in place.
Sew slowly, starting at the inseam and working outward.
Trim excess thread, press the hem, and voila – perfectly finished pants!
Ready to take your sewing skills to the next level?
Table Of Contents
Key Takeaways
- Choose the right hemming technique and thread color to make your pants look tailored to perfection. It’s like picking the perfect tie for your suit – invisible but essential.
- Set up your sewing machine like a pro by threading it with matching thread, selecting the right stitch type, and adjusting the tension and stitch length. Nailing these settings is like baking a soufflé – a delicate dance that transforms your hem’s fate.
- Mark and pin your desired hem length with precision, then fold and press the allowance for a crisp, professional finish. Think of it as creating a roadmap for your hem – no Sharpie mishaps allowed.
- Sew your hem slowly and steadily, starting at the inseam and working outward. Backstitch at the beginning and end to secure your stitches, then trim excess thread and press the hem for a polished look. It’s time to let your pants shine.
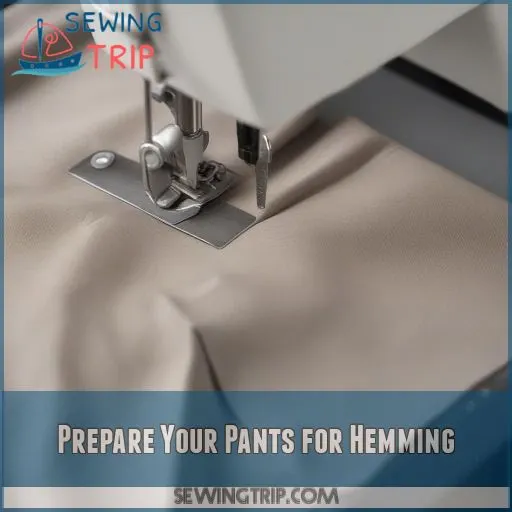
Prepare Your Pants for Hemming
Before you start hemming your pants, pick the right technique and thread color as if you’re matching a tie to a suit.
Don’t forget to press those pants to say goodbye to any wrinkles.
Remove the original hem if it’s cramping your style.
Choose the Right Hemming Technique
When you’re ready to hem your pants, the right technique can make all the difference.
Consider the fabric type – a simple straight stitch works great for lightweight fabrics, while a blind hem is ideal for heavier materials.
Experiment with different stitches to find the one that gives your pants a professional, polished look.
Select the Correct Thread Color
Imagine your thread as the cherry on top of your hemming sundae. Thread matching is key—dive into color theory, ensuring it blends seamlessly with your fabric color.
Opt for thread types that match the fabric’s texture for a polished finish.
It’s like choosing the perfect tie for a suit—invisible but essential for that suave look!
Press Your Pants to Remove Wrinkles
Now that you’ve chosen the perfect thread color, it’s time to press your pants to remove wrinkles.
Use a suitable ironing temperature, considering the fabric type.
Steam or dry? That’s your call, though steam often works wonders!
Grab your trusty pressing tools, channel your inner zen master, and let’s say goodbye to those sneaky wrinkles.
Remove Original Hem if Necessary
After pressing out wrinkles, it might be time to remove the original hem.
Don’t fret! Grab these trusty hem removal tools:
- Seam ripper: Your new best friend.
- Small scissors: Precision aids.
- Patience: Believe me, it’s golden.
- Good lighting: Eyes thank you.
- A steady hand: Keeps hem length consistent.
This process helps you with smooth sailing with hem seam allowance and stitching.
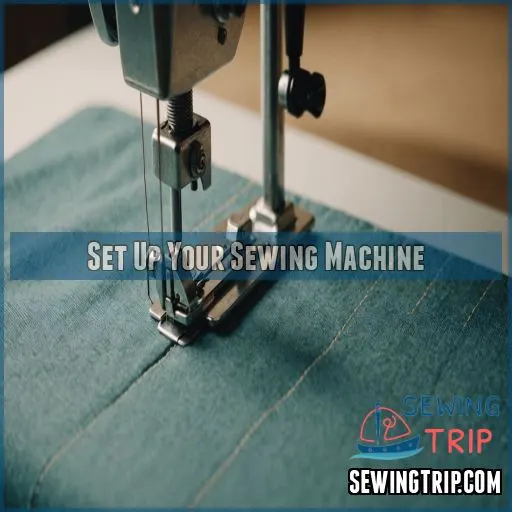
Set Up Your Sewing Machine
Before you can start hemming your pants, you’ll need to set up your sewing machine for the task.
First, thread your machine with thread that matches the color of your pants.
Then, choose the right stitch type for hemming and adjust the tension and stitch length to get the perfect finish.
Thread Your Machine With Matching Thread
To make sure a seamless match—no pun intended—choose a thread that blends well with your pants. Color matching is key! Like finding the right pair of socks, color matching is key!
Loading the bobbin and winding it might seem tricky at first, but you’ll soon handle it like a pro.
Double-check the thread tension for smooth operation.
| Thread Types | Bobbin Winding | Thread Tension |
|---|---|---|
| Cotton | Manual | Low |
| Polyester | Automatic | Medium |
| Silk | Pre-wound | High |
| Blended | Manual | Medium |
Choose the Right Stitch Type for Hemming
Choosing the right stitch type is like picking the perfect pasta for your sauce. Here’s a simple guide:
- Blind Hem Stitch: Ideal for dress pants, almost invisible.
- Zig-Zag Stitch: Great for stretch fabrics, providing flexibility.
- Twin Needle: Delivers a professional look on hems, though requires skill.
- Straight Stitch: Classic, simple, reliable for non-stretch fabrics.
Adjust Tension and Stitch Length
You’ve picked the perfect stitch; now let’s talk tension and stitch length.
A delicate dance like baking a soufflé—those settings transform your hem’s fate!
Consider fabric type and thread thickness: firm fabrics prefer tighter settings, while delicate ones whisper for gentle handling.
With your machine type ready, adjust until stitch quality and hem allowance sing in harmony!
Test Your Machine on Scrap Fabric
Before sewing your hem, always test your machine on a scrap piece of fabric.
This allows you to fine-tune the thread tension, stitch length, and needle sharpness.
Adjust the speed as needed – you don’t want to go too fast and risk messy stitches.
Take your time to get a professional-looking finish on your pants.
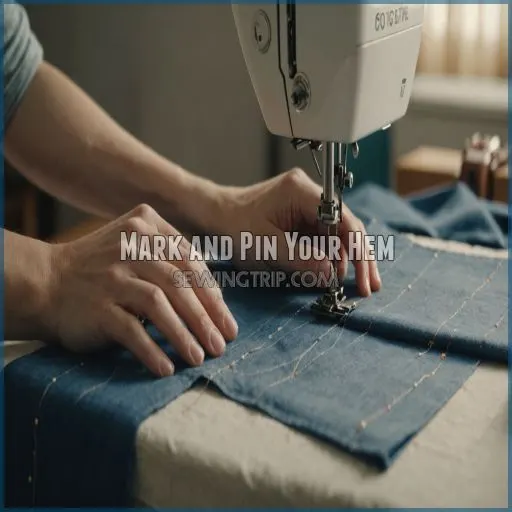
Mark and Pin Your Hem
You’ve got the pants and you’re ready to hem them, but first, you need to mark and pin where that perfect length will be.
Think of it like preparing a roadmap for your hem—without sharpie mishaps—to make sure your pants don’t make you look like you borrowed them from a giant!
Determine the Desired Hem Length
Now that your sewing machine’s raring to go, take a moment to decide on your pants’ perfect hem length.
Consider hem length trends and desired look with your pant style and body shape.
Choosing just right might feel like finding a needle in a haystack, but you got this!
Mark the Hemline With Chalk or Pins
With pants prepared, grab chalk or pins to mark your hemline.
Chalk’s great for creativity, while pins hold the line with precision.
Choose based on:
- Chalk for change – easily adjustable
- Pins for precision – no smudging
- Even lines matter – prevents uneven hems
Fold and Press the Hem Allowance
After determining the desired hem length, take a moment to carefully fold and press the hem allowance.
This step is really important for creating a crisp, professional-looking finish.
Use an iron set to the appropriate temperature for your fabric type, applying gentle steam or dry heat as needed to set the fold.
With a little patience, you’ll have a perfectly pressed hem, ready for pinning.
Pin the Hem in Place for Sewing
Once you’ve folded and pressed your hem allowance, grab those pins like a seasoned tailor!
Carefully pin the hem in place, ensuring each one is secure but not too tight.
Use pinning techniques suited to your fabric type, and remember, placing pins perpendicular to your hem line makes removal a breeze.
Think of pins as tiny swords conquering fabric wrinkles!
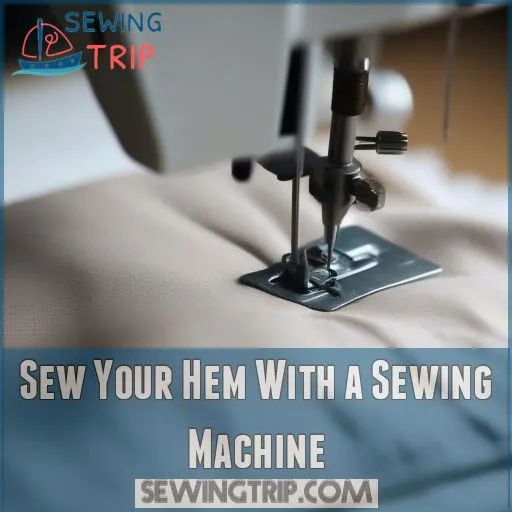
Sew Your Hem With a Sewing Machine
Now comes the fun part—sewing your hem with the machine! With a steady hand and a little patience, you’ll soon have pants that fit you like a dream.
Use a Blind Hem Stitch or Straight Stitch
Choosing between a blind hem stitch and a straight stitch can feel like picking between pizza toppings. Here’s the rundown:
- Blind Hem Stitch: Perfect for dressier fabrics.
- Straight Stitch: Ideal for heavier, casual materials.
- Stitch Length: Adjust based on your fabric type.
- Sewing Machine Settings: Check your hem width before diving into action.
Start Sewing at the Inseam and Work Outward
Start sewing at the inseam and work your way outward.
This allows you to maintain an even, straight line as you hem the pants.
The inseam is the perfect starting point, as it’s the most stable part of the fabric.
Take it slow and guide the pant leg through the machine, ensuring the folds stay even for a professional finish.
Backstitch at the Beginning and End
After beginning at the inseam, punch up your hem with a backstitch. This little powerhouse of sewing uses reverse stitching to secure your start and finish, preventing any unraveling shenanigans.
Whether it’s a straight or blind hem, the backstitch adds strength.
If troubleshooting issues occur, like tension troubles, check your settings. It’s your secret weapon for lasting hems!
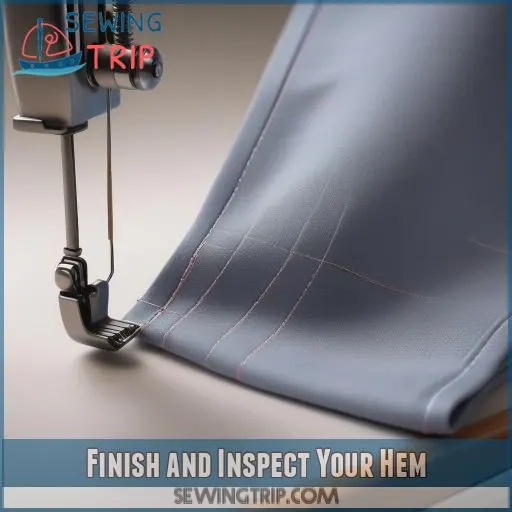
Finish and Inspect Your Hem
As you finish hemming your pants, it’s important to make sure everything looks sharp and professional.
Trim any stray threads and press the hem for that crisp fold.
Give your work a once-over to catch any wonky stitches—because nobody wants pants that are business up front and party in the back!
Trim Excess Thread and Remove Pins
With a vision for perfection, make your seams shine by snipping away those pesky thread tails. Remember to:
- Use thread snippers for clean cuts.
- Remove pins carefully to avoid pin safety nightmares.
- Check fabric edges for seam finishing.
- Inspect hem smoothness with a keen eye.
Your pants are on their way to newfound freedom!
Press the Hem to Create a Crisp Fold
After trimming any excess threads, it’s time to press the hem and create a crisp, professional-looking fold. Use your iron on the appropriate heat setting for the fabric, gently pressing along the folded edge. A bit of steam can help set the crease for a polished finish. Take your time to make sure you have an even, smooth hem that will elevate the look of your pants.
Pressing the hem is an important step to ensure a professional finish.
Hem size and steam usage will vary depending on the fabric type:
| Fabric Type | Iron Temperature | Fold Size | Steam Use |
|---|---|---|---|
| Lightweight | Low | 1-2 cm | Minimal |
| Medium-weight | Medium | 2-3 cm | Moderate |
| Heavy-weight | High | 3-5 cm | Generous |
Inspect the Hem for Evenness and Secure Stitches
Time to put on your detective cap and inspect that hem with eagle eyes.
Check the hem length consistency and make sure stitch tension is just right—no fabric fraying allowed!
Seam allowances should lie flat, and stitches should barely be visible.
Think of it as giving your pants their finishing touch—a little love and attention for a job well done.
Make Any Necessary Adjustments to the Hem
So, your pants hem mightn’t look exactly how you envisioned. Instead of feeling like it’s game over, embrace a little tweak time!
- Adjust hem length slightly if needed.
- Check for seam allowance issues.
- Fix uneven hems for alignment.
- Remove puckering with a gentle press.
- Tweak hem width for perfect symmetry.
Frequently Asked Questions (FAQs)
Can you hem pants without a sewing machine?
Absolutely, you can hem pants without a sewing machine!
Grab a needle, thread, and some patience.
Use hemming tape for quicker results – just like magic, you’ll have perfectly hemmed pants without fancy equipment.
Trust me!
How to choose the right thread for pants?
Choosing the right thread can feel like finding a needle in a haystack, but it’s really important.
Match the thread color to the fabric, and opt for polyester or cotton-poly blends for durability.
You’ll thank yourself later!
What is the best needle for denim?
For denim, you’ll want a sturdy denim needle – it’s thicker and has a sharp point to pierce through the thick fabric.
This’ll give you clean, professional-looking hems on your pants.
How to maintain even stitch tension?
To maintain even stitch tension, adjust your sewing machine’s tension dial based on fabric type.
Imagine your stitch as a tightrope walker—balance is key!
Practice with scraps, and don’t be afraid to tweak settings until it’s perfect.
Can decorative stitches be used for hems?
Imagine your hem as an artist’s canvas.
Did you know over 75% of sewists use decorative stitches to spruce up mundane hems?
They add flair and uniqueness, transforming plain hems into enchanting design elements (Source).
Conclusion
Think of hemming as the icing on your sewing cake—making each project feel personal and complete.
With this guide on how to hem pants on a sewing machine, you’re ready to tackle any pair.
Soon, you’ll be expertly threading, marking, and sewing like a pro, transforming ordinary pants into finished masterpieces.
Don’t let the hemline unravel your enthusiasm; instead, embrace it as a stepping stone in your sewing journey.
Keep stitching, and enjoy the satisfaction of a job well done!

