This site is supported by our readers. We may earn a commission, at no cost to you, if you purchase through links.
Slip them on with your go-to shoes, mark the perfect length with tailor’s chalk, and cut the excess with those trusty sharp scissors.
Pin away any loose thoughts—or fabric edges, rather. When you sew, choose a straight stitch for a simple look or a blind hem for a touch of mystique. Don’t forget to backstitch to keep those stitches in line!
Table Of Contents
Key Takeaways
- You’ll want to prep like a pro: Wash and iron those slacks first, or you might end up with a hem that shrinks faster than your confidence on a bad hair day. Don’t forget to grab your sewing essentials – think of them as your fashion superhero utility belt.
- Measure twice, cut once: Slip on your pants with your go-to shoes and mark that perfect length. It’s like finding the sweet spot on your toaster – get it right, and you’ll be the toast of the town in your perfectly hemmed slacks.
- Your iron is your secret weapon: Press those hems like you’re ironing out the wrinkles in your life. A crisp fold is the difference between "Did you hem those yourself?" and "Where did you get those tailored?"
- Stitch with confidence: Whether you’re going for a straight stitch or channeling your inner spy with a blind hem, remember to backstitch. It’s like dotting your i’s and crossing your t’s, but for your pants – it keeps everything in line and looking fine.
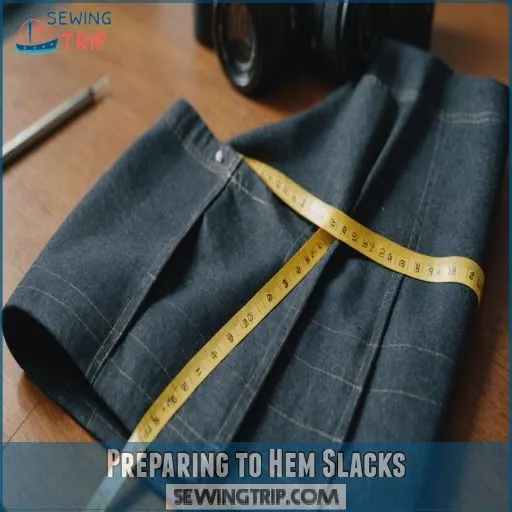
Preparing to Hem Slacks
When you’re getting ready to hem your slacks, the first step is gathering the right materials and prepping the pants.
Don’t skip washing and ironing, or you might end up with hems that shrink—and that’s a recipe for a short tragedy!
Gathering Essential Supplies for Hemming
Turning into a sewing pro starts with gathering the right tools. You’ll need:
- Sewing machine and fabric shears – the dynamic duo.
- Tailor’s chalk and measuring tape – your roadmap.
- Straight pins – the unsung heroes.
- Sewing scissors – reliable companions.
Preparing the Pants for Hemming
First, find your preferred hem length.
Try pants on with shoes for an accurate fit.
Use a hem gauge and chalk pen to mark the fabric.
If needed, adjust seam allowance.
Removing existing hems with a seam ripper makes sure you get a precise cut .
Washing and Ironing the Pants Before Hemming
Before hemming, washing and ironing your pants is a must to prevent shrinkage surprises.
- Wash according to fabric type to minimize shrinkage.
- Use appropriate iron settings with a presser cloth.
- Remove wrinkles thoroughly for easier hemming.
Choosing the Right Thread Color and Type
You’ve prepped your pants, so let’s get that thread right!
When hemming, aim for a thread shade slightly darker than your fabric.
Prioritize durability and match texture for a flawless finish.
It’s like pairing wine with cheese—choose wisely! .
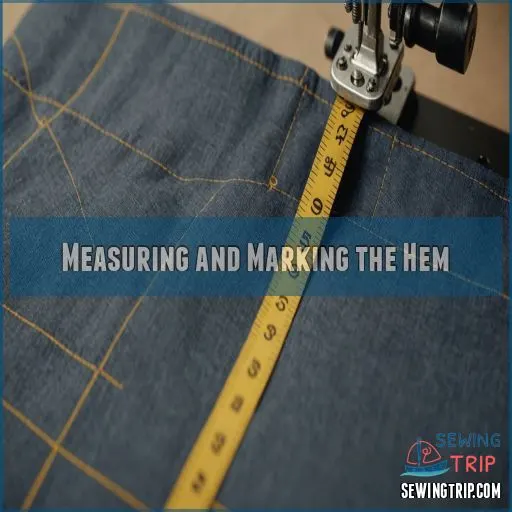
Measuring and Marking the Hem
Getting the right hem length is important for a polished look.
Use a model pair of pants as a reference.
Then mark the desired length with tailor’s chalk and a ruler for a straight, even line.
Determining the Correct Hem Length
To determine the correct hem length, consider the shoe heel height, desired length, body type, and pant style.
Use measuring tools and tailor’s chalk at your sewing station.
Adjust for pant style—the original hem works well with a double fold or hand sewing.
- Shoe heel height
- Desired length
- Body type
- Pant style
- Measuring tools
Using a Model Pair of Pants for Reference
While hemming your slacks, it’s handy to use a model pair of pants to gauge the perfect length.
This helps you get a consistent fit.
The table below gives a quick comparison:
| Aspect | Model Pair | Your Slacks |
|---|---|---|
| Length | Match | Adjust |
| Fit | Compare | Tailor |
| Style | Observe | Replicate |
| Fabric | Examine | Sew |
Using a model pair saves trial and error!
Marking the Hem With Tailor’s Chalk
Now that you’ve measured, it’s time to mark your hem with tailor’s chalk. Chalk helps you to:
- Marking lines
- Making sure it’s straight
- Adjusting hem length
- Using recommended tools
- Enjoying the process with confidence .
Creating a Straight Chalk Line With a Ruler
Creating a straight chalk line is easy! Grab your ruler, a must-have tool, and align it with your marked hem point.
Steady as she goes, confidently drag your chalk along the edge.
| Ruler Types | Chalk Placement | Straight Line Tips |
|---|---|---|
| Metal | Near edge | Anchor ruler firmly |
| Plastic | On mark | Smooth, steady motion |
| Wooden | Along hem | Check alignment often |
| Folding | At midpoint | Use light pressure |
| Flexible | Near crease | Redraw if needed |
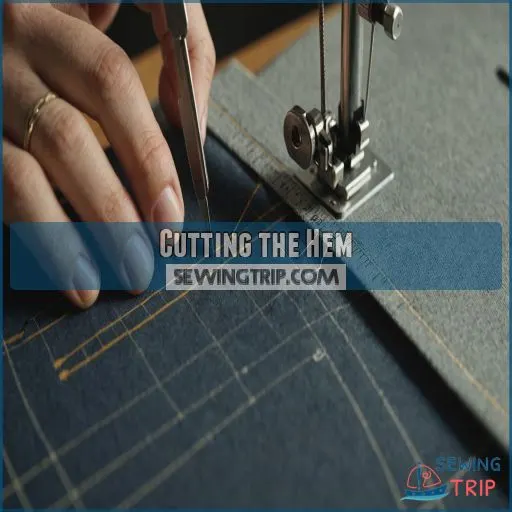
Cutting the Hem
It’s time to trim your slacks to the perfect length, and sharp scissors are your best friend for a clean cut.
Don’t forget to use pins to keep the fabric stretched and smooth while neatly cutting across the marked seam allowance—like giving your pants a little haircut!
Cutting the Hem With Sharp Scissors
Take charge with precision: grab your sharp scissors, a must-have for clean cuts on various fabric types.
Start slowly, cutting along the marked hemline.
Imagine slicing through butter—effortless but careful.
Keep safety first, ensuring steady hands.
Invest in the best supplies, like dressmakers shears, for these tasks .
Using Pins to Stretch the Fabric for Easier Cutting
Strategically placing pins along the fabric can help stretch and stabilize it, making the cutting process smoother.
Secure pins at regular intervals to maintain even tension, then carefully snip the fabric along the marked line.
This simple trick helps you get a clean, precise hem every time.
Cutting Across the Bottom Mark for the Seam Allowance
When cutting across the bottom mark for the seam allowance, remember: the scissors are your new best friend, not a chainsaw!
| Fabric Types | Cutting Tools | Seam Allowance | Clean Edges |
|---|---|---|---|
| Denim | Sharp Scissors | 1 inch | Needed |
| Knit | Rotary Cutter | 0.25 inch | Preferred |
| Woven | Pinking Shears | 0.5 inch | Required |
| Stretch | Fabric Snips | 0.6 inch | Maintained |
Ensure even cuts; your sewing machine and a trusty blind hem stitch will seal the deal.
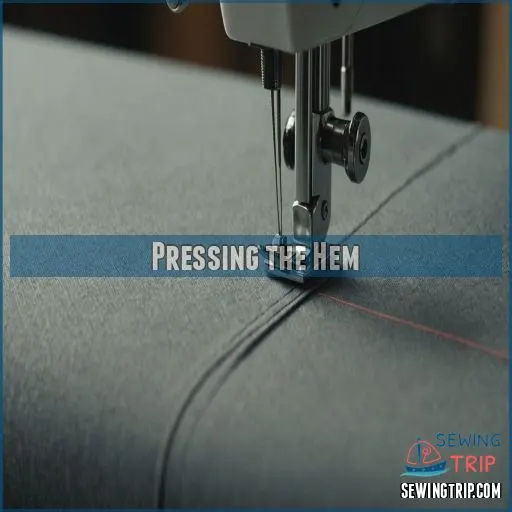
Pressing the Hem
Pressing the hem is like giving your slacks a mini spa treatment, where the iron is your magic wand!
You’ll transform rumpled edges into sharp, professional folds,
setting the stage for a sleek and polished finish.
Pressing the Hem With an Iron and Presser Cloth
Grab your iron and a trusty presser cloth to tackle those wrinkles and creases, aiming for the perfect press.
Choose an iron temperature suitable for your fabric type—lean on the steam setting for extra oomph.
Remember, pressing with a presser cloth keeps delicate fabrics safe from scorch marks .
Creating a Crisp Fold With the Iron
You’ve pressed with a cloth; now craft a crisp fold for a pro finish.
Lay pants on the board, align the edge, and iron slowly.
Use:
- Steam for stubborn fabrics
- Dry heat for delicate ones
- Hot rulers for accuracy
- Top ironing boards
- Quality high-end irons
Voilà, perfection!
Pressing the Hem to Create a Professional Finish
With hemming, pressing is your ace in the hole.
Equip yourself with must-have supplies like an iron, pressing cloth, and perhaps a tailor’s ham for those tricky curves.
Use steam for natural fabrics, but dry for delicate types.
This insider tip helps your hem stay crisp and polished, elevating your project .
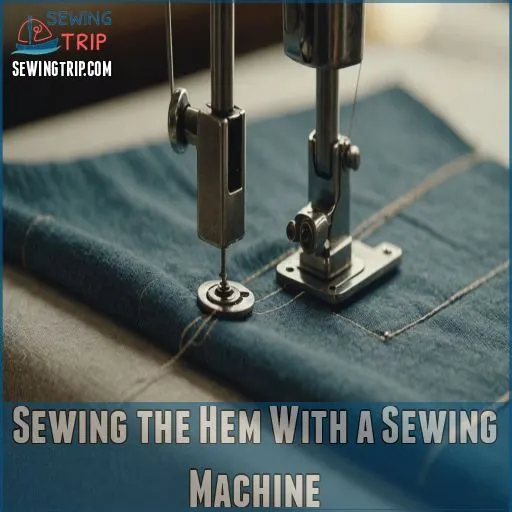
Sewing the Hem With a Sewing Machine
Get ready to transform your slacks into a perfectly fitted pair using your sewing machine.
Don’t worry; even if you’re not a sewing guru, choosing the right stitch and backstitching like a pro will make it a breeze!
Choosing the Right Stitch Length for Hemming
When hemming slacks, the ideal stitch length depends on the fabric type and weight.
For lightweight fabrics, aim for a shorter 2.5-3mm stitch.
While heavier fabrics like jeans may benefit from a longer 3.5-4mm stitch.
Using a Straight Stitch for a Basic Hem
Let’s own that straight stitch for a basic hem.
Set your stitch length appropriately, lower the tension just a smidge, and keep your straight stitch foot steady.
Remember, sewing machines are like cats—they need gentle guidance to avoid rebellious wonky seams!
Using a Blind Hem Stitch for a Invisible Hem
Using a blind hem stitch makes your hem nearly invisible.
Attach the blind hem foot to your sewing machine, set the stitch length, and guide medium-weight fabric types smoothly.
Don’t forget, practice makes perfect—always test on scrap fabric first! .
Backstitching at the Beginning and End of the Hem
Backstitching is a gem when mastering hems with a sewing machine.
This technique keeps hems neat and secure .
Make sure hems are durable and prevent fraying by:
- Setting stitch length correctly.
- Adjusting tension and thread.
- Backstitching confidently at both ends.
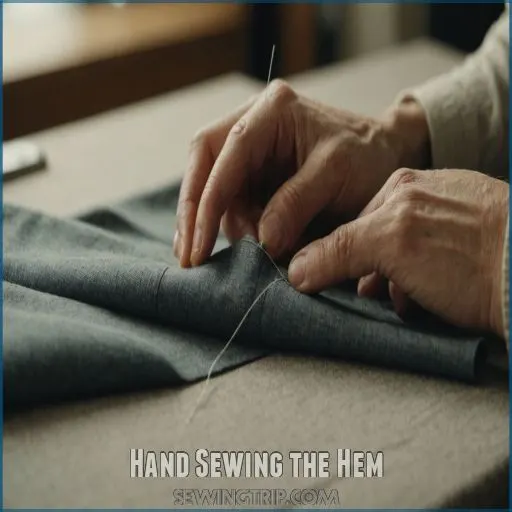
Hand Sewing the Hem
If using a sewing machine isn’t your cup of tea, hand sewing the hem offers a personal touch that’s both satisfying and rewarding.
Get ready to knot, stitch, and perhaps discover that a little needlework is as therapeutic as yoga—just without the stretchy pants.
Using a Slip Stitch for a Hand-Sewn Hem
You’ve sewn machine hems, now try hand sewing for a polished finish.
Grab your needle; a slip stitch offers elegance and invisibility.
Gently pick only a thread or two.
This balance in tension transforms hems into seamless whispers .
Using a Running Stitch for a Visible Hem
While crafting a visible hem with a running stitch, fold the fabric edge, hiding the raw edge.
Sew evenly, using your favorite tools and thread color, ensuring stitch length matches your design vision.
You’ll love the precision and charm it brings .
Starting With a Knot Hidden in the Fold
Start your hand-sewn hem by hiding the knot in the fold – this keeps it out of sight for a clean, professional look. (Source) Secure the thread with a few stitches before beginning your blind stitch.
- Use a thread color that matches your fabric for an invisible finish.
- Anchor the knot firmly to prevent it from popping through.
- Take your time and focus on even, consistent stitches.
Sewing With Small, Even Stitches for a Strong Finish
For a sturdy hem, embrace small, even stitches.
Balance stitch tension and hand sewing techniques using the right needle size for your fabric type.
Prioritize quality thread and your favorite supplies to make sure you get a seamless finish .
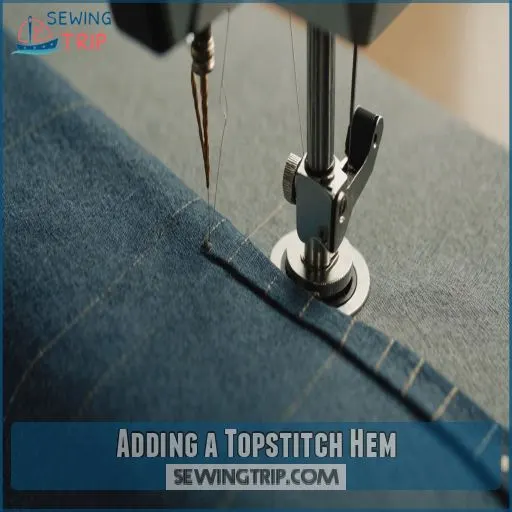
Adding a Topstitch Hem
Adding a topstitch hem to your slacks reinforces the hem and also gives them a polished look reminiscent of store-bought pants.
Don’t worry—it’s easier than you think, and you’ll have your slacks looking sharp in no time!
Choosing the Right Thread Color for a Topstitch Hem
How do you choose the perfect thread color for your topstitch hem?
Aim for a seamless blend with your fabric or create a striking contrast.
Popular favorites include:
- Matching thread for subtlety.
- Contrasting hues for bold style.
- Neutral tones for versatility.
Using a Straight Stitch for a Topstitch Hem
Once you’ve selected the perfect thread color, adjust your sewing machine’s stitch length to around 3.5 to 4 for heavier fabric types .
Placing the topstitch correctly can transform your hem into the best of the best.
Sewing the Topstitch Hem With a Sewing Machine
Ready to sew that topstitch hem? Make sure you’ve got everything set:
- Choose a topstitch thread color that complements your fabric.
- Set the stitch length to 3.5 for detail.
- Align the hem width precisely.
- Adjust machine settings for smooth stitching.
Pressing the Topstitch Hem to Create a Crisp Fold
To create a crisp fold while pressing the topstitch hem, use a presser cloth and appropriate heat settings.
With steam, confidently iron your favorite slacks.
It’s like giving them a spa day, making sure they’re always ready to impress.
| Step | Tool Needed | Tip |
|---|---|---|
| 1 | Iron | Use medium heat |
| 2 | Presser Cloth | Protect fabric |
| 3 | Steam | Enhance crease |
| 4 | Ironing Board | Ensure stability |
| 5 | Patience | Finish with finesse |
Finishing the Hem
With the hem sewn, it’s time to give it a professional polish. Carefully iron the finished hem to create a crisp, even fold, ensuring your slacks look sharp and polished.
Ironing the Finished Hem to Create a Professional Finish
You’ve mastered the topstitch, now let’s give that hem a polished look!
Grab your iron and a presser cloth; it’s time for some magical ironing techniques.
Whether you’re team steam or dry, aim for crease sharpness and hem uniformity.
Remember, a crisp fold adds a touch of charm and sophistication.
Checking the Length of the Hem to Ensure Evenness
After ironing the finished hem, it’s time to make sure you have perfect hem length consistency.
Grab your flexible measuring tape and measure equidistantly around the pant legs.
A small variance can create uneven hems, so adjust as needed.
Remember, good hems are like a well-rehearsed symphony—harmonious and flawless!
Ironing the Seam to Create a Crisp Fold
When you’ve finished hemming, a crisp fold is key.
Ironing is the secret weapon! Follow these steps:
- Use a pressing cloth for protection.
- Test iron settings on fabric scraps .
- Gently press, not slide, the iron .
- Marvel at the professional finish—your slacks will thank you!
Tips and Variations for Hemming Slacks
Hemming slacks can be a breeze with a few handy tricks up your sleeve.
Whether you’re in a rush and need hemming tape or want to try decorative stitches for flair, you’ll find methods to suit your style.
Using Hemming Tape for a Quick and Easy Hem
Though hemming tape is perfect for quick fixes, its durability varies.
Consider the fabric type before using it.
For delicate fabrics, test on a scrap first.
It’s like having a magic wand, but remember—it can’t replace a solid stitch! .
Using a Hem Gauge for Accurate Hemming
Wondering how to make your slacks look great?
A hem gauge is your secret weapon!
Adjust the slider, fold fabric, and press for precision.
It’s a sewing sidekick that helps create perfect, even hems every time .
Hemming Pants With a Lining or Interfacing
When hemming pants with lining or interfacing, choose a fusible knit interfacing for lightweight fabrics or a woven weft fusible for dressy wool.
Carefully trim excess lining and hand-sew the hem to prevent stress lines.
Creating a Hem With a Decorative Stitch
By creatively combining decorative stitch types and varying stitch lengths, you can transform a simple hem into a designer detail.
Choose contrasting thread for added flair and experiment with stitch patterns to make your garment uniquely yours .
Frequently Asked Questions (FAQs)
How do you Hem pants with a sewing machine?
You’d think hemming pants was rocket science, right? Nah!
Turn ’em inside out, measure, pin, and press.
Fold twice, stitch with your trusty machine, and voilà!
You’re a DIY tailor extraordinaire.
No more tripping over those extra inches!
Can You Hem dress pants without a sewing machine?
Yes, you can hem dress pants without a sewing machine!
Grab an iron, pins, and fabric adhesive like Heat-n-Bond.
Fold, press, and secure the new hem with the adhesive.
It’s a quick, easy fix for perfectly fitted pants .
How do you sew a new Hem?
Ready to turn those floor-sweepers into ankle-grazers?
Measure, pin, and iron your desired length.
Then, fold the raw edge under, stitch along the fold, and voilà!
You’ve mastered the art of hemming pants .
Can you sew a hem on a sewing machine?
Hemming on a sewing machine is a breeze.
You’ll need a blind hem presser foot and the right stitch settings.
Align your fabric, guide it carefully, and voila – a professional-looking hem in no time .
Can you hem pants with a sewing machine?
Hemming pants with a sewing machine is like giving your trousers a stylish haircut.
You’ll measure, pin, and press your way to perfectly fitted pants.
With a blind hem stitch, you’ll create an invisible finish that’ll have everyone asking, "Where’d you get those?"
What is the best stitch to hem pants with sewing machine?
You’ll want to use a blind hem stitch on your sewing machine for a professional finish .
It’s like a secret handshake for your pants – barely visible from the outside, but holding everything together perfectly .
What is the best machine stitch for hemming?
For hemming, the blind hem stitch is your best bet.
It’s nearly invisible, creating tiny tacks that hold the hem securely .
If your machine lacks this option, a narrow zigzag stitch offers a stretchy alternative .
What stitch length for hemming pants?
Who knew hemming could be such a stitch?
For pants, you’ll want a 5-3mm stitch length.
It’s your sweet spot for durability and stretch.
Don’t go too long, or you’ll be picking up dropped hems faster than compliments!
How do I hem pants with a cuff?
Ready to cuff those pants?
First, mark the desired length and unpick the old hem.
Fold, press, and pin the new cuff.
Stitch close to the edge, then turn up and tack in place.
You’ll be strutting in style in no time!
What thread color should I use for hemming jeans?
Timely thread-picking tips: You’ll want to match your jeans’ original stitching for a seamless look. Typically, it’s a golden-orange hue.
Grab Coats & Clark "Jeans" thread or YLI No. 7 Blue Jean Gold for that authentic denim vibe. (Source)
How long should slacks be for military uniforms?
For military uniforms, you’ll want your slacks to hang about 2 inches from the floor at the back of your shoe.
Don’t forget to include a 2-inch hem for future adjustments – it’s all about precision! (Source)
Can I keep the original hem when shortening jeans?
You might think shortening jeans means losing the original hem, but don’t fret!
You can keep that coveted factory finish.
Simply fold up the excess length, pin close to the original stitching, and sew a new seam.
Voila!
How do I adjust patterns for hemming pants?
Adjusting patterns for hemming pants? It’s a cinch!
Trace your pattern, leaving extra room at the bottom.
Add seam allowances, then fold and pin to your desired length.
Remember to adjust the waistband too .
Easy-peasy, hem-squeezy!
Conclusion
Learning how to hem slacks with a sewing machine isn’t just a stitch in time—it’s a skill that’ll save you a pretty penny.
With practice, you’ll be whipping up perfect hems faster than you can say "tailor-made."
Remember, patience is key, and your iron is your best friend in this endeavor .
So, grab those ill-fitting trousers, fire up your sewing machine, and get ready to strut your stuff in perfectly hemmed slacks.
Who knows? You might just become the go-to "hem whisperer" among your friends!

