This site is supported by our readers. We may earn a commission, at no cost to you, if you purchase through links.
 Absolutely, you can stitch in the ditch by hand!
Picture yourself as a quilting maestro, sewing precisely along seam lines to create flawless finishes.
Hand stitching in the ditch offers unrivaled control and precision, like painting a masterpiece one careful brushstroke at a time.
Unlike a speedy machine, your hands weave a personal touch, imbuing every stitch with authenticity and love.
Sure, it might take longer, but who’s racing?
You’ll become a virtuoso, mastering twists, turns, and those tricky corners as your skills sharpen.
Ready to dive deeper and uncover those expert techniques?
Stick around for all the details!
Table Of Contents
- Key Takeaways
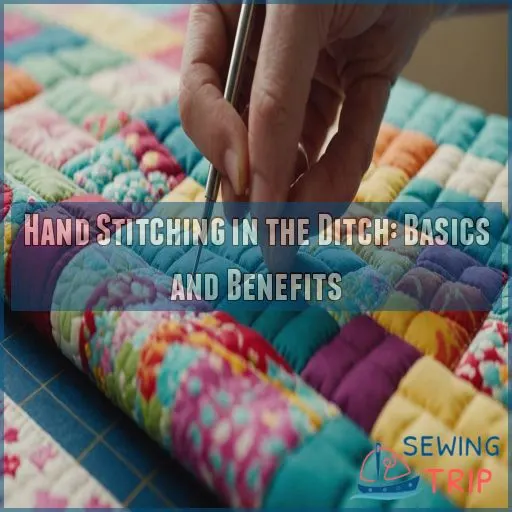
- Hand Stitching in the Ditch: Basics and Benefits
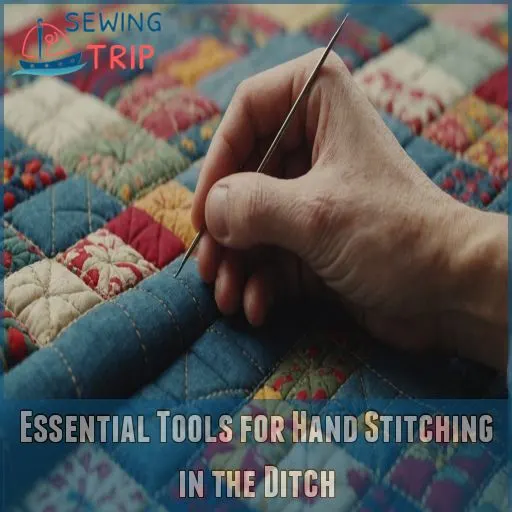
- Essential Tools for Hand Stitching in the Ditch
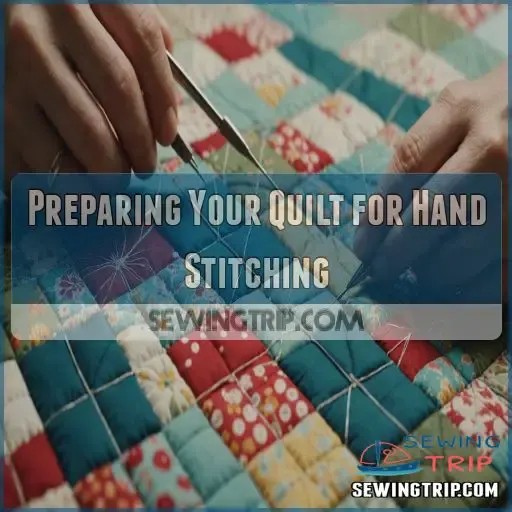
- Preparing Your Quilt for Hand Stitching
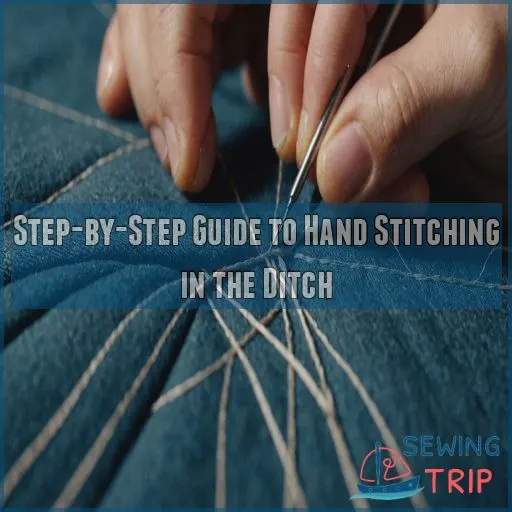
- Step-by-Step Guide to Hand Stitching in the Ditch
- Troubleshooting Common Hand Stitching Challenges
- Enhancing Your Hand Stitching in the Ditch Skills
- Creative Applications of Hand Stitching in the Ditch
- Frequently Asked Questions (FAQs)
- Conclusion
Key Takeaways
- You can absolutely stitch in the ditch by hand, turning yourself into a quilting maestro with every careful, authentic stitch. It might take longer than using a machine, but think of it as savoring a good book – each stitch adds a personal touch to your masterpiece.
- To succeed at hand stitching in the ditch, arm yourself with the right tools: sharp needles, trusty thimbles, and ideally, gold eye embroidery needles to glide through those fabric layers smoothly, like butter on warm toast.
- Balance is key to keeping your quilt layers flat and smooth. Imagine they’re a stack of pancakes; a gentle hand with a sturdy thimble helps you avoid puckering or uneven stitches, guiding your thread with the grace of a concert pianist.
- Explore creative possibilities by mixing hand stitching with decorative threads and other quilting techniques. Think of it like adding sprinkles to ice cream – subtle touches can dramatically enhance your project’s flavor and flair.
Hand Stitching in the Ditch: Basics and Benefits
Stitching in the ditch by hand? You bet! This classic quilting technique can give your projects a polished, professional look – and it’s surprisingly easy to master.
Hand stitching in the ditch is a great way to add a touch of elegance to your quilts.
Grab your needle and thread, and let’s get started with the basics and benefits of hand stitching in the ditch.
Definition of Stitch in the Ditch
Stitching in the ditch might sound like something your sewing machine sneaks into its diary, but it’s a simple quilting technique. You sew right along the seam line to keep everything tidy. Here’s what you accomplish:
- Achieve immaculate quilt edges.
- Flaunt polished garment finishes.
- Embrace creative quilting with hand control.
- Conquer seam allowance like a seasoned quilter.
Advantages of Hand Stitching in the Ditch
Hand stitching in the ditch offers control and precision, weaving texture and tradition into your work.
It provides delightful authenticity, much like a handmade gift.
Imagine pulling out your quilting needles and deftly working each stitch, like a painter adding final touches.
| Feature | Benefit |
|---|---|
| Control | Each stitch is intentional |
| Precision | Accurate seam alignment |
| Texture | Enhanced quilt feel |
Comparison With Machine Stitching
For stitch in the ditch, machine stitching is speedier, like a cheetah chasing its dinner, while hand stitching offers precision and control, letting you gracefully waltz through seams.
Machine binding is a cinch with a quilting foot and quilting tricks, especially when you have a machine with adjustable stitch length and width.
Still, hand stitching is cost-effective and offers a personal touch—every stitch tells a story, making your quilt uniquely yours.
Applications in Quilting and Garment Construction
- Quilt binding
- Appliqué edges
- Garment finishing touches
Essential Tools for Hand Stitching in the Ditch
Getting started with hand stitching in the ditch? You’ll need the right tools, like sharp needles and trusty thimbles, to make sure your stitches land perfectly each time.
Sharp needles and thimbles are your sewing sidekicks, here to prevent finger pricks and frayed tempers.
Needles Suitable for Hand Stitching in the Ditch
Choosing the right needle size for hand stitching in the ditch can make or break your quilting experience.
You’ll want needles that are sharp and of moderate length.
Consider using gold eye embroidery needles—they’re durable and glide through layers like a hot knife through butter.
Different needle types and materials affect performance, so experiment until you find your perfect match.
Thread Selection and Characteristics
Thread selection can make or break your stitch in the ditch endeavors!
Always match thread weight and color for a seamless look.
Opt for a strong thread with a nice sheen.
While quilting, an invisibly strong thread stays under the radar, yet packs a punch in strength!
Happy quilting adventures!
Thimbles and Finger Protectors
Your trusty thimble is a quilter’s best friend when stitching in the ditch by hand.
Choose from leather, metal, or silicone options to protect your fingertip and maintain control.
Sizing is key – a good fit helps you make precise movements.
Some quilters even use finger protectors for extra cushioning.
Experiment to find your perfect hand-stitching sidekick.
Marking Tools and Rulers
When quilting, marking tools and rulers are your secret weapons.
They help you map out precise quilting designs.
So grab these essentials:
- Fabric markers: Make sure they’re washable or fade away.
- Rotary cutter ruler: For straight, crisp lines.
- Measuring tape: Flexibility for tricky areas.
- Quilting rulers: Lend a hand with those intricate designs.
These make quilting a breeze!
Scissors and Thread Snips
Scissors and snips are your best quilting buddies. Quality matters, so opt for sharp blades that slice through fabric and thread like butter.
Keep them shiny with regular maintenance—oiling and tightening screws keep them sharp and ready for action.
A handy table to snip through:
| Tool | Purpose | Feature |
|---|---|---|
| Scissors | Cutting fabric | Long, sharp blade |
| Snips | Trimming threads | Spring action |
| Quality | Precision | Makes sure accuracy |
| Maintenance | Longevity | Regular upkeep |
Preparing Your Quilt for Hand Stitching
Before you start hand stitching in the ditch, make sure your quilt’s ready by pressing seams, basting properly, and securing layers like you’re taming a stack of pancakes.
Choose a batting that suits your style, and you’ll be set to stitch with confidence!
Pressing Seams for Optimal Results
Before you start stitching, make sure to press your seams properly.
Use the right iron temperature for your fabric type, and press the seam allowances flat.
Invest in quality pressing tools like a sleeve board or clapper to get crisp, professional-looking results.
Proper pressing sets the stage for a flawless hand-stitched finish.
Basting Techniques for Hand Stitching
Basting is your quilting superhero! Some rely on basting spray to hold layers together, saving time and elbow grease.
Traditionalists might use trusty safety pins or hand basting for that custom touch.
For precision, quilting frames can keep everything taut.
Securing Layers Before Stitching
While preparing to hand stitch in the ditch, secure your quilt layers like a pro! Quilt clamps, safety pins, or spray basting will hold layers in place.
Imagine your quilt as a well-guarded treasure chest, the fabric weights ensuring nothing slips. This fortress keeps quilting ideas from becoming frustrating tangles.
Consider your quilt’s binding as the pièce de résistance!
Choosing the Right Batting
Selecting the right batting transforms your quilt into a cozy wonderland.
Think of batting like the heart of your quilt—vital for warmth and comfort.
Consider these factors:
- Loft: High loft adds puffiness.
- Weight: Heavier batting offers warmth.
- Fiberfill: Wool, cotton, or synthetic choices influence feel.
- Quilting Style: Hand or machine quilting affects technique.
Keep trends and innovations in mind!
Step-by-Step Guide to Hand Stitching in the Ditch
Ready to take your hand stitching skills to the next level?
Follow our step-by-step guide to master the art of stitching in the ditch – it’s easier than you think!
From proper hand positioning to tackling tricky corners, we’ll show you all the tips and techniques you need to create a polished, professional-looking finish.
Proper Hand Positioning and Ergonomics
Achieve quilting mastery by adopting proper wrist posture to keep your hands nimble and prevent fatigue.
Think of your hand as the conductor, orchestrating every stitch melodiously.
Grip the needle like a quilting geek discovering a new app, with relaxed precision.
Make sure your chair height supports a straight spine.
Explore quilting websites for inspiration, but remember, break time’s essential!
Threading the Needle and Knotting
Got your ergonomic posture? It’s time to thread that needle! Threading can feel like finding a needle in a haystack, but with a needle threader, you’re golden.
Knotting next—use a small, secure knot. Quilting magazines mightn’t mention it, but knot security is key!
Keep thread tension gentle yet firm.
Just you, the needle, and the quilting world.
Technique for Precise Stitching Along Seams
You’re ready to stitch with precise grace.
A steady hand and a keen eye help you stitch in the ditch like a quilting geek seeking mastery.
Start by guiding the needle exactly along the seam, and suddenly, the challenge feels like riding a bicycle uphill.
Keep an eye on seam allowance and fabric thickness, letting the rhythm create quilting magic!
Maintaining Consistent Stitch Length and Tension
Maintaining an even stitch length and consistent thread tension is key for a polished hand-stitched look.
Use your thimble-covered finger to apply gentle, even pressure on the needle as you rock it in and out.
Choose a thread weight that glides smoothly through the fabric without snagging.
With practice, you’ll develop the finger control for beautifully uniform stitches.
Navigating Corners and Intersections
Feeling like a quilt geek? Let’s tackle corners and curves!
When stitching in the ditch by hand, approach corners like a pro quarterback dodging tackles.
Guide your needle gently around edges with an eye on stitch direction.
Keep thread tension steady.
A consistent stitch length makes for smooth turns, making it as easy as pie—or piecing a quilt!
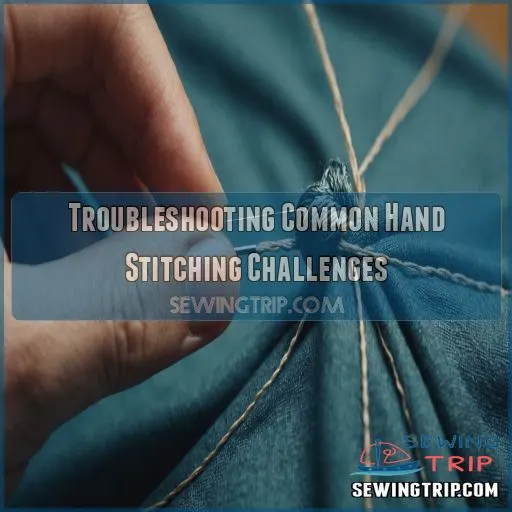
Troubleshooting Common Hand Stitching Challenges
Hand stitching in the ditch might seem straightforward, but unexpected challenges like puckering or uneven stitches can sneak up on you faster than a loose thread.
Don’t fret—this guide’s got your back, helping you tackle common issues with simple solutions, so your hand-stitched projects turn out as flawless as your unique quilting style.
Dealing With Puckering and Uneven Stitches
Dealing with puckering and uneven stitches is like taming a stubborn mule—challenging but doable! Consider these tips:
- Tension: Make sure your tension isn’t too tight, or you might cause puckering.
- Needle Size: Use the right needle size for your fabric type.
- Basting: Baste the layers well to prevent shifting during stitching.
Correcting Mistakes in Hand Stitching
Oops, looks like you’ve hit a snag! No need to fret—correcting mistakes in hand stitching is all part of the process.
Start by carefully removing any loose threads or unraveling stitches with a seam ripper.
Adjust the tension on your needle to prevent future mishaps.
With a little patience and a steady hand, you’ll have that ditch stitched up in no time!
| Issue | Solution |
|---|---|
| Loose Threads | Carefully remove with seam ripper |
| Unraveled Stitches | Gently unravel and re-stitch |
| Tension Problems | Adjust needle tension |
| Visible Mistakes | Use seam ripper to hide errors |
Managing Thick Seams and Multiple Layers
Got a seam thicker than a New York bagel? Here’s how to stitch that ditch without breaking a sweat:
- Use a thicker needle for tough seams.
- Adjust the seam allowance for easier sewing.
- Make sure quilt sandwich stability by pinning those layers snugly.
- Choose the right thread with the best tension control.
Preventing Thread Tangling and Breakage
Balancing thread tension is key to preventing thread tangling and breakage, especially when working with thick seams.
Using the right needle size for your fabric type is essential. It’s like matchmaking for quilters!
Storing high-quality thread properly is crucial. Avoid sunlight and moisture to keep it strong and smooth. This helps ensure your hand stitching in the ditch goes off without a hitch!
Enhancing Your Hand Stitching in the Ditch Skills
Boost your hand stitching in the ditch skills with a few essential techniques to improve accuracy and speed, ensuring your projects look great and are finished in no time.
As you master this technique, you’ll gain confidence with various fabric types and even mix in other quilting methods, making your quilting journey more enjoyable and creative.
Practice Exercises for Improving Accuracy
By practicing on small quilt samples, you can hone your hand stitching accuracy. Try stitching straight lines, working through corners, and maintaining even tension. Experiment with different needle sizes and thread weights to find your sweet spot. Mastering the basics will give you the confidence to tackle more intricate hand-stitched designs. Remember, patience and persistence are key to perfecting this timeless technique.
Practice on small quilt samples to improve your hand stitching accuracy.
Experiment with different needle sizes and thread weights to find your sweet spot.
Maintain consistent fabric tension when stitching.
Practice stitching straight lines with precision.
- Stitch straight lines with precision
- Maintain consistent fabric tension
- Experiment with needle and thread
- Practice on small quilt samples
- Develop confidence through repetition
Tips for Increasing Speed and Efficiency
To boost your hand stitching speed and efficiency, set up an ergonomic workstation; your back will thank you later.
Ergonomic workstation is key for hand stitching speed and efficiency.
Keep an eye on thread tension and choose a needle size that feels just right for you.
Thread tension and needle size are crucial for comfort and control.
Aim for an even stitch length and practice drills regularly.
Even stitch length and practice drills help improve your technique.
Practice is essential for improvement.
Combining With Other Hand Quilting Techniques
Now that you’re stitching in the ditch like a pro, why not mix it up with other hand quilting techniques?
Blend trapunto for added dimension or try freestyle embroidery for unique flair.
Appliqué offers creative control—your quilt’s your oyster!
Keep your stitches in line and your creativity free, finding freedom in every loop and swoop.
Adapting the Technique for Different Fabric Types
When adapting stitch in the ditch for different fabric types, pay attention to fabric weight.
Thicker fabrics might need a longer stitch length and larger needle size, while lighter ones call for shorter stitches and finer needles.
Adjust thread tension like tuning a guitar—tight, but not too tight!
Always respect seam allowance, and you’ll avoid unnecessary rabbit holes in your quilting adventure.
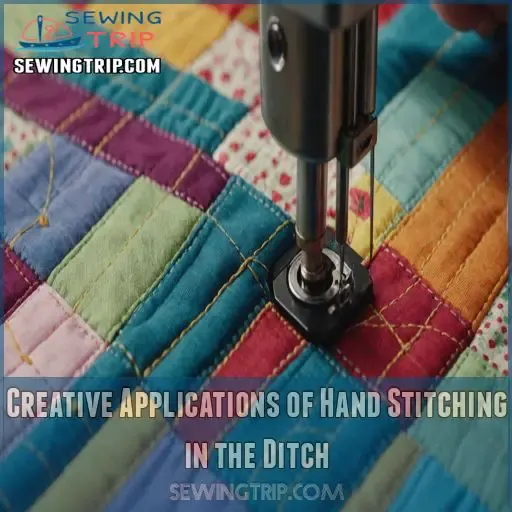
Creative Applications of Hand Stitching in the Ditch
Hand stitching in the ditch offers a world of creative possibilities beyond its practical applications.
Experiment with decorative threads, incorporate it into modern quilt designs, or showcase your handiwork in clothing construction – the options are endless when you master this versatile technique.
Using Decorative Threads for Subtle Effects
Adding decorative threads to your hand stitching in the ditch brings quilts to life, much like accents elevate an outfit.
Choose vibrant colors or unique textures to make patterns pop.
Here’s how to create magic with subtle effects:
- Color Play: Select contrasting threads.
- Texture Trick: Use variegated threads.
- Pattern Pizzazz: Highlight specific quilt areas.
Incorporating Hand Stitching in Modern Quilt Designs
You’ve perfected those decorative threads, so let’s bring hand stitching into modern quilt designs.
Add hand-stitched embellishments to give your quilt a unique flair.
Imagine combining modern quilting trends with vintage techniques, creating magical contrasting textures.
Try playing with color gradients; it’s like painting with thread!
You’ll have a quilt that’s a masterpiece and conversation starter.
Combining With Embroidery and Embellishments
Embrace your creative side by combining embroidery stitches with your hand-stitched details.
Quilt embellishments can add a touch of flair, like seasoning on a good dish!
Try incorporating vintage embroidery techniques for a timeless feel or explore modern embellishment ideas.
Just remember, your quilt’s personality shines with a little creativity and experimentation, making it as unique as you are.
Showcasing Hand Stitching in Clothing Construction
Hand stitching isn’t just for quilts – it can elevate your clothing construction too! Showcase those intricate stitches by using them to:
- Reinforce high-stress areas for added durability.
- Accentuate design elements and create visual interest.
- Embrace the slow fashion movement with a personal, handcrafted touch.
Hand stitching can add durability, enhance design and express your personal style.
The possibilities are endless when you let your hand stitching shine in your garments. Get creative and let your unique style shine through!
Frequently Asked Questions (FAQs)
Is there a trick to stitching in the ditch?
Mastering stitch in the ditch is like taming a wild horse.
Use a walking foot for even feed, sew slowly, and keep your fabric relaxed—not pulled to prevent puckering and stretching.
Practicing on scraps first will make sure you ride smoothly!
What needle is best for stitch in the ditch?
You’ll want to use a sharp, fine-point needle like a size 10 or 12 for stitching in the ditch.
This allows you to neatly tuck the stitches right into that seam crease for a polished, professional look.
Can you stitch in the ditch with open seams?
Slipping stitches in the seams can certainly seem smooth, but with open seams, it’s trickier.
You’ll need to sew carefully to keep stitches hidden, ensuring they sink snugly into that seam’s secret crevice.
Can you stitch in the ditch with a walking foot?
Using a walking foot makes stitching in the ditch a breeze, like a hot knife through butter.
It glides over fabric evenly, preventing puckers or tugs, ensuring your seams stay crisp and professional-looking.
How do you maintain even stitches by hand?
To maintain even stitches by hand, stabilize your fabric with a hoop and use consistent tension.
Imagine you’re strumming a guitar, keeping smooth rhythm.
A thimble helps push the needle, ensuring precision without finger acrobatics.
What thread color is best for invisibility?
Choosing the right thread color for invisibility is a breeze!
Opt for a neutral hue like beige or gray – they’ll blend seamlessly into your project, creating a clean, professional look.
No need to overthink it!
Can hand stitching in the ditch damage seams?
Hand stitching in the ditch won’t damage seams if you’re careful.
Just keep your stitches tight but not strangling the fabric.
Think of it like threading a needle through a maze, ensuring each move locks the path.
How to prevent fabric puckering while stitching?
Prevent fabric puckering by using a walking foot, pinning layers securely, and not tugging.
Imagine the fabric as a peaceful lake; too much force creates ripples.
Sew slowly and breathe—a cool hobby, not a race!
What strategies enhance hand stitching precision?
Boost precision in hand stitching by using a small, sharp needle and good lighting.
Keep your stitches even by guiding the thread with your finger, just like steering a tiny boat through a calm sea.
Conclusion
Alright, let’s wrap this up on a high note! You’ve mastered the art of hand stitching in the ditch – a true quilting superpower.
With your newfound skills, you can now elevate your projects to new heights, stitching with precision and flair.
So don’t be shy, grab those needles and thread, and get ready to work your hand-stitching magic.
The possibilities are endless when you can stitch in the ditch by hand!

