This site is supported by our readers. We may earn a commission, at no cost to you, if you purchase through links.
 Is your sewing machine coming apart at the seams from all of that lint? Let these really small fibers not throw your creative works off the rail. Indeed, how to remove lint from a sewing machine is part and parcel of keeping it functional and in great condition.
Follow this guide through six easy steps on how to clean your machine effectively. You will find the right techniques, tools that are necessary, and helpful maintenance tips which keep your sewing companion running smoothly.
Take control of your machine and make sure it’s perfectly stitching for years to come.
Table Of Contents
Key Takeaways
- Clean your sewing machine regularly, or it’ll become a lint-loving dust bunny hotel! A little TLC goes a long way in keeping your trusty stitching sidekick humming along smoothly.
- Ditch the compressed air can – it’s like using a leaf blower in a china shop. Instead, grab a soft brush and mini vacuum to gently coax that pesky lint out of hiding.
- Don’t be a stranger to your machine’s inner workings. Pop off that needle plate and give the bobbin area some attention – it’s where lint likes to throw wild parties.
- Remember, a clean machine is a happy machine. Treat your sewing companion to a spa day every few months, and it’ll reward you with years of hassle-free creativity.
How to Remove Lint From a Sewing Machine?
To remove lint from a sewing machine, start by unplugging it and removing the needle plate. Use a loop cleaning brush or tweezers to gently clear lint from the bobbin case, hook race, and feed dogs. You can also use compressed air or a mini vacuum with a brush attachment for stubborn buildup. Be careful not to damage delicate parts.
After each use, brush off visible lint, and perform a thorough cleaning monthly. Avoid metal pipe cleaners and follow manufacturer-approved methods to maintain your warranty.
Regular maintenance prevents lint buildup, optimizes performance, and extends your machine’s life. By mastering these techniques, you’ll keep your sewing companion in top shape for years to come.
Importance of Regular Cleaning
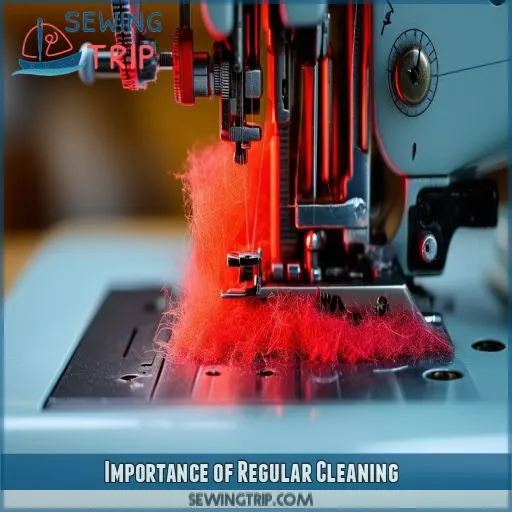
Cleanliness is like bringing your best friend to the sewing machine. You invest in this good fellow; why not give him some TLC he deserves? Lint builds up, and that’s a sneaky little saboteur right there. It will gradually build up and maybe cause malfunction. Sort of letting dust settle on the engine of your car – definitely not a recipe for smooth performance!
You’re not just preventing hiccups in your machine; you’re optimizing its performance and extending its life. Think of it as a mini spa day for your mechanical seamstress. Regular cleaning and oiling functions together to maintain harmony within all the moving parts.
Don’t let your machine sputter before you do anything. Clean regularly and consider it as scheduled as getting an oil change in your car. A clean sewing machine is a happy one to be a good companion on your creative journey. So, roll up those sleeves and let’s dive into the art of lint removal!
Proper Technique for Removing Lint
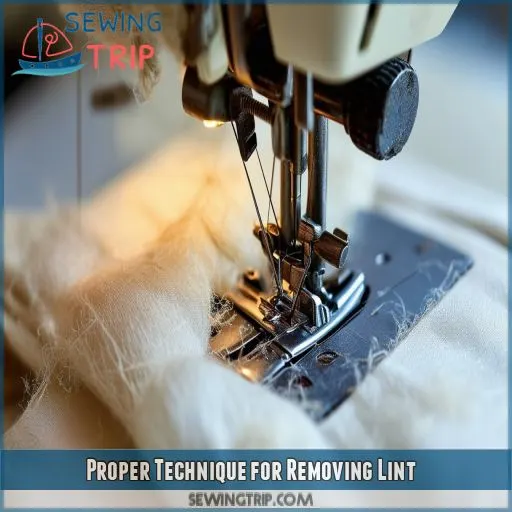
Now that you know why frequent cleaning is important, let’s consider the correct way to remove lint. You’ll be surprised how easy it can be to keep your machine free from lint with the right approach.
First, unplug your machine and remove the needle plate. This will give you access to the bobbin area, which is a favorite haunt of hazardous lint. With the loop cleaning brush or tweezers, remove visible lint from:
- Bobbin case
- The hook race
- The feed dogs
Be thorough but be gentle. A can of compressed air will do nothing but compound the problem by blowing the lint back into the machine. Use a mini vacuum with a brush attachment to remove more solid buildup.
Tools for Thorough Cleaning
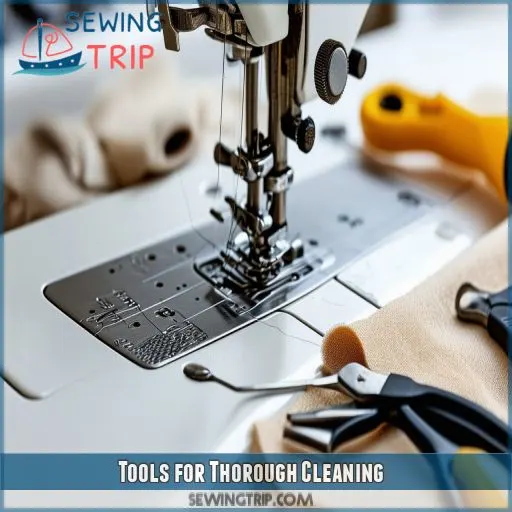
To keep your sewing machine in top shape, you’ll need the right tools for thorough cleaning. Ditch those everyday lint removers and invest in specialized cleaning kits designed for sewing machines. These kits often include soft brushes, long skinny tweezers, and lambswool tools that attract dust like a magnet.
Don’t forget about micro vacuum attachments – they’re perfect for sucking up lint from hard-to-reach spots. Q-tip style swabs are handy for applying machine oil after cleaning.
Caution: Avoiding Damage
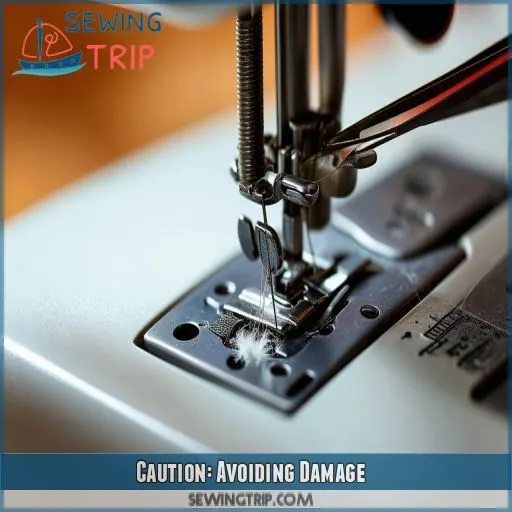
When cleaning your sewing machine, caution is key to avoid causing damage. While it’s tempting to use compressed air to blast away lint, resist the urge! This can force debris deeper into the mechanism, potentially causing long-term damage and tension adjustment issues. Similarly, steer clear of metal pipe cleaners, as they can scratch delicate surfaces and interfere with your machine’s smooth operation.
Be mindful of your warranty too. Opening the machine arm without proper knowledge isn’t just risky—it could void your coverage. Instead, stick to manufacturer-approved cleaning methods for your specific model, whether it’s a standard sewing machine, serger, or coverstitch machine.
Scheduled Maintenance and Servicing
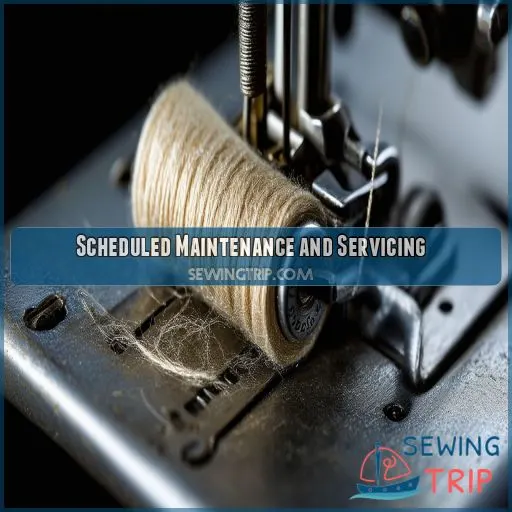
Now that you’ve learned how to clean your machine safely, let’s talk about keeping it in top shape long-term. Scheduled maintenance is key to ensuring your sewing machine runs smoothly, especially when working with heavy fabrics or faux fur. Don’t wait until thread tension issues arise – be proactive!
Here’s a simple maintenance schedule to follow:
- Daily: Brush off visible lint after each use
- Weekly: Clean the bobbin case and hook area
- Monthly: Perform a thorough cleaning and oiling
Dealer Service and User Preferences
While dealer services offer convenience, they’re not always the best fit for everyone. You might find lugging your heavy machine to the shop a challenge, especially if you’re a senior or have mobility issues. Plus, dealer convenience often comes with a price tag.
Some sewers prefer the DIY route, mastering their machine’s maintenance to save money and gain a deeper understanding of its workings. However, if you’re not confident in your skills, professional servicing can be a lifesaver. Just be prepared for potential customer support hiccups – some dealers might leave you hanging.
Weigh the pros and cons: dealer expertise versus the satisfaction of self-maintenance. Remember, regular cleaning is key, regardless of who does it. If you opt for DIY, you’ll save on service fees and develop a valuable skill.
Ultimately, choose the approach that keeps your machine humming and your sewing smooth.
Frequently Asked Questions (FAQs)
How do you get lint out of a machine?
You’ll want to use a soft brush or mini vacuum to gently remove lint from your machine. Take out the bobbin case for thorough cleaning. Don’t use compressed air, as it can damage internal components. Regular maintenance keeps things running smoothly.
How to get dust out of a sewing machine?
Ye olde sewing machine needs a good dusting! Grab a soft brush to gently sweep away debris. Use a mini vacuum with a brush attachment for thorough cleaning. Don’t forget to remove the bobbin case and hook for a deep clean.
How to clean the inside of your sewing machine?
Unplug your machine and remove the needle plate. Use a soft brush to gently sweep away debris. Clean the bobbin area thoroughly. Remove and clean the bobbin case. Avoid compressed air, as it can push lint deeper inside.
What is the best solution to remove lint?
While canned air might seem convenient, it’s risky. Instead, use a soft brush or mini vacuum with a brush attachment. Remove the bobbin case and hook for thorough cleaning. Don’t forget to lubricate the hook afterward for smooth operation.
How often should I oil my machine after cleaning?
You’ll want to oil your machine after each thorough cleaning. For most sewers, this means oiling every 3-4 months. If you’re a heavy user, consider oiling monthly. Always consult your manual for specific recommendations.
Can I use a hairdryer to blow out lint?
Don’t use a hairdryer to remove lint from your sewing machine. It can push debris deeper inside, potentially damaging internal components. Instead, opt for a soft brush or mini vacuum with a brush attachment for safe and effective cleaning.
Is it safe to vacuum the power cord area?
An ounce of prevention is worth a pound of cure. It’s not safe to vacuum the power cord area. You shouldn’t expose electrical components to moisture or suction. Instead, use a soft brush to gently clean around the cord’s connection point.
Should I clean my machine differently in humid climates?
In humid climates, you’ll want to clean your machine more frequently. Use silica gel packs near your machine to absorb moisture. After cleaning, let it air out completely before storage. Don’t forget to oil moving parts to prevent rust.
How do I remove lint from hard-to-reach internal gears?
Just as you’d unexpectedly find a hidden treasure, you’ll discover those elusive lint spots. Use long, thin tweezers to gently extract lint from hard-to-reach gears. A soft brush or mini vacuum with a brush attachment can help dislodge stubborn particles.
Conclusion
In other words, your sewing friend requires periodic maintenance so it can be like a well-oiled machine. You now have one of the most important basic skills for a sewing machine’s longevity: how to clean lint from a sewing machine.
Never forget the application techniques and cleaning tools within. Be extra careful not to scratch it, and do regular servicing to avoid the need for professional servicing except in cases of necessity.

