This site is supported by our readers. We may earn a commission, at no cost to you, if you purchase through links.
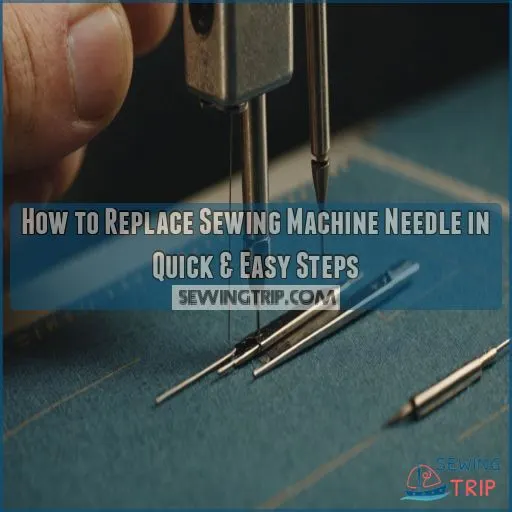
First, turn off your machine and raise the presser foot. Gently pull out the old needle, checking for any damage.
Next, hold the new needle with the flat side facing the back, then push it all the way up into the clamp. Tighten the screw clockwise to secure it.
Simple, right? Just remember to replace your needles every 6-8 hours of sewing – worn-out needles can really mess up your stitches.
Oh, and always use a needle insertion tool or pliers to avoid pricking those delicate fingers!
Now let’s get into the rest of the details…
Table Of Contents
- Key Takeaways
- Prepare Your Sewing Machine for Needle Replacement
- Loosen the Needle Screw
- Remove the Old Needle
- Insert the New Needle
- Tighten the Needle Screw
- Needle Replacement Schedule and Maintenance
- Alternative Methods for Removing and Inserting the Needle
- Set Up
- Frequently Asked Questions (FAQs)
- Conclusion
Key Takeaways
- Prepare your machine properly by turning it off, raising the presser foot, and securing the fabric before changing the needle. This keeps you safe and prevents damage to your machine.
- Inspect the old needle carefully for any bends, nicks, or wear – a damaged needle can ruin your stitches and even harm your machine. Dispose of worn-out needles properly.
- When inserting the new needle, make sure the flat side faces the back of the machine and push it all the way up into the clamp before tightening the screw. This ensures the needle is properly aligned for the best results.
- Replace your sewing machine needle every 6-8 hours of use, or whenever you notice issues like skipped stitches or thread breakage. Fresh, sharp needles are essential for smooth, consistent sewing.
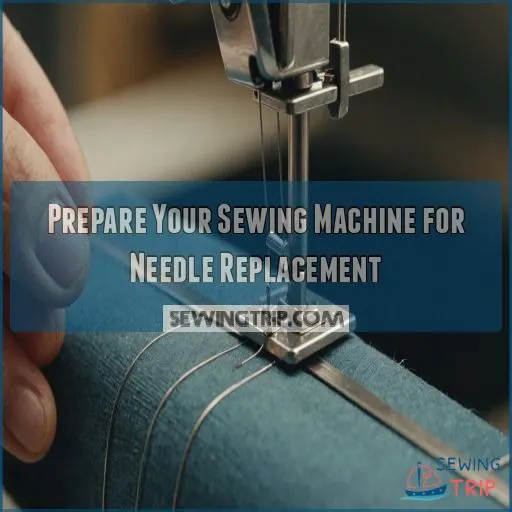
Prepare Your Sewing Machine for Needle Replacement
Before tackling a sewing project, it’s essential to prepare your machine.
Ensuring everything is in its proper place is key.
Turn off that trusty sewing buddy of yours, raise the presser foot, tuck some fabric or paper – just like tucking in a napkin – and lower the presser foot again.
Turn Off the Sewing Machine
Before changing your sewing machine’s needle, it’s important to first turn off the power.
Locate the on/off switch, usually near the power cord, and flip it to the off position.
This safety step makes sure you don’t accidentally start the machine while working on the needle, preventing potential injuries.
Raise the Presser Foot and Place Fabric/Paper Underneath
Next, raise the presser foot and place a small piece of fabric or paper underneath.
This gives the needle clearance to move freely and prevents damage to your sewing machine’s delicate parts.
With the presser foot up, you can now easily slide the old needle out and prepare to insert the new one.
Lower the Presser Foot
After raising the presser foot, lower it back down over the fabric or paper you placed underneath.
This will engage the tension discs and allow you to properly adjust the tension as needed before changing the needle.
Raise the Needle to the Highest Position
Next, raise the needle to the highest position by slowly turning the handwheel in your direction until the needle reaches the top.
This makes it easier to pull the threads to the side when it’s time to cut them.
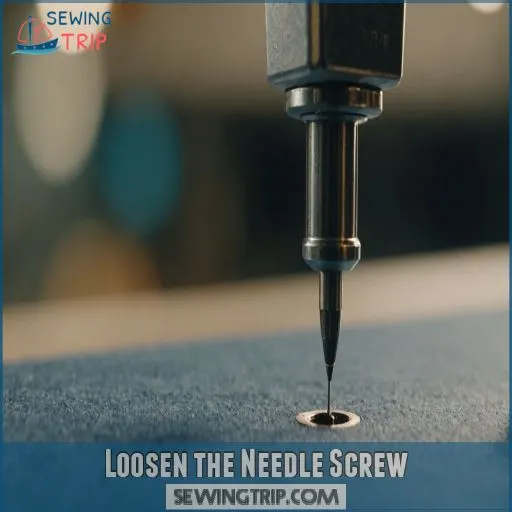
Loosen the Needle Screw
Next, loosen the needle screw by holding the needle firmly with your left hand and turning the screw counterclockwise with your right.
Use the mini screwdriver that came with your machine if available to make sure the needle is loose enough to pull out.
Hold the Needle With Your Left Hand
To replace the needle, first hold it firmly with your left hand.
This makes sure you have a secure grip as you loosen the needle screw.
By keeping the needle steady in your left hand, you can easily manipulate the screw with your right hand and remove the old needle with precision.
Turn the Needle Screw Counterclockwise (Toward You)
Turning the needle screw counterclockwise, or toward you, is the key to loosening the needle.
Gently hold the needle in place with your left hand as you twist the screw – no need to wrench it.
This helps avoid damaging the screw or needle clamp.
Use the Mini Screwdriver if Available
If you’re lucky, your machine came with a mini screwdriver specifically made for loosening the needle screw.
Hold the needle in place with one hand, then turn the screwdriver counterclockwise to slowly loosen the screw.
This dedicated mini tool makes the job much easier than trying to wrangle a larger screwdriver into the tight space.
Ensure the Needle is Loose Enough to Pull Out
Once the needle screw is loosened, make sure the needle is loose enough to pull out with ease.
Grip the needle firmly and gently pull it straight out of the clamp. This will prevent damage to the needle or sewing machine.
As the (Source) Member mentioned, "The extra leverage of a longer screw driver will only help if you can get it fully engaged into the slot."
Born to sew! (2007, July 2). Retrieved from http://blog.sew-classic.com/. Member since 12/30/05 Posts: 12, Skill: Intermediate.
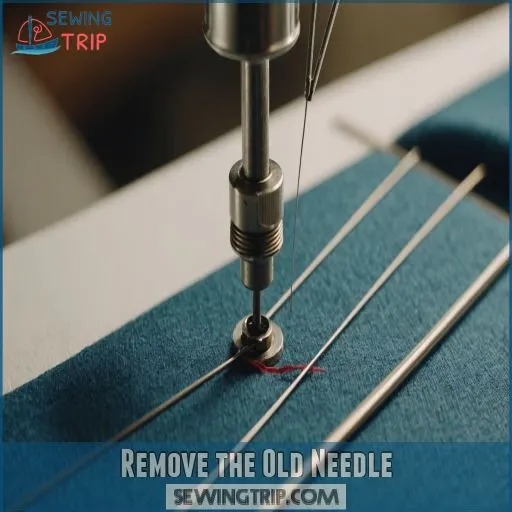
Remove the Old Needle
With the needle screw loosened, it’s time to pull out the old needle. Take hold of the needle with your left hand and gently remove it from the needle clamp.
Inspect the old needle carefully – if it’s bent, damaged, or dull, it’s time to retire it and start fresh with a new one.
Pull the Old Needle Out of the Needle Clamp
With the needle screw loosened, gently pull the old needle out of the needle clamp.
Avoid forcing it, as this could damage the clamp or needle.
Inspect the removed needle closely for any bends, nicks, or other signs of wear that may indicate it’s time for a replacement.
Inspect the Old Needle for Damage or Wear
As you pull out the old needle, carefully inspect it for any signs of wear or damage.
Look closely for bends, burrs, or a dull tip.
A damaged needle can cause skipped stitches, pulled threads, and even harm your sewing machine.
If the needle looks worn, it’s time to replace it with a new one to avoid skipped stitches.
Dispose of Damaged Needles Properly
After inspecting the old needle, properly dispose of any damaged or worn ones to prevent injury.
Check with your local waste management to see if they’ve designated sharps containers for needles and pins .
You can also carefully place them in a rigid container, like an old pill bottle, before throwing away to use as an alternative to a rigid container.
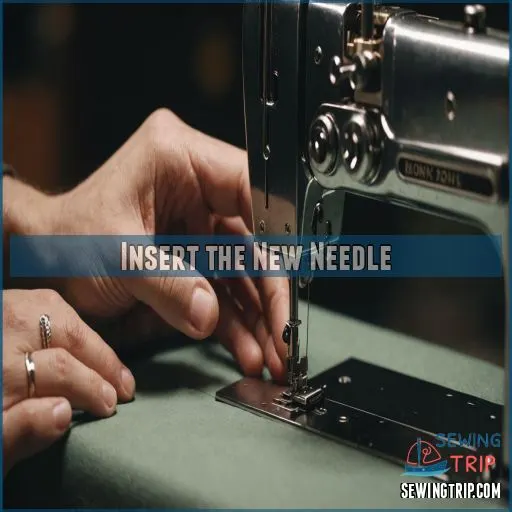
Insert the New Needle
Alright, let’s get that new needle in place! First, hold the new needle with your thumb and forefinger, making sure the flat side faces the back of the machine.
Gently guide the needle up into the needle clamp, pushing it all the way up until it stops. This will make sure the needle is properly aligned and seated. Some sewing machines have a little groove or notch in the needle clamp to help you orient the flat side correctly. If yours has this, make sure to line up the flat side with the groove. This step is important for clean, even stitches.
You’ve got this – just take it slow and be careful. Before you know it, you’ll have that fresh needle installed and ready to tackle your next sewing project!
Tighten the Needle Screw
With the new needle in place, it’s time to tighten the screw that holds it securely. Gently grasp the needle with your left hand to keep it steady . Using a mini screwdriver, turn the needle screw clockwise .
Avoid over-tightening, as this can cause the needle to bend or become misaligned. A light, finger-tight hold is all you need to keep the needle in place.
If the screw feels stuck or stripped, don’t force it – that’s a sign it may need to be replaced .
With the needle firmly secured, you’re ready to continue sewing with confidence, knowing your needle won’t suddenly come loose mid-project. It’s essential to have a needle screw that is securely in place to avoid any accidents.
Needle Replacement Schedule and Maintenance
Wondering when to switch out that trusty sewing machine needle?
Don’t worry – changing needles regularly is key to keeping your projects running smoothly!
We’ll cover the ins and outs of needle replacement, so you can spot worn-out needles and refresh them like a pro.
When to Change the Needle
It’s easy to forget to change your needle – we’ve all been there!
But listen up: when your thread starts breaking, stitches get wonky, or your machine makes funky noises, that’s a surefire sign it’s time for a new needle.
It’s important to replace needles regularly to make sure your stitching is smooth and to prevent damage to your machine.
Aim to replace your needle every 6-8 hours of sewing or after completing a project to ensure your machine runs smoothly with each new task, and prevent damage to your machine.
Replacing Needles Regularly for Best Results
Replacing your sewing machine needle regularly is key for smooth, consistent stitching and flawless projects.
A worn-out needle can cause skipped stitches, thread breakage, and even fabric damage if not replaced regularly.
Not sure when to replace it? Check for signs like poor stitch quality or unusual noises – that’s your cue to pop in a fresh needle and get back to flawless projects.
Alternative Methods for Removing and Inserting the Needle
If you find the standard needle removal method a bit tricky, there are a few alternative tools that can make the process easier.
One handy gadget is the clearance plate or needle inserter tool . This plastic piece helps guide the needle into the clamp, ensuring proper alignment of the flat side toward the back. Simply place the needle into the tool and gently insert it into the clamp.
Another option is using a pair of needle-nose pliers to firmly grasp the needle and guide it in at an angle. Just be careful not to apply too much force and damage the pliers or needle.
Whichever method you choose, always keep safety in mind when handling sharp sewing machine needles. Additionally, be cautious and gentle when using these tools to avoid damaging them or causing injury, as they require proper alignment.
Set Up
Setting up your sewing machine to replace the needle is a breeze. Start by ensuring the presser foot is lowered and the fabric or paper is positioned underneath. Then, use the hand wheel to raise the needle to its highest position.
This will give you ample room to work. You’ll want to make sure your sewing machine is properly set up, just like you’d when using a machine like the Singer Fashion Mate 7256.
Next, carefully turn the needle screw counterclockwise to loosen it, either with your fingers or the mini screwdriver provided with your machine. With the needle now loose, simply pull it out of the clamp.
When inserting the new needle, make sure the flat side faces the back of the machine, then push it up into the clamp as far as it will go before tightening the screw securely. You’ll also want to ensure the needle is securely in place before proceeding.
You’re now ready to thread your machine and start sewing with a fresh, sharp needle.
Frequently Asked Questions (FAQs)
Do I need to change my sewing machine needle?
Yes, you’ll want to change your sewing machine needle regularly.
About every 6-8 hours of use or when you notice issues like skipped stitches or thread breakage.
A fresh needle helps you sew smoothly and consistently.
How do I remove an old sewing machine needle?
When your trusty needle gets stuck in its spot, don’t fret – with a little finesse, you’ll have it out in a snap!
Just loosen that screw, give it a gentle tug, and voila – freedom for your machine.
How do you put a new needle in a sewing machine?
To put a new needle in your sewing machine, simply loosen the needle clamp screw, insert the new needle with the flat side facing back, and tighten the screw.
It’s a quick and easy process!
How often should you replace sewing machine needles?
As regular as changing the oil in your car, swapping out that needle every 6-8 hours keeps your machine humming smoothly.
An old, worn needle is like a bum ankle – it just won’t perform at its best. (Source)
Is it easy to replace sewing machine needle?
Replacing a sewing machine needle is a breeze.
Just loosen the screw, pop out the old one, and slide in a fresh, sharp replacement.
It’s a quick fix that’ll keep your stitches looking great.
How to insert a new needle in a sewing machine?
Swap out that old needle like a pro!
Just loosen the clamp, slip the fresh one in, and tighten it back up – simple as that.
Your machine’ll purr like a kitten once you’ve got that new needle in place.
Which way does the flat side of a sewing machine needle go?
The flat side of a sewing machine needle should face the back of the machine. This makes sure the needle sits properly in the needle bar and threads correctly.
How is a needle fixed in a sewing machine?
Ah, slotting that needle into your sewing machine is like opening a secret door – a simple twist and turn, and you’re ready to let your creativity flow.
Follow the needle’s lead, and your stitches will sing with precision. Your stitches will reflect the careful movement and attention to detail that make each stitch unique and beautiful, and with every stitch, you’ll get closer to bringing your creative vision to life, and with every completed project, you’ll gain more confidence in your abilities, and you’ll be able to tackle more complex projects, and that’s when your creativity will truly flow.
What is the difference between European and American needle sizes?
European and American sewing needle sizes differ, with Europeans using millimeter measurements and Americans using a numbered system. Match your thread to the right needle size for the best results .
How do I choose the right needle based on fabric type?
Choosing the right sewing needle is like hitting the bull’s-eye – it takes a bit of practice, but once you nail it, your projects will sew like a dream.
Match the needle size to your fabric type for a smooth, seamless experience.
When should I use a double/twin needle, and how do I set it up?
Use a double (or twin) needle when sewing stretch fabrics like knits to create a professional, flexible hem.
Make sure your machine can handle a zig-zag stitch.
Then, thread both needles and start stitching.
What is the purpose of different needle types like ballpoint and stretch?
Over 95% of sewers use the wrong needle type, missing out on key benefits.
Ballpoint and stretch needles have rounded tips that glide through stretchy fabrics without snagging.
Universal needles can cause runs. (Source)
How can I test if Im using the right needle for my project?
To test if you’re using the right needle, do a quick test stitch on a scrap of fabric.
Check for skipped stitches, puckering, or thread breakage – if any of those occur, it’s time to swap in a better-suited needle.
Conclusion
Replacing your sewing machine needle is like tending to the heart of your creative craft—a simple yet essential task that keeps your projects running smoothly.
Take care of this "needle-y" detail, and you’ll be stitching up a storm in no time.
Remember, regular "needle check-ups" are key to flawless results.

