This site is supported by our readers. We may earn a commission, at no cost to you, if you purchase through links.
Learning how to sew a hole in a shirt is among the most useful skills that will help you save money and ultimately help extend your wardrobe’s life.
This step-by-step guide will take you through each process, from the choice of the right needle down to how to perform a backstitch.
Whether it’s a small tear or something a bit larger, like a hole, you’ll soon be able to do some quick repairs that will keep your clothes looking fresh.
Table Of Contents
Key Takeaways
- Needle know-how is your ticket to mending success – pick the right size and type for your fabric, and you’ll be stitching like a pro in no time!
- Don’t let frayed edges unravel your repair efforts. Give that hole a little TLC by trimming loose threads and cleaning up the edges before you dive in with your needle and thread.
- Master the art of the backstitch, and you’ll be patching up holes faster than a superhero mends their cape. It’s the Swiss Army knife of stitches – versatile, strong, and oh-so-satisfying.
- By breathing new life into your old duds, you’re not just saving a few bucks – you’re giving Mother Earth a big ol’ hug. Who knew playing doctor to your favorite shirt could be so eco-friendly?
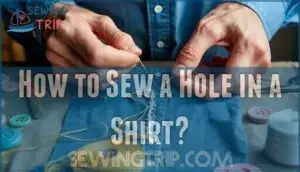
How to Sew a Hole in a Shirt?
First, choose a needle for the kind of fabric your shirt is made of.
For small holes, thread your needle and tie a knot in it. Begin sewing from the underside of the T-shirt, working in a backstitch fashion to give strength to the stitches.
If the hole is big enough, place a bigger patch of fabric than the torn area and pin it. Then, sew with a running stitch around the edges.
Once you’ve completed the stitching, secure the thread properly. Trim off loose threads and gingerly stress test the repair.
All this isn’t without regard to the environment—the discarding of textiles is a direct addition to landfills.
Ready to give your shirt another life?
Repairing Small Tears
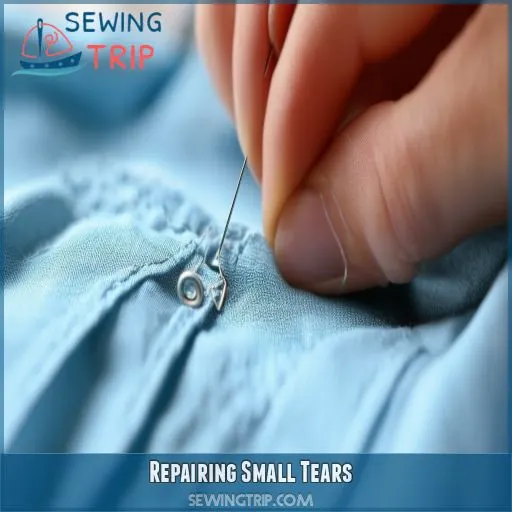
To repair small tears in your shirt, start by choosing the right needle. Follow these detailed steps to close the tear smoothly and securely.
Needle Selection
The right choice of the needle will ensure you don’t have bumps in your sewing. Needles of different types and sizes are designed for use with certain types of fabrics and stitches. Heavyweight sharp ones for thick fabrics, and thin more delicate ones for soft or thin fabrics; thus, round tip needles apply to knits and sharp at the tip to woven fabrics. This is why it’s essential to check the packages for fabric recommendations to avoid frustration.
- Long, sharp, heavy needles for thick fabrics
- Thinnest needles for thin fabrics
- Rounded tips for knits
- Sharp points for woven fabrics
- Check packaging for details
Step-by-step Sewing Process
Now that you’ve selected the right needle, it’s time to get sewing! To repair small tears, simply turn the fabric inside-out and insert the needle 2mm from the hole’s edge. Pull the thread through and reinsert the needle 2mm along the tear, repeating the stitch until the hole is closed. Finish by looping the needle through the last stitch a couple times to secure the thread.
| Needle Size | Thread Color | Fabric Type |
|---|---|---|
| Sharp, heavy for thick fabrics | Match shirt color | Woven |
| Thin, delicate for soft/thin fabrics | Contrast color | Knit |
| Rounded tip for knits | ||
| Sharp tip for woven |
Patching Larger Holes
To patch larger holes in your shirt, start by measuring the tear and cutting a fabric patch to cover it precisely. Attach the patch by pinning it in place, then sew around the edges with a running stitch, ensuring it’s secure.
Measuring and Cutting the Patch
To measure and cut your fabric patch accurately:
- Measure the hole: Use a soft measuring tape to measure the tear’s dimensions.
- Add extra fabric: Add 1/2 inch to each side for seam allowance.
- Cut the patch: Cut the fabric patch to size, ensuring it’s slightly bigger than the hole.
- Choose fabric and thread: Match the patch fabric type and thread color to the shirt for a seamless look.
Attaching the Patch
Once you’ve measured the hole and cut the matching fabric patch, it’s time to attach it.
Pin the patch in place on the wrong side of the fabric. Then, insert your needle from the underside of the patch, sinking it down about 1/4 inch along the edge.
Continue this running stitch all the way around the patch to secure it.
For a decorative touch, consider an applique or embroidered design on the patch before sewing it on.
Finishing Touches
To finish your repair, tie off the thread securely by looping the needle through the last stitch a few times. You can also personalize your shirt by adding an iron-on decorative patch or embroidering a design over the repaired area.
Tying Off the Thread
Once you’ve run your stitches around the patch, it’s time to tie off your thread to secure your finish and be sure your repair stays intact. For this:
- Loop the needle through the last stitch
- Pull Thread tight to form knot
-Repeat this 1-2 times for added security
- Snip off any excess thread
Gently pull on the repair to assess stability.
That rip in your shirt is now sewn up tightly!
Adding Decorative Patches or Embroidery
Once the hole is closed, you could attach a decorative patch or an embroidered design that will give your repaired shirt a look all its own, customizing it.
Upcycling old clothes with creative touches gives items new life and makes them truly yours. A lot of times, this can enhance the aesthetics but also often improve the durability of the repair.
Get creative, and have fun in expressing your personal style!
Preparing the Fabric
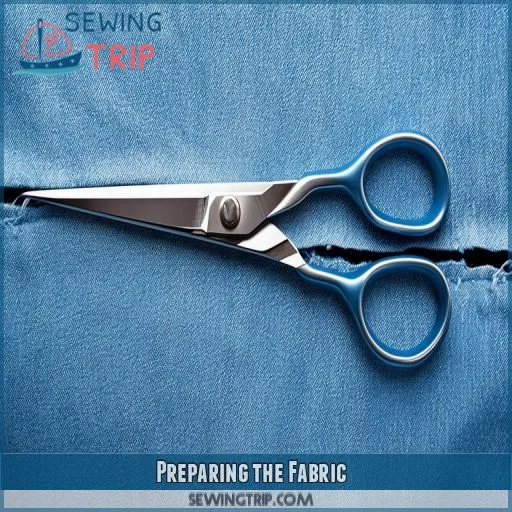
Before you begin sewing, check the area around the hole for any loose threads and trim them off with scissors. Clean the edges of the hole by gently pulling away any frayed fabric, ensuring a neat surface for your repair.
Checking for Loose Threads
Before you start mending holes or repair tears, you’ll want to be on the lookout for loose threads. These pesky strands can continue to unravel your fabric if left unchecked. Take a close look at the area surrounding the damage and keep an eye out for:
- Frayed edges around the hole
- Dangling threads from previous stitches
- Seams broken near the tear
• Loose buttons or decorations
Carefully snip away any loose threads with sharp scissors. This step is crucial for a clean repair and prevents future unraveling. By addressing these issues now, you’re setting yourself up for success in repurposing your old shirt.
Cleaning Hole Edges
Now, after checking for the loose ends, clean the edges of the hole. This step is very imperative to any neat repair, irrespective of the type or color of your fabric. Sharp scissors will have to be used in gently cutting off frayed edges and creating a clean line. Consider the size of your hole as you clean; bigger holes may require more attention to details. Here’s how to clean edges, quickly, based on fabric types:
| Fabric Type | Cleaning Method | Tool |
|---|---|---|
| Cotton | Trim frays | Scissors |
| Denim | Fray-check | Liquid sealant |
| Knit | Gentle snipping | Small scissors |
Threading the Needle
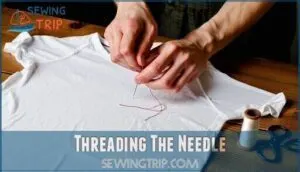
You’ll find threading the needle much easier with a needle threader, a small wire tool that guides the thread through the eye. For added strength, you can create a single knot at one end of the thread or double knots at both ends, depending on your sewing needs.
Using a Needle Threader
Now that you’ve prepped your fabric, it’s time to thread the needle. This can be tricky, but a needle threader is your secret weapon for threading ease.
Choose a thread length about 18 inches long. For thicker fabrics, opt for a larger needle with a bigger eye.
Slide the wire loop of the threader through the needle’s eye, then pass your thread through the wire loop. Pull the threader back, and voila! Your needle’s ready for action.
Creating Knots for Single and Double Strand
Now, once you have threaded your needle, there will be the process of forming knots. To use a single strand, form a knot at one of its ends. For double strength, join both ends together by tying a knot. Then, to ensure your knot is really secure, pull it tight against the needle. The strength of this node will depend on the thickness of the thread used and the size of your needle. Remember, proper security for the knot is crucial to maintain even stitch spacing and quality in your repair.
• Feel the sense of satisfaction when you have perfectly tied a knot
Imagine the pride—wearing your newly repaired shirt.
- Picture the money you’ll save by fixing rather than replacing
Imagine the relief when you rescue your favorite garment.
- Anticipate the confidence boost from your DIY skills
Backstitching Technique
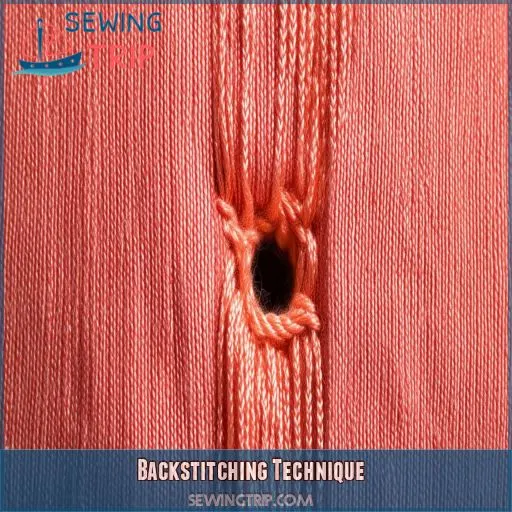
Now that you’ve threaded your needle, it’s time to master the backstitch technique. This versatile method is perfect for repairing holes in shirts and works well with various fabric types. Start by positioning your needle on the backside of the fabric, keeping it close to the hole’s edge. Push the needle through to the front, pulling the thread until the knot is secure. For your next stitch, move back slightly and push the needle through to the back. This creates a strong, overlapping stitch that’s ideal for mending.
Remember to choose the right needle size for your fabric type. Thicker materials require larger needles, while delicate fabrics need smaller ones. As you work, keep your stitches close together for a neat finish. Match your thread color to the shirt for an invisible repair, or go bold with contrasting hues for a fun, embroidery-inspired look. With practice, you’ll be weaving magic in no time!
Environmental Impact of Textile Waste
By mending your old clothes, you’re tackling a growing environmental problem: textile waste. You’ll reduce the need for new garments, extend the life of your existing ones, and minimize the harmful emissions that come from decomposing fabrics in landfills.
Growing Problem for the Planet
Now that you’ve learned to backstitch, let’s discuss why mending. The problem of textile waste is at the core of the sort surging issues for the health of our planet, and it’s powered by fast fashion and unsustainable consumption habits. Here’s why this problem is so important:
- One-tenth of global carbon emissions are associated with textile production.
- In landfills, 85% are occupied by textiles annually.
- Synthetic fibers can take up to 200 years to decompose.
- Fabric recycling is rather complex and typically very energy-intensive.
Benefits of Mending Old Clothes
You’ve seen how textile waste harms our planet. Now, let’s explore the flip side: the benefits of mending old clothes.
By taking needle and thread to your worn garments, you’re not just saving money; you’re making a real difference. Mending helps reduce waste, extends the life of your clothes, and lessens your environmental impact.
It’s a simple yet powerful way to repurpose old clothes and combat overconsumption. Plus, there’s a certain satisfaction in breathing new life into a favorite shirt or dress.
Ready to give it a try?
Frequently Asked Questions (FAQs)
How do I sew a hole in my shirt?
Turn your shirt inside out and thread a needle with matching thread. Start stitching 2mm from the hole’s edge, working back and forth across the opening. Keep stitches close together until the hole’s closed, then tie off securely.
How to fix a small hole in a shirt without sewing?
You can fix a small hole without sewing by using fabric glue or iron-on patches. Apply a thin layer of glue around the hole’s edges or place an iron-on patch over it, following the product’s instructions for best results.
How to sew a circle hole by hand?
Flux capacitors aside, here’s how to sew a circle hole by hand: You’ll need a needle and thread. Start by turning the fabric inside out. Make small, even stitches around the hole’s edge, gradually pulling it closed. Knot to finish.
Can you sew a ripped shirt?
Yes, you can mend a ripped shirt. Start by turning it inside out, then thread a needle with matching color. Stitch back and forth across the tear, keeping stitches close together. Knot the thread securely when finished.
How do I choose the right thread color?
You’ll want to match your thread to your shirt’s color as closely as possible. Hold different thread options against the fabric in natural light. If you can’t find an exact match, opt for a slightly darker shade.
Can I sew a hole without turning the shirt inside-out?
While it’s possible, you’ll get better results by turning the shirt inside-out. If you can’t, use a smaller needle and work carefully. You’ll need to hide knots and loose ends on the visible side.
What should I do if the fabric is stretchy?
A stitch in time saves nine, especially with stretchy fabric. Use a ballpoint needle and zigzag stitch to maintain elasticity. Gently stretch the fabric as you sew, ensuring it’s not pulled too tight. You’ll have a flexible, durable repair.
How can I prevent the hole from reopening?
Over-sew your stitches a few more passes to keep a hole from reopening. Make sure to stitch with a strong thread close enough together that your stitches are. Iron-on patches or fabric stabilizers will secure your mend by adding extra strength.
Are there alternatives to hand-sewing for repairing holes?
Like a knight’s armor, patching offers alternatives to hand-sewing. You can use iron-on patches, fabric glue, or fusible interfacing for quick fixes. For a professional touch, consider using a sewing machine or taking it to a tailor.
Conclusion
Like the wizard patching up his torn cloak, you have now mastered how to sew a hole in a shirt. You have learned how to choose the right needle for the job, prepare your fabric properly, and do backstitches professionally.
From small tears to larger holes, you’re well-armed against these doable quick repairs, which will really extend your wardrobe’s life. And in doing so, you’re saving money and reducing textile waste.
Every stitch you make is a step further towards the goal of a more sustainable future for our planet.

