This site is supported by our readers. We may earn a commission, at no cost to you, if you purchase through links.
This guide will teach you easy methods on how to fix tears, holes, and seam slits. Learn the right approach for both minor snags and gaping ghastly holes.
Mastering these skills will save you money, reduce waste, and give you control over how long your wardrobe lasts
Table Of Contents
Key Takeaways
- Don’t let a tear turn you into a fashion victim! With a few simple techniques, you can breathe new life into your tattered treasures and keep them in your wardrobe rotation.
- Knowing your enemy is half the battle. From clean rips to gaping holes, each type of damage calls for a unique approach. Once you’ve sized up the situation, you’ll be ready to launch your repair offensive.
- Your Sewing kit is your superhero utility belt. Stock up on the right tools – needles, thread, scissors, and maybe even a thimble – and you’ll be ready to tackle any fabric foe that dares to cross your path.
- Practice makes perfect, but don’t be afraid to wave the white flag when needed. Start with scrap fabric to hone your skills, and if a repair looks too daunting, there’s no shame in calling in the pros. After all, even Superman needs help sometimes!
How to Sew a Rip?
To sew a rip, start by gathering your supplies: a needle, thread matching your fabric, scissors, and pins. First, trim any loose threads and iron the area flat.
For a clean rip, thread your needle and tie a knot. Begin stitching from the inside of the fabric, using a straight stitch or backstitch for strength. Keep your stitches small and evenly spaced. When you reach the end of the tear, secure the thread with a knot.
For larger holes, you’ll need a patch. Remember to choose thread and needle sizes appropriate for your fabric’s weight.
With practice, you’ll be mending like a pro in no time. Ready to tackle more complex repairs?
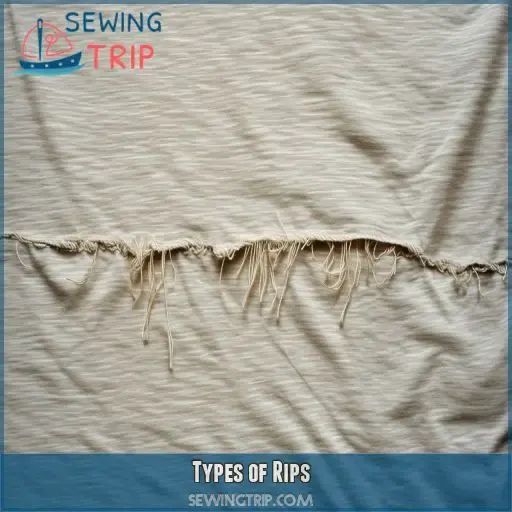
Types of Rips
Understanding the types of rips you’ll encounter can help you choose the right repair method. There are clean rips, open rips (holes), clothing seam rips, other seam rips, and L-shaped tears, each requiring a specific approach to fix
Clean Rips
First, take ironing precautions to lay the fabric smoothly for mending a clean rip.
Trim loose threads and back with interfacing if necessary.
Select the appropriate needle size and color of thread that will match.
This can be either a zigzag or a straight stitch, with a change of the machine stitch length as appropriate.
This is the step-by-step way of constructing a vital yet invisible mend
Open Rips (holes)
Now that you’ve mastered sewing clean rips, let’s tackle open rips or holes. Start by selecting a fabric patch that matches the color and weight of your material. Carefully cut and position the patch, securing it with basting stitches or pins. Stitch around the patch, either by machine or hand, then press and trim any excess fabric for a seamless repair.
- Measure the hole to determine the right patch size
- Use a thread color that blends with the fabric
- Consider adding a decorative patch or embroidery
- Take care to reinforce frayed edges for a durable fix
Clothing Seam Rips
For clothing seam rips: Line up seam edges. Maintain seam allowance width consistency. Add strength with remaining interfacing to prolong life. Use thread weight suitable for fabric, considering the probable needle depth of penetration. Hand or machine sew, following the broken seam. Press, then turn right side out.
Other Seam Rips
With other seam rips, like darted, fell, French, or bound seams, you might want to mend a bit differently. Here’s how:
- Darted Seams: Stitch along the original seam line.
- Felled Seams: Fold edges and sew near the fold.
- French Seams: Using a narrow straight stitch, sew along the seam, then iron and sew again.
L-shaped Tears
L-shaped tears, with their tricky corners, need precision. Start by matching fabric grain and trimming loose threads. Secure with iron-on interfacing to reinforce corners. Use concealed stitches like a running stitch or backstitch to mend. If the tear’s visible, add a decorative patch. A zig-zag stitch on open rips also works. Finish by pressing gently
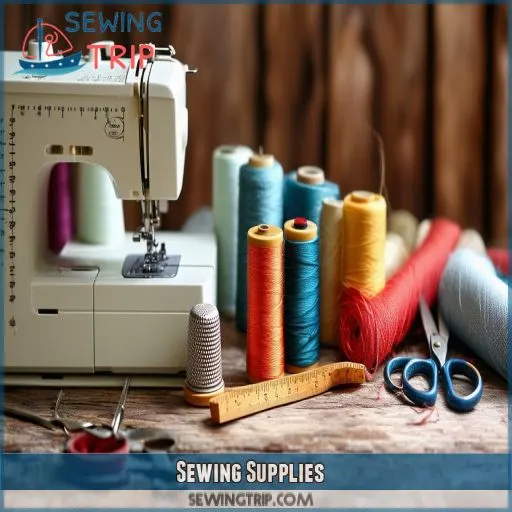
Sewing Supplies
To sew a rip effectively, you’ll need a sturdy needle, thread that matches your fabric, and sharp scissors for trimming. Don’t forget to have pins or clips for securing your fabric, and consider using a thimble to protect your fingers while sewing
Sturdy Needle
For any mend to be successful, choose the right needle. Follow these steps:
- Size Selection: Use more giant needles for heavier materials such as denim and smaller needles for lighter, more delicate fabrics.
- Check the Type — Rounded point needles are ideal for knits and sharp points for wovens.
- Make a Point: Ensure that needles are great for visible mending techniques
Thread
The choice of correct thread is important for a strong repair. Here is a brief guide:
| Type of Thread | Description |
|---|---|
| Polyester/All-Purpose | Heavy-duty, all-purpose on most fabrics |
| Cotton | Ideal for natural fabrics like cotton |
| Embroidery Floss | Good for decorative stitches or blanket stitch |
Match the thread size and color to your fabric, and adjust the tension for smooth stitching.
Scissors
Scissors are essential for mending. Choose the right type:
- Safety scissors: This is to help guard against possible cuts.
- Thread snips: Perfect for trimming threads.
- Sharp scissors: Make clean cuts.
- Embroidery scissors: Sharpness for detailed work.
- Duckbill scissors: These are best for cutting fabric close to seams.
Using the right scissors makes sure it’s an exact repair that looks professional.
Pins or Clips
Pins or clips are required to hold the pieces temporarily in place so that the seam is perfectly aligned. Choose strong pins if they’re thick fabric and small clips for light ones.
Proper placing of the pins secures it from shifting and marking the fabric, making you able to sew accurately. Line up your seams with care. This will provide a professional, smooth finish at the end.
To go without any hassles while sewing, effective pinning or clipping is required
Thimble (optional)
If you’re pushing a needle through some thick fabric, get yourself a thimble. They make a difference.
Choose one that fits right on the middle finger. Its purpose is simply to protect your finger from punctures.
Keep it in your sewing kit so that access will always be easy.
Take good care of your thimble and store it well so you have it any time you want to use it
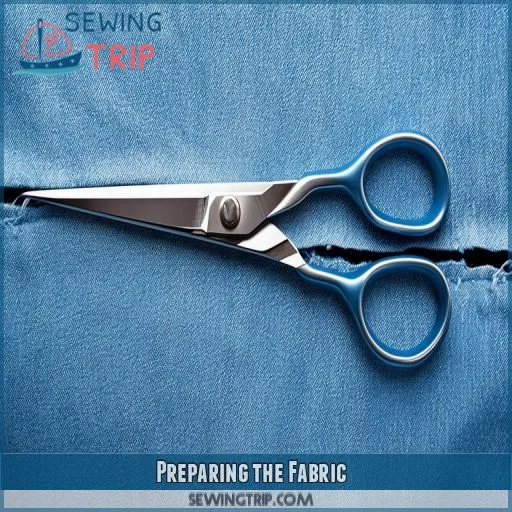
Preparing the Fabric
First, if there are loose threads hovering at the edges of the tear, trim them so they don’t go on to fray any further. It’s also good for having a clean area to work in. Second, iron the area flat with an iron to flatten the fabric, and optionally reinforce the back with interfacing for added security.
Trimming Loose Threads
Begin by carefully trimming any loose threads around the rip. This step ensures clean edges for sewing, which is crucial for a seamless repair. Use sharp scissors for precision. Removing frayed ends can prevent further damage and contribute to the repair’s overall durability. Keeping things neat will make the subsequent sewing techniques more effective in matching fabric colors
Pressing the Area
Start by setting your iron to the appropriate temperature for your fabric. Lay the fabric flat and use steady, even pressure to iron the area around the rip. Focus on smoothing out wrinkles, ensuring the rip lies flat for easier stitching. Keep the iron moving to prevent burning and iron for a controlled duration
Reinforcing With Interfacing (optional)
Before sewing, reinforce the rip with interfacing for added durability.
- Selecting Interfacing Material: Pick interfacing similar in weight and color to your fabric.
- Interfacing Placement: Cut the interfacing slightly larger than the rip, then place it on the wrong side of the fabric.
- Interfacing Application: Iron-on the interfacing, following the manufacturer’s instructions
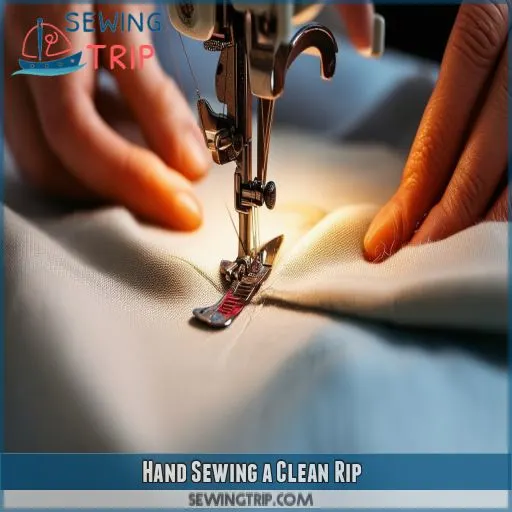
Hand Sewing a Clean Rip
To hand sew a clean rip, start by using a straight stitch to close the gap. Next, employ a backstitch for added strength before securing the thread with a knot
Using a Straight Stitch
To hand sew a clean rip using a straight, thread your needle and tie a knot at the end.
Start on the wrong side of the fabric, about 1/4 inch from the tear. Push the needle through to the right side, then back down close to where it came up.
Continue this pattern, keeping stitches small and even. You’ll be stitching your way to fabric freedom in no time!
Using a Backstitch
Using a backstitch is essential for strength. Begin your hand stitching 2mm from the rip’s edge. Insert the needle, then bring it back up 2mm beyond your entry point. This hidden stitch should be tight but smooth, creating a strong bond. For added durability, consider alternating with a decorative stitch, enhancing both function and appearance
Securing the Thread
Sews on both sides. Tighten near the fabric by tying a knot. Then, loop your thread through your last stitch and pull tight to secure. For added security, bring your needle through the looped stitch a second time. Trim the extra thread and flush with your repair. This reinforces both sides of the fabric and will prevent further unraveling.
Machine Sewing a Clean Rip
When you use a machine to sew a clean rip, set your stitch length according to the type of fabric so that it will be strong enough to hold. Backstitch at both ends; this will secure the stitches so they don’t come undone.
Adjusting Stitch Length
First, set the length of your machine stitches before starting to sew. The size should be shorter for thin fabrics and longer for thick ones.
Second, while handling stretch fabric, be sure to use a proper needle along with the settings on the machine. Use a consistent seam allowance.
Fine needles with matching threads that blend into the fabric seamlessly are used for invisible mending
Backstitching at the Beginning and End
Backstitch at the beginning of the tear; this will lock in your thread.
Then, use the appropriate needle gauge and set your thread tension accordingly.
Place your backstitch to give you a stout seam.
Then, sew projected along the rip.
Then, finally, backstitch at the end and change the stitch length for even greater strength.
For an added flourish, you can add decorative stitches
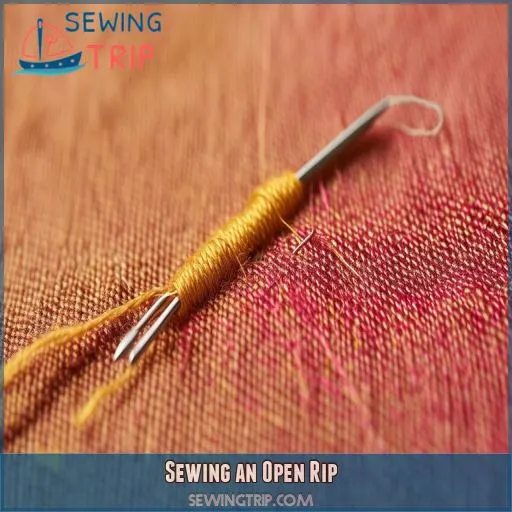
Sewing an Open Rip
To sew an open rip, select a patching fabric that matches the color and weight of the original. Place the patch over the hole, pinning or lightly basting it, then outline it with stitches to create a firm fix.
Selecting a Fabric Patch
A detail-oriented approach is needed in choosing a patch of fabric.
Firstly, ensure that the setting of the patch covers the hole nicely.
Next, choose a patch very similar in material and color to allow perfect compatibility with your fabric.
Then measure your hole and cut your patch a bit larger to give good coverage and will enable it to hold strength together.
Materials predominantly used are cotton, denim, and polyester. This will help stabilize an effective repair
Positioning and Securing the Patch
Once you’ve selected your patch, it’s time to position it just right. Turn your garment inside out and place the patch over the hole.
Aim for a snug fit, with the patch extending about 1/4 inch beyond the tear’s edges. Pin or baste the patch in place, ensuring it’s smooth and flat.
Consider the fabric’s pattern and weave when aligning your patch for a seamless look
Stitching Around the Patch
Once you’ve placed your patch, begin sewing around it.
You’ll want to use a thread color that won’t show much.
Also, set your stitch length to medium—about 2-3 mm—and sew 0.25 inches in from your edge, starting in one corner.
Keep consistent tension to avoid puckering.
If desired, add a decorative patch; otherwise, only use more if using heavier-weight fabric to hold it together
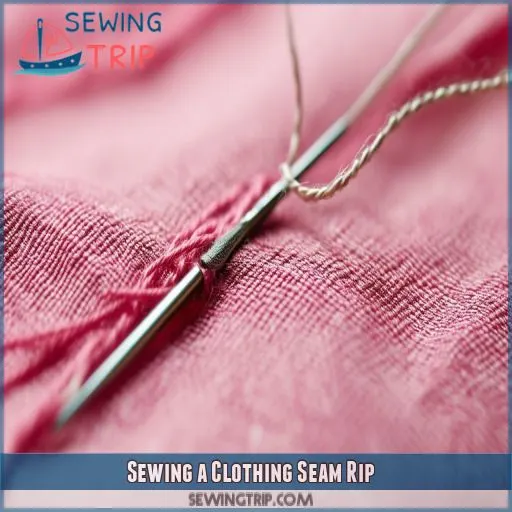
Sewing a Clothing Seam Rip
To sew a clothing seam rip, first match the seam edges carefully. Then, stitch along the broken seam using a straight or hand stitch, making sure to press and turn the fabric right side out when finished
Matching Seam Edges
One of the things that will help is carefully lining up all edges so seams line up accurately. Pin seams together, then turn to either side and check for accuracy; be sure there isn’t any fabric matching that will bunch or stretch.
Choose a thread weight suitable for your fabric weight. Use an appropriate stitch length for your fabric—long enough for strength but short enough for flexibility
Stitching Along the Broken Seam
The edges of the seams should be very well matched. Choose an appropriate size and color of the needle to suit your fabric. Begin sewing with a straight or backstitch, then proceed with even tight stitches. This will help in building strength.
A presser foot from a sewing machine aids in giving evenness. Keep preparing the fabric by cutting loose threads as it builds so that the clean finish is maintained
Pressing and Turning Right Side Out
Once you’ve stitched along the broken seam, press the seam allowance flat. This will give it that clean, professional finish, looking inward toward your work and turning the garment right out. Pressing the right sides together puts a nice crispness into the repair. One more seam press to set the stitches and smooth everything out.
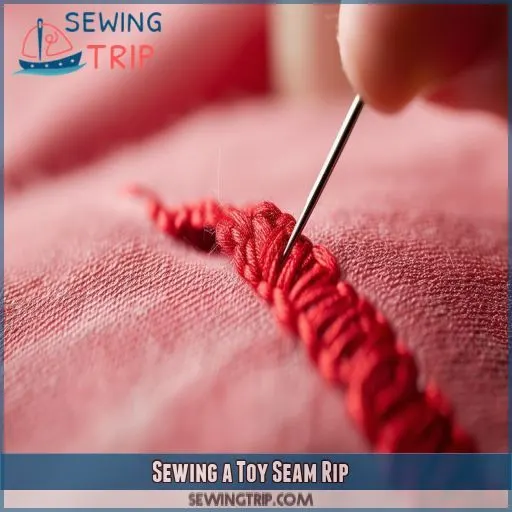
Sewing a Toy Seam Rip
To sew a rip in a toy seam, start by threading a doubled needle. Then, insert the needle from the inside of the seam, cross to the other side, and insert it back into the seam allowance crease, repeating on the other side to gently pull the gap closed
Threading a Doubled Needle
To start sewing a toy seam rip, use a strong needle threaded with a doubled thread to beef up the stitch for added durability.
Of course, as always, choose your needle according to your fabric type.
Use a good matching thread so it won’t show.
Doubling the thread gives extra stability and will stop further ripping.
Just ensure both lengths of your thread are equal, then tie a knot on the end
Stitching From the Inside Out
From the inside of the seam, insert your needle, looking to catch the seam allowance. What this does is that it helps so much by keeping a consistent stitch length, which affects even tension.
You’ll move from one side to the other by inserting your needle at the edge of the seam allowance. This reinforces the fabric and keeps the stitching invisible from the outside
Pulling Gently to Close the Gap
Gently pull the thread to close the gap, ensuring the fabric edges align. Maintain even thread tension to avoid puckering, and consider the fabric weight while sewing. Use small stitches, keeping a consistent stitch size. Anchor your work securely by backstitching at the end of each seam allowance, ensuring a durable repair. Adjust the bobbin type accordingly
Finishing Touches
To finish your repair, start by trimming any excess fabric and carefully pressing the area with an iron. Consider applying seam sealant for added strength, or add a decorative patch or embroidery to personalize your fix
Trimming Excess Fabric
Using sharp scissors, trim off excess fabric around the newly mended area. Let the patch size be such that it re-covers the repair area perfectly. Take care of the stitching pattern—cut close but do not snip through the stitches.
Use a thread color that will most appropriately go with the texture of the fabric so it ends clean and neat. Fixing methods ensure durability
Pressing the Repair
Next, iron your repair in place. This step is crucial to a professional finish**. You’re ironing to smooth out all wrinkles and set stitches. If you used iron-on interfacing, this is where it fuses with the fabric source. Gain a Professional Look:
- Set your iron to the appropriate heat for your fabric
- Place pressing cloth over the repair
- Apply firm, even pressure
Hold for 10-15 seconds.
• Let cool before handling
Applying Seam Sealant (optional)
After pressing, you can boost your repair’s durability with seam sealant. This clear liquid reinforces your stitches and prevents fraying.
Apply a thin line along the mended area, considering your fabric type. It’s especially useful for delicate materials or high-stress spots.
Let it dry completely before wearing
Adding Decorative Patches or Embroidery (optional)
Now that you’ve fixed the hole, why not give it a little pizzazz? Decorative patches and embroidery transform the mend into a fashion statement.
You can select patches that will agree with your style or blend with the colors on the garment. In the case of embroidery, you should test unique patterns or creative designs.
You won’t only disguise the fix but add personality to your clothes. Remake that mishap into a masterpiece!
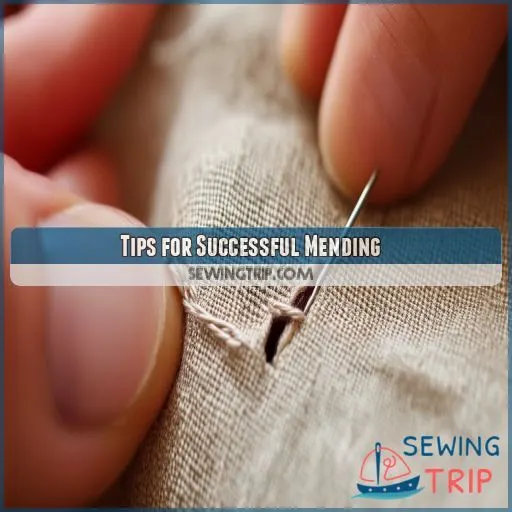
Tips for Successful Mending
There are several things to consider if your goal is successful mending. Choose appropriate needles and threads for your fabric, provide additional support at weak spots, consider stretch and weight in the material, always practice with a bit of scrap of fabric first, and don’t be afraid to ask for professional help if some particular repair looks too complicated.
Choosing the Right Needle and Thread
The right choice of needle and thread is the most important one to have a successful repair.
Use thicker needles for thicker materials, like denim, and thinner ones for light fabrics. Try to match the weight of your thread with the weight of your fabric and be as uniform as possible in color.
If you can’t thread your needle easily, use a needle threader. Also, remember to constantly tie your thread.
With the right tools, it won’t take you long to become a stitching expert
Reinforcing Weak Areas
Now that you have picked the right needle and thread focus on ways of reinforcing weak areas. This is very critical in durable seam repair, particularly so with fragile seams or thin materials that tear apart easily. Check these invisible techniques to reinforce the seam for added durability:
• Apply interfacing to the wrong side of fabric
- Use a concealed patch repair for added strength
• Double-stitching in places of stress or frequent movement
Considering the Fabric’s Stretch and Weight
For repairing rips, you have to feel the persona of your fabric. Is this stretchy yoga pant or sturdy denim character? Match your thread weight and the sharpness of the needle correspondingly.
With light fabrics, don’t pull too hard on the stitch tension. Beef up that seam allowance with heavy materials.
Remember how each type of material will have its weird ways, so tailor accordingly. It’s like dating—you wouldn’t treat a silk blouse precisely the same as a leather jacket, right?
Practicing on Scrap Fabric
But before you dive into repairing your favorite clothes, practice on scrap fabric first.
Washing your scrap fabric beforehand makes it act just like the real thing. Choose the correct type of needle and thread weight for the work you’ll be doing.
If you’re unsure, seek a local tailor who can guide you with tips
Seeking Professional Help for Complex Repairs
While practice makes perfect, some repairs might be beyond your skill level.
If you’re dealing with intricate fabrics, complex patterns, or visible seams that require expert color matching, it’s wise to seek professional assistance.
A skilled tailor can tackle challenging repairs, ensuring your garment looks as good as new.
Don’t let fabric limitations hold you back—sometimes, calling in the pros is the smartest move
Frequently Asked Questions (FAQs)
How do I sew a rip?
You’ll need to assess the rip type first. Clean tears? Match edges, iron, and stitch. Holes? Patch ’em up. Seam rips? Realign and sew. For all types, use matching thread and appropriate needles. Don’t forget to reinforce for durability
What is the best stitch for mending a rip?
For mending a rip, you’ll want to use a backstitch. It’s strong and versatile. Start by knotting your thread, then sew back and forth along the tear, overlapping stitches slightly. This creates a durable repair that’ll hold up well
How to sew a ripped seam by hand?
To mend a ripped seam by hand, turn the garment inside out and align the edges. Thread a needle, knot the end, and use a backstitch. Work your way along the seam, pulling tightly to secure each stitch
How to quickly seam rip?
Did you know seam rippers can save you up to 90% of time compared to scissors? To quickly seam rip, grab your seam ripper, slide it under stitches, and push forward. Repeat until the seam’s undone, then brush away loose threads
How do you sew a rip in fabric?
First, iron the area and trim loose threads. Then, reinforce with interfacing. Use a needle and thread to stitch over the rip, employing a zigzag or straight stitch. For larger holes, consider patching with matching fabric
How do you sew a seam Rip?
To sew a seam rip, match the edges, pin them together, and use a straight stitch along the original seam line. Backstitch at both ends for strength. Trim excess threads and press the seam for a polished finish
How do you sew a rip in a sewing machine?
You’ll conquer that rip in record time! First, set your machine to a zigzag stitch. Place the fabric under the presser foot, aligning the tear. Lower the needle, sew slowly over the rip, and backstitch to secure
How do you sew a tear rip?
To sew a tear rip, start by trimming loose threads and ironing the area flat. Pin the edges together, then use a needle and thread to create small, close stitches along the tear. Finish by reinforcing with a zigzag stitch
How long does a typical mended rip last?
Like a well-tended garden, a mended rip can flourish. You’ll typically enjoy 6-12 months of wear from a properly sewn repair. Factors like fabric type, repair technique, and stress on the area influence longevity. Regular inspections help maintain durability
Can I sew a rip in waterproof or coated fabrics?
You can mend waterproof fabrics, but it’s tricky. Use a seam sealer and waterproof thread. Patch from the inside, applying heat-activated tape first. Stitch carefully to avoid puncturing the fabric’s coating. Test for leaks afterwards
What causes fabric to rip more easily?
Imagine your favorite shirt betraying you! Fabric rips more easily due to wear and tear, poor quality materials, excessive stress on seams, exposure to harsh chemicals, and improper care. Regular maintenance and gentle handling can help prevent premature tearing
Are there alternatives to sewing for fixing rips?
You’ve got options beyond sewing for fixing rips. Try fabric glue, iron-on patches, or fusible interfacing for quick fixes. For a no-sew approach, use fabric tape or safety pins. These alternatives can be lifesavers when you’re in a pinch
How can I prevent future rips in the same spot?
Did you know that reinforcing stress points can reduce rip recurrence by up to 80%? To prevent future rips, reinforce weak areas with iron-on patches, use fabric glue for extra strength, and avoid overloading pockets. Regular inspections help catch small tears early
Conclusion
While the task of sewing a rip may appear overwhelming, it’s one of those valuable little skills which is much easier than one might imagine. With the right supplies and simple techniques, you’ll be mending tears, holes, and seams in no time.
Remember the proper method for each type of damage, practice on scrap fabric, and never hesitate to add a dash of panache with decorative elements.
These repair skills, if mastered, will prolong the life of favorite garments, save money, and reduce waste. Happy mending!

