This site is supported by our readers. We may earn a commission, at no cost to you, if you purchase through links.
Cut the cord to the needed length, adding seam allowance, and wrap it in bias binding for a clean finish.
Use a cording or zipper foot to guide the fabric while stitching, keeping the cord snugly in place.
Baste the cording onto your fabric first to guarantee precise alignment.
When joining ends, fold raw edges inward and tuck them neatly to avoid fraying.
For sharp, professional results, press the seams carefully.
Master these steps, and you’ll add polished detail to any sewing project.
Table Of Contents
Key Takeaways
- You’ll master sewing cording by choosing the right cord material, cutting it to the needed length, and wrapping it in bias binding for a clean finish.
- To achieve professional results, you’ll use a cording or zipper foot to guide the fabric while stitching, keeping the cord snugly in place, and baste the cording onto your fabric first to guarantee precise alignment.
- You’ll learn to prepare and cut cording by selecting the right fabric, measuring techniques, and mastering preshrinking methods to ensure a polished finish.
- By following key techniques like stitching over cording, pressing seams, and troubleshooting common issues, you’ll be able to add a professional touch to your sewing projects and create polished, decorative edges with ease.
Benefits of Sewing With Cording
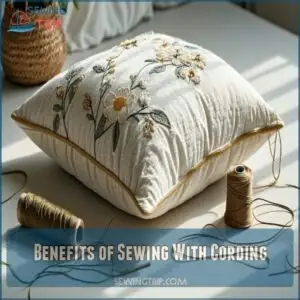
Sewing with cording makes your projects look polished and professional. It adds definition, contrast, and a clean finish to any design.
Elevates Project Aesthetics
Decorative cording enhances your projects by adding texture, style, and visual appeal. It’s an easy way to achieve polished, professional results with minimal effort.
Pairing the right fabric choice with bold color options or subtle pattern mixing creates aesthetic balance. Use a piping foot for precise stitching and smooth edges.
- Cord Texture: Choose smooth or textured cording for visual interest.
- Fabric Choice: Match fabric cording to your project.
- Color Options: Add contrast or complement tones.
- Pattern Mixing: Blend designs for unique accents.
Adds Definition and Contrast
Sewing cording often adds sharp definition and visual appeal to your projects, making edges stand out with ease.
By pairing contrasting fabrics or mixing textures, you can create bold, decorative cord accents that elevate any design.
Follow these steps for crisp edge details:
- Use a zipper foot for precise stitching around the fabric cord.
- Choose contrasting colors or patterns for striking results.
- Practice piping tutorials to master smooth, professional-looking finishes.
Creates Professional Finish
A professional finish makes your sewing projects stand out.
Clean seams, crisp edges, and smooth decorative edging are all achievable with the right techniques.
A straight stitch seam finish can create a polished look.
Start by using a cording foot for precise stitching and better edge alignment.
Slow down to maintain stitch quality and avoid puckering.
Snip corners carefully to create sharp, polished edges.
Pressing seams with a pressing cloth achieves smooth results without damaging the fabric.
Always test cord tension on scrap material to avoid uneven stitching.
Pair thoughtful fabric selection with proper tools for a refined look.
With practice and a good piping tutorial, sewing cording can elevate even simple designs to a high-end, custom finish.
Cording Feet and Tools
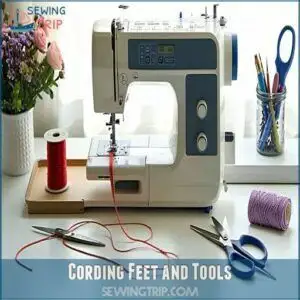
You’ll need specific tools to achieve clean, professional cording results. The essential cording foot features a groove underneath that holds your cord securely while stitching. This design guarantees your seams stay straight and smooth without puckers.
Learning how to sew cording involves several key techniques. While a dedicated piping foot works best, you can also use a zipper foot if your machine lacks specialty feet. Both tools help guide the fabric evenly around the cord for consistent results.
Your sewing notions should include sharp scissors for clean cuts, straight pins to secure the cording in place, and a bodkin needle for threading cord through fabric channels. Consider investing in a walking foot for thick fabrics.
Keep your tools in good condition by cleaning your machine regularly and matching needle types to your fabric weight. These simple steps help prevent skipped stitches and assure your sewing machine cording projects turn out perfectly every time.
Preparing and Cutting Cording
A sharp pair of scissors in your hand marks the start of your cording journey. Before you begin cutting cording, take these essential steps to make certain success.
- Choose your cord materials wisely:
- Cotton gives you a soft, natural look
- Polyester offers strength and durability
- Leather creates bold, striking effects
- Get your measuring techniques right:
- Use a measuring tape for exact lengths
- Add extra 2 inches for seam allowance
- Mark cutting points with fabric chalk
- Master preshrinking methods:
- Soak cotton cords in warm water
- Air dry flat without stretching
- Test a small piece first
Cut your cording at a 45-degree angle for clean edges. This helps when you’re using a cording foot later. Always measure twice and cut once – this simple rule saves time and materials. Keep your cutting tools sharp for precise results.
To achieve a professional finish, understanding decorative cording techniques is important for any sewing project.
Joining Cording Ends
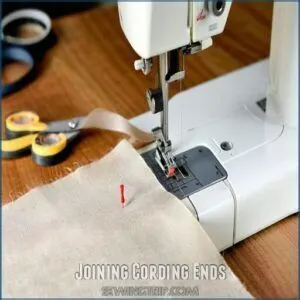
Joining cording ends provides a clean, seamless finish. Here’s how to do it:
- Unstitch 1–2 inches of the bias tape around the cording. Trim the cording so it stops just short of the unstitched section.
- Fold the raw edge of the bias tape inward and press it flat to prevent fraying.
- Tuck the trimmed cording into the folded section, aligning ends neatly. Pin in place.
- Using a cording foot, re-stitch the bias tape snugly, trimming excess for a polished finish.
Sewing Cording in Seams
Sewing cording into seams gives your projects a clean, polished look. You’ll align the cording, baste it in place, and stitch securely for a neat finish.
Basting Cording
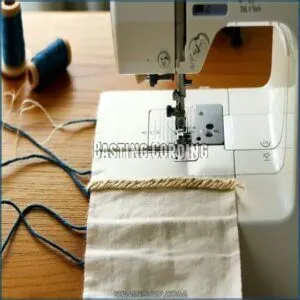
Before sewing cording, baste it along the seam allowance with raw edges aligned. Use loose, long stitches for easy adjustments.
This guarantees precise edge alignment and prevents shifting. Check your tension management to avoid puckering, and keep stitch control steady.
Proper cord preparation and basting tips will help you insert cording seamlessly, setting the stage for polished results.
Utilizing the right sewing cording tools is essential for achieving professional-looking seams.
Stitching Over Cording
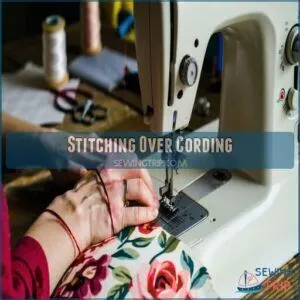
After basting, it’s time to sew the cording securely. Keep your stitching straight and centered for a polished look. A cording foot makes this easier, especially for precise sewing piping. Using the right cording foot tools can greatly improve results.
- Adjust Stitch Length: Use a slightly longer stitch length to prevent puckering.
- Control Cord Tension: Keep fabric and cording relaxed—don’t stretch them.
- Align Seam Allowance: Clip seam allowances on curves, check alignment often, and guide the fabric carefully.
Choose a thread color that matches your fabric choice for a seamless finish.
Pressing Seams With Cording
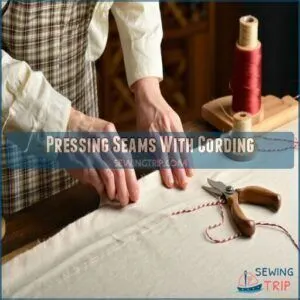
Pressing seams with cording is key for a polished finish. Proper tools and techniques guarantee your project looks professional.
Focus on seam pressing without damaging the fabric or shifting the cord. Utilizing a seam press tool can help achieve crisp folds and prevent distortion.
Use these tips for success:
- Let seams cool under a tailor’s clapper for lasting results.
- Place a press cloth between the iron and fabric to avoid shine or distortion.
- Adjust iron settings to match your fabric type.
- Avoid pressing directly on the cord; focus on edges instead.
- Check alignment often to keep the cord in place.
Mastering these cording techniques improves wrinkle removal and overall seam quality.
Making Your Own Cording
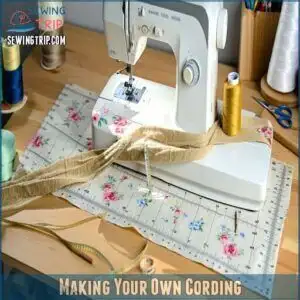
Making your own cording gives you control over the fabric, size, and style. You’ll need bias-cut fabric and a cord to get started.
Choosing Fabric for Bias Binding
Choosing the right fabric for bias binding guarantees smooth sewing and lasting results.
Lightweight cotton is a popular fabric choice due to its easy folding and pressing.
Silk also works well for its subtle stretch, perfect for curves.
Always preshrink your fabric and piping cord together to avoid mismatched sizes later.
Steam pressing bias tape before sewing techniques like stitching helps create clean edges.
For professional results, understanding cording foot types is essential for selecting the right tools.
Here’s a quick guide:
| Factor | Best Option | Reason |
|---|---|---|
| Fabric Selection | Lightweight cotton/silk | Easy to handle and durable |
| Bias Cuts | True bias | Stretches around curves well |
| Texture Options | Smooth fabrics | Prevents bulk |
| Thread Colors | Match or contrast | Adds style or blends neatly |
Inserting Cording in Bias Binding
Now that you’ve chosen your fabric, it’s time to encase the cord with precision.
Follow these steps for smooth results:
- Cut bias tape wider than your cord plus seam allowance. This guarantees enough fabric to wrap snugly.
- Thread the cord into the bias tape using a bodkin, needle, or safety pin, keeping it even.
- Wrap and press the fabric tightly around the cord, smoothing edges as you go.
- Sew tightly using a cording foot or zipper foot. Sew close to the cord for a secure, gap-free finish.
These binding methods create polished results. Understanding bias binding techniques is essential for achieving professional-looking finishes with cording.
Troubleshooting Sewn Cording
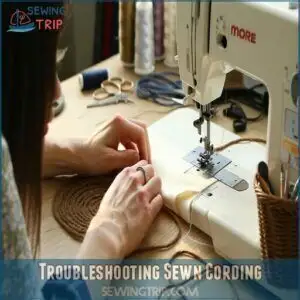
Troubleshooting sewn cording maintains smooth, polished results.
If you notice puckered seams, clip seam allowances before turning corners.
For wrinkled piping, preshrink both the cord and fabric, and use bias binding for better flexibility.
A zipper or piping foot helps avoid gaps near the piping.
To fix twisted piping, slow down and pin carefully.
Trim the seam allowance after stitching if the cord is exposed.
Preparation is key—preshrink fabric, cut on the bias, and maintain steady Cord Tension.
Adjust stitch length to address Seam Issues and make fixes easier.
Regular maintenance can help prevent common thread tension problems.
Here’s a quick guide:
| Problem | Cause | Solution | Tool Needed |
|---|---|---|---|
| Puckering Problems | Tight seam allowance | Clip corners | Scissors |
| Wrinkled Piping | No preshrinking | Preshrink fabric and cord | Steamer/Washer |
| Twisted Piping | Uneven pinning | Pin slowly and accurately | Pins |
| Fabric Fraying | Unfinished edges | Trim and secure seams | Seam Ripper |
Master these steps to perfect your corded seams.
Frequently Asked Questions (FAQs)
Why should you use cording in your sewing projects?
Cording adds polish and texture to your sewing projects.
It strengthens seams, enhances durability, and creates decorative edges.
Whether for garments, home décor, or crafts, it’s an easy way to elevate your designs with professional flair.
How to pick up stitches along an i-cord?
Imagine tracing a path along the i-cord’s edge.
Insert your needle under the outer loops, picking up one stitch per row.
Keep even, ensuring smooth flows for a clean, professional finish.
Can cording add custom detail to your sewing projects?
Yes, adding cording to sewing projects creates custom details that stand out.
It enhances edges, adds texture, and provides a polished finish.
Use quality materials and precise stitching for a professional look in garments or décor.
What is cording and how is it used?
Cording is like the frame of a painting—it adds structure and flair.
It’s made by wrapping fabric around a cord, then sewn onto garments, upholstery, or crafts for decorative edges and polished details.
What is the difference between cording and piping?
You’ll find that cording and piping are often used interchangeably, but piping typically refers to a specific type of cording used in sewing to add decorative edges or trim.
How to sew cord onto fabric?
You sew cord onto fabric by threading it through a bias strip, then stitching it in place with a zipper foot, keeping edges aligned for a polished finish always.
What foot do I use to sew cording?
You’ll use a zipper or piping foot to sew cording, which helps guide the cord and fabric smoothly, allowing for precise stitching and a professional finish.
How do you calculate fabric for cording?
You calculate fabric for cording by adding the cord’s thickness to the seam allowance, then multiplying by the project’s perimeter, considering the fabric’s grain and desired cording size.
How do you use a cord in a sewing machine?
Like riding a bike, you’ll master using a cord in a sewing machine by threading it through the machine’s designated path.
This process allows for adjusting stitch length for a smooth, even finish quickly.
What are the different types of cording sewing?
You’ll find various cording techniques, including straight stitching, zigzag stitching, and decorative methods like French knots and appliqué, to add unique touches to your projects.
Conclusion
Now that you’ve learned how to sew cording, you’ll find it’s easier than you thought.
You’re sewing like a pro, using the right tools for the job.
Mastering how to sew cording gives your projects a polished look. You’ve got the skills to add a professional touch with cording, so go ahead and try it, you’ve learned how to sew cording.
- https://www.newtoncustominteriors.com/how-to-make-cording/
- https://www.reddit.com/r/History_Bounding/comments/17s1a17/how_to_machine_sew_dense_cording_on_a_pair_of/
- https://straight-grain.com/archives/13447
- https://blog.closetcorepatterns.com/tutorial-how-to-sew-piping/
- https://www.polkadotchair.com/sewing-lesson-how-to-make-and-sew-piping/

