This site is supported by our readers. We may earn a commission, at no cost to you, if you purchase through links.
You’ll learn to select the right tools, understand various elastic types, and choose the appropriate needle to avoid skipped stitches.
Whether creating casings or sewing elastic directly onto fabric, this guide empowers you with the techniques for a professional finish.
Embrace control over your sewing projects and achieve a snug, tailored look with confidence.
Table Of Contents
Key Takeaways
- Measuring tape, scissors, and a sewing machine are essential tools for sewing elastic onto fabric, ensuring accurate cutting and sewing of both the fabric and elastic.
- Different types of elastic, such as flat, shirring, clear, fold-over, and knitted elastic, offer various options for different sewing projects, allowing for customization and flexibility in design.
- Selecting the right needle, such as a stretch needle with a rounded point, and adjusting the needle diameter and stitch length are crucial for preventing skipped stitches and ensuring the elasticated effect on various fabric types.
- Techniques for attaching elastic include creating a casing by folding the fabric edge and sewing close to it, or directly sewing the elastic to the fabric using a zigzag stitch pattern and adjusting tension settings for even stitch spacing.
Essential Materials and Tools
Diving into the art of sewing elastic, you’ll need a trusty toolkit that’s as ready for action as you are.
Picture this: your measuring tape becomes your best friend, guiding you through the fabric jungle with precision.
Your sewing machine? That’s your trusty steed, ready to tackle any challenge, especially when it comes to sewing elastic with finesse.
Don’t forget your scissors, sharp as a tack, making clean cuts through fabric like it’s butter.
And thread, the unsung hero, holding everything together with silent strength.
Whether you’re working with flat or woven elastic, a simple safety pin becomes your secret weapon, turning the tricky task of threading elastic through casings into a walk in the park.
Gear up, it’s time to weave some magic!
Types of Elastic
When selecting elastic for your sewing projects, you’ll encounter various types, each with unique properties.
Flat, shirring, clear, and fold-over elastics cater to different applications and effects in garment construction.
Flat Elastic
After gathering your sewing essentials, let’s dive into the world of flat elastic.
- Woven for strength and durability
- Braided for lighter stretch and thinner fabrics
- Knitted for softness and comfort
- Non-roll for waistbands that stay put
Mastering flat elastic’s nuances, from casing to direct sewing, ensures a snug fit and seamless finish.
Shirring Elastic
When you’re aiming for that snug fit with a touch of stretch, shirring elastic is your go-to. Wind it by hand onto the bobbin, keeping tension even, and let the top thread be regular.
As you sew, the magic happens—decorative shirring effects emerge. If issues arise, check your bobbin thread selection and elastic tension control.
Clear Elastic
After mastering shirring elastic, let’s dive into clear elastic, your secret weapon for invisible elasticity.
Perfect for joining edges without bulk, it’s a game-changer for hemline finishes and garment embellishments.
On your sewing machine, use a regular thread with an adjusted stitch length. This type of elastic ensures your elastic waistband stays put, blending seamlessly into your fabric for that magic touch of support.
Fold-over Elastic
Transitioning from the clear, rubbery option, let’s dive into fold-over elastic. It’s your go-to for a polished look with a twist:
- Mimics bias binding for seamless seam finishing.
- Offers an invisible finish, hiding raw edges.
- Ideal for decorative embellishments with a zigzag stitch.
- Versatile, like knitted elastic, perfect for rounding out your project with flair.
Master the fold-over technique and watch your sewing machine sing!
Selecting the Right Needle
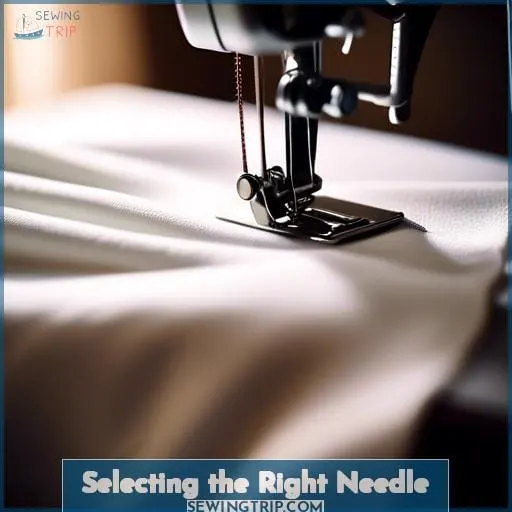
Choosing the right needle is crucial when sewing elastic to ensure smooth, skip-free stitches.
A stretch needle’s rounded point is ideal as it penetrates between fabric threads without causing damage.
Needle Type Selection
Choosing the right needle type is like picking the perfect spice for your dish—it can make or break the outcome.
For elastic, think of a stretch needle as your go-to. Its rounded point glides between threads, avoiding the dreaded skipped stitches. Unlike the sharper ballpoint needle, it’s designed for that smooth, elasticated effect on both flat and gathered fabric, keeping your hidden elastic just right.
Stretch Needle Benefits
Choosing the right stretch needle is like finding the perfect dance partner for your fabric types. It glides smoothly, avoiding the dreaded snag on raw edges and ensuring your stitches are the talk of the town.
- Stretch needles adapt to various fabric types, preventing skipped stitches.
- Needle diameter and stitch length adjustments keep thread tension in harmony.
- Perfect for sewing elastic to fabric, making every project a masterpiece.
Avoiding Stitch Skipping
To dodge those pesky skipped stitches, match needle size and sharpness to your fabric type.
A stretch needle glides through elastic like a hot knife through butter, preventing snags.
For casings, a safety pin through elastic guides it smoothly. Overlap ends snugly, and for shirring, alternate between individual and continuous rows.
Creating a Casing for Elastic
Switching gears from selecting the right needle, let’s dive into the art of creating a casing for elastic.
Think of the casing as a cozy tunnel for your elastic to live in. First off, measure your elastic’s width and add a pinch of ease allowance—about half an inch should do the trick. This extra space prevents a too-tight squeeze and avoids the dreaded raw finish.
Fold your fabric edge over, then once more, ensuring the hem width accommodates your elastic plus the ease. Now, with your sewing machine set to a medium stitch length, sew close to the fabric’s folded edge, leaving a small opening.
Direct Sewing of Elastic to Fabric
Direct sewing of elastic to fabric is your ticket to achieving that snug, yet comfortable fit you’re after.
- Fabric Preparation: First off, give your fabric a good once-over. Ensure it’s smooth and ready for action. This step sets the stage for a flawless finish.
- Elastic Width & Overlapping Distance: Measure twice, cut once! Trim your elastic to the perfect length, remembering to add a bit for the overlap—about 0.25-0.5 inches should do the trick.
- Stitch Pattern: Zigzag stitches are your best friend here. They offer the stretch and flexibility needed to keep things comfy and secure.
- Tension Adjustment: Play around with your sewing machine’s tension settings. Getting this right means avoiding puckered fabric or stretched-out elastic.
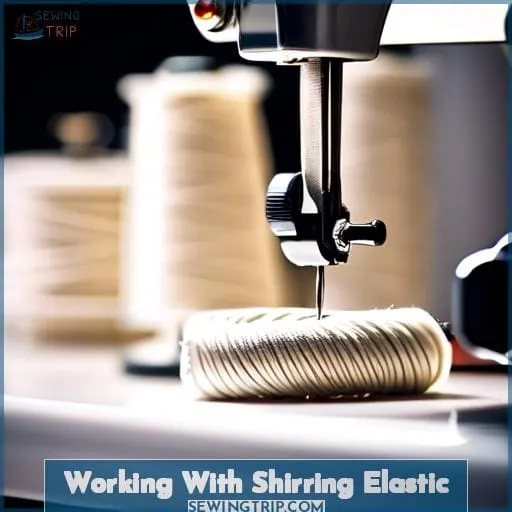
Working With Shirring Elastic
When working with shirring elastic, you’ll encounter three main methods: individual rows, continuous rows, and sewing in the round or spiral.
Each technique offers a unique way to add elasticity and gather fabric, ensuring a snug and comfortable fit.
Method 1 – Individual Rows
After mastering direct sewing of elastic, let’s dive into shirring with individual rows. It’s like painting with thread, where shirring density, stitch length, bobbin tension, and fabric type are your palette.
| Shirring Density | Stitch Length | Bobbin Tension |
|---|---|---|
| Light | Long | Loose |
| Medium | Medium | Medium |
| Dense | Short | Tight |
| Custom | Your Choice | Experiment |
Method 2 – Continuous Rows
After mastering individual rows, let’s dive into continuous rows for shirring. This technique keeps your project flowing without constant stops and starts.
- Keep an eye on tension; it’s key for even gathers.
- Ensure spacing between rows is consistent.
- Adjust stitch length for the perfect shirr.
- Troubleshooting tips: if stitches skip, recheck your bobbin.
- Remember, practice makes perfect—don’t get your threads in a twist!
Method 3 – in the Round or Spiral
Dive into spiral shirring with gusto! Imagine your sewing machine as a trusty steed, guiding you through round shirring adventures.
Keep the elastic tension just right—not too tight, not too loose. Embrace the continuous flow of fabric as you pivot, using the free arm for seamless transitions.
It’s like dancing with your project, each stitch a step towards perfection.
Frequently Asked Questions (FAQs)
How to adjust tension for sewing elastic?
Adjusting tension for sewing elastic is a delicate process. To get it right, you need to crank up the top tension while easing off the bobbin. It’s a balancing act similar to walking a tightrope, but with practice, you’ll master it.
Can I sew elastic on stretch fabrics?
Yes, you can sew elastic on stretch fabrics.
It’s like threading a needle—precision meets patience.
Use a stretch needle, zigzag stitch, and don’t stretch the elastic while sewing for a snug, professional finish.
What stitch length is best for sewing elastic?
For sewing elastic, a medium zig-zag stitch hits the sweet spot.
Think Goldilocks: not too long, not too short, but just right.
It allows the elastic to stretch without snapping your stitches.
How to repair twisted elastic in a casing?
Navigating a twisted elastic in a casing is like untangling a knotted thread; patience is key.
Open the casing, straighten the elastic, and stitch in the ditch at seams to prevent future twists.
Can elastic be sewn with a hand sewing needle?
Yes, you can hand sew elastic using a needle with a large eye for easy threading.
Conclusion
So, you thought sewing elastic was as simple as threading a needle? Think again. Mastering how to sew elastic with a sewing machine is your secret weapon for garments that fit like a glove and feel like a second skin.
Armed with the right tools, knowledge of elastic types, and the perfect needle, you’re set to tackle casings and direct sewing like a pro.
Dive into these techniques, and watch your sewing projects transform from homemade to haute couture with ease.

