This site is supported by our readers. We may earn a commission, at no cost to you, if you purchase through links.

Invest in sharp ballpoint needles and a walking foot to guide your fabric smoothly. When cutting, pay attention to the nap’s direction and use a rotary cutter for clean edges.
Choose longer stitch lengths to accommodate fleece’s stretchy nature and prevent puckering. Use zigzag or stretch stitches to maintain flexibility, and finish seams with bias tape or a serger to prevent fraying.
Remember, fleece is forgiving – treat it gently, and you’ll create cozy projects that feel like a warm hug.
Table Of Contents
Key Takeaways
- You’ll need special tools when sewing fleece, including sharp ballpoint or stretch needles, a walking foot, and polyester thread to ensure smooth stitching and prevent fabric damage.
- Always prepare your fleece fabric by pre-washing to prevent shrinkage, identifying the nap direction, and marking the right and wrong sides to create a professional-looking project.
- Choose the right stitches for fleece by using zigzag or stretch stitches with a slightly longer stitch length (3-3.5mm) to accommodate the fabric’s stretch and prevent puckering or seam stress.
- Finish your fleece project carefully by using serger or zigzag stitches on raw edges, applying bias tape if needed, and washing the finished item in cold water to maintain its soft texture and prevent shrinkage.
Preparing Fleece Fabric
Before you start sewing fleece, take a moment to prepare it properly for the best results.
From pre-washing to marking the fabric’s right side, these simple steps will save you time and frustration later.
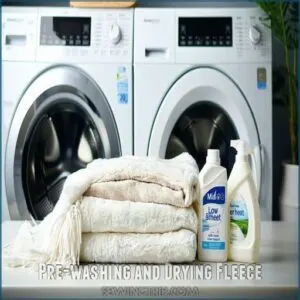
Pre-washing and Drying Fleece
Before you sew fleece fabric, prewashing is key.
It prevents fleece shrinkage and softens the fabric. Toss it in warm water with a mild detergent, then use low heat drying techniques or air dry.
This step preps the fabric, removes moisture, and improves fleece properties, making it easier to handle. Remember, proper fabric preparation guarantees smoother sewing!
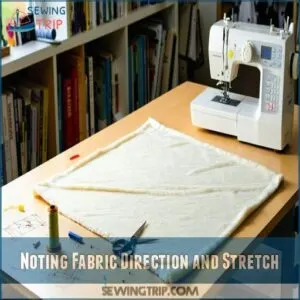
Noting Fabric Direction and Stretch
When sewing fleece fabric, knowing the fabric grain and stretch factors is key.
Analyze the texture by brushing your hand across it—this reveals the nap’s direction. To master sewing fleece techniques, understanding the different types of fleece and their properties is vital for success.
Remember, fleece properties include stretch along the cross-grain, so prioritize seam stability. Cutting techniques matter too: align pieces with the nap and stretch for a polished finish.
Sewing fleece like a pro starts here!
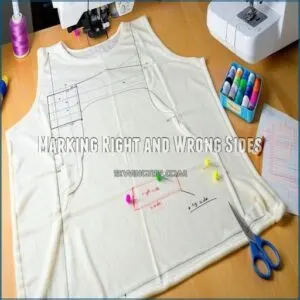
Marking Right and Wrong Sides
How can you avoid confusion while sewing fleece? Marking the right and wrong sides is a must!
Use these fleece sewing tips:
- Place a pin or chalk mark for side identification.
- Check fabric orientation before cutting.
- Highlight seam allowance areas with washable markers.
- Attach notes to pattern pieces for reference.
- Keep cutting techniques organized to prevent mix-ups.
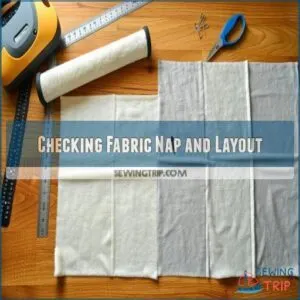
Checking Fabric Nap and Layout
Now that you’ve marked the fabric sides, focus on the fabric nap. Think of it as the “grain” of fleece—it determines the smooth or fuzzy direction for consistency.
Match the nap direction in your pattern placement to nail the look and feel. Understanding sewing fleece techniques is essential for achieving professional results.
Cutting efficiency improves when layouts align with fabric thickness, boosting seam alignment and making sewing with fleece a breeze.
Sewing Fleece Basics
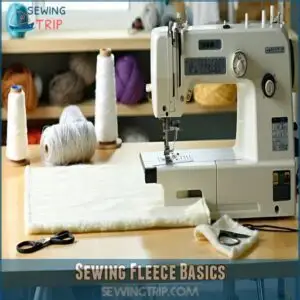
After prepping your fleece fabric, you’re ready to tackle the heart of your project. Sewing fleece isn’t rocket science, but it does have its quirks that can make or break your creation. Success starts with understanding the fabric’s unique personality and how it behaves under your needle. To minimize issues, considering fleece shrinkage is vital when working with different types of fleece.
Your sewing game plan should include:
- Approach fleece with patience and a gentle touch
- Respect the fabric’s stretch and texture
- Keep your movements smooth and controlled
- Think of your sewing machine as a dance partner
Mastering fleece sewing basics means working with the fabric, not against it. Take your time, move slowly, and let the material guide your hands. Remember, every stitch is a step in creating a cozy masterpiece that’ll keep you warm and looking sharp.
Choosing Right Tools
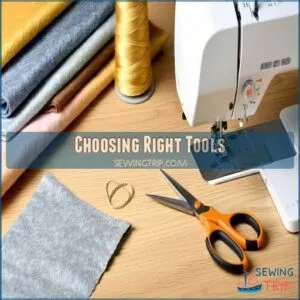
When sewing fleece, you’ll want to arm yourself with the right tools to make your project a success.
Invest in sharp fabric scissors, ballpoint needles, a walking foot, and high-quality thread to guarantee your fleece projects turn out smooth and professional.
Selecting High-quality Needles and Thread
Stepping from sewing basics, you’ll want to arm yourself with the right thread and needles for fleece.
Choose ballpoint or stretch needles that glide through knit fabrics without snagging.
Polyester thread works best, matching fleece’s synthetic nature. Understanding sewing machine needles is vital for a successful project.
Your thread selection matters – opt for a weight that complements the fabric’s thickness and makes strong, flexible stitches that move with the material.
Using Sharp Scissors or Rotary Cutter
Precision cutting tools are your secret weapon when sewing fleece.
Sharp fabric shears or a reliable rotary cutter will slice through this plush material like a hot knife through butter.
Keep your blades well-maintained and clean to guarantee crisp, accurate cuts every time.
Your fleece projects deserve nothing less than a clean, professional slice, made with sharp tools.
Walking Foot or Roller Foot Attachment
After slicing through your fleece with precision, you’ll want a secret weapon for smooth sailing: the walking foot or roller foot.
These game-changing attachments provide unbeatable fabric guidance, preventing slips and bunches. They grip your fleece like a pro, ensuring even feeding and sewing efficiency.
Think of them as your sewing machine’s trusty sidekicks, making fleece projects a breeze. For more information on using a walking foot attachment can be incredibly helpful in managing thick layers of fabric, and provide smooth sailing with fabric guidance.
Ballpoint or Stretch Needle Options
If your walking foot helped smooth out fleece fabric, get ready to upgrade your needle game.
When sewing fleece, your needle can make or break the project.
Here’s why ballpoint and stretch needles are your new best friends:
- Prevent fabric damage during stitching
- Glide through knit fabrics effortlessly
- Reduce skipped stitches dramatically
- Maintain fabric integrity and appearance
- Enhance overall sewing performance
Keep your sewing speed steady and watch those fleece projects come to life!
Mastering Fleece Stitches
When working with fleece, you’ll want to master the right stitches to guarantee your projects stay smooth and comfortable.
Choose zigzag or stretch stitches that accommodate the fabric’s unique texture and prevent unwanted stretching, giving you professional-looking results every time.
Zigzag Stitch or Stretch Stitch Techniques
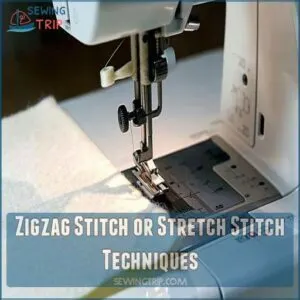
When sewing fleece, your zigzag or stretch stitch is your secret weapon for smooth seams.
Set your machine’s stitch tension to medium and choose a slightly longer stitch length to accommodate the fabric’s unique texture.
This approach helps prevent puckering and guarantees your seams remain stable and flexible, giving your fleece project that professional, polished finish.
Accommodating Fabric Stretch and Texture
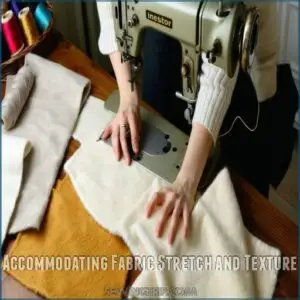
With fabric elasticity as your guide, embrace the unique stretch and texture of fleece like a pro.
Your sewing success hinges on understanding how this material moves and breathes.
Material flexibility means paying attention to each fabric section’s give and flow.
Mastering fleece handling transforms your projects from amateur to artisan, making every stitch count in your cozy creation.
Understanding fleece fabric stretch is essential for a professional finish, as it directly affects the overall quality of the garment.
Preventing Stretching or Puckering
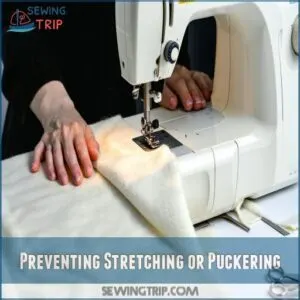
Anyone sewing fleece knows the struggle with fabric stretching and puckering.
Control fabric tension by gently guiding your material through the machine, avoiding pulling or pushing. Keep a light touch and maintain consistent pressure.
Your walking foot will be your secret weapon for fleece stability, helping prevent those pesky wrinkles and uneven seams that can ruin your project, with fabric tension and consistent pressure being key to success.
Using Longer Stitch Length for Comfort
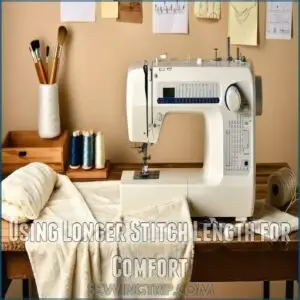
To prevent your fleece from throwing a fabric tantrum, master stitch length like a pro. Longer stitches are your secret weapon for smooth, comfortable seams.
Here’s how to nail your fabric stability: Understanding sewing fleece techniques is essential for achieving professional results.
- Set your machine to 3-3.5mm stitch length
- Test on scrap fleece first
- Adjust thread tension for elastic comfort
Your seams will thank you later.
Finishing Fleece Projects
When you’re ready to finish your fleece project, you’ll want to choose techniques that’ll keep your fabric looking neat and professional.
Learn how to use serger or zigzag stitches, apply bias tape to raw edges, and press seams carefully to create a polished, cozy final product.
Serger or Zigzag Stitch Finishing
Serger or zigzag stitch finishing is your go-to for clean, secure fleece seam finishing. These methods prevent fraying and guarantee stitch tension stays even.
Serging adds a pro touch, while a zigzag stitch works well for DIYers. Using a Serger machine can greatly enhance the quality of your fleece projects.
For smooth results, stabilize the fabric and keep it steady. These fleece sewing tips will make your seams polished and durable!
Bias Tape or Binding for Raw Edges
Adding bias tape or binding is a great way to tackle raw edges on fleece projects. It keeps seams clean, prevents curling, and adds a polished touch.
- Choose sturdy bias tape for durability and smooth folds.
- Pin or clip thoroughly to stabilize slippery fleece while sewing.
- Use steady, even stitching to secure the binding for a professional finish.
Pressing Seams With Warm Iron
When pressing seams in fleece, always use iron temperature control to keep it on a low, warm setting.
This prevents melting and fabric wrinkling. For smooth seams, try light heat setting methods combined with a pressing cloth for extra safety.
Avoid holding the iron too long—quick, gentle presses work best for seam smoothing techniques in fleece sewing projects.
Interfacing for Reinforcement and Stability
For fleece sewing, interfacing is a game-changer when you need extra strength for closures like zippers or buttons.
Choose lightweight or fusible interfacing for fabric support without adding bulk.
Reinforcement techniques, like sewing interfacing to stretchy areas, prevent sagging.
Understanding sewing with interfacing is essential for achieving professional results in various projects.
A universal needle works best for stability methods, ensuring smooth stitches and dependable results in your sewing fleece projects.
Caring for Handmade Fleece Items
After reinforcing your fleece project, keep it looking sharp with smart care tricks.
Wash handmade fleece items in cold water to prevent shrinkage, and always air dry.
Skip the dryer’s high heat – it’ll zap the soft texture faster than you can say "fabric disaster."
Your lovingly sewn fleece deserves gentle treatment to stay cozy and fresh.
Frequently Asked Questions (FAQs)
Can you sew fleece on a regular sewing machine?
Just when you thought your trusty sewing machine couldn’t handle fleece, you’ll be surprised!
Yes, you can sew fleece on a regular machine by using a ballpoint needle, adjusting stitch length, and sewing slowly for professional results.
What stitch is best for fleece?
You’ll want a zigzag or stretch stitch when sewing fleece.
These stitches let the fabric move without breaking, preventing puckering.
A ballpoint needle helps glide through the knit fabric smoothly and maintains your project’s professional finish.
How to sew a fleece for beginners?
Stumbling into fleece sewing? Grab sharp scissors, a ballpoint needle, and stretch stitch.
Cut carefully, sew slowly, and use a walking foot.
Embrace the cozy fabric’s forgiving nature as you craft your first fleece masterpiece.
Do I need a special needle to sew fleece?
Yes, you’ll want a ballpoint or stretch needle when sewing fleece.
These special needles glide smoothly through the fabric, preventing snags and tears while ensuring clean, professional-looking stitches without damaging the delicate knit material, using a stretch needle can be beneficial.
Can I mix fleece with other fabric types?
Fabric fusion isn’t a fashion faux pas!
You’ll want to choose complementary knits or lightweight woven fabrics with similar stretch characteristics.
Carefully match fabric weights and pre-wash everything to guarantee your creation stays smooth and comfortable.
How do I prevent pilling on fleece?
To keep your fleece looking fresh, wash it inside out in cold water, use a gentle cycle, and avoid fabric softeners.
Dry on low heat or air-dry.
Trim loose pills with scissors, and store garments carefully to minimize friction.
Are polyester and polar fleece the same?
Polyester and polar fleece aren’t twins, but cousins.
Polyester is the fabric family, while polar fleece is a specific type of polyester fabric made from recycled plastic bottles.
Polar fleece offers extra warmth and softness.
What projects are best for beginners?
Beginners should start with simple fleece projects like no-sew throw blankets, cozy scarves, or basic pillowcases.
These quick wins build confidence and teach fundamental skills without overwhelming you with complex techniques or advanced sewing requirements.
Can fleece fabric be embroidered easily?
Yes, you can embroider fleece, but be careful!
Use a stabilizer to prevent fabric distortion. Choose a ballpoint needle and select lightweight designs.
Test on a scrap piece first to guarantee clean, crisp embroidery results.
Conclusion
Sailing through the field of fleece sewing is like exploring a cozy craft workshop.
You’ve learned the secrets of handling this forgiving fabric, from prepping to finishing. With the right tools, techniques, and confidence, you’ll master how to sew fleece like a pro.
Remember, every stitch brings you closer to creating warm, comfortable projects that wrap you in handmade comfort. Embrace the journey, trust your skills, and let your creativity flourish.

