This site is supported by our readers. We may earn a commission, at no cost to you, if you purchase through links.
 Bring simplicity into the workings and beauty of your garments with the ability to sew hook-and-eye closures.
With these steps, you will have clear directions for threading the needle, marking the position, and stitching the hook securely.
You’ll gain confidence in every project for perfect fastenings.
Learn how to add a touch of classic, dependable closures to your sewing creations.
Dive in and get started!
Table Of Contents
Key Takeaways
- Elevate your sewing finesse with the art of hook-and-eye closures, adding a touch of timeless sophistication to your creations.
- Precision is key! Mark the hook and eye positions meticulously, ensuring a seamless closure that will keep your garments looking sharp.
- Choose the right thread and needle for your fabric, and don’t forget to coat the thread with beeswax for extra strength – it’ll make all the difference!
- Practice makes perfect! Take your time, experiment with different techniques, and soon you’ll be sewing hook-and-eye closures like a pro, adding a polished touch to your handmade masterpieces.
How to Sew Hook and Eye Closures?
To sew hook and eye closures, start by threading your needle with strong, matching thread. Position the hook 1/8 inch from the fabric edge and secure it using blanket stitches around the loops.
Next, mark the spot for the eye using a fabric pencil or tailor’s tacking, making sure it aligns perfectly with the hook. Attach the eye with the same stitch technique, ensuring even and secure loops. This method creates a durable, professional closure.
Curious to master this skill? There’s more to learn to perfect your technique.
Finishing Eye Tape and Hook
To complete eye tape and hook closures, follow through with the correct placement of the eyes and hooks and the thread tension**.
Use fabric that will blend with your garment. Attach the hook 1/8 inch from the edge of the fabric; place the eye to fit precisely into the hook for a close closure.
Use a strong thread with a sharp regular sewing needle and sew around the loops using blanket stitches to secure the closure.
With correct placement and stitching, you can ensure your fabric is securely fastened smoothly without any likelihood of bunching or puckering.
Installing Hook and Eye
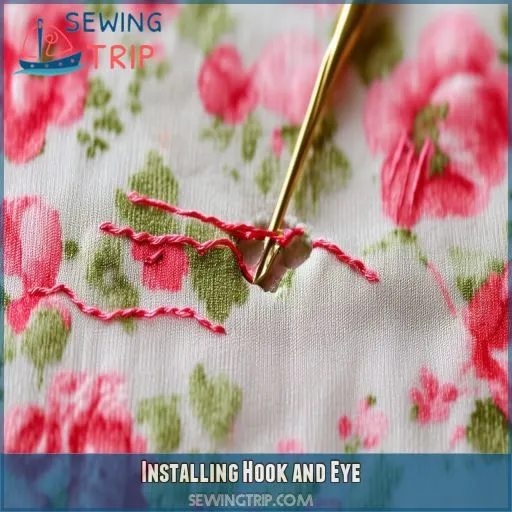
After you have completed preparing the eye tape and hook install them. Perfect placement of the hook and marking of the eye gives seamless closure, for which precision is required.
- Fabric preparation: Make sure edges aren’t frayed.
- Thread selection: Use thread that matches the color of the fabric.
- Hook placement: Place the hook 1/8 inch from edge.
- Knot security: Secure the ends properly to prevent untying.
You are going to create strong and professional-looking hook and eye closure elements without breaking a sweat, and these will enhance your sewing projects.
Sewing a Hook and Bar
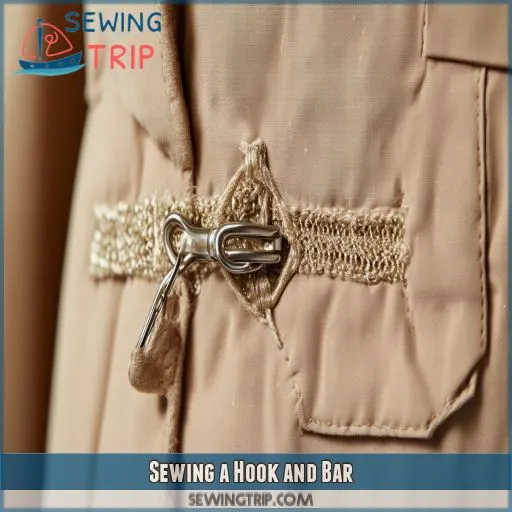
Crafting a secure hook and bar closure is a breeze with the right technique. Start by positioning the hook 1/8 inch from the fabric’s edge on the garment’s underside. Thread your needle and pass it through the fabric and hook’s loop, securing with a knot. Sew around the hook’s bill with 2-3 stitches, then use blanket stitches to secure the loops. Tie off the thread and cut the excess for a professional, concealed closure.
| Hook Placement | Thread Tension | Fabric Choice | Concealed Closure | Sewing Technique |
|---|---|---|---|---|
| 1/8 inch from edge | Secure with knot | Match garment | Blanket stitches | Sew around hook |
Step 1: Thread the Needle
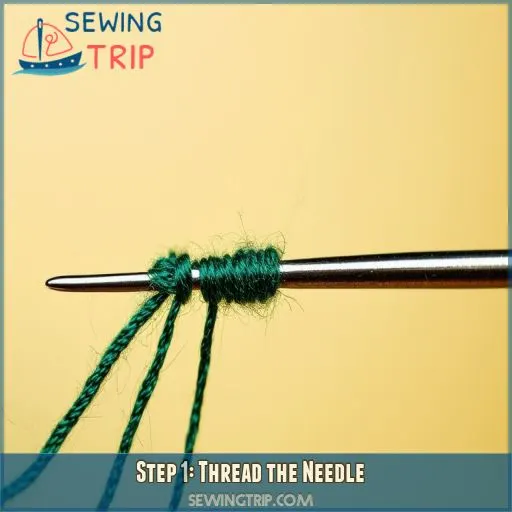
First, select the appropriate size and type of needle for your fabric.
Select a thread color to complement your fabric—here, we use a solid color.
Cut the thread to the desired length—we use 16–18 inches—coat it with beeswax for some extra strength, and then double-end through the needle, but not too tightly to pucker.
Knot well to prevent slipping. This step, when mastered, ensures a sturdy and smooth thread loop when securing the metal eyes using buttonhole or blanket stitches.
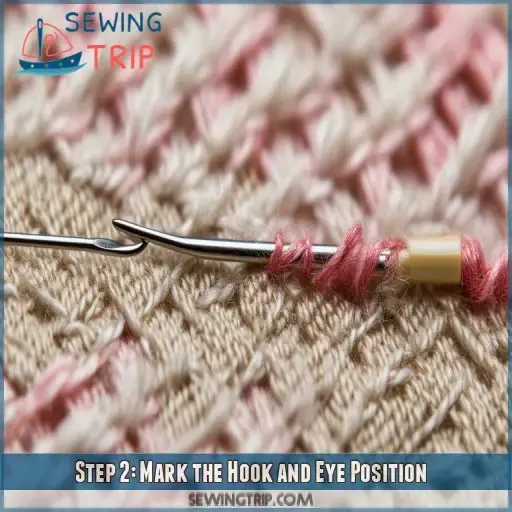
Step 2: Mark the Hook and Eye Position
To ensure precise hook placement and eye marking, follow these steps:
- Position the Hook: Put the hook on the wrong side of the fabric, 1/8 inch away from the fabric edge.
- Eye Marking: Accurately match and align the taut fabric to the position of the hook and mark for the attachment of an eye.
- Stitch Length and Knot Security: Use tailor’s tacking or a fabric pencil to mark matching seam points. This will give you even loops and secure blanket stitches that are professional-looking and couture.
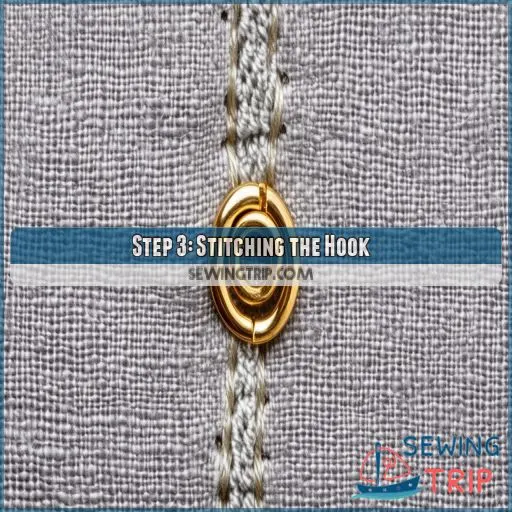
Step 3: Stitching the Hook
Now that you’ve marked the perfect placement for your hook and eye, it’s time to get stitching! Start by threading your needle with a sturdy thread and securing it with a knot.
Position the hook about 1/8 inch from the fabric’s edge, then stitch around the bill of the hook with 2-3 small, tight stitches. Use blanket stitches to secure the loops, tying off the thread neatly when finished.
Remember to choose a thread color that blends seamlessly with your fabric for a polished look.
Frequently Asked Questions (FAQs)
How do you sew eye tape and hook on a sewing machine?
Want a perfect closure? Attach the hook and eye tape by lining it up, stitching along the marked path, and topstitching. Make sure it’s ideal by double-checking for alignment. Your garment will close perfectly every time!
How do you finish eye tape and hook?
Finish eye tape and hook by sewing around the eye loops with blanket stitches, ensuring stability. Next, stitch around the hooks similarly. Finally, secure the thread carefully and trim any excess for a polished look.
How to install hook and eye?
Secure the hook 1/8 inch from the fabric’s edge, sewing around the bill with a few stitches. Position the eye, sew around the loop, and add stitches on either side for stability. Voila – a polished hook and eye closure!
How to sew a hook and bar?
Imagine quickly fixing your favorite skirt. To sew a hook and bar, position the bar, secure it with a few stitches, then use blanket stitches around the loops. Finally, securely tie off and trim any excess thread.
How do you choose the right size hook?
Choose a proportionate hook according to the weight and type of garment. A small hook will almost disappear on a light garment, and larger hooks hold for more excellent anchorage in heavier materials. Also, match your fabric with a matching hook color for a discreet finish.
How can I prevent my thread from tangling?
Prevent tangled thread by running it over a bit of beeswax, ironing it to smoothen, and using shorter lengths while sewing. Keep your workspace tidy, and be sure you have a good needle to guarantee even tension as you go along.
What is the best type of fabric for hook and eye closures?
The best type of fabric for hook and eye closures is medium-weight, non-stretch materials like cotton or wool. They provide stability, preventing puckering and ensuring the closures stay securely in place without distorting the garment’s shape.
How do I sew a hook and eye on delicate fabrics?
For delicate fabrics, use the smallest hook possible and sew it on carefully, securing the thread with tiny stitches. Attach the eye with a blanket stitch to prevent puckering. Take your time for a clean, professional finish.
Can hooks and eyes be sewn by hand and machine?
Yes, you can sew hooks and eyes by hand or machine. Hand-sewing offers precision for delicate fabrics, while machine-sewing provides speed for sturdy materials. Choose your method based on fabric type and your comfort level.
Conclusion
With the hook-and-eye closure technique in your pocket, you’ll sew up storms and add timeless sophistication to your garments.
You’ll unlock endless possibilities for sewing once you learn how to sew hook and eye closures so that fitting improvements and excellent finishes are added to your sewing projects.

