This site is supported by our readers. We may earn a commission, at no cost to you, if you purchase through links.
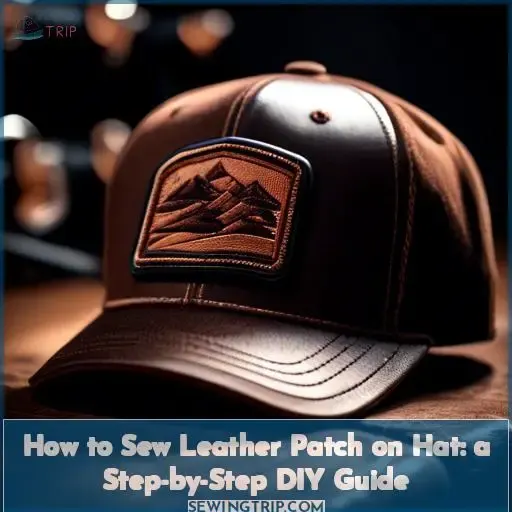
 Transform your headwear into a personalized statement piece with this step-by-step guide on how to sew a leather patch on a hat.
You’ll learn to select the perfect patch, prepare it for attachment, and master sewing techniques that ensure a durable and stylish addition to your favorite cap.
Whether you’re a seasoned leatherworker or a DIY enthusiast, this guide empowers you with the skills to infuse your wardrobe with a touch of handcrafted individuality.
Table Of Contents
Key Takeaways
- Use a strong, waterproof, and heat-resistant adhesive for attaching leather patches to hats, ensuring the glue layer is thin and even for a clean application. Allow sufficient drying time and promptly remove any excess glue to avoid messes.
- When sewing leather patches onto hats, consider both hand sewing (using a saddle stitch for durability) and machine sewing. Use a thick needle for the leather and a finer needle for detailed work, along with strong, waxed thread to ensure the patch stays secure.
- For cutting and etching designs into the leather patches, tools like a Cricut Maker or laser cutter can be used for precision. Apply a water-resistant finish to the leather, and consider using leather dyes for color. Secure the leather during cutting with painter’s tape to prevent slipping.
- Design considerations for leather patches on hats should include thoughtful placement (centered or off-set), color combinations that either clash or coordinate, shape variations beyond simple rectangles, texture contrasts (matte vs. glossy), and potential embellishments like studs or embossing for added visual interest.
Preparing the Hat and Leather Patch
Selecting the right hat and choosing the best leather for your patch are crucial first steps.
Your design will bring these elements together, setting the stage for a unique creation.
Selecting the Right Hat
Choosing the perfect hat for your leather patch project is like picking the right canvas for a masterpiece.
- Hat Materials: Opt for a trucker hat with a sturdy front panel to support your patch.
- Patch Size: Ensure the brim width allows ample space for logo placement.
- Hat Style: Select a style that complements your custom headwear vision.
Choosing Leather for the Patch
Now that you’ve got your hat picked out, let’s talk leather for your patch. You’ll want to consider leather thickness and grain type for durability and style.
Color options are vast, but choose wisely to make your design pop. Texture options, like smooth or pebbled, add character.
Avoid faux leather; real leather with the right leather adhesive will ensure your patch stays put.
Designing the Patch
When designing your patch, creativity is your compass. Here’s a quick guide:
- Logo Placement: Center stage or subtle sidekick? Position your emblem wisely.
- Color Combinations: Clash or coordinate? Pick hues that pop.
- Shape Variations: Go beyond the basics. Think outside the rectangle.
- Texture Contrast: Mix matte finishes with glossy embellishments for a tactile twist.
Cutting and Etching the Leather
Now that you’ve got your hat and leather ready, it’s time to shape your patch.
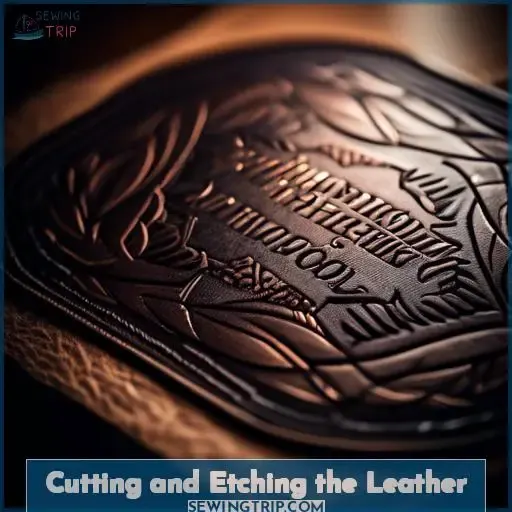
You’ll use a Cricut Maker or laser to cut and etch your design, ensuring precision and detail with the help of painter’s tape.
Using a Cricut Maker or Laser
Ready to turn that blank hat into a custom masterpiece? Grab your Cricut Maker or laser cutter and let’s dive in.
Ensure your material thickness matches your tool compatibility—no one wants a floppy leather patch!
Double-check those laser settings and software features to avoid a mishap.
Applying Design With Painters Tape
When applying your leather patch to the hat, think of painters tape as your trusty sidekick.
After etching, removing the tape is like unveiling a masterpiece—no smoke and mirrors, just a clean, crisp design.
Finishing Touches on Leather
Once your leather patch is cut and etched, it’s time to add those final, eye-catching details:
- Waterproofing tips: Seal your masterpiece with a waterproof finish to brave any storm.
- Embossed leather & decorative studs: Elevate your patch with embossed textures or studs for that extra flair.
- Leather dyes & fabric glue: Experiment with dyes for vibrant colors and secure with fabric glue for lasting hold.
Adhesive Application Techniques
Selecting the right adhesive is crucial for attaching your leather patch securely to a hat. Before applying E6000 or your chosen glue, ensure the leather surface is properly prepared.
Choosing the Right Adhesive
After etching your leather patch with precision, it’s time to stick it! You’ll want an adhesive that’s strong as an ox, laughs in the face of water, and can take the heat.
Rubber cement or waterproof glue are solid picks. Don your rubber gloves, and apply with savvy—less is more.
Preparing the Leather Surface
After choosing your clear E6000 or other adhesive, it’s time to prep your leather patch.
Start by giving that suede or non-filled logo leather a good once-over with sandpaper. This isn’t just busy work; roughening up the surface along the grain direction makes sure the adhesive clings like a barnacle.
Clean off any dust, and you’re set for a stickier future.
Applying E6000 or Other Adhesives
When applying E6000 or similar adhesives to your leather patch, remember: less is more.
Quick tip: test your patience with the drying time; rushing can weaken the bond.
Cleanup’s a breeze if you’re tidy from the get-go. A strong, steadfast hold will crown your hat with a custom touch.
Sewing Techniques for Added Durability
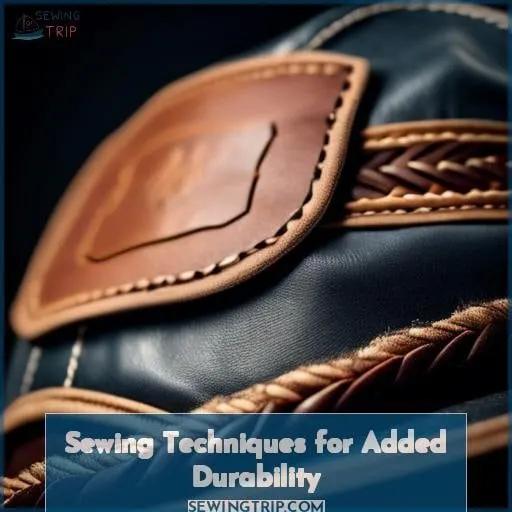
Once you’ve applied adhesive to your leather patch, sewing can significantly enhance its durability on the hat.
You’ll need to choose between hand sewing, which offers a strong saddle stitch, or machine sewing for a quicker finish.
Hand Sewing Vs. Machine Sewing
After choosing the right adhesive and prepping your leather patch, you’ll decide between hand sewing and machine sewing for extra hold.
- Hand vs. machine: Hand offers precision, machine brings speed.
- Common mistakes: Skipping basting tape can lead to shifting.
- Needle choice: Thick for leather, fine for details.
- Thread selection: Strong and waxed wins the race.
- Stitch length: Short for durability, long for speed.
Stitching Patterns for Leather
After choosing your adhesive, it’s time to focus on stitching patterns for leather, which will add durability to your leather patch on the hat. You’ll want to select a thread color that complements the leather texture and a needle type that can handle the material.
Consider stitch length and decorative stitching to give your project a personal touch.
| Stitch Type | Needle Type | Thread Color |
|---|---|---|
| Straight | Leather | Neutral |
| Zigzag | Heavy-duty | Bold |
| Cross | Sharp | Matching |
| Whip | Triangular | Contrasting |
| Blanket | Curved | Complementary |
Reinforcing Glued Patches
After gluing your patch with the precision of a master chef spreading the perfect glaze, it’s time to secure that beauty for the long haul.
Think of stitching patterns as the secret spices that fortify the adhesive’s grip. Adjust your thread tension like tuning a guitar, ensuring each stitch sings with durability.
For a no-sew leather patch, double-sided leather tape and Flexi Fuse are your backstage passes to a durable bond without the needle dance.
Finishing and Caring for Your Hat
Once your leather patch is securely attached to your hat, it’s crucial to let the adhesive cure fully before wearing it.
Proper maintenance is essential, including careful removal of any excess glue and regular cleaning.
Curing the Adhesive
After applying your adhesive with the precision of a Colorado hat maker, give it time to cure.
Think of it as letting a fine wine age—it’s all about patience. Aim for a 24-hour curing time to ensure your personalized trucker hat is ready for any adventure.
If you spot any residue, gently wipe it away with butcher paper. Remember, a well-cured patch is the secret to a hat that stands the test of time.
Removing Excess Glue or Tape
Once your patch is firmly in place, it’s time to tackle any rogue glue or tape.
Don your protective gloves—solvent cleanup can be a sticky affair!
Gently peel away the tape; if you find a shiny finish of adhesive peeking out, a dab of solvent should do the trick.
Maintenance and Care Tips
Once your hat’s leather patch is attached, keep it sharp with these care tips:
- Regularly apply leather conditioner to prevent drying and cracking.
- Ensure water resistance with a waterproofing spray.
- Protect from sun damage by storing in a cool, shaded place.
- Adopt gentle cleaning techniques—wipe with a damp cloth.
- Avoid the burnt hair smell; store away from exhaust and heat sources.
Frequently Asked Questions (FAQs)
Can I use synthetic leather for patches?
Sure, you can use synthetic leather for patches; it’s cost-effective and versatile.
Just remember, it won’t age like real leather, but for a quick style update, it’s a no-brainer!
How do I prevent leather from warping during etching?
To prevent leather from warping during etching, ensure a wet leather surface. Use the right tools like an engraving tool and apply vintage brown gel dye.
Are there alternatives to E6000 for leather adhesion?
Sure, you can ditch the E6000 and still stick that patch like a pro.
Try Barge or Master cement for a flex and grip that won’t quit.
Or Aquilim 315 for a less toxic tango.
How do I choose the right leather thickness?
To choose the right leather thickness for patches, consider the hat’s contour and desired durability.
Typically, 2-3 oz leather offers flexibility and strength, perfect for a snug, long-lasting fit on your cap.
Can leather patches be removed and reattached?
Just like a phoenix rising from the ashes, leather patches can indeed be removed and reattached, breathing new life into your favorite hat.
With the right tools and a bit of elbow grease, transformation awaits.
Conclusion
Rome wasn’t built in a day, and mastering how to sew a leather patch on a hat takes patience and practice.
By carefully selecting your materials, applying precise cutting and etching techniques, choosing the right adhesive, and employing durable sewing methods, you’ve set the stage for a unique fashion statement.
Embrace this journey into leatherworking; your personalized hat not only reflects your style but your dedication to craftsmanship.


