This site is supported by our readers. We may earn a commission, at no cost to you, if you purchase through links.
You’ll learn what truly sets an iron-on apart from a sew-on patch and even get some tips on how to apply both correctly.
Whether you are new to crafting or just need a little refresher course on how to attach patches, you will soon confidently be attaching these onto all your favorite items.
Table Of Contents
Key Takeaways
- Got a mystery patch on your hands? No sweat! Look for that telltale smooth, plastic-like backing – it’s the secret handshake of iron-on patches. If it feels like it’s ready to melt at a moment’s notice, you’ve struck iron-on gold!
- Feeling like a crafty scientist? Whip out your magnifying glass and put that patch through its paces. The water droplet test is your new best friend – if that droplet’s doing the cha-cha on the surface instead of sinking in, you’ve got an iron-on on your hands.
- Iron-on or sew-on, why choose? You can have your cake and eat it too! Slap that iron-on patch on with heat, then give it some extra TLC with a needle and thread. It’s like giving your patch a belt and suspenders – double the security, double the fun!
- Remember, not all fabrics play nice with iron-ons. Leather and iron-on patches go together like oil and water – a disaster waiting to happen. Stick to cotton and polyester blends, and your patches will be sticking around longer than that last piece of cake in the fridge!
How to Tell if a Patch is Iron on and How to Sew It On?
If a patch is iron-on, you will most likely find that the backing of the daisy is smooth, perhaps slightly resembling plastic or that it has a thin adhesive layer. You can try a water droplet test—iron-on patches don’t absorb water; sew-on does.
If you are pretty sure it is iron-on, you can always still sew around for extra security. First iron on the patch following the temperature guideline for the fabric type, then sew around edges with matching thread. This combo method will ensure long-lasting durability and additionally give you a seamless finish.
Don’t forget to place paper between the iron and fabric while applying to protect both. From mending a torn area to adding flair, these techniques help bring one’s patching game up a notch above the rest.
Identifying Iron-on Patches
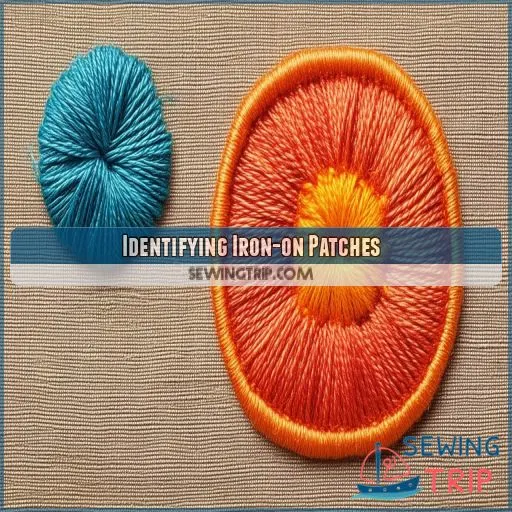
You can identify iron-on patches by examining their backing, which typically has a smooth, plastic-like texture or a thin, fabric-like adhesive. To confirm, you can perform simple tests like the water droplet test or heat response test, and compare the patch’s edge thickness to that of sew-on patches.
Examining the Backing of the Patch
An iron-on.
To identify an iron-on patch, turn it over and examine the backing. You’ll notice a distinct layer of adhesive that’s heat-activated. A smooth plastic-textured, cloudy appearance – that’s glue. Some patches have a thin, almost fabric-like adhesive, similar to a dryer sheet.
Iron-on patches are usually stiffer than their sew-on counterparts. The backing material is crucial; it’s what makes these adhesive patches stick when heated.
Performing the Water Droplet Test
If you’re still unsure about the patch’s adhesive texture, try the water droplet test. Place a small water droplet on the backing material.
Iron-on patches typically have a heat-activated adhesive that repels water, while sew-on patches absorb it.
Observe the fabric flexibility and edge thickness too. This simple test can help you determine if you’re dealing with an iron-on patch before attempting application.
Conducting a Heat Response Test
If the water droplet test didn’t provide conclusive results, try a heat response test. Place the patch on a heat-resistant surface and apply a warm iron for a few seconds.
Iron-on patches will slightly change texture as the adhesive layer softens. Observe any variations in backing texture or seam strength.
This test helps identify iron-on patches by their unique response to heat, revealing the presence of an adhesive layer.
Typical Edge Thickness for Iron-on Versus Sew-on Patches
After testing the heat response, you’ll want to examine the edge thickness.
Iron-on patches typically have thicker edges due to the heat seal backing, which impacts durability and fabric stiffness.
Sew-on patches, in contrast, have thinner edges that blend more seamlessly with the fabric.
This difference in edge thickness can affect application difficulty and overall appearance, making it easier to distinguish between iron-on and sew-on patches.
Iron-on Patch Application
To apply an iron-on patch correctly, you’ll need to select the right heat setting for your fabric and position the patch accurately. Once you’ve placed the patch, apply firm, consistent pressure with your iron for 30-35 seconds, then care for your patched item by waiting 48 hours before washing and avoiding high heat.
Selecting the Right Heat Setting
One should be careful while selecting heat to iron on patches. You want to accommodate both fabric compatibility and the adhesive of high-quality caliber for a durable result. Here’s what to keep in mind:
- Always check the temperature guidance on the care label of your fabric.
- Start with a low heat setting and gradually increase if needed
- Test on very small discreet areas first
Correct Patch Placement
When applying iron-on patches, consider the suitability and internal compatibility of the fabric.
For shirts, apply below the left shoulder seam, about 7-9 inches down. For jackets or pants, place patches down the sleeves or legs.
For bags, depending on your placement, avoid straps and zippers. On hats, apply in the middle, about half an inch from the bottom.
Proper alignment ensures that the heat transfer process will be successful for iron-on patches or when you opt for sew-on application.
Applying Firm, Consistent Pressure
When ironing on patches, press firmly with consistent pressure for 30-35 seconds. This doesn’t require moving the iron back and forth, as this only distributes the adhesive evenly.
Place a sheet of parchment paper over the patch to protect both this fabric and your iron. It’s at this point that the press time and iron pressure are really two critical factors in creating a good bond.
Keep in mind that even the placement of the patch can affect adhesion quality. Though sewing versus ironing on has its merits for a patch, proper iron-on technique can actually rival sewn durability.
Caring for Patched Item
Proper care after applying the iron-on patch is needed to hold it in place. Here’s how to maintain your patched item:
• Hand wash cold to prevent the heat seal from weakening
- Turn garment inside out to protect patch
- Iron on low heat, using a press cloth for added protection
• Avoid hot water and high heat dryers. These will cook the adhesive.
The following steps will help your iron-on patch be safely secured and looking great for longer.
Differentiating Iron-on and Sew-on Patches
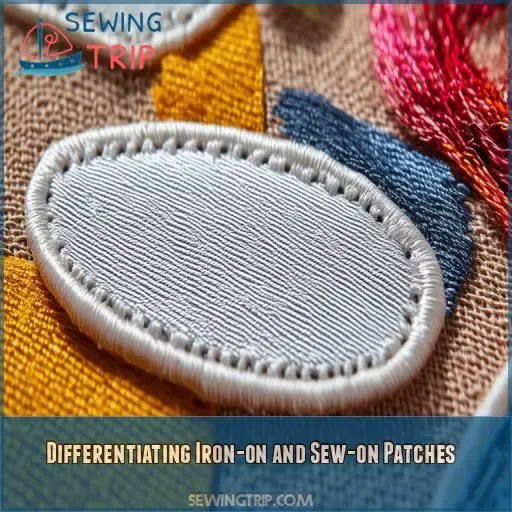
You’ll want to know how to tell an iron-on from a sew-on so that you’re applying the patches correctly. We’ll go through the main features of each type and some easy tests you can do to identify iron-on patches quickly.
Characteristics of Iron-on Patches
Iron-on patches have a distinct heat seal backing that sets them apart. You’ll notice a smooth, glossy surface on the reverse side. This adhesive layer activates with heat, bonding the patch to your garment.
Iron-on patches are typically stiffer, offering enhanced durability. They work best on specific garment materials, so check your fabric before applying.
Different adhesive types exist, but all respond to appropriate ironing settings for a secure attachment.
Characteristics of Sew-on Patches
Unlike their iron-on counterparts, sew-on patches offer more flexibility and versatility. You’ll notice these patches:
- Have no adhesive backing
- Can be easily removed and reused
- Allow for better movement with the fabric
Sew-on patches are ideal for temporary attachments, giving you the freedom to switch up your style. Their durability depends on the quality of stitching, but they generally hold up well with proper care. Remember, patch identification is key to choosing the right application method.
Testing for Iron-on Patches
Unlike sew-on patches, iron-on patches have a distinctive adhesive backing.
To test if your patch is iron-on, examine its surface. Look for a glossy or shiny backing with a smooth texture.
You can also try the water droplet test: if water beads up on the back, it’s likely iron-on.
For a definitive answer, attempt a test application on a scrap fabric, following proper placement and care instructions.
Can an Iron-on Patch Be Sewn On?
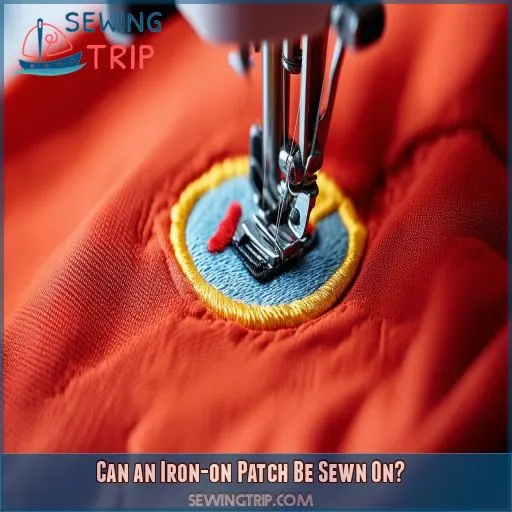
You can sew an iron-on patch for added durability and reinforcement. Simply stitch around the edges of the patch after ironing it on, using a thread color that matches the patch or garment for a seamless look.
Sewing the Edges of an Iron-on Patch
Yes, you can sew around an iron-on patch at the edges. This is great for providing extra security to your iron-on patches, particularly in areas that are subjected to heavy wear.
First, apply the patch by ironing it as instructed, then let it cool completely. You can either use a sewing machine or simply a needle and thread; this will sew around the perimeter of the patch.
Not only does this add durability, but you can also get creative with iron-on patches using decorative stitches or contrasting thread colors.
Adding Extra Reinforcement With Sewing
Want some added insurance on iron-on patches? Well, sew them on as well!
This DIY method of customization at Enhanced Views strengthens patch longevity and keeps all of your design embellishments in one piece.
Simply sew the edges of your custom patches, whether they’re woven or embroidered, using basic sewing techniques to help ensure that the iron-on patches bond more durably with fabric for added fabric compatibility.
Long-Term Durability
Now that you’ve added extra reinforcement, let’s talk about long-term durability. Iron-on patches with sewn edges can last for years, especially if you:
- Use the right temperature settings for your fabric
- Apply a press cloth to protect the patch’s surface
- Choose patches with strong adhesive and matte or opaque backing
- Consider the patch’s purpose: repair vs. decoration
Iron-on Vs. Sew-on Patches Comparison
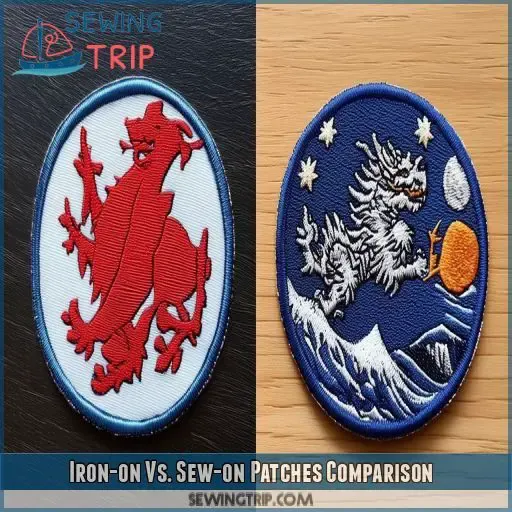
When choosing between iron-on and sew-on patches, consider their differences in stiffness, permanence, and versatility. Iron-on patches offer a quick, permanent attachment but are stiffer, while sew-on patches provide more flexibility and can be easily removed and reused.
Stiffness and Flexibility
Now that you know iron-on patches can be sewn, let’s explore their stiffness and flexibility compared to sew-on patches. Then there’s this characteristic of importance when settling between the two kinds for your project.
| Characteristic | Iron-on Patches | Sew-on Patches |
|---|---|---|
| Stiffness | Greater | Smaller |
| Flexibility | Limited | Greater |
| Movement | Restricted | Flows with fabric |
| Reusability | One-time use | Can be reused |
Iron-on patches have a plastic-like backing and a shiny surface that gives them durability but restricts flexibility. They work really well with printed patches and name patches, while sew-on allows more movement.
Permanent Vs. Temporary Attachment
When considering permanent vs. temporary attachment, iron-on patches offer a more lasting solution compared to their sew-on counterparts. Despite their stiffness, iron-on patches excel in durability, especially on:
- Natural fabrics
- Polyester/cotton blends
- Garments requiring long-term embellishment
- Items that undergo frequent washing
While sew-on patches provide flexibility and ease of removal, iron-on patches are your go-to for a steadfast attachment that withstands the test of time and wear.
Reusability and Versatility
When choosing between iron-on and sew-on patches, consider their reusability and versatility. Here’s a comparison to help you decide:
| Feature | Iron-On | Sew-On |
|---|---|---|
| Reusability | Limited | High |
| Versatility | Moderate | High |
| Fabric Types | Specific | Most |
| Repairs | Challenging | Easy |
| Removal | Difficult | Simple |
Sew-on patches offer more flexibility for repairs and repositioning. While iron-on patches provide durability, sew-on options shine in convenience and adaptability. Remember, you can always sew an iron-on patch for extra security!
Frequently Asked Questions (FAQs)
How to know if a patch is sew on or iron on?
You’ll notice iron-on patches have a smooth, plastic-like backing that melts when heated. Sew-on patches lack this adhesive layer. Test by ironing a small corner; if it sticks, it’s iron-on. If not, you’ll need to sew it.
Can an iron-on patch be sewn on?
You can sew an iron-on patch. While they’re designed for heat application, you’ve got options. Stitch it on for extra durability or if you’re working with heat-sensitive fabrics. It’s a versatile solution for your patching needs.
How to attach an iron on a patch?
To attach an iron-on patch, set your iron to the appropriate heat, place the patch on your garment, cover with a press cloth, and apply firm pressure for 30-35 seconds. Don’t move the iron during this process.
Is it better to sew or stick on patches?
Choosing between sewing and sticking patches is like picking between a sturdy oak or a quick-growing vine. You’ll want to sew for durability and flexibility, but iron-on patches offer speed and simplicity. Consider your needs and the item’s use.
How long do iron-on patches typically last?
Iron-on patches typically last 25-50 washes when properly applied. You’ll get the best longevity by following care instructions, avoiding high heat, and reinforcing with stitching. For permanent wear, consider sewing your patches on instead.
Can iron-on patches be applied to leather?
You shouldn’t apply iron-on patches to leather. The heat required can damage the material. Instead, consider using leather-specific adhesives or sewing the patch on by hand for a secure attachment without risking your leather item.
What fabrics are not suitable for iron-on patches?
Like a fish out of water, iron-on patches don’t stick to certain fabrics. You’ll want to avoid using them on nylon, waterproof materials, stretchy fabrics, and textured surfaces. Leather and suede are also no-go’s for iron-on application.
How to remove an iron-on patch without damaging fabric?
To remove an iron-on patch, heat it with an iron, then gently peel it off. For stubborn patches, use a seam ripper to loosen edges. Apply heat and adhesive remover to eliminate residue. Always test on a hidden area first.
Are iron-on patches waterproof or water-resistant?
In simple terms, iron-on patches aren’t totally waterproof. They’re water-resistant, with the adhesive properties getting reduced by prolonged contact with water. You’ll want to avoid machine washing and opt for hand washing to keep them sticking around longer.
Conclusion
Now that you’re armed with the know-how to tell if a patch is iron-on and how to sew it on, you’re ready to jazz up your threads like a pro.
Whether you’re dealing with an iron-on or sew-on patch, you’ve got the tools to apply them correctly. Remember, each type has its strengths, so choose wisely based on your project’s needs.
With these tips in your back pocket, you’ll be patching like a boss in no time. Happy crafting!

