This site is supported by our readers. We may earn a commission, at no cost to you, if you purchase through links.
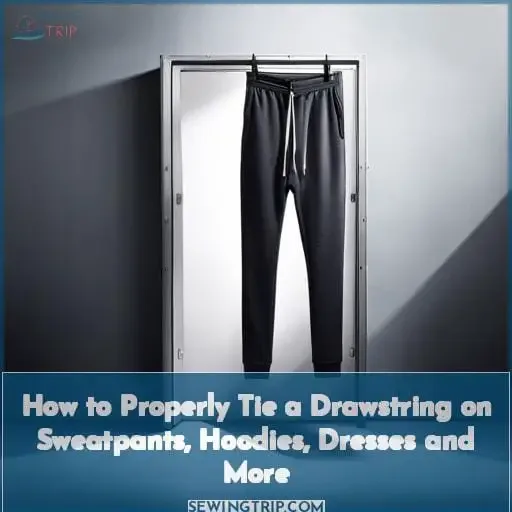 Tugging your drawstrings and realizing they’ve come undone – again. Embarrassing moments when your pants start to slip. We’ve all been there. But with a few simple twists, you can master tying drawstrings properly so they stay put.
First, cross the strings into an X at your waist. Now grasp the left string and thread it under the right, then back through the opening. Make a second loop by wrapping left over right once more. Pull it snug against the first wrap at your waistband.
There, a secure double knot that won’t budge. Follow these steps whether you’re dressing for yoga or a night out. No more oops moments or flashing the crowd if your pants slip down. You’ll feel more confident with drawstrings that stay tied.
Say goodbye to the struggles and hello to a trick that keeps you comfortable and covered.
Table Of Contents
- Key Takeaways
- How to Tie a Drawstring on Sweatpants or Shorts
- Tying a Loop String
- Tying a Hoodie String to a Bow
- Ways to Tie a Camilla Drawstring Dress
- How to Tie a Drawstring Backpack or Bag
- How to Tie a Drawstring Bracelet
- Preventing Drawstrings From Coming Out
- Using the Schaller Easy Threader Craft Tool Red
- Tips for Properly Tying Drawstrings
- Frequently Asked Questions (FAQs)
- Conclusion
Key Takeaways
- Cross the strings in an X shape at the waist or hips to start.
- Grasp the left string and thread it under the right string, then back through the opening to create the first loop.
- Wrap the left string over the right once more to make the second loop, and pull it snug against the first.
- Loop the string around your finger to make a bracelet knot and tighten it.
How to Tie a Drawstring on Sweatpants or Shorts
You’ll wanna snugly wrap that continuous loop ’round your finger, then let the knot form near your thumb before flipping the waistband back to keep it inside.
With the band flipped inside-out, use your non-dominant hand to hold the drawstring steady while your dominant hand loops the string around your finger. Remove your finger to let the knot take shape, then take your thumb out so it can tighten near the base of your hand.
Go a tad tighter than it feels natural since it’ll loosen up after tying off. Choose smooth, non-stretchy drawstring material and tie a slip knot or bow to prevent ride up during wear.
Replace elastic bands regularly and always tie up snug and secure to avoid wardrobe malfunctions when active.
Tying a Loop String
Take that loop and wrap it ’round your finger. With your non-dominant hand, grasp the drawstring where it emerges from the waistband, keeping it secure as your dominant hand snakes the loop.
Draw it taut, tighter than it feels natural – the material will relax after tying. Remove your thumb from inside the loop so the knot can close flush to the waistband. Your pants will stay up through your most strenuous activity thanks to this bracelet knot.
By knotting near the waistband instead of farther down the string, you prevent excess length from dangling loose or slipping free from your knot. For easy access when nature calls, simply loosen the knot – no need to fully untie.
Keeping your drawstring properly secured brings you confidence, comfort, and power.
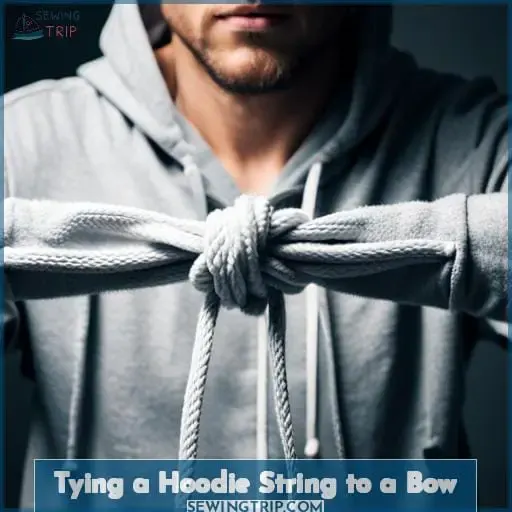
Tying a Hoodie String to a Bow
Moving from waistbands to hoodies, tying the strings into a bow follows the same principles but with some key differences.
For hoodies, you’ll want to start with the strings untied and hanging loose. Take one string in each hand, left and right, gripping near the hood. Cross the strings to form an X shape. Then wrap the right string over and under the left to form your first basic knot.
Finish with a second knot or bow for security. Your hands should smoothly guide the strings into place.
- Make two initial crossover knots
- Wrap one string around the other
- Create symmetrical ear loops
- Tie again for a double knot
- Check online video tutorials
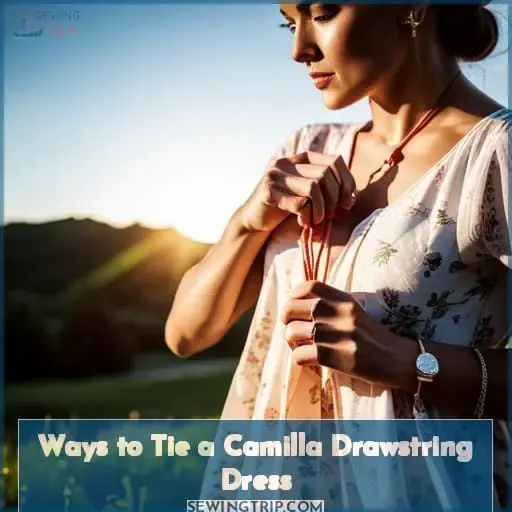
Ways to Tie a Camilla Drawstring Dress
Let’s flex our creative muscles and tie that Camilla drawstring dress in a fun new way!
Here are 5 trendy ways to tie your drawstring dress:
Style: Knot Behind Neck
How To Tie: Gather fabric at the front, cross strings behind the neck, and tie a knot to secure the straps.
Style: Bow at Waist
How To Tie: Tie the strings in front to define the waistline and accentuate the shape.
Style: Crisscross Back
How To Tie: Crisscross the strings across the open back before tying a bow.
Style: One Shoulder
How To Tie: Drape one strap off the shoulder and tie a knot with the string to hold it in place.
Style: Halter
How To Tie: Tie a knot at the neck and wrap the strings around to tie at the mid-back.
With some creativity and stylish tying techniques, your drawstring dress can transform into something new with each wear.
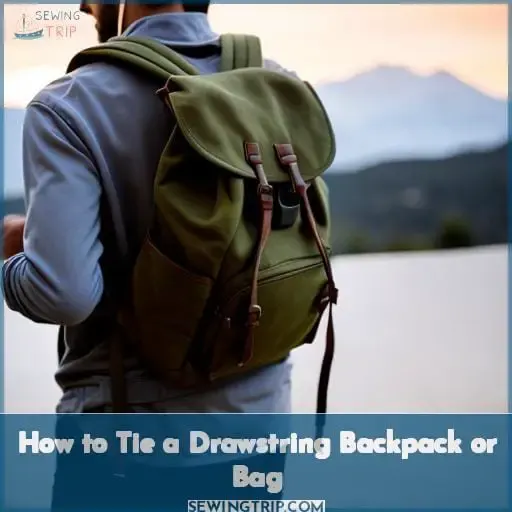
How to Tie a Drawstring Backpack or Bag
To tie a drawstring backpack or bag, simply cross the strings like an X before threading one end through the opposite loop.
- Practice makes perfect – tying drawstrings takes coordination, so go slowly until the motions become second nature.
- Stay centered – keep focused when threading, don’t let your mind wander. Meditative concentration leads to drawstring mastery.
- Channel your inner Boy Scout – tying a proper backpack knot requires dexterity and skill.
Knot tying frees us from the tyranny of ill-fitting bags. A perfectly cinched drawstring backpack creates order from chaos. The ability to properly fasten one’s gear brings confidence and control. Take the time to master this simple but profound skill – you’ll carry yourself taller knowing how to tie on demand.
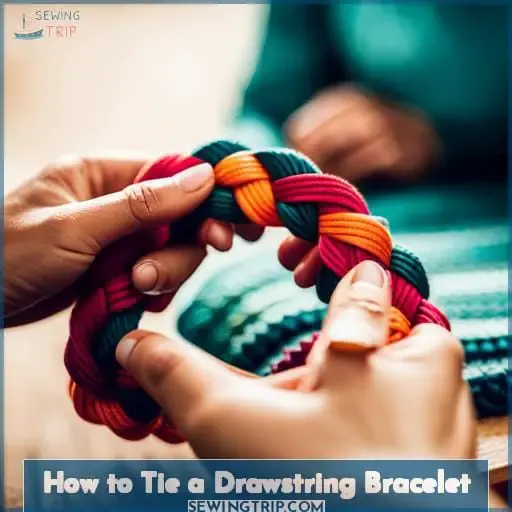
How to Tie a Drawstring Bracelet
Embrace the intimacy of binding your wrist in a drawstring’s snug embrace.
Feel the cord glide through your fingers as you thread it through beads of onyx, quartz, and turquoise.
Loop the cord, cross it over, then pull to form the perfect knot. Tug the tails taut, securing with a flourish.
Pick knots with care, tiny pearls of wisdom binding your energy in place. Slide to adjust, finding the fit that speaks to your soul.
Size beads to match the mood, stacking bangles of protection, healing, truth. String them yourself and infuse your purpose.
The bracelet cinches with a whisper, a reminder of your power. You chose these patterns, these fetishes; their magic is yours to wield.
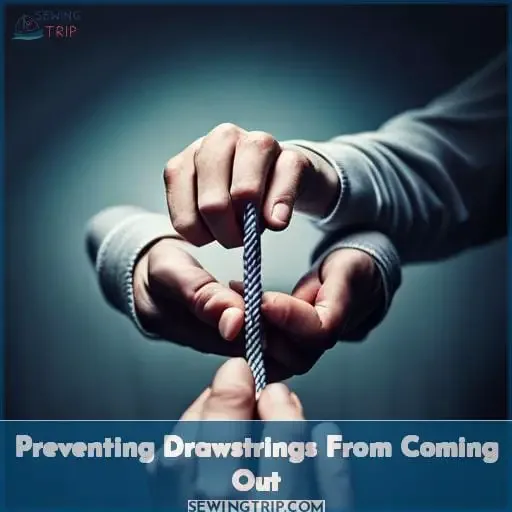
Preventing Drawstrings From Coming Out
After learning how to tie a stylish drawstring bracelet, let’s turn our attention to keeping those pesky drawstrings from slipping out of sweatpants. This common wardrobe malfunction can leave you scrambling to hike up your pants.
But fear not, with a few simple tricks, you can keep your drawstring secured in place.
Double up the drawstring and tie an extra tight triple knot. Then, offset the knot to the side instead of keeping it centered. You can also install handy little drawstring clips to lock it down. And as a final defense, pull the drawstring as tightly as can be tolerated before tying.
With the right small adjustments, your drawstring will stay snugly in place to avoid any embarrassing moments.
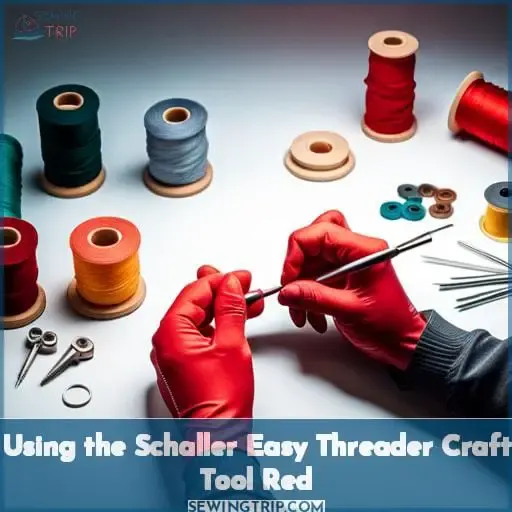
Using the Schaller Easy Threader Craft Tool Red
Grab that handy Schaller threader and make re-threading a cinch! Slip the flexible nylon needle through the waistband channel, gently guiding it along until the end peeks through. Carefully insert your new drawstring into the needle’s eye and pull it back through the fabric.
Choose a snug knot style to avoid wardrobe malfunctions mid-jump or sprint. Accessorize your drawstring with fun charms that suit your personal flair. Find the sweet spot tightness – not too loose or it’ll slip, not too tight or it’ll pinch.
Repairing damaged strings and re-threading waistbands is a frustration of the past thanks to this crafty tool.
Tips for Properly Tying Drawstrings
Now that you’ve threaded the drawstrings, it’s time to tie them properly. Cross the strings at your hips and pull to the desired snugness. Wrap one string behind the other, threading it through the front loop. Repeat this crisscross process again, gently tightening with each pass.
Keep these key points in mind for the perfect fit:
- Tie at your hips, not the front, for optimal balance.
- Leave some slack so they don’t dig into your waist.
- Check tightness sitting and standing to stay secure.
- Give the strings a quick tighten throughout your wear.
Frequently Asked Questions (FAQs)
What are some common mistakes people make when tying drawstrings?
You’d be lost without me! Tying drawstrings isn’t rocket science, but rushing the job will leave your pants around your ankles. Take a breath, grab the strings gently like you’re holding a baby bird, and cinch that waistband slowly and steadily.
How tight should I tie my drawstring for the best fit?
Tie the drawstring snugly, just past comfortable. The material will relax after tying, so go a bit tighter than feels right. Slowly loosen the knot if needed once on. Find the sweet spot of a secure fit without too much pressure.
What fabrics work best for drawstrings?
Cotton, polyester, or nylon work best for drawstrings. They’re strong, lightweight, and stretchy enough to tie snugly without digging in. Choose flat drawcords over round ones – they stay put better. Opt for wider cords over skinny ones too, as the extra surface area reduces pressure points.
Wider cords also have more friction to prevent slipping. Ultimately, prioritize comfort and hold when selecting your drawstring material.
Can I wash my clothes without untying the drawstrings first?
You can wash clothes with drawstrings tied. Just loosen the knots first so the strings have room to move during the wash cycle. This prevents excessive tugging or entanglement inside the machine. Knots may come undone, but retying is easy after drying.
Are there any safety concerns with drawstrings, especially for children?
Yes, loose drawstrings can be dangerous for children. They may get caught on furniture or playground equipment. Tie drawstrings snugly in a double knot and tuck the ends inside the waistband. Check frequently and re-tie.
Consider removing drawstrings or replacing them with an elastic waistband for the youngest children.
Conclusion
You’ve learned the proper techniques for tying drawstrings on various garments and accessories. Whether lacing up sweatpants, cinching a dress, or closing a backpack, you now have the know-how to get a secure, customized fit.
With the right tying method and a few adjustments, your drawstrings will stay snugly in place as you go about your active life. So grab your favorite sweatpants and practice those steps until tying a drawstring becomes second nature.


