This site is supported by our readers. We may earn a commission, at no cost to you, if you purchase through links.
With the right tools and technique, you can undo those stitches, giving your fabric a fresh start.
We’ll guide you through the steps to remove stitches like a pro, minimizing fabric damage and ensuring your next sewing project is a masterpiece.
Table Of Contents
Key Takeaways
- Use a seam ripper to lift individual stitches gently at a 90-degree angle. Never drag it along the fabric.
- Start by ripping out every few stitches before pulling threads. Check underside of fabric as you go.
- Handle threads delicately and pull them precisely to avoid damaging fabric.
- Remove overlock stitches by taking out visible needle threads first, then unzipping looper threads.
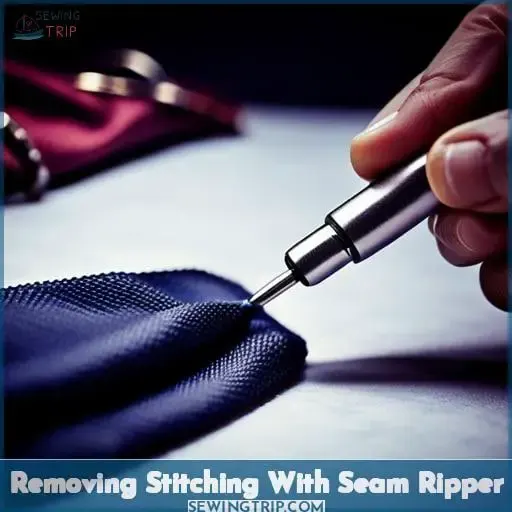
Removing Stitching With Seam Ripper
With a seam ripper, you’re ready to start ripping out stitches.
Hold your project taut in one hand and the seam ripper in the other.
Always start stitch removal by inserting the sharp narrow tip of the seam ripper between the thread and fabric.
Gently pull the seam ripper upward at a 90-degree angle to slice through an individual stitch without damaging the fabric.
Never drag the seam ripper along the fabric.
Work slowly and methodically, taking care not to apply too much tension on the fabric or pull out large sections of stitching at once.
Focus first on one side of the seam by cutting every third or fourth stitch.
Then flip over the fabric, locate the loose threads, and gently pull out the remaining connected stitches.
With control and patience, you’ll lift out precise stitches while preserving the integrity of the fabric for easy reworking.
Technique to Pull Out Seams
You’ll want to start by ripping out every third or fourth stitch with your seam ripper to loosen things up.
Then, carefully pull threads to remove more stitches easily without damaging the fabric.
Taking it slow and checking the underside as you go prevents frustration down the line.
Ripping Out Stitches
You can use a specialized technique to rip out stitches and pull out seams without damaging the fabric.
Employ a sharp seam ripper and gently lift every third or fourth stitch, focusing initial efforts on one side.
Then, turn the fabric over, locate loose threads, and pull to extract more stitches seamlessly.
Take care not to pull too hard on the fabric.
Precision ripping enables flawless corrections.
Pulling Threads
Turn the fabric over and locate loose threads to pull, removing more stitches easily.
Precision Pulling preserves the Fabric Preservation while undoing sewing mistakes.
Tailored Repairs use Looping Strategies to gently extract threads, preventing fabric damage as you remove stitches for garment sewing projects.
Preventing Fabric Damage
However, how can you prevent damaging the fabric when removing stitches?
Use gentle unstitching and fabric-friendly techniques to prevent damage:
- Delicate thread handling
- Seam sparing methods
Pull threads instead of cutting fabric.
Work slowly.
Check undersides.
Employ a sharp seam ripper for damage prevention when undoing sewing or removing unwanted stitches.
Anatomy of Stitches
The anatomy of a typical 4-thread overlock stitch involves two needle threads and two looper threads.
You’ll notice the two pink and blue needle threads are more visible on the surface, while the looper threads underneath are barely detectable unless you look closely.
- The needle threads lie neatly on top of the fabric and are easy to see and grab hold of with tweezers or a seam ripper.
- The looper threads interlock with the needle threads but remain mostly hidden below the surface of the fabric.
- By removing the visible needle threads first, you release the tension on the looper threads, allowing them to slide out smoothly.
How to Remove Overlock Stitches
After examining the anatomy of stitches, begin removing overlock stitches by placing the fabric right side up.
Focus on the visible needle threads first. The pink and blue threads that form the straight lines of stitching are easy to spot and grab with a seam ripper or pin.
Remove the right needle thread first by grabbing it with your tool of choice and gently pulling it out.
Once the key structural needle threads are removed, the hidden looper threads that interlock the seams will pull out easily in one piece.
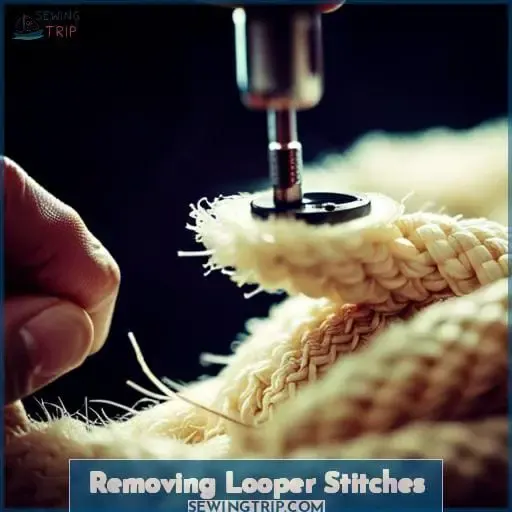
Removing Looper Stitches
You’ll usually pull out the looper stitches easily after removing the needle threads.
With the fabric right side up, first remove the more visible pink and blue needle threads completely by gently pulling them out.
Then simply pull the barely visible looper threads out starting from the tail end if there’s one present.
You can cut the needle threads to remove very long seams in manageable sections.
Pulling out the threads works best if the tail wasn’t stretched when originally sewn.
Use a seam ripper with an easy grip handle and a fine sharp tip to neatly pick and remove any leftover tiny thread bits.
When dealing with longer sections, removing the stitches in smaller segments makes the process smooth.
Keep the tension gentle throughout to avoid any fabric damage.
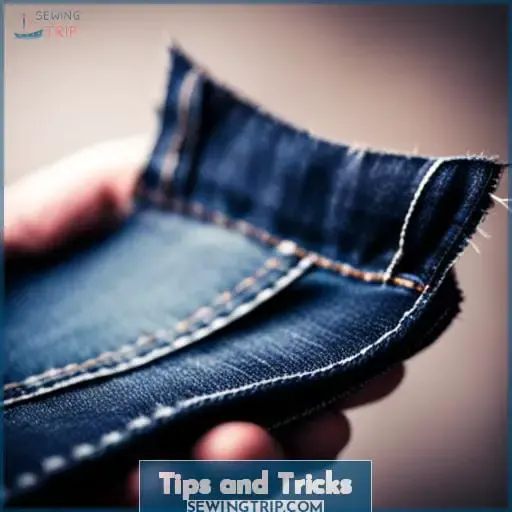
Tips and Tricks
How to Remove Stitches and Prevent Fabric Damage:
Handy tips’ll smooth stitch removal and prevent fabric harm.
- Invest in quality seam rippers with comfortable grips and sharp points to precisely penetrate threads.
- Use the pointed end to lift and remove residual threads after pulling long seams.
- Take care when removing loops to not stretch or distort the remaining fabric.
When extracting threads, slowly work the seam ripper under stitches with care not to slice fabric. Pull gently perpendicular to the seamline. Should the fabric become damaged, immediately reinforce with iron-on interfacing before fraying spreads.
Plan for neat reworking by removing long seams in sections rather than fighting a tangled mess.
Proper tools, patience, and care are key to cleanly undoing sewing mistakes without harming your fabric.
Frequently Asked Questions (FAQs)
What tools can I use instead of a seam ripper?
You can use small scissors, a pin, or even a razor blade, but take care not to damage the fabric.
Gently lift and snip individual threads rather than cutting through fabric.
Work slowly, checking the underside for caught threads.
Consider investing in a seam ripper for best results.
How can I reuse the thread after removing stitches?
Like a phoenix rising, salvage thread preserves resources.
Unravel fabric carefully, gently winding intact threads onto empty spools.
With patience and care, thread lives on for future creations.
What mistakes should I avoid when removing stitches?
Avoid cutting through fabric when pulling threads.
Use a sharp seam ripper and pull gently to protect integrity.
Remain patient and work slowly.
Check underneath for caught threads.
Pull threads out rather than slicing through.
How do I remove decorative stitching like embroidery or applique?
- Carefully snip embroidery threads near fabric, then gently pull to remove.
- For appliqué, carefully cut around edges, then slowly peel away from fabric underneath.
- Work slowly and patiently to avoid damaging base material.
Can I remove stitches from delicate fabrics like silk or lace?
Yes, use a very sharp seam ripper and work slowly, gently pulling threads rather than cutting.
Take extra care not to snag, tear, or apply excess tension on delicate fabrics.
Frequently check the underside for caught threads.
Consider basting critical seams for easier removal and to prevent damage.
Conclusion
Like navigating a tangled ball of yarn, removing sewing mistakes takes patience and care.
But armed with the right tools and techniques, you can swiftly rip out stitches and give your fabric a clean slate.
Follow these tips, and your next sewing project will be smooth sailing – no knots or messy threads in sight.
Simply take your time, avoid damage, and you’ll be stitching perfection once more.

