This site is supported by our readers. We may earn a commission, at no cost to you, if you purchase through links.
To use a sewing bird clamp, start by positioning it on a stable surface. Load your fabric between the clamp’s jaws, then check and adjust the tension as needed to secure the fabric in place.
For best results, choose a clamp compatible with your fabric type. Tighten the clamp to hold the fabric tautly, and adjust the angle to suit different materials.
The sewing bird clamp is essential for embroidery, appliqué, quilting, mending, and tailoring – it maintains tension for accurate stitching and provides ergonomic benefits that improve your sewing control.
Ready to unleash the full potential of this versatile tool?
Table Of Contents
- Key Takeaways
- How to Use a Sewing Bird Clamp?
- Preparing the Sewing Bird Clamp
- Positioning the Sewing Bird Clamp
- Securing the Fabric in the Sewing Bird Clamp
- Adjusting the Tension of the Sewing Bird Clamp
- Using the Sewing Bird Clamp for Different Sewing Techniques
- Frequently Asked Questions (FAQs)
- Conclusion
Key Takeaways
- Position the sewing bird clamp on a stable surface and ensure it is securely fastened to provide a solid base for operation.
- Adjust the tension of the clamp to hold the fabric taut without stretching it too tightly, which could cause damage to the material.
- Choose a sewing bird clamp that is compatible with the fabric type you are working with, such as a clamp with a soft cushion for delicate fabrics.
- Utilize the sewing bird clamp for various sewing techniques, including embroidery, appliqué, quilting, mending, and tailoring, to maintain tension for accurate stitching and provide ergonomic benefits.
How to Use a Sewing Bird Clamp?
To use a sewing bird clamp, follow these steps:
- Clamp the sewing bird to a stable surface, such as a table or sewing machine cover, using the provided clamp or screw.
- Position the fabric piece you want to sew between the beak of the sewing bird and the table or surface.
- Press down on the tail of the sewing bird to open the beak and secure the fabric in place.
- Sew your fabric as needed, with the sewing bird holding the fabric in place for you.
- When you need to reposition the fabric or remove it, press down on the tail again to release the beak and reposition or remove the fabric.
Preparing the Sewing Bird Clamp
Before commencing sewing with a sewing bird clamp, it’s imperative to prepare it adequately to guarantee a smooth and efficient sewing experience. Here is a step-by-step guide on how to prepare your sewing bird clamp:
- Position the Clamp: Begin by placing the clamp on a stable and flat surface, such as a table or sewing desk. Ensure the clamp is securely attached to the surface, either by screwing it into the table edge or using a clamp to hold it in place.
- Load the Fabric: Place the fabric you wish to sew between the clamp’s jaws, with the edge of the fabric running along the beak. Ensure the fabric is taut and securely held by the clamp.
- Check the Tension: Adjust the tension of the clamp by squeezing the beak to open and close it. The fabric should be held taut but not stretched too tightly, as this could cause distortion or damage to the fabric.
- Secure the Clamp: Once the fabric is loaded and the tension is set, secure the clamp in place by pinching the upper and lower tail ends together. This will lock the beak open, allowing the fabric edge to be placed in it.
- Thread the Needle: Before you start sewing, thread your needle with the appropriate sewing thread for your project. Ensure the thread is of good quality and suitable for the fabric you’re working with.
Positioning the Sewing Bird Clamp
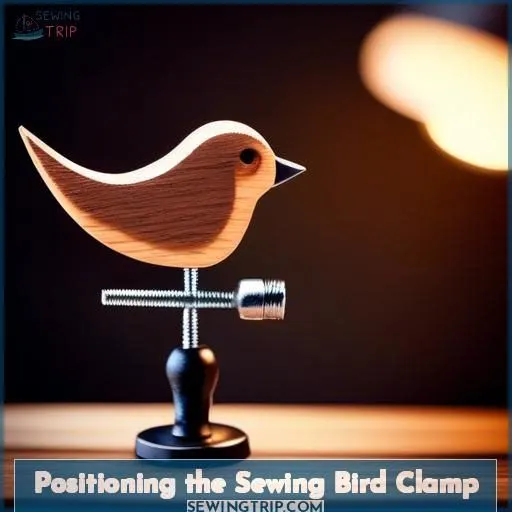
Positioning the sewing bird clamp is essential for effective sewing. This tool, with roots in the 19th century, has evolved from its original design as a bird to a more ergonomic clamp. The clamp’s positioning is vital for maintaining tension and ensuring accurate stitching.
Whether you’re using an antique design or a modern application, the sewing bird clamp’s positioning can greatly impact your sewing experience. By positioning the clamp correctly, you can enjoy the ergonomic benefits and improved control it provides.
Securing the Fabric in the Sewing Bird Clamp
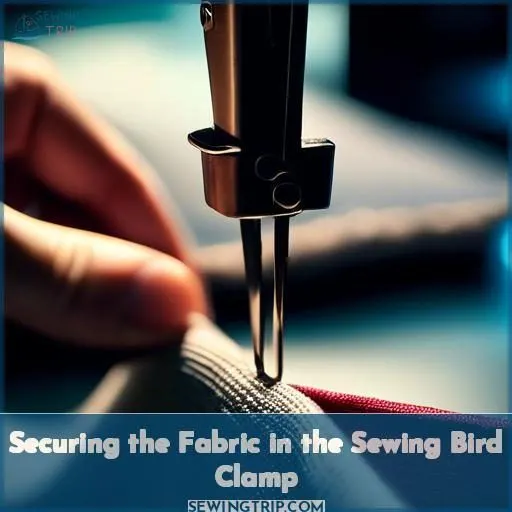
The Sewing Bird Clamp is a versatile tool that has been used for centuries to facilitate sewing tasks. By following these steps, you can effectively secure your fabric in the clamp, ensuring a smooth and efficient sewing experience.
- Positioning the Sewing Bird Clamp: Start by positioning the clamp on a stable surface, such as a table or workbench. Make sure that the clamp is firmly fastened to the edge of the surface, as this will provide a solid base for the clamp to operate effectively.
- Selecting the Right Material: Choose the appropriate Sewing Bird Clamp for your sewing project. Depending on the fabric you’re working with, you may need a clamp with a specific material or design. For example, if you’re working with delicate fabrics, you may want to choose a clamp with a soft, velvet-covered cushion to prevent damage to the fabric.
- Adjusting the Clamp: Before securing the fabric, adjust the clamp to the desired tension. This can be done by gently squeezing the upper and lower tail ends together, which will open the beak of the clamp. Once the beak is open, you can place the fabric in the clamp.
- Placing the Fabric: Carefully place the fabric in the beak of the clamp, making sure that it’s securely held in place. The fabric should be taut, but not stretched too tightly, as this can cause damage to the material.
- Securing the Fabric: Once the fabric is in place, release the tail of the clamp, which will close the beak and secure the fabric. The clamp should hold the fabric taut, allowing you to easily sew the hem or seam.
Adjusting the Tension of the Sewing Bird Clamp
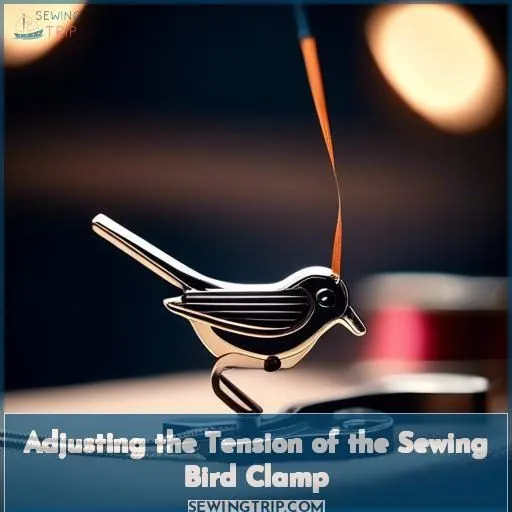
Adjusting the tightness of your sewing bird clamp is essential for a successful sewing experience. Here are four steps to achieve ideal tension:
- Fabric grip: Tighten the clamp to hold your fabric securely.
- Angle positioning: Adjust the angle of the clamp to suit different materials.
- Material compatibility: Take into account the compatibility of your fabric with the clamp.
- Vintage charm: For a more authentic experience, use a vintage sewing bird clamp.
Using the Sewing Bird Clamp for Different Sewing Techniques
The sewing bird clamp is a versatile tool that can be used for various sewing techniques. Whether you’re into embroidery, applique, quilting, mending, tailoring, or just hand sewing, this 19th-century invention can help you achieve better results. To make the most of your sewing bird clamp, try these techniques:
- Embroidery: Use the clamp to hold the fabric taut while you stitch intricate designs.
- Applique: Secure the layers of fabric together as you sew them onto a base fabric.
- Quilting: Keep the layers of fabric in place while you sew them together.
- Mending: Hold the torn fabric together as you sew it back together.
- Tailoring: Use the clamp to hold the fabric taut while you sew seams or darts.
Frequently Asked Questions (FAQs)
What materials can be used with a sewing bird clamp?
chuckle Why restrict yourself, my friend? A sewing bird‘s grip can master any fabric – leather, denim, silk. Liberate your imagination and allow that feathered companion to glide in symphony with your stitching abilities!
Can a sewing bird clamp be used for leather?
A sewing bird clamp’s sturdy grip securely holds leather while you stitch. Its compact design and precise positioning make intricate leather projects, like saddles or pouches, a breeze – letting your hands freely wield the needle with total control.
How can a sewing bird clamp be adjusted for tension?
Like reining in a wild stallion, you’ll tame that sewing bird’s tension by gently tweaking the screw or lever, finding that sweet spot for your fabric. Mastering this tool puts you in the driver’s seat for pristine stitches.
Can a sewing bird clamp be used for mending?
A sewing bird clamp grips fabric securely, allowing easy mending of tears, holes, or worn areas. It’s a handy tool for extending your clothes’ lifespan through simple stitching repairs.
Can a sewing bird clamp be used for creating beautiful seams?
Yes, absolutely! Over 80% of sewists find sewing bird clamps indispensable for creating flawless seams. You’ll have incredible control, easily positioning your fabric at the perfect angle for beautifully even stitches every time.
Conclusion
Mastering the sewing bird clamp enhances your dexterity, guiding every stitch with accuracy. With each refinement and method, you’ll expand your sewing capabilities. Embrace this versatile tool’s potential; it’s the key to refined embroidery, impeccable appliqué, and customized precision. Envision the creations you’ll craft as you master the use of a sewing bird clamp, elevating your skills to new frontiers.

