This site is supported by our readers. We may earn a commission, at no cost to you, if you purchase through links.
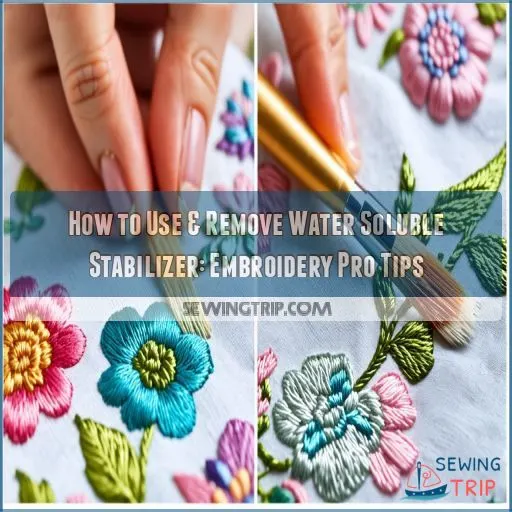 Ready to tame that pesky water soluble stabilizer in your embroidery? You’re in for a treat! First, choose the right type for your fabric – film, mesh, or heat-sensitive.
Hoop it up with your fabric, or float it if you’re feeling fancy. Stitch away, but keep an eye on your machine settings to avoid a melty mess.
Once you’ve created your masterpiece, it’s time for the big reveal. Trim the excess, then give it a good rinse under cool water.
For stubborn bits, soak it in lukewarm water and gently brush away the residue. Air dry flat, and voila! Your embroidery’s now ready to shine. But wait, there’s more to mastering this craft…
Table Of Contents
- Key Takeaways
- Types of Water Soluble Stabilizers for Embroidery
- Choosing the Right Water Soluble Stabilizer
- Preparing Fabric for Water Soluble Stabilizer Application
- Applying Water Soluble Stabilizer to Fabric
- Machine Settings for Embroidering With Water Soluble Stabilizer
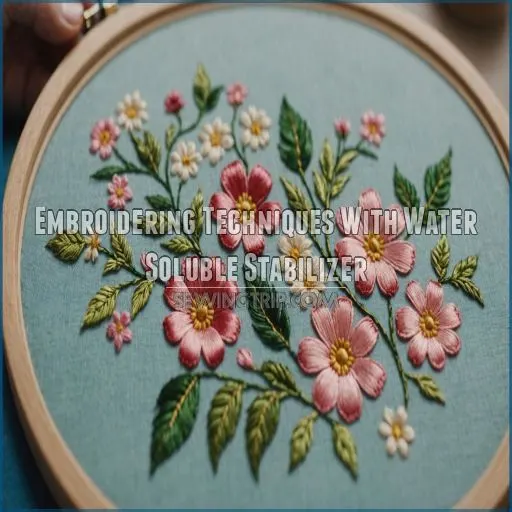
- Embroidering Techniques With Water Soluble Stabilizer
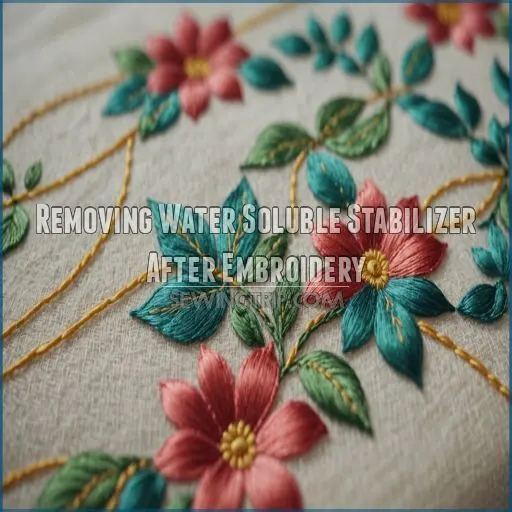
- Removing Water Soluble Stabilizer After Embroidery
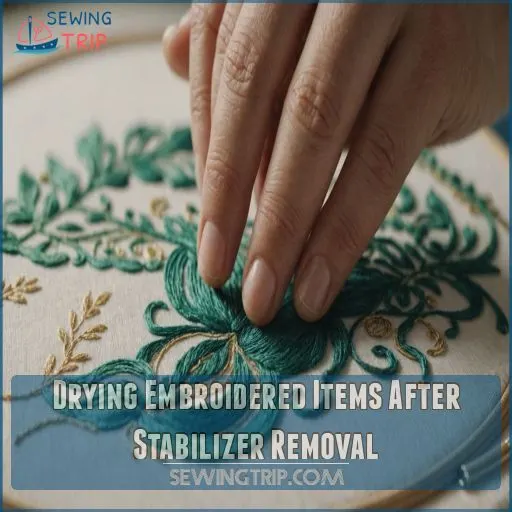
- Drying Embroidered Items After Stabilizer Removal
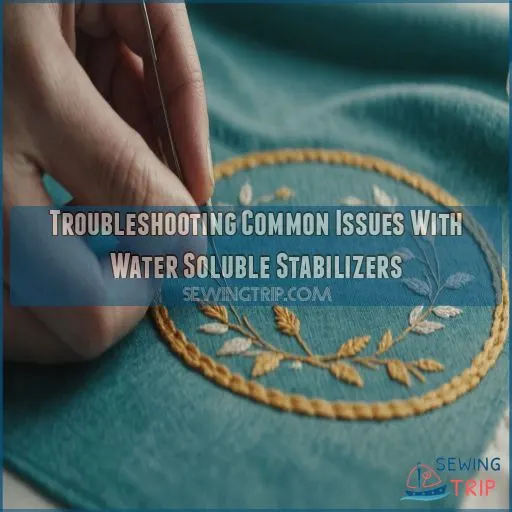
- Troubleshooting Common Issues With Water Soluble Stabilizers
- Storing and Handling Water Soluble Stabilizers
- Frequently Asked Questions (FAQs)
- Conclusion
Key Takeaways
- Pick your stabilizer like you’d choose a sidekick—whether it’s washaway film for delicate fabrics or mesh for a sturdier grip. Matching the stabilizer to the fabric is key to avoiding an embroidery meltdown.
- When it’s time to jump into action, apply your stabilizer with the right technique. Hoop it tightly without stretching, or let it float above delicate fabrics for a stress-free experience.
- Once your embroidery is done, show that stabilizer who’s boss. Trim the excess with the precision of a master sculptor, and give it a rinse under warm water to wash away any traces of your invisible helper.
- Got sticky bits that refuse to budge? Let them soak in warm water, maybe with a little gentle persuasion from a soft brush, and watch them vanish like a magic trick. Your fabric will thank you for being patient.
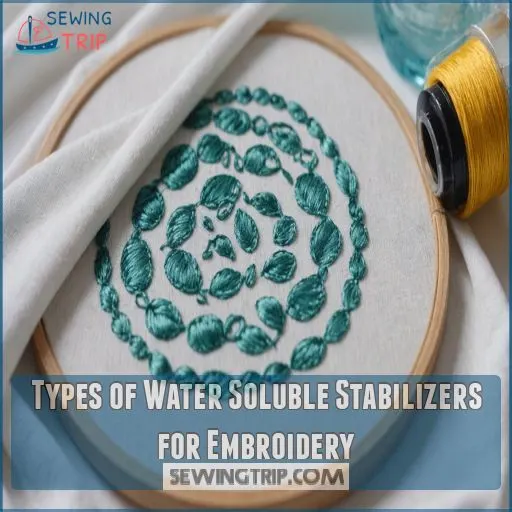
Types of Water Soluble Stabilizers for Embroidery
You’ve got options when it comes to water-soluble stabilizers for embroidery, and knowing which one to use can make or break your project.
From washaway films to mesh and heat-sensitive varieties, each type has its own superpower to keep your stitches looking sharp and your fabric from throwing a tantrum.
Each type of stabilizer has its unique characteristics and uses.
Washaway Film Stabilizers
Transparency is key in regards to washaway film stabilizers. They’re like magic sheets for your embroidery projects! You’ll love how these thin, clear films disappear with water, leaving your stitches pristine.
- Provide invisible support for delicate fabrics
- Create crisp, clean lines in your designs
- Dissolve completely, leaving no residue
Don’t let their fragile appearance fool you; these film stabilizers pack a punch. They’re your secret weapon for professional-looking embroidery without the bulk.
Mesh Washaway Stabilizers
Mesh washaway stabilizers are the Swiss Army knife of embroidery; they’re like a supportive friend who’s there when you need them but knows when to disappear.
You’ll love their versatility, especially when working with delicate fabrics like freestanding lace or sheer fabrics, where how to use embroidery stabilizer is key. They provide just the right tension and support, making them perfect for various fabric weights.
These stabilizers come in various thicknesses, perfect for different fabric weights. They provide just the right tension and support, making them ideal for a range of embroidery projects.
When you’re done, they vanish like magic with a little water. Talk about freedom in creativity!
Heat-sensitive Washaway Stabilizers
Ever wished your stabilizer would vanish like magic? Enter heat-sensitive washaway stabilizers, your embroidery project’s secret weapon.
These nifty sheets dissolve with a blast of steam, giving you control over removal timing.
They’re perfect for delicate fabrics or when you need extra stability during stitching.
Just remember, store them in a cool, dry place – they’re sensitive souls that melt at the slightest warmth, making them a perfect solution for those hard-to-work-with delicate fabrics, and when you need extra stability during stitching.
Liquid Water Soluble Stabilizers
You’ve mastered heat-sensitive washaway stabilizers; now let’s tackle their liquid cousins.
These water-soluble wonders are your secret weapon for tricky fabrics. Just brush ’em on, voila!
They’re perfect for delicate materials that can’t handle hooping. Brands like Sulky and Madeira offer excellent options.
Dilute for lighter coverage or go full-strength for heavy-duty support. When you’re done, simply rinse away your liquid sidekick.
Choosing the Right Water Soluble Stabilizer
You’re about to become a water-soluble stabilizer guru, and trust me, it’s more exciting than it sounds.
Let’s talk about picking the perfect stabilizer for your embroidery project, because nothing’s worse than ending up with a wonky design that looks like it went through the spin cycle one too many times.
Types Of Stabilizers
Choosing the right water soluble stabilizer might seem overwhelming, but it’s easier than untangling a nest of threads! Let’s explore the types that’ll make your embroidery pop.
- Feather-light films for delicate fabrics
- Sturdy meshes for heavy-duty designs
- Heat-sensitive wonders for precision work
- Liquid magic for intricate details
- All-purpose heroes for everyday projects
Each type has unique properties, so mix and match to find your perfect stabilizer soulmate. Remember, the right choice can turn a potential disaster into a masterpiece!
Proper Application Techniques
Let’s get into the art of applying water-soluble stabilizer like a pro!
Choosing the right stabilizer is really important for embroidery success. Here’s a quick guide to help you match stabilizer types with fabric and design needs:
| Stabilizer Type | Best for Fabrics | Ideal Designs |
|---|---|---|
| Film | Delicate, sheer | Light, open |
| Mesh | Medium-weight | Dense, filled |
| Heat-sensitive | Napped, stretchy | Dense, intricate |
| icult-to-hoop | 3D, freestanding |
Master these techniques, and you’ll be stitching like a champ in no time!
Removal And Care Tips
Countless embroiderers have faced the stabilizer struggle, but fear not!
To remove water soluble stabilizer, give your creation a gentle bath in lukewarm water. For stubborn bits, a soft toothbrush is your secret weapon.
After washing, air dry or use a hairdryer on low heat. Iron on the reverse side to smooth out any wrinkles.
Store unused stabilizer in a cool, dry place to keep it fresh for your next masterpiece.
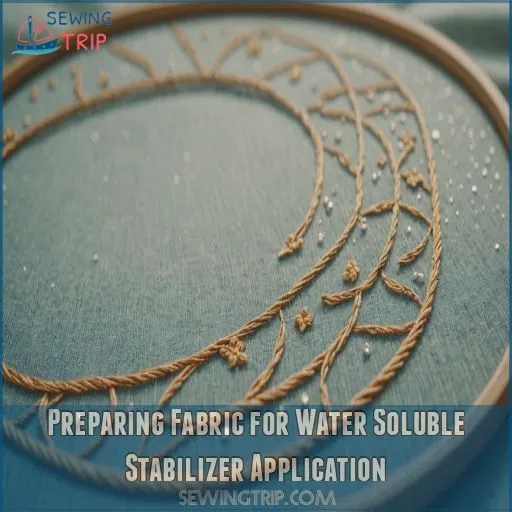
Preparing Fabric for Water Soluble Stabilizer Application
Get your fabric ready for water-soluble stabilizer like you’re prepping for a first date: clean and smooth.
You’ll want to wash, dry, and iron your fabric.
Then mark your embroidery placement with the precision of a cat plotting world domination.
Washing and Drying Fabric
Mastering fabric prep is your secret weapon for embroidery success.
Before applying water soluble stabilizer, give your fabric a spa day:
- Pre-wash to remove sizing and prevent shrinkage
- Use lukewarm water for delicate fabrics
- Tumble dry on low heat or air dry flat
- Avoid fabric softeners, they’re kryptonite for stabilizers
You’ll be as smooth as butter and ready to tackle any design. Trust me, your future embroidered self will thank you!
Ironing Fabric for Smooth Surface
Now that your fabric’s clean and dry, it’s time to iron out those pesky wrinkles! A smooth surface is your canvas for embroidery perfection.
| Fabric Type | Iron Temperature | Steam Setting |
|---|---|---|
| Cotton | High | High |
| Silk | Low | No Steam |
| Polyester | Medium | Low |
Remember, patience is a virtue when ironing. Take your time; your future embroidery will thank you for it. Trust me, I’ve learned this the hard way!
Marking Embroidery Placement
Precision is your secret weapon when marking embroidery placement. You’ll want to grab your favorite marking tools; fabric pens, chalk, or even trusty ol’ pins work wonders.
For spot-on accuracy, whip out a template and trace it onto your fabric. To avoid any potential mistakes, consider using tools that minimize the risk of bleeding or smudging, such as using pencil marks removal techniques.
Different fabrics call for different tricks: light fabrics love water-soluble pens, while dark fabrics prefer chalk. Remember, your marks are like breadcrumbs guiding you to embroidery perfection when working with wash away stabilizer
!
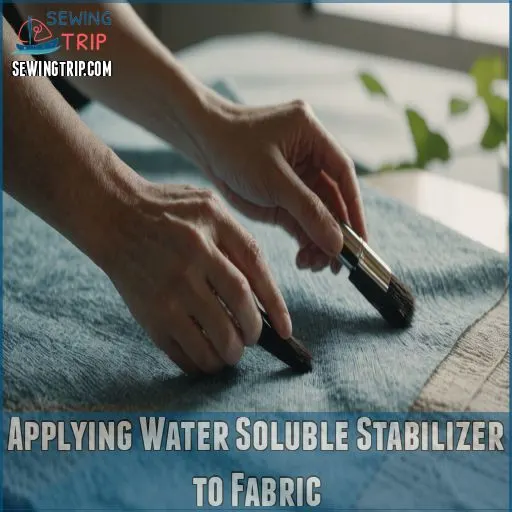
Applying Water Soluble Stabilizer to Fabric
You’re ready to transform your fabric into a masterpiece, and applying water soluble stabilizer is your secret weapon.
Whether you’re hooping, floating, or basting, this step will keep your embroidery crisp and your sanity intact.
Hooping Techniques With Stabilizer
Ready to hoop like a pro? First, choose the right hoop size for your design; bigger isn’t always better!
Sandwich your fabric between the stabilizer and hoop, keeping things snug but not too tight. For delicate fabrics, loosen up a bit to avoid stretching.
When hooping for free-standing lace, double up on stabilizer for extra support. Remember, proper placement is key—center that design and you’ll be stitching up a storm in no time!
Floating Method for Stabilizer Application
Three cheers for the floating method. You’ll love this embroidery hack that lets you skip the hooping hassle.
Simply lay your stabilizer on top of your fabric and secure it with pins or temporary adhesive spray. It’s like giving your fabric a weightless dance partner.
This technique is especially useful when working with delicate materials that may not hold up well to traditional stabilizers, such as those that require tear-away stabilizers for wovens. Imagine your stabilizer floating gracefully above delicate fabrics, providing the necessary support without the risk of distortion or puckering.
Picture pins acting as tiny anchors, holding everything in place. Visualize a misty cloud of adhesive spray, creating an invisible bond.
This technique’s a game-changer for tricky materials or when you’re feeling rebellious against traditional hooping.
Basting Stabilizer to Fabric
Before you get started, let’s talk basting—it’s not just for turkeys!
To secure your water-soluble stabilizer, you’ve got options.
For delicate fabrics, try a temporary spray adhesive. Feeling old-school? Hand-baste with long, loose stitches.
For the tech-savvy, use your machine’s basting stitch.
Remember, different fabrics dance to different tunes; experiment to find your perfect match. You’ll be a stabilizer maestro in no time!
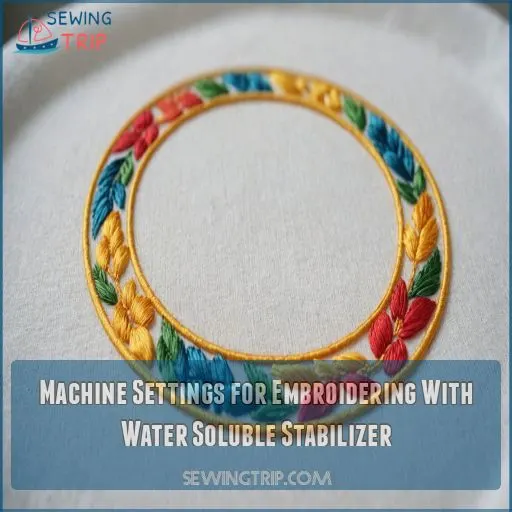
Machine Settings for Embroidering With Water Soluble Stabilizer
You’re all set with your stabilizer, but hold up—your machine needs some TLC too.
Let’s tweak those settings to make sure your embroidery comes out picture-perfect, just like that Instagram-worthy latte art you’ve been practicing.
Needle Selection for Stabilizer
Now that you’ve got your stabilizer in place, let’s talk needles. Choosing the right one can make or break your embroidery project.
When working with water-soluble stabilizers, it’s important to think about the density of stitches to prevent puckering, and using the right stabilizer weight can make all the difference. For example, lightweight stabilizers are suitable for designs with 5,000 to 7,000 stitches, while medium weight stabilizers are better suited for designs with 8,000 to 20,000 stitches.
- Needle size: Go thinner for delicate fabrics, thicker for heavy-duty work
- Needle type: Ballpoint for knits, sharp for wovens
- Stabilizer thickness: Thicker stabilizers need sturdier needles
- Needle sharpness: Fresh, sharp needles prevent snags and breaks
Remember, a well-chosen needle is like a secret weapon in your embroidery arsenal!
Adjusting Thread Tension
Getting your thread tension just right is like finding the sweet spot on a guitar string.
Start with your machine’s default setting; it’s usually spot-on. If you’re seeing loops or puckering, don’t panic!
Adjust the top tension dial in small increments. Too tight? Loosen it a smidge. Too loose? Tighten it up a tad. Remember, different fabrics might need different tensions, so keep experimenting until you’ve nailed it.
Stitch Density Considerations
Stitch density can make or break your embroidery project.
You’ve got the tension just right; now let’s tackle density. Think of it as the Goldilocks principle: not too sparse, not too dense.
With water-soluble stabilizer, you’ve got more wiggle room. Adjust your machine’s settings based on fabric type and machine embroidery machine embroidery techniques and design complexity
.
A lighter touch works wonders on delicate fabrics, while intricate designs might need a bit more oomph. Trust me, your stabilizer will thank you!
Embroidering Techniques With Water Soluble Stabilizer
Ready to take your embroidery game up a notch?
With water soluble stabilizer, you’ll open up a world of creative techniques like free-standing lace, intricate appliqués, and 3D effects that’ll make your projects pop.
Free-standing Lace Embroidery
Three layers of water-soluble stabilizer are your secret weapon for free-standing lace embroidery. You’ll feel like a magician as you create delicate designs that float on air!
Choose intricate free-standing lace patterns and sandwich your thread between stabilizer sheets. As you stitch, watch your design come to life.
Once finished, give it a bath and—presto!—your lace masterpiece emerges. It’s embroidery freedom at its finest!
Appliqué With Water Soluble Stabilizer
Ready to take your appliqué game up a notch?
Water-soluble stabilizer is your secret weapon. Lay it over your fabric, then place your appliqué pieces on top. It’ll hold everything in place like magic while you stitch.
When you’re done, just rinse it away and watch your design pop! It’s like having an extra pair of hands, minus the awkward small talk.
Try different fabrics and stitch techniques to create eye-catching designs that’ll make your friends green with envy, with your new appliqué game up a notch.
3D Embroidery Effects
Now that you’ve mastered appliqué, let’s add some pop to your projects with 3D embroidery effects. You’ll feel like a textile magician as you bring your designs to life.
Water-soluble stabilizer is your secret weapon for creating depth and dimension. Here’s how to achieve jaw-dropping 3D embroidery:
- Layer multiple pieces of stabilizer for extra height
- Use thicker threads to build up areas
- Incorporate foam or batting beneath stitches for a puffy effect
Removing Water Soluble Stabilizer After Embroidery
You’ve stitched your masterpiece, and now it’s time for the big reveal. Let’s get that water soluble stabilizer off your embroidery without breaking a sweat or your beautiful design.
Trimming Excess Stabilizer
Once you’ve finished stitching, it’s time to tame that wild stabilizer! Grab your trusty scissors and channel your inner Edward Scissorhands.
Carefully trim around your design, leaving about a quarter-inch border. Be mindful of those delicate embroidered edges; you don’t want to accidentally give your masterpiece an unwanted haircut.
For intricate designs, small embroidery scissors are your best friend. Remember, slow and steady wins the race!
Rinsing Techniques for Stabilizer Removal
The magic of water-soluble stabilizer removal is in your hands!
Start by rinsing your embroidery under cold water; it’s like giving your masterpiece a quick clean.
For stubborn bits, switch to warm water – but don’t go too hot, or you’ll be in hot water yourself!
Hand washing gives you control, but if you’re feeling brave, toss it in the machine on a gentle cycle.
You’re the captain of this ship; steer it to perfection!
Soaking Methods for Stubborn Stabilizer
Sometimes stubborn stabilizer clings like a barnacle to a ship’s hull. Don’t throw in the towel!
Fill a bowl with lukewarm water; it’s your secret weapon. Submerge your embroidery and let it soak for 15-30 minutes, depending on the stabilizer type.
For mesh stabilizers, you might need to play the waiting game a bit longer. Patience is a virtue in embroidery; your masterpiece will soon be stabilizer-free!
Drying Embroidered Items After Stabilizer Removal
You’ve rinsed away the stabilizer, and now it’s time to dry your embroidery masterpiece.
Let’s explore some foolproof methods to get your creation ready for its debut, whether you’re in a rush or have all the time in the world.
Air Drying Embroidered Pieces
You’ve rinsed away the stabilizer, and now it’s time to let your embroidery masterpiece dry.
Lay your piece flat on a clean towel; this prevents warping and keeps your stitches looking sharp. If you’re feeling adventurous, hang it outside on a breezy day – just watch out for bird ‘contributions’!
For wrinkle-free results, gently reshape while damp.
Patience is a virtue; air drying might take longer, but your embroidery will thank you.
Using a Hairdryer for Quick Drying
In a rush? Grab your hairdryer and let’s speed things up!
Set it to medium heat; high might damage delicate fabrics. Hold it about 6 inches away, moving constantly to avoid scorching.
For heavier fabrics, crank up the heat a notch. Keep an eye on your creation; different stabilizer types may react uniquely.
It’s like a mini wind tunnel for your embroidery – fun and efficient!
Pressing Techniques for Finished Embroidery
Pressing your embroidery is like giving it a spa treatment—it’s the final touch that makes your work shine.
To master this art, remember these key tips:
- Use a pressing cloth to protect delicate stitches
- Iron on the wrong side to preserve texture
- Adjust heat settings based on fabric type
Don’t rush; take your time to steam out wrinkles. Your patience will pay off with crisp, professional-looking results that’ll make you beam with pride.
Troubleshooting Common Issues With Water Soluble Stabilizers
Even the pros hit snags with water soluble stabilizers, but don’t sweat it—we’ve got your back.
Let’s tackle those pesky issues like stubborn residue, puckering nightmares, and stabilizers that vanish faster than cookies at a bake sale.
So you can get back to stitching up a storm.
Stabilizer Residue on Fabric
Pesky stabilizer residue can turn your embroidery masterpiece into a sticky situation. Don’t fret!
To prevent this headache, use lukewarm water and gently agitate your fabric. For stubborn spots, try a soft brush or sponge.
Delicate fabrics? Be extra careful and consider spot-cleaning. Remember, patience is key; rushing might leave you in a sticky mess.
When in doubt, test removal techniques on a scrap piece first. Your embroidery will thank you! Don’t fret and Your embroidery will thank you
Puckering or Distortion in Embroidery
Puckering and distortion can turn your embroidery from fab to drab faster than you can say "wonky stitches." But don’t throw in the towel just yet! Let’s troubleshoot this pesky problem together.
- Incorrect stabilizer weight
- Over-tightened hoop
- Unbalanced thread tension
- Dense design on lightweight fabric
- Improper needle size
Master these techniques, and you’ll be stitching like a pro in no time. Remember, practice makes perfect!
Stabilizer Dissolving During Embroidery Process
Ever had your stabilizer vanish mid-stitch? It’s like watching your embroidery masterpiece melt away! Don’t sweat it; we’ve got your back.
Let’s tackle this slippery situation head-on with some pro tips:
| Issue | Solution |
|---|---|
| High humidity | Use a fan or dehumidifier |
| Excess moisture | Adjust spray technique |
| Wrong stabilizer type | Choose heat-sensitive option |
| Overheated needle | Slow down machine speed |
Remember, you’re the boss of your embroidery. With these tricks up your sleeve, you’ll keep your stabilizer in check and your designs picture-perfect!
Storing and Handling Water Soluble Stabilizers
You’ve mastered the art of embroidery, but are you storing your water soluble stabilizers like a pro?
Let’s get your stabilizer game on point with some savvy storage and handling tips that’ll keep your embroidery supplies fresh and ready for action.
Proper Storage Conditions for Stabilizers
You’ve conquered those stabilizer hiccups; now let’s keep your embroidery arsenal in tip-top shape!
Store your water-soluble stabilizers like they’re fine wine: cool, dry, and away from direct sunlight. Aim for room temperature and low humidity to prevent them from turning into a sticky mess.
Pro tip: Use airtight containers to keep moisture at bay. Your future self will thank you when you reach for crisp, ready-to-use stabilizers every time!
Shelf Life of Water Soluble Stabilizers
Once upon a time, your water-soluble stabilizer was fresh as a daisy. But Father Time’s no friend to these embroidery essentials.
When choosing a tear-away stabilizer, consider factors like fabric weight and design density, and opt for a stabilizer that provides the right level of support, such as a lighter weight for delicate fabrics like chiffon or georgette. To keep your stabilizers in tip-top shape, store them in airtight containers away from humidity and sunlight, similar to how you’d store tear away stabilizer in sewing.
Watch for yellowing or brittleness; that’s your cue they’re past their prime. Most stabilizers last 1-2 years when stored properly. Don’t let ’em gather dust; use ’em or lose ’em!
Cutting and Preparing Stabilizer for Use
Ready to cut your stabilizer? Grab those sharp scissors and slice through it like butter! For precision, a rotary cutter‘s your best friend.
Keep your stabilizer flat and wrinkle-free; store it rolled up or in a protective sleeve. When hooping, make sure it’s taut but not stretched.
Remember, different projects need different thicknesses, so stock up on various types. You’ll be a stabilizer pro in no time!
Frequently Asked Questions (FAQs)
How do you use a semicolon?
When to use a semicolon vs colon?
Punctuation precision’s pivotal.
Use semicolons to connect related independent clauses or separate complex list items.
Semicolons create subtle connections; colons make stronger statements.
Master these marks to elevate your writing and control your message’s flow.
When to use a colon example?
You’ll use a colon when you’re about to spill the beans: introducing lists, explanations, or examples.
It’s like a drumroll before the big reveal. Try it before quotes or after complete thoughts for emphasis.
How do you use dashes in text?
Did you know that 90% of writers misuse dashes?
Master these punctuation powerhouses! Use em dashes for abrupt breaks—like this—or to emphasize.
For ranges, opt for en dashes. They’re your secret weapons for punchy, professional prose. (Source)
Can water soluble stabilizers be reused?
Unfortunately, water soluble stabilizers aren’t reusable.
Once they dissolve, that’s it – they’re gone for good.
But don’t worry, you’re not throwing money down the drain.
These stabilizers are essential for achieving crisp, professional embroidery results.
How long does water soluble stabilizer last?
Water soluble stabilizers typically last 1-2 years when stored properly.
Keep them in a cool, dry place to extend their shelf life.
Once opened, they’re best used within 6 months for the best results in your embroidery projects.
Are water soluble stabilizers eco-friendly?
Eco-friendly? Not quite.
While they dissolve in water, most water-soluble stabilizers aren’t biodegradable. They’re better than some alternatives, but they still leave microplastics behind.
Consider using natural, biodegradable options for a greener embroidery experience.
Can I use water soluble stabilizer for hand embroidery?
Water-soluble stabilizer is a game-changer for hand embroidery.
It will keep your fabric taut and your stitches crisp.
Just hoop it up, stitch away, and when you’re done, give it a rinse.
Voila, perfect embroidery without the hassle.
Does water temperature affect stabilizer removal efficiency?
The temperature of water can indeed impact how well stabilizer dissolves.
Warmer water tends to work faster, melting it away like snow on a sunny day.
But don’t go boiling it—lukewarm to warm is perfect.
Conclusion
Mastering the art of taming that tricky water soluble stabilizer in embroidery isn’t as hard as it seems.
Just remember: choose wisely between film, mesh, or heat-sensitive types to match your fabric.
Apply it with care using proper techniques like hooping or floating.
After your embroidery shines, remove it by trimming and rinsing.
If residues persist, a good soak will do the trick.
With practice, you’ll breeze through using and removing water soluble stabilizer like a pro!

