This site is supported by our readers. We may earn a commission, at no cost to you, if you purchase through links.
 Overlockers can take your sewing to another dimension, but learning how to work with their techniques may seem daunting.
Here is an invaluable guide to overlocker hints and tips that can help develop your sewing skills, from basic stitches through to decorative finishes.
Learn how to thread an overlocker, adjust it, and use it like a professional. With practical insight, no matter what level of sewer you are—from new sewers to experienced ones—you are empowered to make garments and crafts that exude professionalism on a plane you never envisioned before.
Table Of Contents
Key Takeaways
- Overlockers can take your sewing to new heights, but don’t be intimidated by their techniques. With a little practice, you’ll be overlocking like a pro!
- Understanding the difference between an overlocker and a sewing machine is key to mastering your sewing projects. Overlockers specialize in finishing seams, while sewing machines excel in intricate tasks like gathering and topstitching.
- Practice regularly on scraps to get the tension just right along with the correct stitch length for both threads. This will ensure that your seams are strong, solid, and ready for everyday use—or abuse.
- Don’t be afraid to experiment with different stitches and techniques to create unique and professional-looking garments. Overlockers can handle everything from basic seaming to decorative finishes, so let your creativity run wild!
Overlocker Vs. Sewing Machine
Understanding the differences between an overlocker and a sewing machine is key to mastering your sewing projects. Overlockers specialize in finishing seams with various stitches like overlock, flatlock, and rolled edge, providing professional, durable edges. For instance, overlocking prevents fabric fraying, while flatlocking creates a flat seam, ideal for activewear.
In contrast, a sewing machine excels in intricate tasks like gathering, topstitching, and general assembly. Overlockers use multiple threads for strength and stretch, making them perfect for hemming and seaming knit fabrics, yet they can’t replace the versatility of a sewing machine for detailed work. Each has its own strength: overlockers for efficient, strong finishing, and sewing machines for detailed, versatile projects.
Basic Overlocker Stitches
Understanding basic overlocker stitches is key to your sewing success. The overlock stitch, used for seaming and finishing edges, adjusts through overlock settings and works well with many fabric types. Utilize the rolled hem for light fabrics, creating delicate edges perfect for napkins or scarves. The flatlock stitch joins fabrics edge-to-edge, making it ideal for decorative seam finishes.
Pay attention to stitch length and thread tension. Adjusting tension dials helps control thread tightness, essential for different materials. For stretchy fabrics, use longer stitches (3-4mm) to avoid puckering. On the other hand, shorter stitches (2-2.5mm) suit woven fabrics. Experiment with settings, practice various stitches, and sharpen your skills, remembering to use the correct overlock needle for best results.
Tips for Threading an Overlocker
Threading an overlocker isn’t overwhelming if you follow the tips below. First, carefully follow the threading guide given in your machine’s manual. It’s your way to perfect stitches. Adjust the tension dials and get that sweet spot on your fabric type and thread type. You’ll be good to go slow at first, guiding the fabric through nice and smooth so that it doesn’t bunch or stretch.
Experiment with different configurations for different effects using three threads:.
Always check to be sure the fabric is suitable for the capabilities of an overlocker.
- Troubleshoot any issues by checking for tangles or thread breakages.
- Practice on scrap fabric to build your confidence and technique.
Gradually increase the speed as you become more confident and comfortable with the overlocker flying along.
With a little patience and persistence, you’ll very soon be overlocking like a pro!
Hemming Techniques
Now that you’ve mastered the basics of threading, let’s move on to some ways to hem with your overlocker. Hemming really can make or break a project—it makes it look smart and professional. Start by working a fold-over hem in knit fabrics. Simply fold the edge over once and overlock securely.
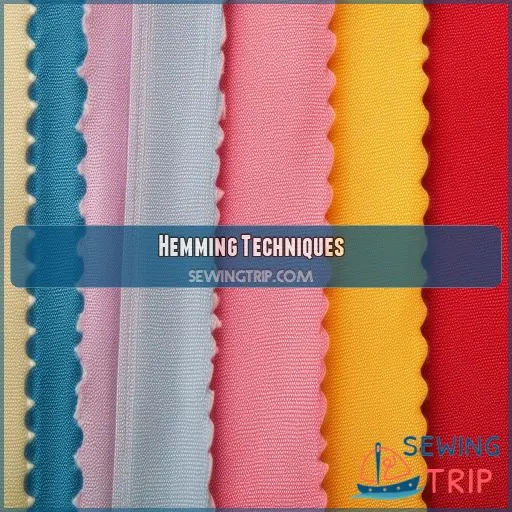
Next, for extra strength, try the double hem. Fold the fabric twice and run a straight stitch along the edge. On more delicate fabrics, it’s wonderful to use a rolled edge, which gives your garment a neater finish. Next is the lettuce edge, which adds that playful, wavy effect suitable for children’s clothes. Finally, practice the blind hem, which hides the stitching at the front side—just perfect for pants and skirts. Master these overlocker tips and give all your serging projects a professional boost!
Seaming Projects
Add professional finishing to your seaming project with an overlocker, and obtain sturdiness for all sewn creations. One of the important things in joining fabrics is seam allowance. While most patterns will give a standard allowance, remember to double-check. In cases of stretchy materials, an overlocker will ensure no puckering within the seam, and at the same time, create strength.
Edge finishing with a serger not only keeps the fabric from fraying but also makes your seams look clean. Just let the machine trim and stitch all at once as you line up your edges of fabric. Easy! Practice regularly on scraps to get the tension just right along with the correct stitch length for both threads. This will ensure that your seams are strong, solid, and ready for everyday use—or abuse. Seaming projects using these tips will enhance the accuracy in your sewing.
Decorative Stitching Ideas
First, there’s the basic seaming with your overlocker, then the magic of decorative stitching: now unleash your creativity and transform an ordinary garment into a showstopper with embroidered lace, appliqué embellishments, and ruched frills. An overlocker’s versatility allows one to add beaded trims, zigzag ribbons, and other unique touches to one’s sewing projects.
- Embroider delicate lace patterns along necklines and cuffs for a touch of elegance.
Appliqué shapes and motifs onto the fabric, thereby creating one-of-a-kind designs.
Ruche and gather fabric to create playful, textured accents.
- Beaded trims extra to give that extra luxurious finish.
- Add some zigzag ribbons for light-hearted, playful excitement.
Let your sewing creativity shine through creating with overlockers’ decorative possibilities.
Overlocking Before Vs. After
While using an overlocker, one of the decisions that will be made, affecting your project’s outcome, will have to do with whether to overlock before or after sewing. Overlocking prior to sewing can be effective for light materials since it prevents fraying at the seams, thus keeping the seam finish intact. This is also time-saving; it reduces the need for making a second pass.
| Overlocking Before | Overlocking After |
|---|---|
| Secures seam edges | Reinforces seams |
| Great on delicate fabrics | Great on strong seams |
| Inhibits early fraying | Suitable for thicker fabrics |
On the other hand, overlocking after sewing provides a much stronger seam for heavier fabrics: flexible but strong. It can also help you handle the fabric while stitching much more easily. Both these techniques improve the quality of stitching and provide you with smooth handling of the fabric, thereby improving the overall result of your stitching work.
Stitch Length Adjustments
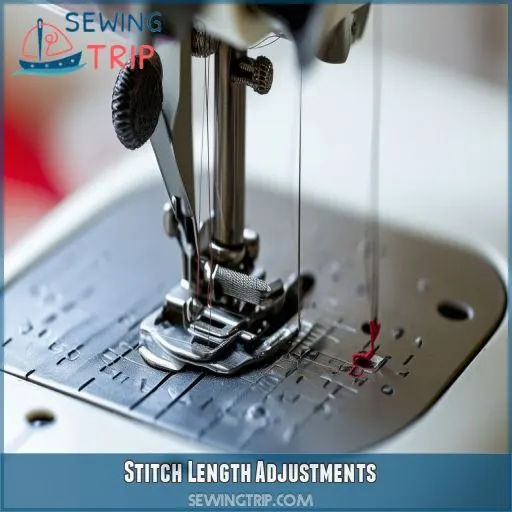
Moving on from the decision of when to overlock, let’s consider how to adjust the stitch length. This can be the ‘make or break’ element of your project. Various fabrics warrant different stitch lengths for that perfect finish.
- Stretch Fabrics: For stretchy materials, such as a custom T-shirt with an overlocker or a T-shirt quilt, use longer stitches of about 3-4 mm. It won’t pucker and will allow for movement.
- Non-Stretch Fabrics: On fabrics, such as cotton, use a shorter stitch length of 2-2.5mm so that your seams are very tight and starched, like for this easy serger eyeglass case.
- Seam Samples: Always make samples. This helps in testing to decide on the best stitch length for your fabric and avoids any mistakes on your overlocker drawstring bag.
Tension Control Tips
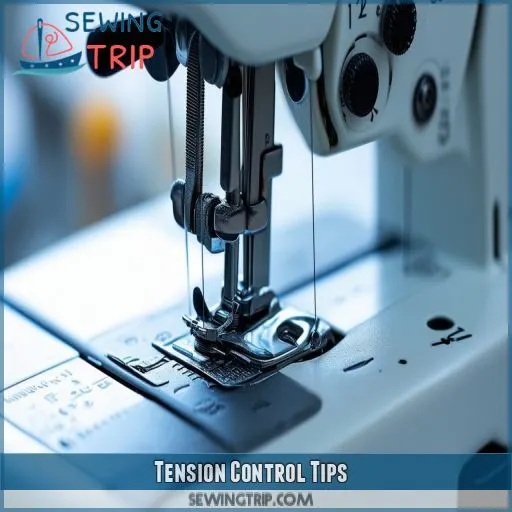
Mastering your overlocker really does come down to controlling tension if you want perfect stitches. Consider the tension dials as the key to tightness for your thread; a properly done tension adjustment will give you flawless seam finishes and stitch quality. Here are some top tips on tension control:.
- Test First: Gradually turn your tension dials, and test the stitches on a scrap to make sure that the threads intertwine nicely.
- Default Settings: Tension around 3-5, then adjust from here.
- Thread Types and Fabrics: Thicken when using thicker threads or fabrics; thin when using thinner ones.
- Balanced Stitches: Neither top nor bottom thread pulls too much.
With these overlocker tips, you’ll be sewing like a pro during Serger Month and beyond.
Practice and Mastery
To master your overlocker, consistent practice is key. Start with gathering stitches and explore techniques like turning straps or coverstitch techniques. Develop habits that build your skills incrementally. Experiment with projects like the faux knot headband to hone precision. Here’s a simple practice breakdown:
| Practice Routine | Focus Area | Goals |
|---|---|---|
| Daily 15-minute sessions | Basic stitches, speed | Build muscle memory |
| Weekly project completion | Faux knot headband, straps | Apply learned techniques |
| Monthly review | Coverstitch techniques | Analyze progress, adjust |
Small, regular effort leads to vast improvement over time. Embrace mistakes as learning opportunities, and soon, you’ll be creating beautifully finished projects with confidence.
Frequently Asked Questions (FAQs)
What can I sew with an overlocker?
With an overlocker, you can sew projects like T-shirt quilts, table runners, napkins, drawstring bags, and headbands. You can also hem, seam, gather, overcast, and add decorative stitching for professional finishes.
Can overlocker do normal sewing?
Your trusty overlocker can plod along with the best of them in everyday sewing tasks. Unleash its versatility and create professional-looking hems, seams, and finishes on everything from delicate silks to sturdy denims.
Should you overlock before or after sewing?
Overlock before sewing to prevent fraying and strengthen the seam. This will secure the edges of the fabric in such a manner that assembling becomes both easier and more durable. Pre-overlock for neater, professional finishing on your sewing projects.
What is the best stitch for overlock?
The overlock stitch is best to overlock. Edge finishing fast, fraying prevention of edges, joining pieces of fabric; versatile for a host of fabrics while ensuring a professional and clean look all the time.
How to handle delicate fabrics with an overlocker?
It’s like tightrope-walking when handling delicate fabrics with an overlocker—you’ll want a feather-light touch and keen eyes. Adjust tension, lengthen stitches, and go slow to prevent that precious material from puckering or shredding.
Best overlocker settings for heavyweight fabrics?
For heavyweight fabrics, set your overlocker tension dials between 4-6, using a longer stitch length (3-4mm). Opt for heavier threads and consider using a differential feed to prevent fabric stretching or gathering.
Can an overlocker handle curved seams?
Yes, you can handle curved seams with an overlocker. Just take it slow, guide the fabric gently, and use shorter stitch lengths. Practice on scraps to fine-tune your technique.
How to troubleshoot skipped overlock stitches?
Missing stitches are typical of skipped overlock stitches. Troubleshooting this requires you to check your needle, thread tension, and stitch length. Be sure that the needle is sharp and installed properly. If there are still any irregularities, then adjust the tension and stitch length accordingly until consistent, smooth stitches are achieved.
Can decorative threads be used for seams?
Absolutely, you can use decorative threads for seams. For example, using metallic threads can add flair to a simple T-shirt project, making it stand out. Just adjust your tension and needle for best results.
Conclusion
Did you know that an overlocker may increase your sewing speeds by as much as 50 percent?
Mastering these overlocker tips for sewing projects can make a dramatic change in your overall output quality. From the simple stitches to the decorative finishes, you’ll have skills that get you on to producing professional-like garments.
Proper threading of the machine, running the appropriate stitch length, and easy tension control are techniques learned by doing these consistently, so you’ll be assured of taking your sewing projects up a level in both quality and sophistication.

