This site is supported by our readers. We may earn a commission, at no cost to you, if you purchase through links.
With just a few snips and stitches, you can refashion that dress with an elastic waist into a trendy skirt.
It’s easier than you think, and we’ll guide you through every step.
You’ll breathe new life into your wardrobe, flex your DIY muscles, and rock a one-of-a-kind piece.
Ready to turn fashion frustration into creative inspiration? Let’s jump into this simple tutorial and get started on your next favorite skirt.
Table Of Contents
Key Takeaways
- Transform that forgotten frock into a fab skirt! With just a few snips and stitches, you’ll be rocking a one-of-a-kind piece faster than you can say "fashion makeover."
- Elastic is your new BFF. It’s the secret sauce that turns a plain Jane dress into a comfy-chic skirt. Just remember: measure twice, cut once, and you’ll be strutting your stuff in no time.
- Don’t be afraid to jazz it up! Add some bling, lace, or even pockets (because who doesn’t love pockets?). Your refashioned skirt is your canvas, so let your creativity run wild.
- Share your creation and inspire others! You might just start a DIY fashion revolution in your social circle. Plus, showing off your handiwork is the perfect excuse to organize that long-overdue brunch with the girls.
Refashioning a Dress
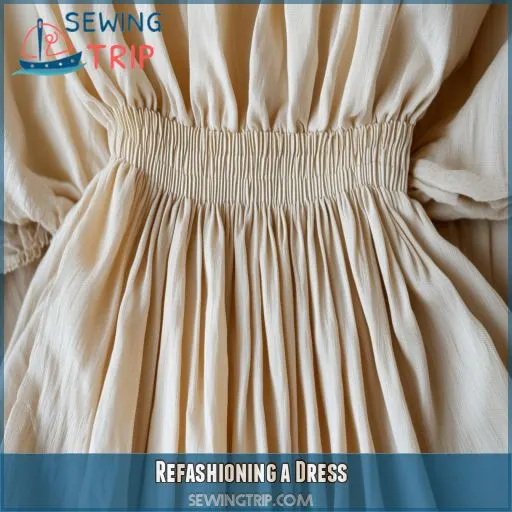
Refashioning a dress is a fun and creative way to give new life to an old piece. You’ll learn how to transform a dress into a stylish skirt with an elastic waist, creating a unique and comfortable addition to your wardrobe.
Identifying the Right Dress
When refashioning a dress, choosing the right one is key. Pick a dress with a fabric you love and a style that’s easy to transform. Imagine a flowy A-line or a simple straight silhouette – the perfect canvas for your new skirt. Don’t forget to think about length, too. You’ll want enough fabric to work with for that elastic waistband.
Measuring and Marking the Waistline
Now it’s time to measure and mark the waistline for your elastic waist. This is a really important step to make sure the waistband fits perfectly.
Try on the dress inside out and use chalk or pins to mark your desired waistline. If you’re unsure, go with a slightly lower waistline—you can always adjust it later.
Once you’ve marked the waistline, remove the dress and use a ruler to draw a straight, clear line all the way around. This will be your guide for creating the elastic casing and inserting the elastic.
Gathering Necessary Tools and Materials
Now that you’ve picked your dress and measured the waistline, it’s time to gather your tools and materials. You’ll need:
- A sewing machine
- Thread
- Scissors
- Measuring tape
- Pins
- Elastic
Make sure you have everything within arm’s reach before you start. It’s no fun realising you need something halfway through your project!
Cutting and Adjusting the Dress
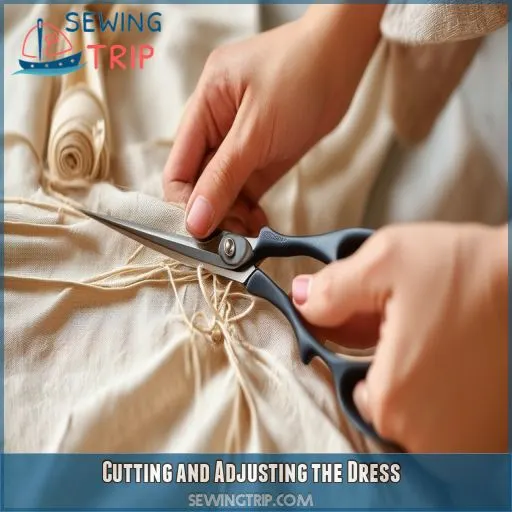
Now that you’ve picked the perfect dress for your DIY skirt project, it’s time to get cutting! This step is all about precision – you’ll be laying out the dress, marking the hemline, and then cutting it to create a smooth, straight edge for the skirt.
Laying Out the Dress and Marking the Hemline
- Lay the dress flat: Make sure the backside is facing up, and smooth out any wrinkles or creases.
- Mark the desired skirt length: Use your measuring tape and a marker to indicate where you want the skirt to end.
- Remove any unnecessary elements: This could include buttons, zippers, or embellishments that won’t be needed for your new skirt.
Cutting the Dress to Create a Skirt
Now, it’s time to cut the dress and transform it into a skirt!
Lay the dress flat with the backside facing up, ensuring the fabric is smooth and wrinkle-free. Use a measuring tape and a marker to indicate the desired length for your skirt. Carefully cut along this line to create a straight edge for the skirt hem.
Imagine the dress taking on a new life as a stylish skirt. With a few snips and adjustments, you’re well on your way to a fabulous new garment!
Removing Unnecessary Elements
Now it’s time to strip away the extras. You know, those buttons, zippers, and pockets that are just getting in the way of your vision. It’s like giving your dress a little makeover, and soon it’ll be unrecognizable!
Creating the Elastic Waistband
Now it’s time to create that all-important elastic waistband. This is the key to a comfy, cute skirt that fits like a dream. You’ll be sewing a casing, measuring and cutting elastic, and then inserting and securing it.
Sewing the Elastic Casing
Now that you’ve cut and adjusted your dress, it’s time to create that comfy elastic waistband.
Sewing the elastic casing is a cinch – literally!
You’ll be stitching a tube of fabric to the top of your skirt, leaving an opening to insert the elastic later.
This casing will be the channel that holds your elastic in place and gives your skirt a clean, polished finish.
Measuring and Cutting the Elastic
You’ve got your elastic casing sewn, now it’s time to focus on the elastic itself. This is where you get to customize your waistband to your liking.
First things first, measure your waist. You want your elastic to be slightly smaller than your waist to make sure it fits snugly. So, take your waist measurement and subtract an inch or so. This will give your elastic some stretch and make sure it’s not too tight.
Now it’s time to cut your elastic to size. Choose an elastic type that suits your desired level of stretch and comfort. You can go for a classic option like braided elastic or try something different like a softer, flatter elastic.
The width of your elastic is also important. A wider elastic will provide more support and structure to your waistband, while a narrower one will give a subtler effect.
Inserting and Securing the Elastic
Now that you’ve got your elastic ready, it’s time to insert and secure it to create that comfy waistband. Here’s how:
- Attach a Safety Pin: Grab that safety pin and attach it to one end of your elastic. This is gonna be your guide as you nudge and wrangle that elastic through the casing.
- Feed the Elastic: Slip the safety pin into the opening of the casing. Now, carefully feed the elastic through, inch by inch, until it pops out the other side. It’s like threading a needle, but with a fun fabric twist!
- Pin and Check: Once the elastic emerges, temporarily pin the ends to the casing. Try on your dress-turned-skirt to make sure the waistband feels just right. You don’t want it too snug or too loose, so adjust as needed.
- Overlap and Stitch: When you’re happy with the fit, overlap the elastic ends by about an inch. Stitch ’em together with a zigzag pattern to secure that waistband.
- Close the Casing: With your elastic safely tucked inside, sew up the opening in the casing. And just like that, you’ve got yourself a snazzy elastic waistband!
Fine-Tuning the Fit
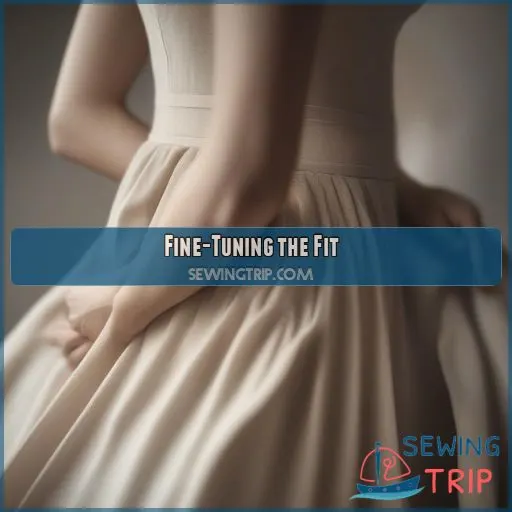
You’ve transformed your dress into a skirt, but the fit mightn’t be perfect just yet. Let’s fine-tune that elastic waistband to make sure your new creation hugs you in all the right places and feels as comfy as your favorite PJs.
Trying on the Skirt and Assessing the Fit
Now that you’ve created your elastic waistband, it’s time for the moment of truth! Slip on your newly refashioned skirt and take a good look in the mirror. How does it feel? Is the waist snug but not too tight? Does the length hit just right? Here’s a quick checklist to help you assess the fit:
| Fit Element | What to Look For | Adjustment Needed? |
|---|---|---|
| Waist | Comfortably snug | Yes / No |
| Length | Hits desired spot | Yes / No |
| Gathers | Evenly distributed | Yes / No |
Adjusting the Elastic Waistband
Now it’s time to fine-tune that waistband!
If it’s a bit loose, don’t sweat it – just shorten the elastic by snipping and overlapping the ends.
Too tight? No worries! Add a small piece to give yourself some breathing room.
It’s your skirt, your rules!
Distributing Gathers Evenly
Ready to rock your refashioned skirt?
Let’s fine-tune those gathers! Stretch that elastic waist and do a little shimmy-shake to spread the fabric evenly.
No one wants a lopsided look, right?
Gently adjust the gathers with your fingers, making sure they’re distributed like butter on toast.
Voila! You’ve just turned a frumpy dress into a fabulous skirt that fits like a dream.
Adding the Finishing Touches
You’re almost there! Now it’s time to add those finishing touches that’ll take your refashioned skirt from ‘meh’ to ‘marvelous.’ Let’s polish up your creation with some simple yet effective steps that’ll make your skirt look like it came straight off the rack.
Hemming the Skirt
- Measure and mark your desired length
- Fold and pin the hem in place
- Choose your hemming method (straight stitch, blind hem, or rolled hem)
- Sew slowly and steadily for an even finish
Pressing the Seams
| Seam Type | Pressing Method | Result |
|---|---|---|
| Side Seams | Press open | Flat, smooth sides |
| Waistband | Press up | Neat elastic casing |
| Hem | Press up | Crisp, even bottom edge |
Adding Any Embellishments
Now’s your chance to let your creativity shine!
Jazz up your new skirt with some personal flair. Sprinkle on some beads for a bit of sparkle, or add a pop of color with vibrant ribbons.
Feeling artsy? Try your hand at embroidery or sew on cute patches.
For a touch of romance, delicate lace trim can work wonders.
Tips and Variations
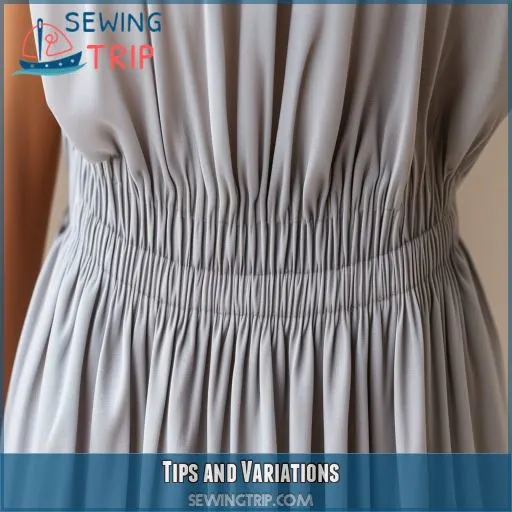
Now that you’ve mastered the basics of transforming your dress into a skirt, let’s explore some clever tips and variations to take your creation to the next level. These simple tweaks can help you achieve a more polished look and customize your refashioned skirt to perfectly suit your style.
Choosing the Right Elastic
Now that you’ve got your skirt hemmed and pressed, let’s talk elastic.
It’s the secret sauce to your refashioning project!
When choosing elastic, think about the three Cs: comfort, cost, and control.
You want something that’ll hug your waist without turning you into a sausage.
Opt for durable options that’ll withstand washing and wearing without losing their oomph.
Adding a Casing for the Elastic
- Choose a fabric that’s as fun as your Friday night plans
- Cut your casing strip wide enough to house your elastic (and your dreams)
- Sew that baby on with precision—it’s like threading a needle through butter!
Creating a Tailored Fit
Now that you’ve got your elastic waistband, let’s take your skirt from comfy to chic with some stylish touches.
Want a more fitted look? Try adding darts at the waist or hips.
You can also play with the length – a mini for a night out or midi for brunch vibes.
Sharing Your Creation
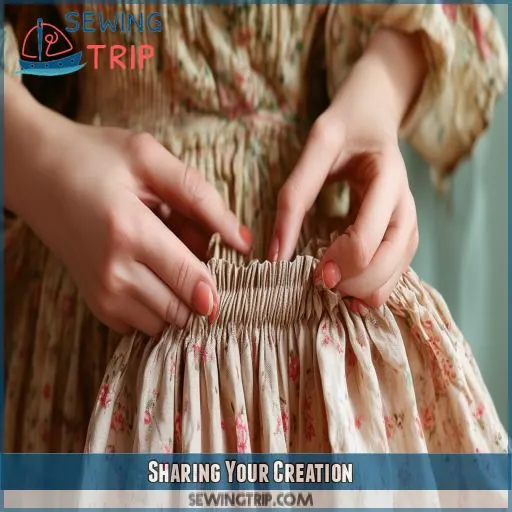
You’ve just turned an old dress into a fabulous new skirt – now it’s time to show it off to the world! Sharing your creation celebrates your handiwork but also inspires others to give refashioning a try, so let’s explore some fun ways to spotlight your DIY masterpiece.
Documenting the Refashioning Process
- Capture the "ugly duckling" dress in all its pre-makeover glory
- Take step-by-step photos of your sewing process
- Document any hiccups or happy accidents along the way
- Film a quick timelapse to show the dress-to-skirt evolution
Sharing Your Finished Skirt
Now that you’ve captured your DIY journey, it’s time to show off your handiwork! Snap some before-and-after shots to highlight your style-swapping skills. Share your upcycling adventure on social media, and watch the likes roll in. Don’t be shy – your refashioned dress-turned-skirt is proof of your creativity. Who knows? You might inspire others to join the DIY fashion revolution!
Connecting With Other Crafters
Ready to show off your refashioned skirt? Connect with fellow crafters and share your creation! You’ll find a world of support, inspiration, and resources in the sewing community. Here’s why you should join in:
- Boost your confidence and get a virtual pat on the back
- Learn new tricks and hacks from seasoned sewers
- Find your tribe of like-minded upcycling enthusiasts
- Spark ideas for your next DIY fashion project
Don’t be shy – your creativity might just inspire someone else’s dress refashioning project!
Frequently Asked Questions (FAQs)
Can I refashion a dress with delicate or stretchy fabric?
Delicate or stretchy fabrics can be tricky, but don’t let that stop you. Use a ballpoint needle and gentle handling. Test your techniques on scrap fabric first, and you’ll be refashioning like a pro in no time!
How do I determine the best elastic width?
Picking the perfect elastic width is key to nailing your waistband game. Consider your fabric’s weight and the look you’re after. Thinner elastic for delicate fabrics, wider for heavier ones. Trust your gut – it’s your fashion playground!
What alternatives exist for those allergic to elastic?
No elastic? No problem! You’ve got options. Try drawstrings, ties, or buttons for a comfy fit. Experiment with smocking or shirring techniques. Or go for a wraparound style with a sash. Your waistline, your rules!
Is it possible to add pockets during refashioning?
You’ll be jumping for joy when you discover how easy it’s to add pockets during refashioning. You can do it, and you’ll wonder why you didn’t sooner. Get ready to revolutionize your wardrobe!
How can I incorporate original dress details into skirt?
You’ve got endless possibilities! Keep those cute buttons, repurpose that fancy collar, or transform pockets into fun accents. Let your creativity shine by giving old details new life. It’s like a fashion treasure hunt – have fun with it!
Conclusion
You’ve transformed a forgotten dress into a fabulous skirt, just like a butterfly emerging from its cocoon.
By learning to refashion a dress with an elastic waist, you’ve created a unique piece but also embraced sustainable fashion.
Don’t stop here – let this project inspire you to reimagine other items in your closet.
Share your creation, inspire others, and keep experimenting.
Who knows? Your next refashioning adventure might just birth your new signature style!

