This site is supported by our readers. We may earn a commission, at no cost to you, if you purchase through links.
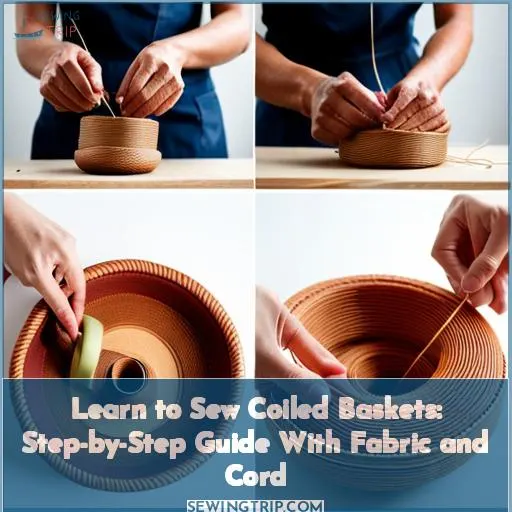 You’re gonna love making these fabric rope baskets! I’ll walk you through it step-by-step so even a beginner can do it. We’ll start by prepping the materials – it’s satisfying cutting those scraps into strips.
Then comes the fun part – coiling and stitching to shape your unique creation. The rhythmic motion is therapeutic. Before you know it, you’ll be gifting these handmade beauties and brightening someone’s day.
Table Of Contents
Key Takeaways
- Use a variety of tightly woven cotton or linen fabrics in prints, solids, and textures for the coil strips.
- Start with a coil spiral under the presser foot and sew 4-6 inches before adding more fabric.
- While stitching, support the sides of the basket with your hand to help maintain its shape.
- If needed, add interior stitches at the rim for more structure.
Materials for Sewing Coiled Baskets
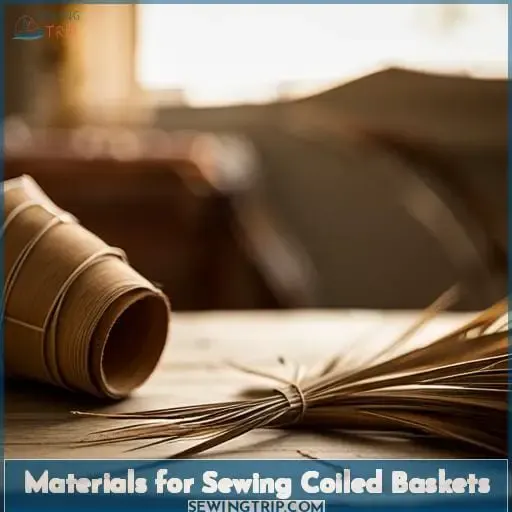
Fabric strips, cotton clothesline, and basic sewing tools. For fabric, feel free to use up leftover scraps or old t-shirts. Just tear or cut them into 1-inch wide strips. Next, pick up some clothesline or nylon cord—about 10-15 yards for a medium-sized basket.
Lastly, gather your sewing basics: ruler, rotary cutter, scissors, sewing machine, and pins.
Fabric
Cut up some fun fabric scraps into strips and you’ll have everything you need to start coiling.
- Wound zones of plaid, stripes, solids – don’t be shy to mix and match.
- Grabbed stripes and plaids make great texture when wound tight.
- Emboss paste appliques on some strips for interest before you twirl and darn.
- Mix textures and patterns just like you’re mixing a quilt – it’ll turn out swell!
The options are endless when choosing which fabrics to use. Just be sure they can handle some wash and wear.
Cord
You’re going to love winding up yards of colorful cord into coils before stitching them into crafty baskets. Choose reinforced cotton clothesline or smooth nylon cord for shaping sturdy spiral bases in any size you fancy.
Play with different cord thicknesses and fabric textures when wrapping coils. Sturdy cotton rope works well for generous gift baskets while dainty cotton clotheslines craft cute mini bowls for present wrapping.
Tools
Your crafty basketry endeavors will benefit from having an arsenal of tools on hand, like rotary cutters, rulers, and sewing machines to efficiently aid in cutting uniform fabric strips, pressing motifs, and neatly stitching coiled cords.
Before embarking on coiling and sewing, make sure your craft room has a ruler and rotary cutter for precisely slicing fabric strips. A sturdy sewing machine equipped with a wide zigzag stitching foot holds coils taut while sewing.
Thread your machine with strong thread and install a sharp needle to prevent fraying of fabric strips. These handy tools are great for achieving expertly executed coiled baskets and bowls.
Preparing Fabric for Coiled Baskets
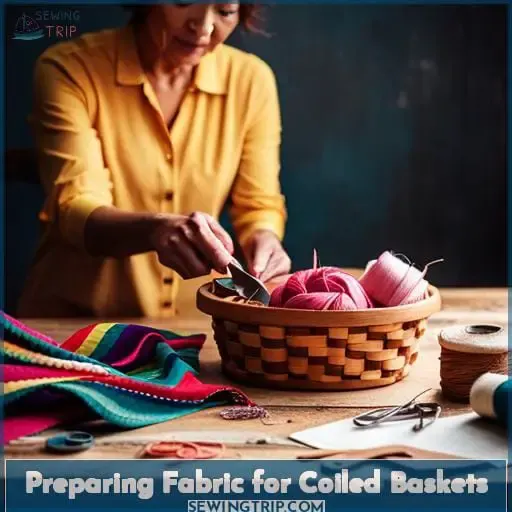
Before we begin coiling, let’s prepare our materials. Start by tearing or cutting your fabric into 1-inch wide strips. I like to use the rotary cutter and ruler for quick and even strips. Next, take a 3-4 inch section of fabric and fold it around one end of your cord, clipping it in place with a binder clip.
Cutting Fabric
Gather the fabric close to your heart and tear away any excess, for one must trim the fat before a feast. My dear friend, to cut fabric for a coiled basket simply requires a sharp rotary cutter, self-healing mat, and steady hand.
Lay your fabric flat and use a ruler to cut strips one inch wide. For a homespun look, you may also tear strips by hand – no measuring needed! Cut an assortment of cotton fabrics, perhaps leftovers from children’s clothes or sweet vintage tea towels.
Soon you’ll be stitching up darling baskets for kids’ parties, seasonal centerpieces, farmhouse decor, gift wrapping, and craft storage.
Bundle the cut strips, ready to be twisted into a fabric rope and coiled into whimsical baskets to fill with joy.
Wrapping Cord
Next, wrap 3-4 inches of fabric ’round the cord’s end and clip it in place. Efficient wrapping keeps the fabric edges tucked in neat, so they don’t fray loose when you’re stitchin.
Use scraps and leftovers to minimize waste. Cover the cord so no peekin’ plastic shows through.
Once you get that fabric coil clipped up tight, give it a pat. You’ll be twistin’ up yards into a fabric rope to coil into a right fine basket, like Grandma used to make.
Sewing Coiled Basket
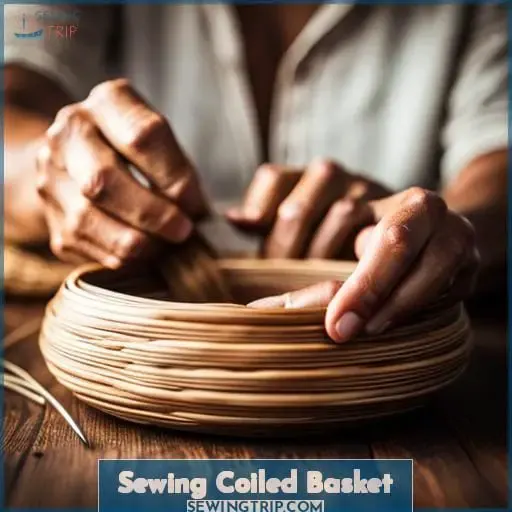
It’s time to start stitching up that basket! You’ll want to use a wide zigzag stitch to connect the cords, centering the presser foot between them. Slowly spiral the fabric coil counter-clockwise, starting just left of the foot, then sew several inches before adding more fabric.
Stitching Technique
You’ll wanna zigzag stitch the coil spiral with the presser foot centered between the cords to easily wrap this fun fabric masterpiece.
- Position the coil under the presser foot, starting the spiral to the left.
- Lower the presser foot and stitch about 4-6 inches down the coil.
- When you need to add more fabric, overlap strips and keep sewing.
- Support the sides with your hand as you stitch to maintain the basket shape.
- Vary the stitch length and width for different textures.
Sewing coiled baskets lets you use up fabric scraps uniquely with each basket’s flexibility. Try different shapes and sizes for lots of delightful baskets to organize your home or give as handmade gifts from your fabric shop.
With just some cord and fabric strips, you can hand sew these sewing projects for their usefulness and durability.
Spiraling Fabric
Uh oh, keep an eye on that fabric while spiraling your creative coils, or this crafty basket could end up in a tangled mess before it’s even stitched together! As you wrap the cotton clothesline with torn fabric strips, take care to keep the coils in a tidy spiral.
Allow the knitting circles and crocheting coils to flow smoothly into macrame spirals and weaving patterns within your embroidery hoop. Whether using a clothesline, wad of yarn, or rope, maintain even tension when spiraling the flexible basket.
Shape the fabric bowls and baskets as you desire, supporting the sides while sewing to avoid a tangled disaster. With mindful hands, you’ll stitch lovely coiled creations to fill with belongings.
Shaping the Coiled Basket
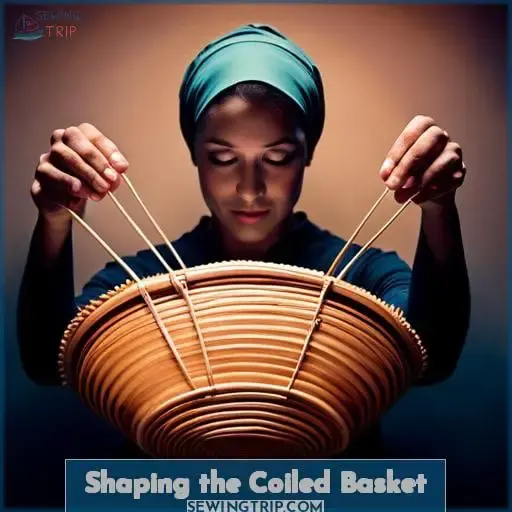
Let’s shape this basket into perfection! Once the base reaches your desired size, tilt the coil upward and continue sewing to build the sides. When halfway around, mark where to attach the handles, securing them with backstitching.
Making the Base
Let’s shape this puppy by deciding how big you want the base, then tilting the coil up as you keep wrapping to build the sides.
- Make the base as wide or small as you fancy – it sets the size.
- Tilt the coil upright once your base reaches the right diameter.
- Support the sides with your hand as you continue coiling upwards.
- Vary the side height for different looks – short and squat or tall and slim!
- Remember to maintain even tension and overlap the cords as you coil.
The base dimension determines the overall size, but you can play with the side height.
Adding Handles
The halfway point marks where to backstitch handles, securing this vessel’s grip. Reinforce those handles with extra stitching, embroidering a floral motif. Wrap the interior with leftover fabric strips for a colorful pop when grasped.
Twist thick hemp rope or smooth cotton clothesline into different shapes. Play with the coil’s rise to craft short squashy poufs or tall vases. Traverse each stitched row with mindfulness, crafting not just a basket but connection.
Protect your palm where handles will twist. Guide the bulk with care as you shape the rim. Soon you’ll lift high your creation, woven not just from fabric but community. Cherish the handles; in your friends’ hands may it someday rest.
Finishing a Coiled Basket
Now that your basket is taking shape, it’s time to put on the finishing touches. Start by adding a securing row at the top edge; this will neatly finish it off and prevent unraveling. Once all sewing is complete, don’t forget to remove any clips. When it comes to care, use gentle washing and drying methods to preserve your beautifully handmade creation.
Securing the Top
You’ll wanna add a securing row around the top, then carefully cut the fabric an inch longer than the cord before tightly twisting the ends and zigzagging that final edge to finish up your crafty creation.
- Use a whipstitch or blanket stitch to bind the top edge.
- Consider using a contrasting fabric or ribbon for the border.
- Fold over the top and sew a straight seam to encase the cord.
- Simply zigzag around the cut edge for a quick and easy finish.
Add that last row with care, neatly trim your material, give a good twist, and zigzag to complete your handmade basket. With some thread, strips, and cord you can craft charming storage from scraps and connect with creativity.
Cleaning and Care
Wash those creations gentle and line dry to keep your crafty coils looking fab. When it comes time to freshen up your stitched and spiraled masterpieces, be sure to use a delicate wash and low heat dry to prevent fading.
For color safety, skip the bleach to maintain magnificent hues. Check care labels and opt for cold water to avoid unexpected shrinkage. Use a gentle agitation setting and mild detergent to lift stains while being kind to threads.
Lay flat or hang to dry, keeping away from direct sunlight and humidity. With some care when cleaning, your handmade fabric baskets and tiny rope bowls will last longer, retaining their spirited style and homemade charm.
Frequently Asked Questions (FAQs)
How big should I make the basket? The size depends on the intended use. Measure the area where it will sit. Add a couple inches to the dimensions.
Buddy, before cutting cord, envision that basket overflowing with joy—its size determined by whom it’ll serve. Measure the spot where it’ll sit with a few inches to spare so bowing sides can bear the weight of bounty.
What fabrics work best? Cotton works well. Avoid slippery fabrics. Quilting cottons have nice small-scale prints.
Look for tightly woven cottons or linens when choosing fabrics for your coiled basket. Soft prints and solids are really nice. Steer clear of anything too slick, or it’ll be hard to handle.
My strips keep tangling, help! Work with shorter strip lengths, 10-12 inches. And store rolled strips to avoid tangles.
I feel your pain, friend! Tangled strips make my basket overflow with frustration. But take heart – with a few simple tricks, you’ll be weaving beauty in no time. Try working in shorter sections so your strips stay neat.
And remember, a coiled basket is about the journey, not the destination. With patience and persistence, you’ll get there.
How do I get smooth sides? Support the sides with your hand when sewing. Add a row of stitches around the inner top edge.
Support those sides, friend! As you sew, cup the basket’s curves gently yet firmly in your hand. This keeps the coils compact and the sides smooth. Once the base is done, sew a securing round at the inner rim before continuing upwards.
Can I make a square basket? Yes, just transition to straight sides at the desired height instead of tapering up. Coil in rows back and forth.
You bet you can make a square coiled basket. Just transition to straight sides instead of tapering up as you coil. Work back and forth in rows to get those square sides, keeping your coils tight. This shape lets you make cute cubby holders, toy bins, and even storage baskets.
Conclusion
So there you have it, folks – everything you need to start sewin’ up a storm of coiled baskets! Ain’t nothin’ more satisfyin’ than craftin’ somethin’ useful with your own two hands.
Sewin’ these coiled beauties is easier than pie and more fun than a barn dance on a Saturday night. With just some fabric, cord, and my easy step-by-step, you’ll be a coiled basket pro in no time.
So get your materials together and let’s get coiling! Remember to use that zigzag stitch and spiral your fabric as you wrap.
Before you know it, you’ll have a custom handmade basket to show off your crafty skills.

