This site is supported by our readers. We may earn a commission, at no cost to you, if you purchase through links.
Zigzag stitching and overlocking work better than French seams on tight curves, as they allow the fabric to relax naturally. For gentle curves, consider bias binding or Hong Kong finishes that embrace rather than fight the curve’s natural shape.
Don’t make the rookie mistake of clipping before finishing—you’ll end up with a frayed mess!
Match your technique to your fabric weight: lightweight fabrics need gentler approaches while heavier materials can handle more structured finishes.
The right curved seam finish can transform your project from homemade to boutique-quality.
Table Of Contents
Key Takeaways
- You’ll want to choose techniques that maintain flexibility for curved seams – zigzag stitching and overlocking work better on tight curves, while bias binding and Hong Kong finishes are ideal for gentle curves.
- Don’t clip before finishing your curved seams or you’ll end up with fraying – match your finishing technique to your fabric weight, with lightweight fabrics needing gentler approaches.
- You’ll achieve better results with the right tools – sharp needles (70/10 for lightweight fabrics, 90/14 for heavier ones), proper stitch length (2.5mm for smooth curves), and quality scissors for precise clipping.
- You’re more likely to succeed if you adjust your approach for different curve types – ease fabric for convex curves, stretch fabric gently for concave curves, and use clipping techniques to help seams lay flat without puckering.
Choosing Fabric Types
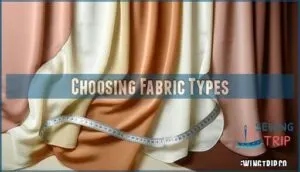
You’ll save yourself hours of frustration if you select fabrics with the right drape and flexibility for your curved seams.
Natural fibers like cotton and silk typically handle curves more gracefully than stiff synthetics, letting you create those smooth, professional finishes without the dreaded pucker effect.
Cotton and Silk Fabrics
Both cotton and silk offer unique advantages for curved seams.
Cotton’s durability makes it forgiving when clipping seam curves, while silk’s natural drape creates elegantly finished curves that flow beautifully.
You’ll find that lighter-weight cotton (like lawn or voile) behaves differently than heavier weave types.
When working with silk, remember that fiber properties affect tension—notched seam curves need extra care to prevent fraying, especially on bias cuts.
Many sewers enjoy working with cotton lawn material for its ease of use.
Polyester and Blends
Polyester fabrics bring durability and wrinkle resistance to curved seams, making them a reliable choice.
Blends offer breathability and excellent color retention, ideal for versatile projects.
To guarantee seam strength, use sharp needles and polyester threads. For smooth seam finishing, clipping seam allowance and notched seam curves help.
Always press your seams gently to avoid puckering and maintain a polished look.
Lightweight Fabric Options
Lightweight fabrics like chiffon, organza, and batiste bring elegance to curved seam finishes but demand care.
Chiffon’s properties make it tricky—handle gently to avoid distortion.
Organza offers durability, while voile’s sheerness and crepe’s drape require precise clipping of seam allowances.
For smooth results, try understitching curves and practice careful fabric handling to prevent puckering or stretching, ensuring a professional finish with precise techniques.
Sewing Tool Selection
You can’t underestimate the importance of the right tools in the case of finishing curved seams.
From sharp needles to sturdy seam rippers, having the proper equipment makes your work smoother, faster, and far less frustrating, with sharp needles and sturdy seam rippers being crucial.
Needles and Threads
Now that you’ve chosen the right fabric, let’s talk needles and threads.
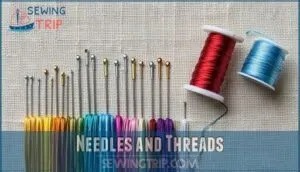
For curved seams, needle size matters—try a sharp 70/10 for lightweight fabrics or a sturdy 90/14 for heavier ones.
Match thread weight to fabric thickness, and opt for polyester thread for flexibility.
Balanced stitch tension guarantees smooth sewing, while quality sewing needles prevent skipped stitches and puckering.
Selecting the right sewing needle size is essential for the project.
Sewing Machine Settings
When sewing curved seams, adjust your sewing machine settings for precision.
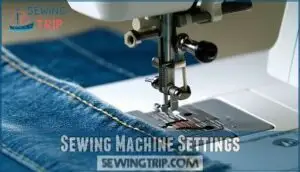
Set the stitch length to 2.5 mm for smooth curves, and tweak the tension control based on fabric weight.
Lower presser foot pressure slightly to prevent fabric stretching, and make certain feed dogs move fabric evenly.
Pair these tweaks with the right needle type for flawless results.
Selecting the correct needle impacts stitching quality.
Scissors and Seam Rippers
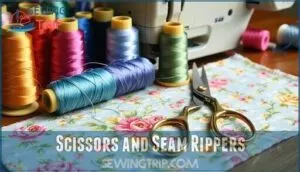
After fine-tuning your sewing machine, grab quality scissors with sharp blades for precision. Ergonomic handles save your hands during clipping seam curves or trimming seam allowances.
For pinked seam curves, pinking shears reduce fraying. Many sewers find specialized sewing scissors essential for detailed work.
Seam ripper uses include fixing mistakes or adjusting graded seam curves. Safety tip: always cut away from fingers to avoid accidents. Keep tools sharp!
Curved Seam Techniques
Mastering curved seam techniques isn’t as tricky as it sounds when you know how to handle the fabric’s natural tendencies.
Whether you’re easing a convex curve or stretching a concave one, a steady hand and the right approach will keep your seams smooth and professional.
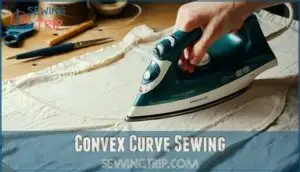
Convex Curve Sewing
When sewing convex curves, easing fabric is key to avoiding puckers.
Use pinning techniques to secure edges, matching seam allowance precisely.
Adjust stitch length to 2.5 mm for smooth results, and control tension for even stitching.
After sewing, trim and clipping excess fabric helps curves lay flat.
Finish by pressing methods, using steam to shape the curved seams beautifully.
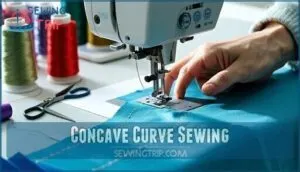
Concave Curve Sewing
When sewing concave curves, precision is key to preventing puckering.
Stretching techniques help the fabric align smoothly. Follow these steps:
- Clip and notch the seam allowance to reduce bulk and ease the curve.
- Gently press the seam with an iron, shaping the fabric.
- Maintain proper grain alignment to guarantee stability and a flawless finish.
For delicate fabrics, consider using French seam techniques for a clean finish.
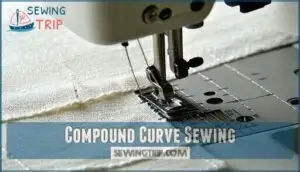
Compound Curve Sewing
Tackling compound curves means blending curves with both easing techniques and stretching methods.
Precision cutting is key—slight errors throw off alignment.
Start slow, adjusting fabric to follow the curve. Use small clips in the seam allowance to reduce tension, and always check grain alignment.
Mastering compound curves takes patience, but the smooth, professional finish is worth it, requiring precision cutting.
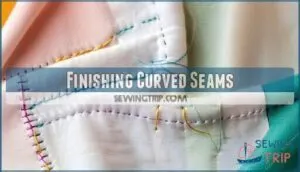
Finishing Curved Seams
Finishing curved seams might seem tricky, but with the right techniques, you’ll get smooth, professional results every time.
From French seams to topstitching, mastering these methods guarantees your curves are both neat and durable.
French Seams
French seams transform curved edges into elegant, fully enclosed finishes that elevate your sewing projects instantly.
You’ll start with wrong sides together, stitch a 3/8" seam first, trim to 1/8", then fold right sides together for a final 1/4" stitch.
Perfect for delicate fabrics like silk and linen, these seams encase raw edges completely, making your garments hand washing-friendly while creating that coveted professional look.
Flat Felled Seams
In terms of durability in curved seams, flat felled seams stand as the champion.
These powerhouse finishes completely enclose raw edges inside the seam, creating a professional, reversible result that’s perfect for hardwearing items like jeans and jackets.
- Works best with a 5/8" seam allowance for proper folding and construction
- Requires careful fabric handling around curves to prevent puckering
- Creates distinctive aesthetic variations depending on topstitching choices
Whipstitch Finishing
The humble whipstitch serves as your secret weapon for finishing curved seams with professional flair.
You’ll find this hand-sewing technique particularly valuable when machine options won’t do. For stronger seams, consider using backstitch for curves to reinforce the edges.
| Aspect | Basic Approach | Advanced Method |
|---|---|---|
| Stitch Length | Short, even (1/8") | Varied based on curve tightness |
| Thread Selection | Match fabric weight | Contrast for decorative effect |
| Edge Preparation | Clip curves before stitching | Apply bias tape finish first |
Remember to maintain consistent tension control while working around those challenging curves, and use the backstitch for curves technique to achieve a professional finish with professional flair and a decorative effect.
Topstitching
While whipstitching offers a neat hand-finished edge, topstitching adds both strength and visual appeal to your curved seams.
This visible stitching technique secures seam allowances and prevents unwanted movement.
For perfect curve topstitching, maintain consistent distance from the edge using your presser foot as a guide.
Adjust topstitch tension slightly looser than normal to prevent puckering.
Edge stitching at 1/8" creates a professional finish, while decorative topstitching can transform a simple curve into a design feature.
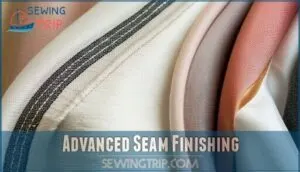
Advanced Seam Finishing
You’ll transform your garments from homemade to couture-quality when you master these advanced seam finishing techniques for curved edges.
With methods like Hong Kong finishing and curved French seams at your fingertips, you’ll create professional results that look as beautiful on the inside as they do on the outside.
Curved French Seam
Curved French seams transform delicate garments with three impressive benefits:
- Creates an encased seam finish perfect for hand washing items with no raw edges exposed
- Works best with narrow widths (3mm) to prevent fabric structure distortion
- Requires careful seam allowance trimming between steps for professional results
You’ll need patience when sewing curves this way, but structured fabrics respond wonderfully to this technique.
The results? A clean, elegant finish worth the extra effort, providing a professional look.
Hong Kong Seam Finish
Many professional tailors swear by the Hong Kong seam finish for adding elegance to curved seams.
You’ll find this technique particularly useful when working with thicker fabrics that need both durability and visual appeal.
| Application Tips | Fabric Selection | Durability Factors |
|---|---|---|
| Use bias tape that complements or contrasts | Choose medium to heavy fabrics | Withstands frequent wear |
| Stitch in the ditch for clean finish | Works well with wool and linen | Prevents fraying on curves |
| Leave wrong side unturned to reduce bulk | Avoid very lightweight materials | Maintains shape through washing |
| Match thread to bias tape color | Perfect for unlined jackets | Stronger than basic overlock |
| Apply before joining curved pieces | Consider fabric thickness | Lasts through years of use |
The Hong Kong finish creates a beautifully bound edge that’s both functional and decorative—it’s like giving your curved seams their own tiny lining, providing durability and visual appeal, and is stronger than basic overlock, making it perfect for garments that require frequent wear and can last through years of use.
Turned and Stitched Finish
When working with lightweight fabrics, the turned and stitched finish offers a clean finish curve that’s both elegant and durable.
You’ll love this technique for its professional results on curved seams of any difficulty. For a polished look, consider a clean finish technique.
- Choose fabric with some flexibility for easier manipulation
- Set stitch length to 2.0-2.5mm for precision along curves
- Maintain consistent hem width (¼" works best for tight curves)
- Use a pressing technique that shapes rather than flattens
Troubleshooting Puckered Seams
Despite your best efforts, puckered seams happen to everyone.
Check your thread tension first—often lowering it slightly prevents puckering on curves.
If puckers persist, stabilize your fabric with tissue paper while sewing or try pinning at 90-degree angles to the seam allowance.
Don’t forget proper curve clipping and stitch length adjustments (shorter is better).
When all else fails, don’t hesitate to unpick and start over.
Frequently Asked Questions (FAQs)
What would a curved seam look like if you didn’t clip it?
If you don’t clip an unclipped curved seam, you’ll see fabric bunching and puckering along the curve.
The outer edge can’t lie flat because there’s excess material that needs room to spread out, causing fabric bunching.
What are the three types of seam finishes?
Over 80% of professional seamstresses rely on three main seam finishes for your curved projects.
Zigzag stitching for quick results, serged edges for a clean look, and bias binding for an elegant touch.
Can you French seam on a curve?
Yes, you can French seam on curves, though it’s challenging.
You’ll need to sew with wrong sides together first, trim carefully, then turn and stitch again.
Take your time and use smaller seam allowances.
How to match curved seams between pattern pieces?
To match curved seams between pattern pieces, pin at notches first, then work toward the center.
Use plenty of pins, ease fabric gently, and baste before final stitching for perfect alignment every time.
How to finish curved hems on circular skirts?
Like taming a wild fabric river, you’ll need to hem circular skirts properly.
Use narrow rolled hems, stay-stitch the edge first, then turn up 1/4", press, and finally fold and stitch for smooth curves.
Can bias binding replace traditional seam finishes?
Bias binding works perfectly as a seam finish, giving your curved edges a professional look while preventing fraying.
You’ll find it’s especially effective for fabrics that ravel easily and projects where you want clean, visible edges.
Are interfacings necessary for stabilizing curved seams?
Perfect preparation prevents problems.
Interfacings aren’t always necessary for curved seams, but they’ll provide valuable stability when you’re working with lightweight fabrics or areas needing extra structure.
Helping maintain smooth curves and preventing stretching is crucial, and interfacings can play a key role in this process by providing extra structure.
When should you hand sew versus machine sew curves?
Hand sew curves for delicate fabrics, tight spaces, or intricate details where control is key.
Use a machine for speed and precision on larger, smoother curves.
Trust your judgment—some curves simply demand a personal touch!
Conclusion
Don’t let curved seams intimidate you—mastering seam finishing for curved seams is easier than it looks with the right techniques.
Whether you’re working with lightweight silks or sturdy blends, choosing finishes like zigzag stitching or bias binding keeps your seams smooth and fray-free.
Remember, tight curves need flexible finishes, while gentle curves thrive with structured options.
Take your time, match your method to your fabric, and watch your projects go from basic to boutique-quality in no time.
- https://www.threadsmagazine.com/forum/finishing-curved-seams
- https://byhandlondon.com/blogs/by-hand-london/25836804-nerdy-sewing-tips-french-seaming-a-curve
- https://missmaudesewing.co.nz/blogs/miss-maude-musings-1/techniques-to-finish-your-seams?srsltid=AfmBOooAVCa2lKTDnoTxzLd_PoAARw7AFTo7zhb77YbXUG8VXl05NTfb
- https://victorypatterns.com/blogs/tutorial-blog/finishing-curved-edges
- https://www.youtube.com/watch?v=NC5XJPud0fs&pp=ygUSI3Nld2luZ2N1cnZlZHNlYW1z

