This site is supported by our readers. We may earn a commission, at no cost to you, if you purchase through links.

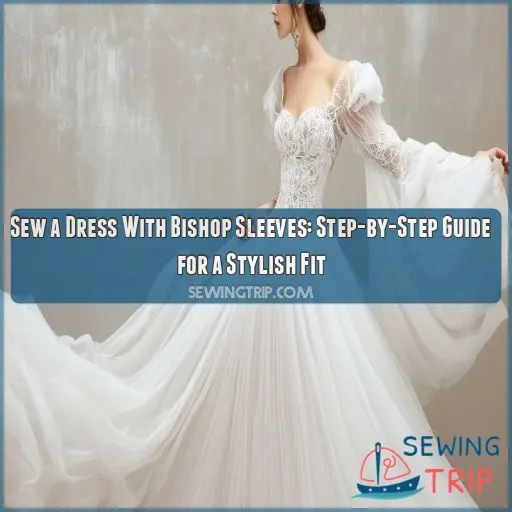
Students will learn how to draft bishop sleeves from a T-shirt pattern. They will then sew the top of a sleeve and attach elegant loops and buttons at the cuff.
Take your sewing skills to the next level by creating a fluid, fabulous dress that is uniquely yours.
Table Of Contents
Key Takeaways
- Unleash your inner fashionista and transform a basic dress into an elegant masterpiece with billowing bishop sleeves.
- Elevate your sewing skills by conquering the art of drafting and attaching bishop sleeves, adding a touch of drama to your wardrobe.
- Master the art of sewing loops and buttons on bishop sleeve cuffs, adding a touch of sophistication and ease to your garments.
- Embrace the versatility of bishop sleeves, flattering all body types and adding a touch of elegance to any outfit.
Altering the Holly Bodice for Bishop Sleeves
To convert the Holly bodice for bishop sleeves, draft the new sleeve pattern. Trace your existing sleeve pattern onto scrap paper. Extend the underarm seam to your desired length. Draw three vertical lines from the top to bottom of the sleeve. Mark hinge points where they cross the seam line.
Next, cut on these vertical lines down almost but not quite to the seam line. Snip very slightly into the seam allowance up to these cuts. Place another piece of paper under your slashed sleeve pattern and open it out to the required volume. Tape these spread sections securely in place. Redraw the cuff hemline to a smooth curve.
For support in sewing, interface the sleeve head. Gather the sleeve head with basting stitches, then set the sleeve into the armhole of the bodice. Make up the cuff by inserting elastic through a hem gap. Give your bishop sleeves the neatest and classiest finish, adding sophistication to any dress.
Drafting Bishop Sleeves From a T-shirt Pattern
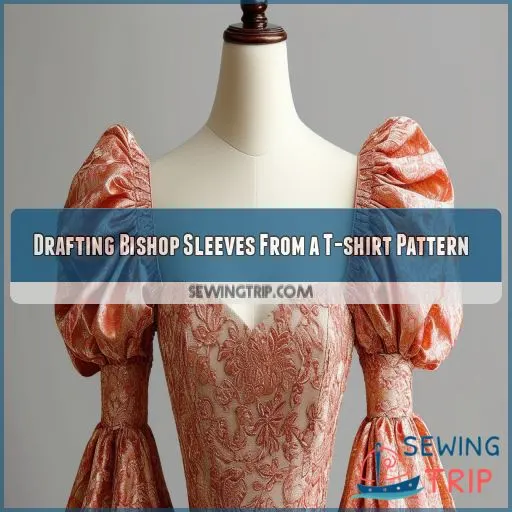
Now, on to drafting bishop sleeves from that very same basic T-shirt pattern. Trace the original sleeve pattern onto some tissue paper. Find the center of this sleeve and draw a line down its middle, then continue with parallel lines an inch apart radiating from the center. The last line at the lower end will come out at right angles to the shoulder curve. Cut along all those vertical lines up to the intersecting line.
Time to spread this baby out! Lay the cut piece on another sheet of tissue and weight or pin it. Spread the center cuts about an inch apart, keeping that middle section in place. Gradually spread the other cuts out to the sides. Trace out this new, full sleeve shape—voilà! Bishop sleeve pattern drafted. Now it’s time to cut, sew, and apply your finishing touches.
Sewing the Bishop Sleeve Top
The first step in the bishop sleeve top project is to gather the sleeve head. This gives it that trendy, full volume look. Baste along the seam allowance on the sleeve head and then gently pull the threads through to create small, even gathers. Use lightweight fusible interfacing at the sleeve head for additional stability.
Set the sleeve into the armhole of the bodice, first matching the seam allowance, then easing in the gathers so that it fits smoothly. Pin and sew in place. To get professional results, stretch and sew the cuffs onto the end of a full sleeve with no cuff attachment, leaving a small gap to insert elastic through. Feed elastic through this gap to cinch up tight at the cuff.
- Reshape the cuff hemline with a French curve.
This will ensure that your gathers are even to results in a full bishop sleeve.
- Think about a gathered bishop sleeve crown to really dress it up
This will guarantee you fullness and a perfect fit in your bishop sleeves.
Attaching Loops and Buttons to Bishop Sleeve Cuffs
Now that your bishop sleeves are assembled, it’s time to attach the loops and buttons to the cuffs. Start by cutting the rouleau loops to the measured size of your buttons.
Placement Tips:
- Space the loops evenly along the cuff edge, ensuring a professional look.
- Stitch the loops in place by hand first, then sew them securely.
Cuff and Button Details:
- Fold the raw edge under the seam allowance, ensuring a clean finish.
- Press the seam allowances and fold to create a neat edge.
Final Steps:
- Attach the ball buttons firmly, matching the button size to the loops.
- Sew buttonholes for best fitting and ease of use.
Here’s a quick table to guide you:
| Step | Tools Needed | Key Considerations |
|---|---|---|
| Cut Loops | Scissors | Accurate Measurements |
| Place Loops | Pins | Even Spacing |
| Sew Loops | Needle and Thread | Secure Attachment |
| Attach Buttons | Ball Buttons, Needle | Firm Fastening |
Your cuffs are now beautifully embellished with loops and buttons!
Finishing Touches for Bishop Sleeves Dress
Now that you’ve learned how to attach loops and buttons to your bishop sleeve cuffs, give your lovely dress all the finishing touches. First, consider general fullness in the sleeve. A gathered crown creates a soft, romantic look while a more structured sleeve with a fitted top gives a more tailored feel. Whichever version you choose, be sure to support the cuff with interfacing.
Then, with bias strips, you can create delicate ruffles around the wrist, or let the sleeve flow freely for that carefree, breezy effect. In placing your buttons, space them evenly along the edge of the cuff and securely sew down the loops. Leave a little play in the buttonholes so that the sleeve will drape comfortably when worn. With these final flourishes, your bishop sleeve dress will be brimmed full of style and sophistication. Enjoy showing off your handmade masterpiece!
Frequently Asked Questions (FAQs)
What fabrics are best for bishop sleeves?
Lightweight, drapey fabrics like rayon, silk, and chiffon work best for bishop sleeves, as they create a soft, flowing look. Avoid stiff fabrics that won’t gather nicely at the cuff. Choose a fabric with a bit of stretch for comfort and ease of movement.
How do I prevent sleeve puckering?
To prevent sleeve puckering, ease the fabric by using evenly spaced, small gathering stitches. Pin with precision, distribute gathers evenly, then sew slowly, ensuring the fabric lies flat and smooth under the presser foot.
Can bishop sleeves be added to existing garments?
Yes, you can add bishop sleeves to existing garments by carefully removing the original sleeves, adjusting the armhole if necessary, and attaching the newly constructed bishop sleeves for a stylish transformation.
How do I handle sewing with delicate fabrics?
Tread lightly when sewing delicate fabrics – a gentle touch is key. Use fine needles, slow stitching, and stabilize seams to prevent puckering. With a deft hand, you’ll craft a masterpiece that shines.
Are bishop sleeves suitable for all body types?
Yes, bishop sleeves can be flattering on all body types as they add a graceful, voluminous look that balances the silhouette, enhancing both arms and shoulders while adding a touch of elegance and drama to your style.
Conclusion
You have overcome your difficulties and can now sew joyfully a dress with bishop sleeves. You created a complex piece by altering the Holly bodice and drafting bishop sleeves from a T-shirt pattern.
Your sewing has improved with all of the detailed steps: sewing the top of the sleeve and attaching loops and buttons at the cuffs. Now, you’re all geared up to add panache into your wardrobe with your unique handmade garments.
Embrace your new abilities and create more stylish outfits every time you sew.


