This site is supported by our readers. We may earn a commission, at no cost to you, if you purchase through links.
 You’ll love these sewing pattern making tips that turn fabric dreams into reality.
Start with accurate measurements – they’re your blueprint’s foundation. Grab essential tools: a reliable measuring tape, sharp scissors, and marking tools that’ll be your trusty sidekicks.
Think of pattern making as architecture for clothes – you’re building a structure that needs proper support. Pay attention to your fabric’s personality – how it drapes, stretches, and behaves will affect your final design.
Master basic techniques like flat pattern making and draping, and you’ll discover endless creative possibilities. There’s a whole world of dart manipulation and pattern adjustment techniques waiting to transform your designs.
Table Of Contents
Key Takeaways
- You’ll create great patterns by taking accurate body measurements, using the right tools, and understanding fabric properties, so grab a tape measure and get started with precision and accuracy always.
- Mastering basic techniques like flat pattern making and draping will help you draft patterns that flatter your body, and you can make adjustments to achieve a flawless fit by manipulating darts, adding seam allowances, and using precision tools.
- You’ll need to understand pattern making principles, including grain lines, notches, and seam allowances, to work with patterns effectively, and don’t forget to use quality scissors and rulers for precise cutting and marking.
- To take your sewing skills to the next level, you’ll want to learn advanced pattern making techniques, such as digital grading, working with different fabrics, and creating complex patterns, which will allow you to create custom-tailored masterpieces and turn frustrating fitting issues into beautiful garments.
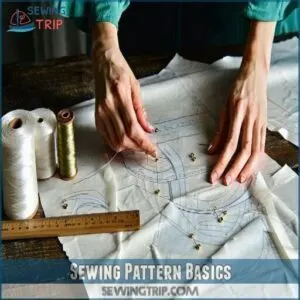
Sewing Pattern Basics
You’re about to learn the basics of sewing pattern making, which is a key skill for creating clothes that fit perfectly.
By understanding what patternmaking is, taking accurate measurements, and using the right tools, you’ll be well on your way to making your own patterns and sewing clothes that look and feel great.
What is Patternmaking
You’re diving into pattern making, a foundational skill in fashion design.
It’s a process of creating garment blueprints through fashion drafting, enabling precise clothing construction.
Accurate body measurements are essential for sewing pattern making for beginners.
Mastering pattern making basics involves learning the pattern making process, a key to creating perfect fits, and understanding pattern design.
Importance of Accurate Measurements
You’ll need precise body measurements, using correct measuring tools, to maintain measurement consistency, understanding types like hip vs. low waist, and accurate placement.
Referencing a pattern measurement chart is essential to make pattern fitting adjustments.
Using a measuring tape for accurate body measurements is crucial, and complete concepts like these must be understood to achieve the best results, with accurate placement being key.
Basic Patternmaking Tools
You’ll need basic pattern making tools like cutting tools, measuring tools, and marking tools to get started.
A wide selection of pattern making tools are available online.
Invest in good quality supplies, including drafting tools and sewing tools, to make the process easier and more accurate, ensuring your patterns turn out perfectly.
Understanding Fabric Properties
Now that you’ve got your basic tools, you’ll want to understand fabric properties.
A tracing wheel is essential for pattern making.
Fabric drape, stretch, and weight impact your sewing pattern making tips.
Consider fiber content, like cotton or silk, and grainlines when cutting fabric, as they affect the final fit and look of your garment.
Pattern Drafting Techniques
You’re about to learn the basics of pattern drafting techniques, which will help you create perfect fits for your garments.
By mastering techniques like flat patternmaking and draping, you’ll be able to draft patterns that flatter your body, and make adjustments to achieve a flawless fit.
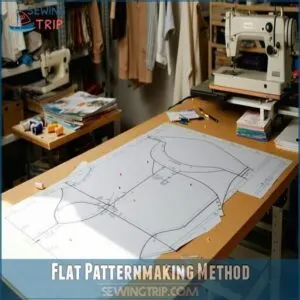
Flat Patternmaking Method
You’re now exploring flat patternmaking, a technique where you create a 2D pattern from scratch.
Accurate body measurements are essential for this process.
This method involves dart manipulation, slash and spread, and adding seam allowance, allowing you to draft patterns with precision, using flat pattern drafting and muslin fitting to perfect your skills.
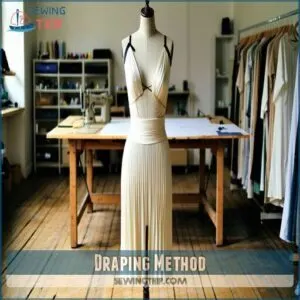
Draping Method
While flat patterns work from paper, draping brings your designs to life right on the dress form.
Start by marking key points with black style tape – bust apex, waist, and hips.
Secure your fabric along the center front, then shape it into pleats, tucks, and darts.
Step back often to check symmetry and balance.
When you’re happy with the drape, pin everything together and analyze the flow.
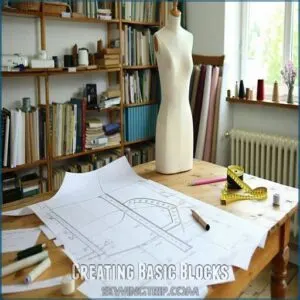
Creating Basic Blocks
Basic blocks, those essential pattern foundations in your sewing journey, are like building blocks for creating perfectly fitted garments.
You’ll start with drafting a basic bodice block, which becomes your template for endless design possibilities.
Through careful measurements and precise pattern making tutorials, you’ll develop slopers that match your unique shape.
Block manipulation skills will grow as you practice sloper creation techniques.
Manipulating Existing Patterns
Now that you’ve mastered your basic blocks, let’s transform them into unique designs. Pattern manipulation opens up endless creative possibilities.
You’ll learn how to modify existing patterns to match your vision and achieve that perfect fit you’ve been dreaming of.
- Try rotating darts to create interesting style lines
- Add fullness through slash-and-spread techniques
- Convert darts into princess seams for a flattering silhouette
- Experiment with style enhancements like gathers or pleats to express your creativity.
Understanding pattern drafting techniques is essential for creating custom-fit garments.
This knowledge empowers you to turn any commercial pattern into your own design masterpiece through clever pattern adjustments and creative customizations.
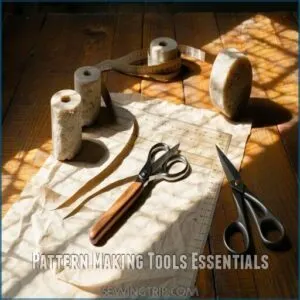
Pattern Making Tools Essentials
You’ll find your patternmaking journey much smoother when you’ve got the right tools at your fingertips, from basic rulers and curves to precision notchers and quality shears.
Just like a chef needs good knives, you’ll create better-fitting garments when you invest in essentials that help you mark, measure, and cut with accuracy.
Must-Have Tools for Beginners
When diving into pattern making, you’ll need these essential tools to get started.
First, gather your measuring tools (tape measure and ruler) and cutting tools (paper scissors). Don’t forget marking tools like pencils and a tracing wheel, plus shaping tools such as French curves.
Basic drafting paper completes your starter kit.
With these pattern making supplies, you’re ready to create your first sewing pattern without breaking the bank!
Having the right sewing scissors is essential for precise cuts and professional results.
Advanced Tools for Precision
Once you’ve mastered the basics, precision tools take your patternmaking to professional levels. A thorough exploration into advanced pattern making adjustments will further enhance your skills.
Upgrade your toolkit with these advanced drafting aids for flawless pattern creation:
- Digital pattern making software for computer-aided drafting and pattern grading
- French curves in graduated sizes for perfectly shaped necklines and armholes
- Notching tools with measurement guides for consistent markings throughout your pattern pieces
Your measuring techniques will improve dramatically with these specialized tools!
Using Pattern Notchers and Curves
After mastering advanced tools, you’ll want to add pattern notchers and curves to your toolkit.
These precision instruments help you mark fabric and create smooth lines with confidence.
| Tool Type | What It Does | When to Use | Skill Level | Magic Factor |
|---|---|---|---|---|
| Pattern Notcher | Creates V-shaped marks | Seam alignment | Beginner | Saves hours of hand-marking |
| French Curve | Forms smooth curves | Necklines, armholes | Intermediate | Makes impossible curves possible |
| Hip Curve | Shapes gradual curves | Hip areas, side seams | Beginner | Follows natural body contours |
| Vary Form Curve | Creates adjustable curves | Custom designs | Advanced | Bends to your imagination |
| Notching Pliers | Cuts uniform notches | Production work | Intermediate | Professional-looking results |
Remember, combining tools like your notcher with proper curve techniques will elevate your pattern making from "meh" to magnificent.
Importance of Quality Scissors and Rulers
Quality scissors and rulers are the backbone of precise pattern drafting.
You’ll need sharp, well-maintained scissors exclusively for paper cutting – using them on fabric will dull the blades and compromise your cutting accuracy.
For precise cutting, consider purchasing sharp scissors online.
Invest in calibrated rulers with clear markings, and keep them clean for best measurement precision.
Remember, your pattern’s success depends on these essential tools, so don’t skimp on quality!
Working With Patterns
You’ll find that working with patterns isn’t as scary as it looks once you’ve got the basics down, and you’ll love how they help you create perfectly fitted garments.
Whether you’re starting with store-bought patterns or making your own, you’ll discover that understanding how to read, alter, and customize patterns is the key to getting those professional-looking results you’ve been dreaming of.
How to Read Commercial Patterns
Commercial patterns can seem like puzzling roadmaps at first, but they’re actually full of helpful guides.
Start by checking the size chart on the envelope and matching your measurements. Look for essential pattern symbols like notch markings and grain lines that’ll help you align pieces correctly.
The pattern envelope also includes your fabric selection guide and needed supplies. You’ll find everything’s clearly marked for smooth sailing.
Making Pattern Alterations
Now that you can read patterns, let’s fix those not-quite-right fits.
Pattern alterations are your secret weapon for perfect-fitting garments.
You’ll want to master basic fit adjustments like shortening hems or adjusting waistlines before tackling dart manipulation.
For sleeves that hang just right, mark where they feel tight and add width accordingly.
Collar alterations might seem tricky, but with simple pattern making tips, you’ll transform commercial patterns into custom creations.
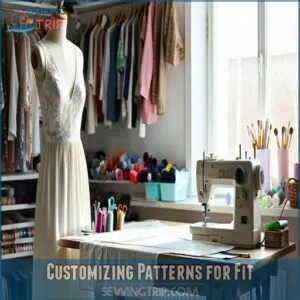
Customizing Patterns for Fit
After struggling with ill-fitting commercial patterns, you’ll find your sewing freedom through customization.
Start with simple pattern alteration techniques like Dart Manipulation or Slash and Spread for shoulders and waists.
For busty figures, try a Full Bust Adjustment.
When fitting patterns, always add appropriate Ease—about 1" for fitted garments, 2-3" for casual wear.
Remember, pattern grading helps adapt between sizes for truly custom pattern creation.
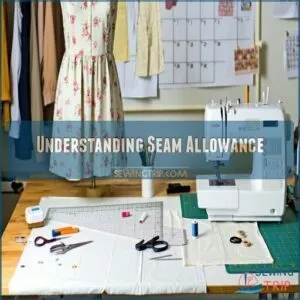
Understanding Seam Allowance
Seam allowance’s importance can’t be overstated in your pattern making journey.
Think of it as breathing room for your fabric – typically 5/8" for garments and 1/4" for quilting.
Understanding sewing pattern markings is essential for accurate construction.
Always mark your seam allowance clearly using chalk or pins.
When adjusting patterns, remember that reducing seam width gives you extra fabric, while increasing it does the opposite.
Consistent seam allowances guarantee your finished project fits perfectly, and it’s crucial to understand that seam allowance is key to a well-made garment.
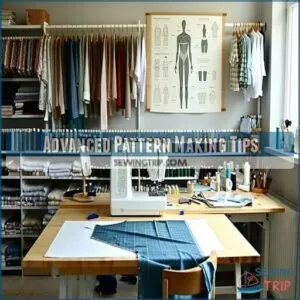
Advanced Pattern Making Tips
You’ll take your sewing skills to new heights with these advanced pattern making techniques, turning those frustrating fitting issues into custom-tailored masterpieces.
Once you’ve mastered digital grading and fabric-specific adjustments, you’ll wonder how you ever settled for ill-fitting commercial patterns.
Digital Patternmaking and Grading
Digital pattern making revolutionizes how you create perfectly sized designs without endless redrafting.
With modern software options, you can experiment more freely and reach diverse body types.
Here’s what digital grading offers:
- Time-saving workflows using pattern design software like Gerber or Adobe Illustrator
- Consistent sizing across your entire collection
- Cost efficiency by eliminating manual redrafting
- Greater precision with 3D modeling capabilities for visualization
Digital printing your patterns helps maintain accuracy while scaling proportionally, ensuring consistent sizing.
Working With Different Fabrics
Fabric behaves like a living thing when you’re pattern cutting.
Knit fabric allows more stretch than woven, requiring you to adjust your pattern accordingly.
Remember, fabric grain affects everything – cutting on bias creates beautiful drape and flow, perfect for skirts.
You’ll need different pattern making tips for each fabric type, with proper sewing pattern symbols marking stretch direction, and trust me, your scissors will thank you for considering the stretch direction.
Creating Complex Patterns
As fabric behavior affects your design vision, you’ll need to develop more complex pattern making techniques. Creating intricate patterns requires understanding how design elements translate onto paper.
Here are 5 steps to master pattern complexity:
- Study reference photos of your desired design
- Break complex shapes into manageable sections
- Use block manipulation to transform basic slopers
- Practice precision cutting for accurate pattern pieces
- Test your pattern with inexpensive fabric first
Troubleshooting Common Patternmaking Issues
Nearly every patternmaker hits roadblocks occasionally.
When troubleshooting fit issues, start by identifying the root cause.
| Common Problem | Likely Cause | Quick Fix |
|---|---|---|
| Gaping neckline | Incorrect bust measurement | Reduce dart width |
| Twisted seams | Grain errors | Realign pattern to grain |
| Pieces don’t align | Notch problems | Verify notch placement |
| Tight fit | Insufficient seam allowance | Add width to pattern |
Remember, pattern alterations become easier with practice. Trust your instincts!
Frequently Asked Questions (FAQs)
What are the three principles of pattern making?
Like a master chef’s secret recipe, you’ll need three key ingredients: flat pattern drafting to create precise templates, draping fabric on forms for artistic shaping, and pattern grading to size designs up or down.
This combination allows for the creation of precise and well-fitted designs, leveraging the strengths of each technique to produce high-quality outcomes.
What are the mistakes in pattern drafting?
You’ll encounter mistakes in pattern drafting, such as incorrect measurements, poor grain line alignment, and insufficient seam allowances, which can lead to ill-fitting garments and frustrating sewing experiences, so double-check.
What is the first principle of pattern making?
You’re about to reveal the secret: the first principle of pattern making is understanding your body measurements.
So grab your tape measure, and let’s get started with precision and accuracy always.
How to create good patterns?
You’ll create good patterns by drafting basic blocks, taking accurate measurements, and using tools like pattern paper, rulers, and notchers to guarantee precision and attention to detail in your designs.
How do you store and organize pattern pieces?
You store pattern pieces in labeled folders or envelopes, keeping them organized by project, and consider using a binder or file box for easy access and protection.
When should you replace worn-out pattern paper?
You should replace worn-out pattern paper when it’s torn, faded, or no longer lies flat, to maintain accuracy and prevent errors in your sewing projects, so grab new paper.
Can patterns be shared or sold legally?
You can share or sell patterns legally, make sure you own the rights or have permission from the creator, respecting copyright laws and intellectual property rights always.
Whats the best lighting setup for pattern drafting?
You’ll want good lighting, so use a well-lit room or invest in a desk lamp to illuminate your workspace for accurate pattern drafting and details.
How do you transport patterns without damaging them?
You carefully roll or fold your patterns, then place them in a protective case or tube to prevent damage during transport, ensuring they remain intact and easy to use later.
Conclusion
Practice makes perfect, and with these sewing pattern making tips, you’ll be creating flawless fits in no time.
You’re taking control of your sewing projects, and that’s amazing.
Now, go ahead, use these sewing pattern making tips to bring your fabric dreams to life, and don’t be afraid to experiment and try new things with sewing pattern making tips.

