This site is supported by our readers. We may earn a commission, at no cost to you, if you purchase through links.
In other words, if you want polished, professional garment closures, you will need to know your way around sewing perfect buttonholes.
The following steps show 10 tips from a pro on how to get flawless results every time—from using the right needle when faced with thick fabrics, these expert techniques will help raise your sewing to new heights of excellence.
Bring forth confidence and precision to conquer buttonholes and render true masterworks for all your projects.
Table Of Contents
Key Takeaways
- Master your needle game: Choose the right size and type for the fabric and buttons you’re working with. It’s like finding the perfect match for your sewing soulmate!
- Tension, tension, tension: Adjust that dial until you find the sweet spot where your stitches dance in harmony, not too tight and not too loose. It’s like balancing on a tightrope of perfection!
- Stabilize your situation: Select the right stabilizer weight and type for your fabric, so your buttonholes don’t go wobbly like a toddler on roller skates.
- Practice makes perfect: Don’t be afraid to experiment with different settings and techniques on scrap fabric. Think of it as a dress rehearsal for your buttonhole masterpiece!
Needle Size and Type
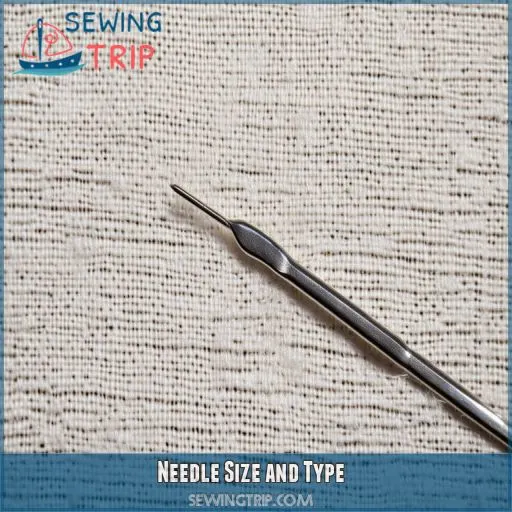
Choosing correct needles becomes a basic step toward perfect buttonholes in your sewing process. One wants to choose the right size and type of needle so that it will be on par with your fabric and thread. Lightweight fabrics require using smaller needle sizes, such as 70/10 or 80/12. On the other hand, heavier liner fabrics suit larger needles, probably 90/14 or 100/16. Also, note that the thickness of the buttons matters—thicker buttons may need larger needles for the extra bulk.
On the other side, for the type of needle, use a universal needle, for it does quite well with most buttonholes. However, if you’re going to sew stretch fabric, switch over to a ballpoint needle and skip skipped stitches. For very fine fabrics, use a fine needle. Additionally, a sharp needle is essential for clean and precise stitches around the buttonhole. So if you find any flaws, change your needle; that may just be your game-changer!
Thread Tension Adjustment
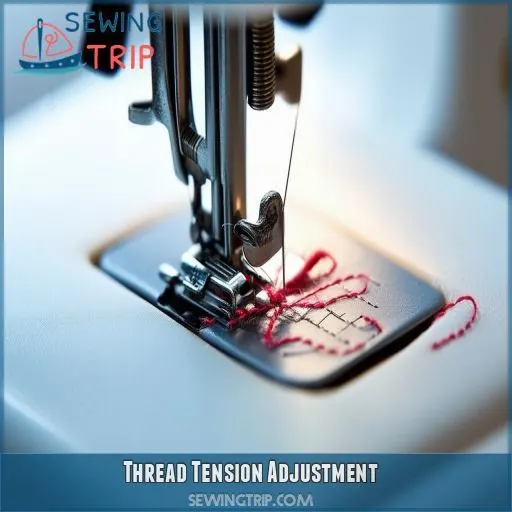
Now that you have the right needle, let’s talk about thread tension. It’s critical for those perfect buttonholes you want. Your machine’s tension dial is your best friend here.
Start with scrap fabric as thick as your garment and adjust top thread tension until you get a nice, balanced stitch—not too tight, not too loose. Note also the bobbin tension. If you see loops on the underside, the top tension needs to be tightened. If the bottom thread is pulling through to the top, then loosen the top.
Keep in mind that marking your buttonholes accurately will also help with even tension throughout. Check again for tension after sewing. You may need a bit more tweaking on thick fabrics.
With practice, you’ll develop a sense of the right feel and have professional-looking buttonholes every time.
Stabilizer Selection
Select the correct weight of stabilizer for your buttonholes according to your fabric type, weight, and thickness, and then decide between wash- and fuse-able, depending on needs. Note that lighter fabrics may not require much stabilization at all, while heavier materials are better supported by more substantial supports.
Fabric Type Considerations
When selecting stabilizers for buttonholes, consider your fabric type. Lightweight cottons need less support than silks or knits. Match interfacing weight to your fabric’s thickness. For tricky fabrics like velvet or corduroy, test samples with different stabilizer types to find the perfect match.
Weight And Thickness
When choosing stabilizers, match their weight and thickness to your fabric. Heavier fabrics need sturdier interfacing, while delicate ones require lighter support. Consider your sewing machine’s capabilities and the buttonhole length. The right stabilizer will give your one-step attachment the perfect hand for flawless results.
Washable Vs. Fusible
When choosing between washable and fusible stabilizers, consider your fabric’s thickness. Washable options are great for delicate materials, while fusible interfacing works wonders on heavier fabrics. For vintage or freehand buttonholes, opt for a stabilizer that complements your sewing technique and fabric type.
Practice Makes Perfect
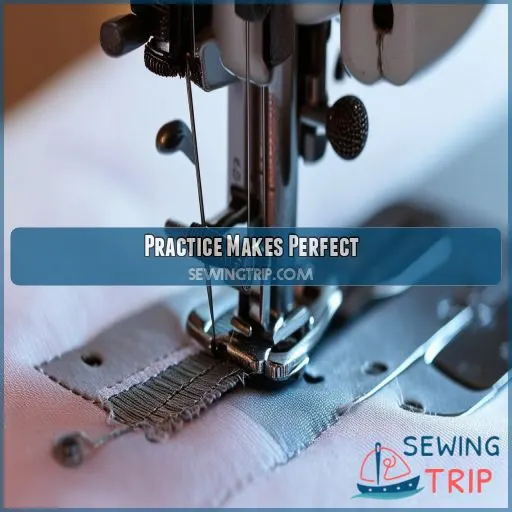
You must have heard this a million times: practice makes perfect. And it really does when it comes to sewing buttonholes. Before jumping into your garment, take a scrap of fabric similar in weight and texture to the project you’re working on at hand. Then, test different interfacing, change different tension settings, and different threads until you have found the perfect combination. Experiment with different needles, too—they can make all the difference!
If you’re a beginner, start with four-step buttonholes and graduate to one-step ones when you have built up confidence. Begin to become aware of how different fabrics act and how to adjust for them. Even the most experienced sewers sometimes have trouble working with some tricky material.
As you do them, you’ll get a feel for the process, and it will be much easier to troubleshoot problems that often crop up. Very soon now, you’ll be whizzing out perfect buttonholes as if you’d been doing it all your life, and facing any other sewing project with confidence.
Marking Techniques
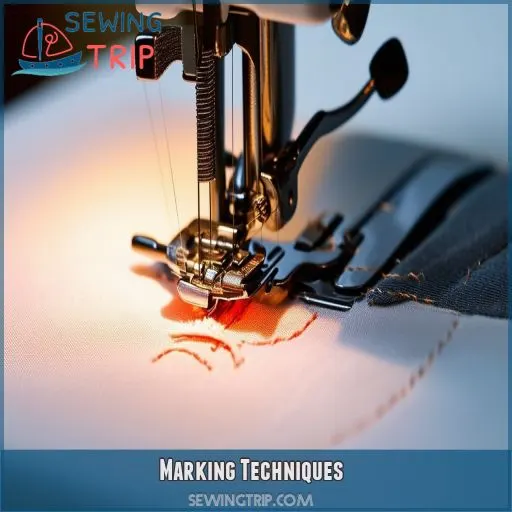
You have a couple of choices that you can use to mark buttonholes. Chalk marking is suitable for precise applications, and won’t make any judgment as to whether it’s easy to remove.
If you’re looking for something a bit more modern, then there are fabric pens available with some having ink that disappears over time. And then there’s the basting thread marking method that simply won’t fail.
If it’s a high-tech solution that you’re looking for, then disappearing ink markers really can’t be beat. For meticulous individuals who love their markings to vanish into thin air, this is the way to go.
For the detail-oriented among you, template marking will change your life because it enables continuity across multiple buttonholes and leaves your work looking professional at the end of the day.
The key is to choose a method that works best with your fabric and skill level. Try these techniques, and you’ll be marking like a professional in no time!
Precision in Length Measurement
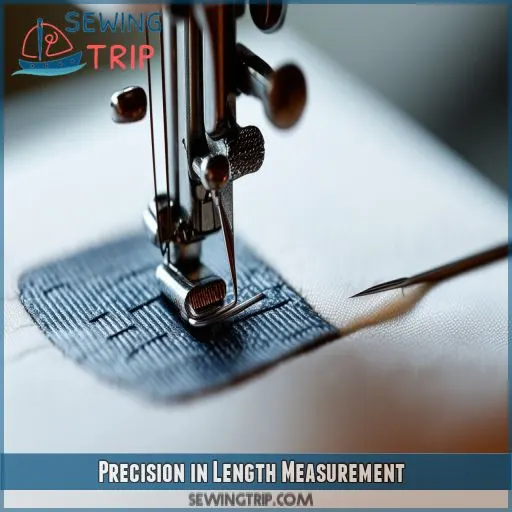
Accuracy is what you need when making buttonholes. You’re going to want to measure twice and cut once, as the saying goes. First, choose your button and think about its size with regard to your fabric choice and how thick the interfacing for that area will be. Place the button on your garment and mark the width of it, adding just a smidge for ease. Don’t forget to account for the type of interface being used; that may affect the measurement overall.
You can use a ruler or special gauge for laying out the button placement with uniform spacing. Clearly mark each spot, then double-check your measurements before you start sewing. After all, different fabrics may need slight adjustments in the length of buttonholes.
Pro tip: Use cardstock to create a template for your specific button size. Not only will this save you time, but it’ll also ensure you have uniformity across several buttonholes. With these precise measurements, you’re one step closer to the perfect buttonhole!
Clean Cutting Methods
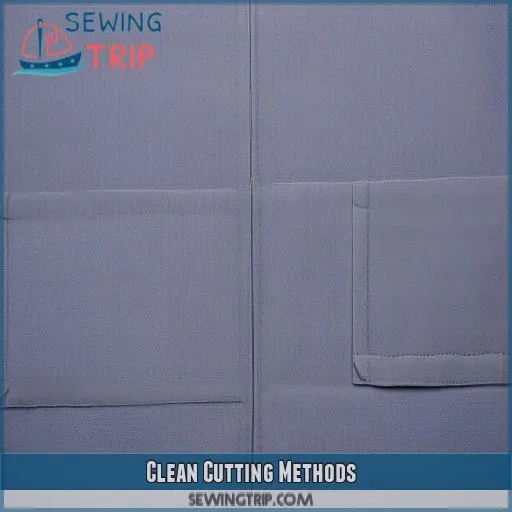
Now, once you’ve sewn your buttonhole, it’s time for the scary part: cutting it open. You have two trusty tools at hand to do it: either a seam ripper or a buttonhole cutter.
If using a seam ripper, place a pin at one end of the buttonhole as a safety stop. That will keep you from cutting beyond the stitching by accident.
For a more precise approach, get a buttonhole cutter with a wood block. This set will ensure you always have the straight, clean cut.
Whatever tool you choose, keep in mind that your central preoccupation must be to have a sharp blade as your companion: it’ll slice through that fabric like butter, leaving you with a crisp opening.
Take your time and steady that hand—you’re almost there on this journey to buttonhole perfection!
Ensuring Neat Edges
You have creased your buttonhole, but the real magic is in those clean edges. To get professional results, you’ll want to use the right tools and technique.
First, get a good-quality buttonhole cutter or sharp blade. These are cutting instruments that come with precision to slice through your fabric so that you always get clean, crisp edges.
When you’re ready to clip, place a pin at either end of the buttonhole so that you don’t accidentally over-cut. Then, starting from the center, carefully cut toward each end. As I always say in this step, slow and steady wins the race here.
If using a seam ripper, just slip the point into the fabric and glide along the stitching. If it’s going to be done perfectly, consider using small, sharp scissors to snip any stray threads.
With these tips, you’ll be cutting clean buttonholes like a pro in no time!
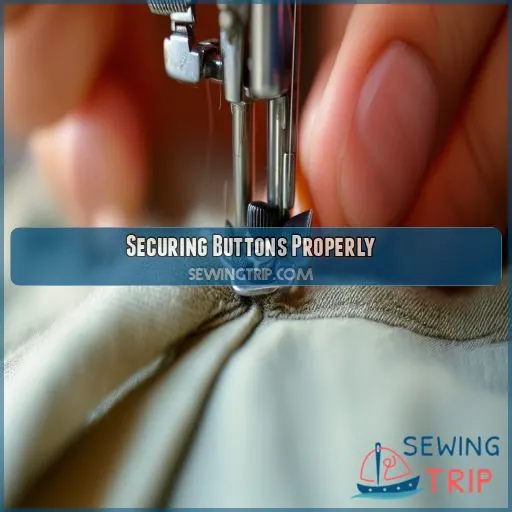
Securing Buttons Properly
This is where button security should come in, leading to a perfect finish. Start by thinking of ways to space and place buttons in a manner that exudes an overall balanced appearance. Afterwards, the following procedures will aid one in attaching buttons appropriately:
- Use sturdy thread that matches your fabric color
- Run sewing through the buttonhole at least 6-8 times for added strength
- Thread Shank: To accommodate the thickness of fabrics and to allow easier buttoning, a shank can be created in a thick fabric.
- Wrap thread around stitches on the button to reinforce
Reinforce the buttonhole and apply some interfacing. These added actions give strength to your fabric so it doesn’t stretch out or tear apart. Recall how thick the fabric is has a bearing on the security of buttons, so be adjusted accordingly. You’re going to want a longer shank to accommodate the extra bulk of material for thick materials. The ability to master these techniques will turn out professional results that leave you feeling like an innovator in sewing.
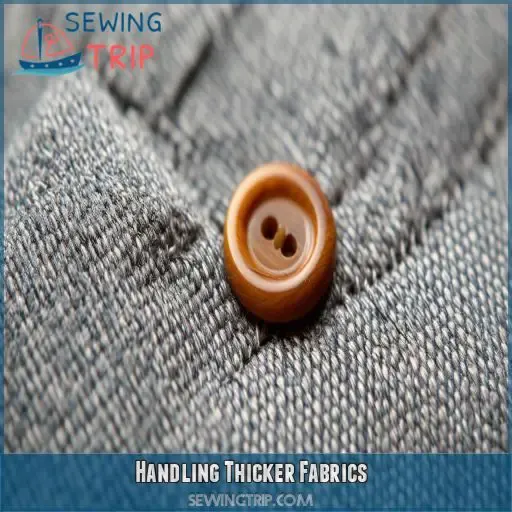
Handling Thicker Fabrics
Now that you have mastered the technique of holding buttons in place, it’s time to move on to the next challenge: thicker fabrics. This requires a different method to get clean, working buttonholes on bulkier materials. Here is a helpful guide that’ll get you through this tricky terrain:
| Fabric Type | Seam Aid | Stabilizer |
|---|---|---|
| Denim | Bulky | Washaway |
First, use a seam aid to square up your fabric. Add some stabilizer to prevent puckering and assure a crisp finish when cut with a sharp blade so that it won’t fray. Now, one important thing about buttonholes is their depth. It should be about the size of what the thickness is of your button, plus like a smidge extra for ease. With those tricks up your sleeve, you’ll conquer thick fabrics like a pro—making sure those buttonholes come out functional and fabulous.
Frequently Asked Questions (FAQs)
How to make perfect button holes?
You’ll need precision and practice to make perfect buttonholes. Mark your fabric carefully, set your machine correctly, and use interfacing for stability. Test on scrap fabric first, sew slowly, and cut carefully. Don’t rush – patience pays off!
What tension should I use for buttonholes?
Getting the tension of buttonhole stitch right is like tuning a guitar. You’ll need to set it on middle range—generally between 3 to 5—and test it on scrap to get an even number of stitches that hold firmly without puckering.
How to prevent button holes from fraying?
To prevent fraying, you’ll want to use a fray check product or clear nail polish on the cut edges. Sew your buttonholes twice for extra strength, and consider using interfacing to stabilize the fabric.
What is the best stabilizer for buttonholes?
For buttonholes, you’ll want to use a tear-away or cut-away stabilizer. It’ll provide the necessary support without adding bulk. Choose a weight that matches your fabric – lightweight for delicate materials, heavier for sturdy ones. Don’t forget to test first!
How do I fix puckered or misshapen buttonholes?
Practice makes perfect! To fix puckered buttonholes, use stabilizer, adjust thread tension, and sew slower. For misshapen ones, try a buttonhole chisel or carefully rip and resew. Don’t rush; take your time for clean, professional results.
Can I sew buttonholes on stretchy or knit fabrics?
Yes, you can sew buttonholes on stretchy fabrics! Use a stabilizer to prevent distortion, choose a flexible buttonhole stitch, and test on scrap fabric first. Consider hand-sewing if your machine struggles with knits.
Whats the best way to match buttonhole color?
Measure twice, cut once." To match buttonhole color, use the same thread as your garment, ensuring it blends seamlessly. Test colors on scrap fabric first, under lighting conditions similar to those when the garment will be worn.
How do I create decorative or embellished buttonholes?
To create decorative or embellished buttonholes, use contrasting thread colors, add a satin or embroidery stitch, or incorporate beads or sequins around the edges. This enhances visual appeal and adds a unique touch to your garment.
Are there alternatives to traditional buttonholes for closures?
You can explore alternatives like snaps, hooks and eyes, or even zippers for a modern, streamlined look. These options offer convenience and versatility beyond traditional buttonholes. Get creative and find the perfect closure for your project!
Conclusion
Accidentally, mastering these 10 pro tips from needle size to handling fabric can really elevate your sewing.
So, here are some important sewing perfect buttonholes tips to help you achieve great results every time—precise length measurement, clean-cutting methods, and neat edges that will make your buttonholes stand up tantalizingly.
Proper thread tension and the right stabilizer ensure that the structure of the garment remains intact.
Marking techniques and securing buttons properly complete the look.
Work hard at your practice, and the sewing will reach new dimensions of excellence.

